Boyfriend Brownies
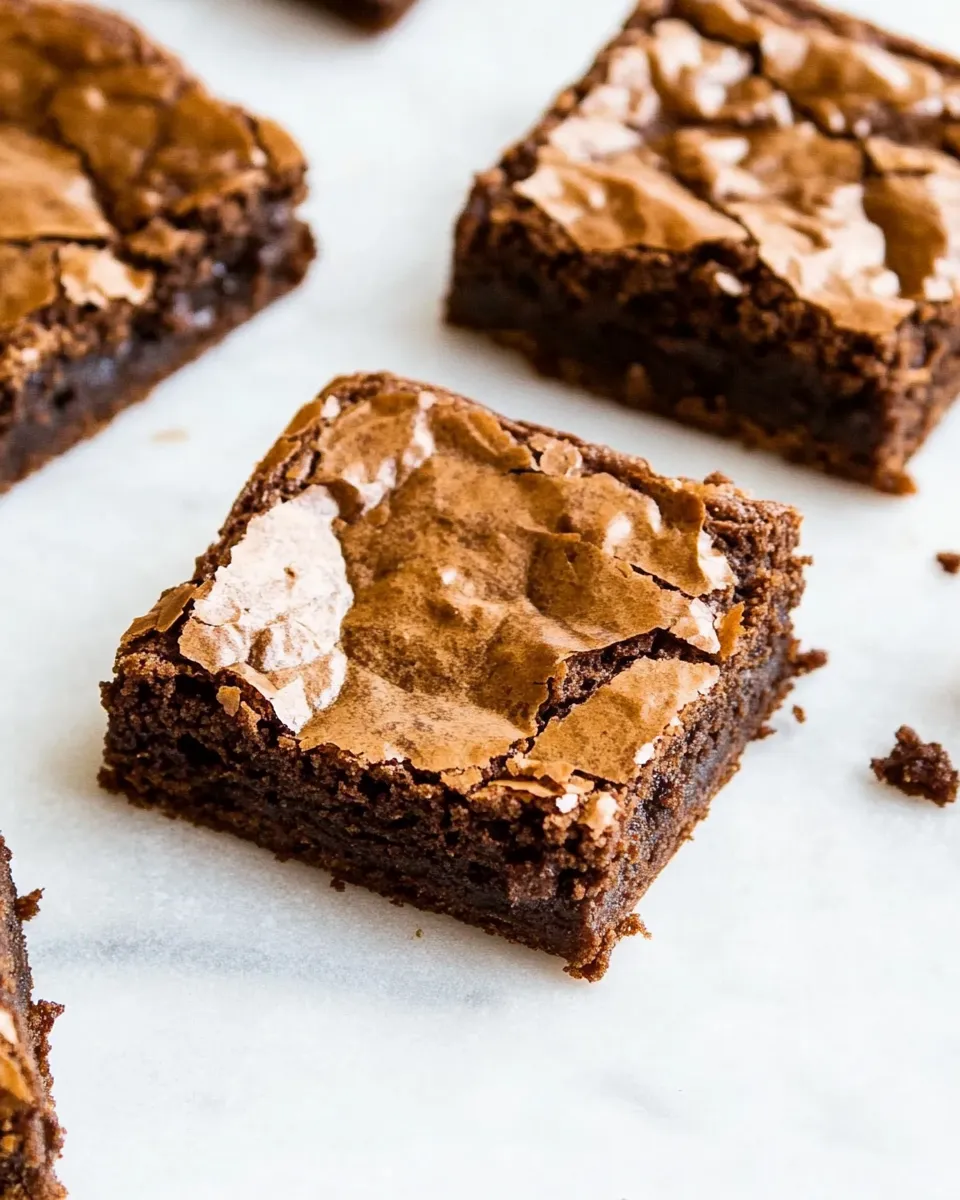
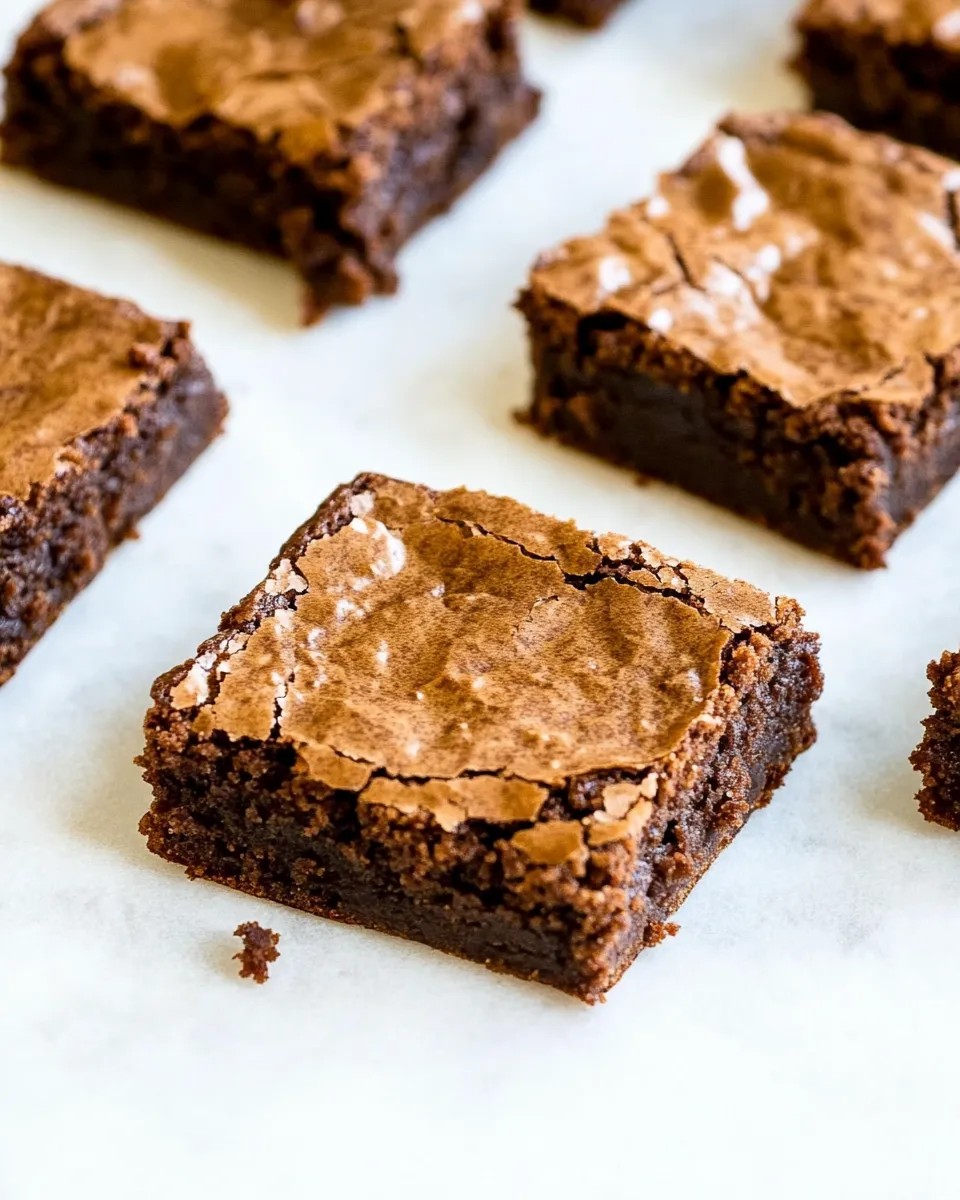
If you’re looking to impress someone special or simply indulge in a rich, chocolaty treat, these Boyfriend Brownies are the answer. With their fudgy texture and deep chocolate flavor, they are perfect for any occasion. Whether it’s a cozy night in or a gathering with friends, these brownies are sure to steal the show. Plus, they are incredibly easy to whip up, making them the ultimate dessert for both novice and seasoned bakers alike. Let’s dive into the wonderful world of Boyfriend Brownies!
What You’ll Love About This Recipe
These Boyfriend Brownies are not just any ordinary brownies; they are a celebration of chocolate in its most decadent form. Here’s what makes them special:
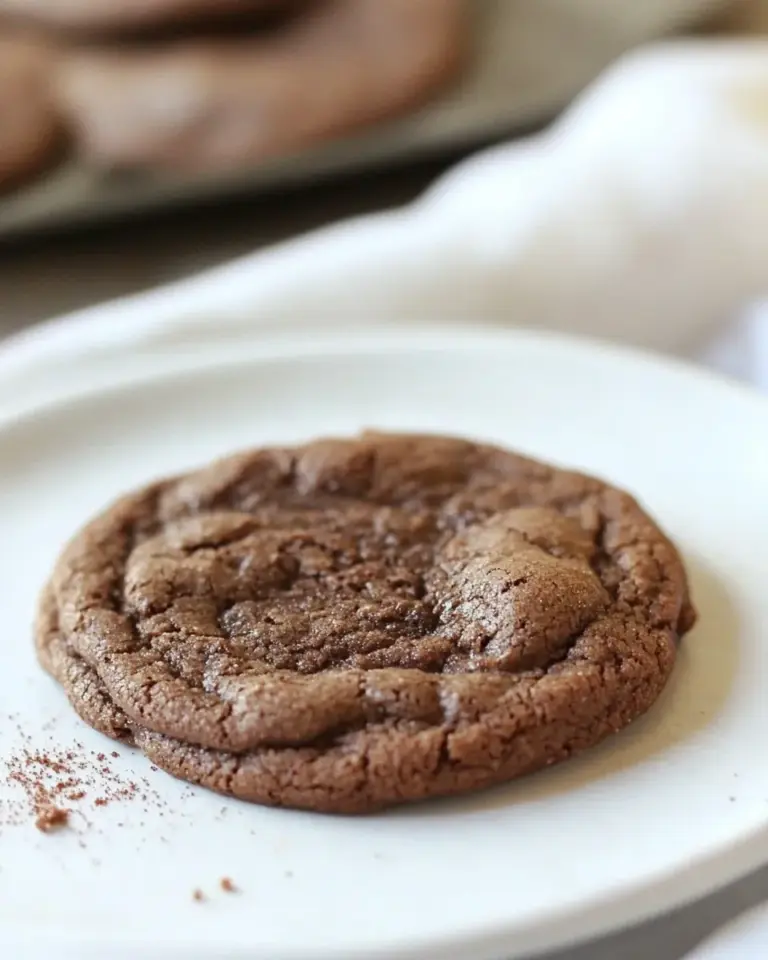
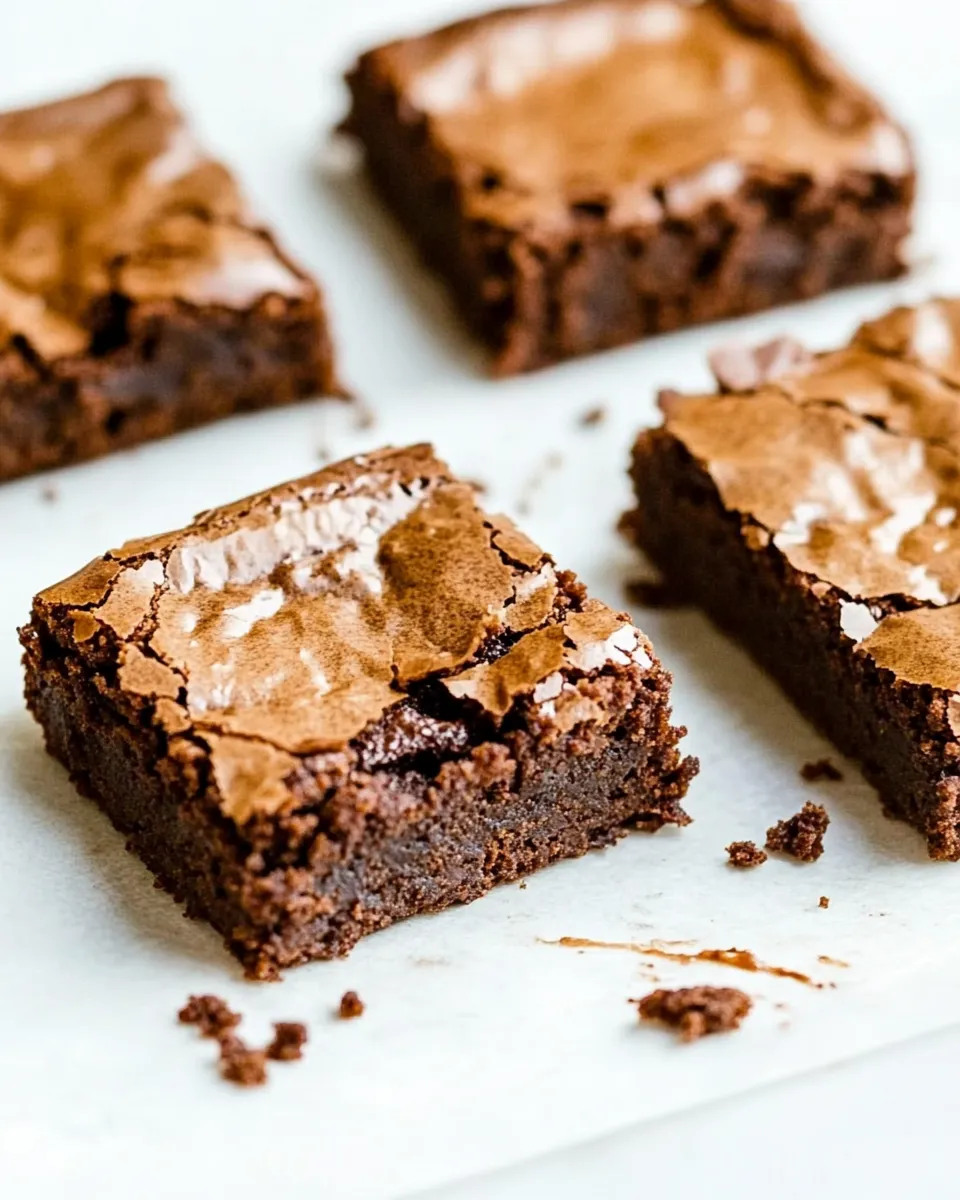
– **Fudgy Texture:** Achieved through a perfect balance of butter and chocolate, these brownies are rich and gooey.
– **Intense Chocolate Flavor:** With semi-sweet chocolate chips and a hint of vanilla, every bite is a chocolate lover’s dream.
– **Easy to Make:** With simple steps and minimal ingredients, you can bake these brownies in no time.
– **Versatile:** Enjoy them plain, topped with ice cream, or dressed up with your favorite nuts or sprinkles.
Shopping List
Before you get started, here’s what you’ll need to gather:
- 1 cup unsalted butter
- 1 cup granulated sugar
- 1 cup water or coffee
- 2 12-ounce bags semi-sweet chocolate chips, divided
- 4 large eggs
- 1 to 2 teaspoons vanilla extract
- 1 ½ cups all-purpose flour
- 1 teaspoon baking soda
- ½ teaspoon salt, or to taste
Prep & Cook Tools
Here’s what you’ll need to make these delicious brownies:
- Mixing Bowls: For combining ingredients.
- Whisk and Spatula: To mix the batter smoothly.
- 9×13-inch Baking Pan: For baking the brownies evenly.
- Parchment Paper: To line the baking pan for easy removal.
- Oven: Preheat to ensure even baking.
From Start to Finish: Boyfriend Brownies
Step 1: Preheat the Oven
Start by preheating your oven to 350°F (175°C). This is crucial for ensuring your brownies bake evenly.
Step 2: Prepare the Baking Pan
Line your 9×13-inch baking pan with parchment paper, leaving some overhang for easy removal later. This will help you lift the brownies out without sticking.
Step 3: Melt the Butter and Chocolate
In a medium saucepan, melt the unsalted butter over low heat. Once melted, add 1 bag of semi-sweet chocolate chips and stir until completely melted and smooth. If you’re using coffee instead of water, add it now to enhance the chocolate flavor.
Step 4: Combine Ingredients
In a large mixing bowl, combine the melted chocolate mixture with the granulated sugar and stir until well blended. Add the eggs one at a time, whisking well after each addition. Stir in 1 to 2 teaspoons of vanilla extract.
Step 5: Mix Dry Ingredients
In another bowl, whisk together the all-purpose flour, baking soda, and salt. Gradually add this mixture to the chocolate mixture, stirring until just combined. Be careful not to overmix.
Step 6: Fold in Remaining Chocolate Chips
Gently fold in the remaining bag of semi-sweet chocolate chips. This will give your brownies extra melty chunks of chocolate.
Step 7: Bake
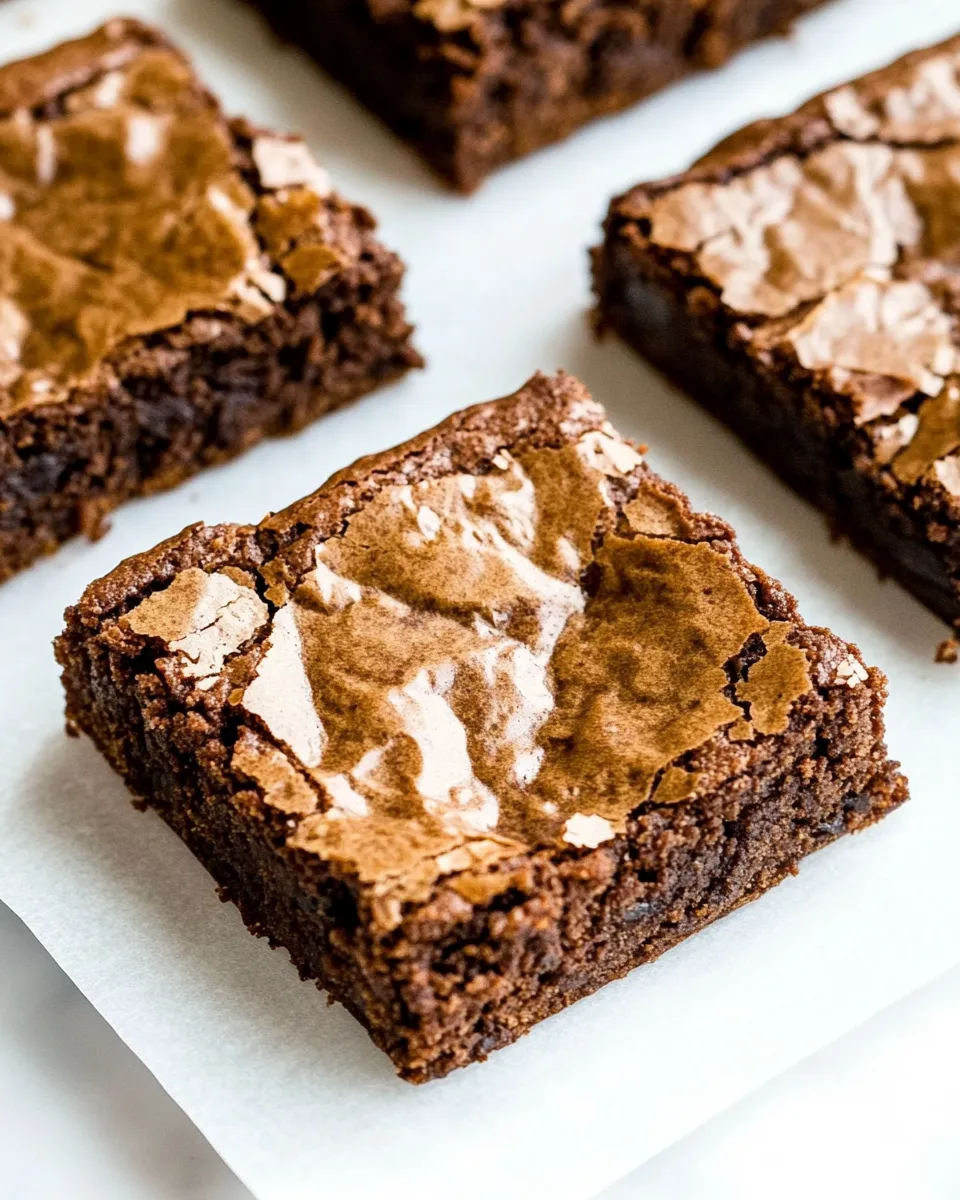
Pour the brownie batter into the prepared baking pan, spreading it evenly. Bake for 25 to 30 minutes, or until a toothpick inserted into the center comes out with a few moist crumbs.
Step 8: Cool and Serve
Allow the brownies to cool in the pan for about 10 minutes, then use the parchment paper overhang to lift them out onto a wire rack to cool completely. Cut into squares and enjoy!
Tailor It to Your Diet
These Boyfriend Brownies can be easily customized to suit various dietary preferences:
- Gluten-Free: Substitute all-purpose flour with a gluten-free flour blend.
- Dairy-Free: Use vegan butter and dairy-free chocolate chips.
- Low Sugar: Replace granulated sugar with a sugar substitute of your choice.
- Nut-Free: Keep the recipe as is, or add nuts if desired.
Flavor Logic
The combination of butter, chocolate, and sugar creates a rich base for these brownies. Here’s what you should know:
The unsalted butter adds moisture and richness, while the semi-sweet chocolate provides a deep chocolate flavor that balances the sweetness from the sugar. The addition of vanilla extract enhances the overall flavor profile, making each bite a delightful experience. The baking soda helps the brownies rise slightly, ensuring they are not too dense while still maintaining that fudgy texture. Lastly, the salt rounds out the flavors, making the chocolate even more pronounced.
Best Ways to Store
To keep your Boyfriend Brownies fresh and delicious, follow these storage tips:
- Room Temperature: Store brownies in an airtight container at room temperature for up to 3 days.
- Refrigerator: For longer storage, keep brownies in the fridge for up to a week.
- Freezer: Freeze brownies in an airtight container for up to 3 months. Thaw in the fridge before serving.
Quick Q&A
Can I use dark chocolate instead of semi-sweet chocolate chips?
Absolutely! Dark chocolate will give the brownies a richer flavor, just keep in mind they may be less sweet.
How do I know when my brownies are done baking?
Brownies are done when a toothpick inserted into the center comes out with a few moist crumbs. If it comes out clean, they might be overbaked.
Can I add nuts to the brownie batter?
Yes! If you love a bit of crunch, fold in some chopped nuts, like walnuts or pecans, along with the chocolate chips.
What’s the best way to cut brownies for neat squares?
Use a sharp knife and clean it between cuts. For even cleaner edges, you can chill the brownies before cutting.
Time to Try It
Now that you have all the details, it’s time to roll up your sleeves and bake these sensational Boyfriend Brownies. They are not just a treat; they are an experience that brings joy to anyone who takes a bite. Whether you’re baking for your boyfriend, friends, or simply treating yourself, these brownies are sure to be a hit. So, gather your ingredients, follow the steps, and prepare to enjoy the chocolatey bliss that is Boyfriend Brownies. Happy baking!
Boyfriend Brownies
Ingredients
Equipment
Method
- Step 1: Preheat your oven to 350°F (175°C) for even baking.
- Step 2: Line your 9x13-inch baking pan with parchment paper, leaving overhang for easy removal.
- Step 3: Melt the unsalted butter in a medium saucepan over low heat. Add 1 bag of chocolate chips and stir until melted and smooth.
- Step 4: Combine the melted chocolate mixture with granulated sugar in a large bowl. Add eggs one at a time, whisking well after each.
- Step 5: In another bowl, whisk together flour, baking soda, and salt. Gradually add to the chocolate mixture, stirring until just combined.
- Step 6: Fold in the remaining chocolate chips for extra melty chunks.
- Step 7: Pour batter into the prepared pan and bake for 25 to 30 minutes, or until a toothpick comes out with a few moist crumbs.
- Step 8: Allow brownies to cool in the pan for 10 minutes before lifting out using the parchment paper. Cool completely on a wire rack.
Notes
- For gluten-free brownies, use a gluten-free flour blend.
- Substitute with vegan butter and dairy-free chocolate for dairy-free brownies.
- Store brownies in an airtight container at room temperature for up to 3 days.