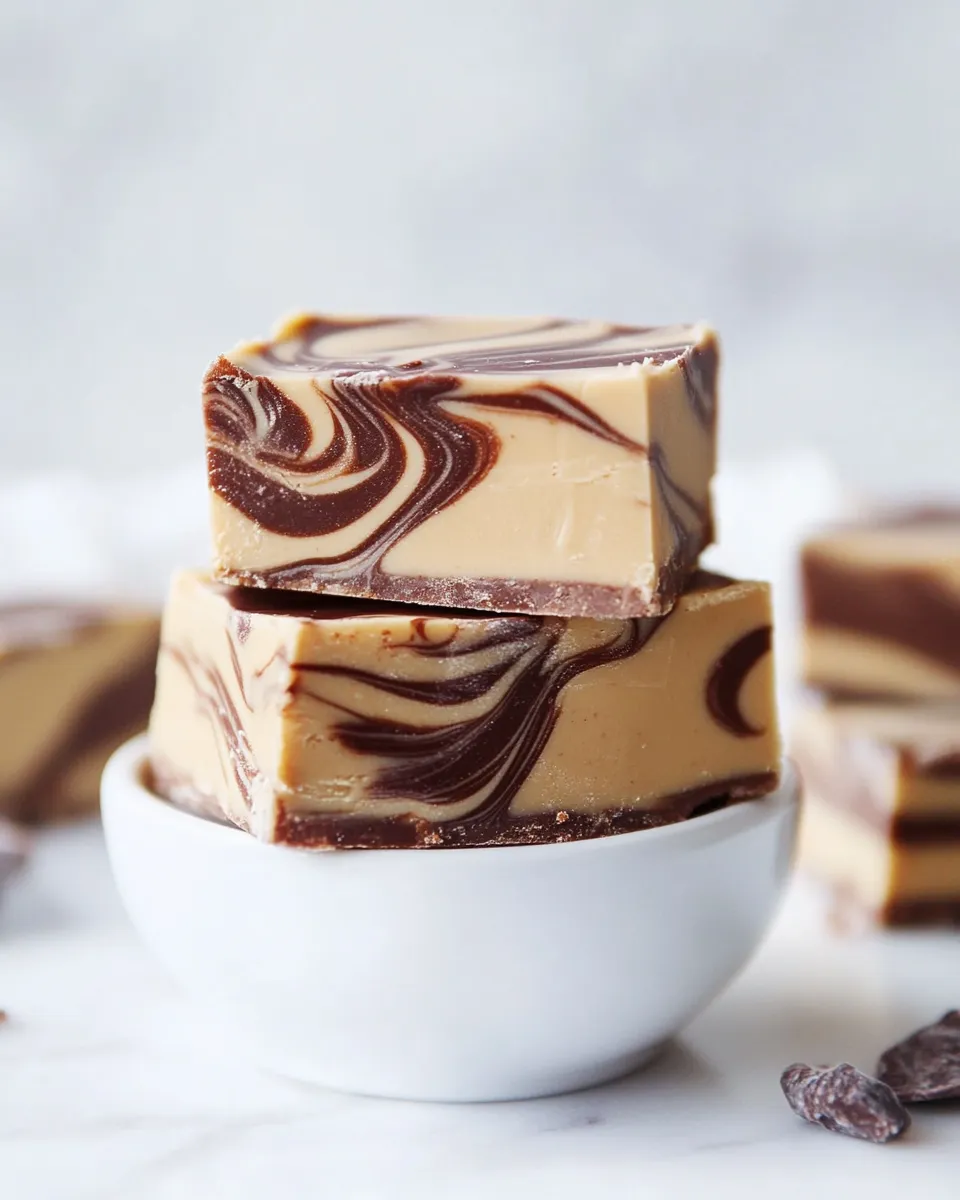
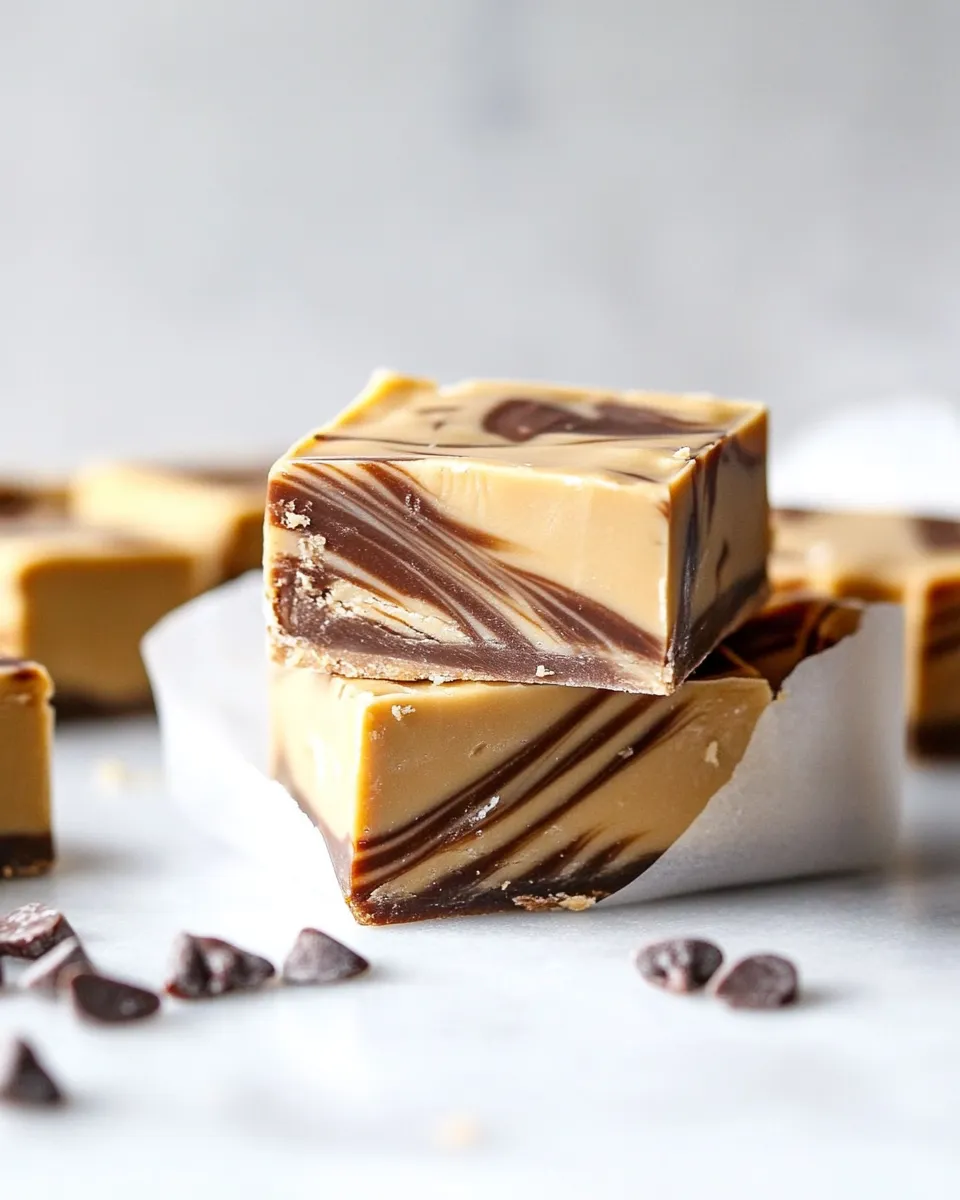
Tiger Butter Fudge
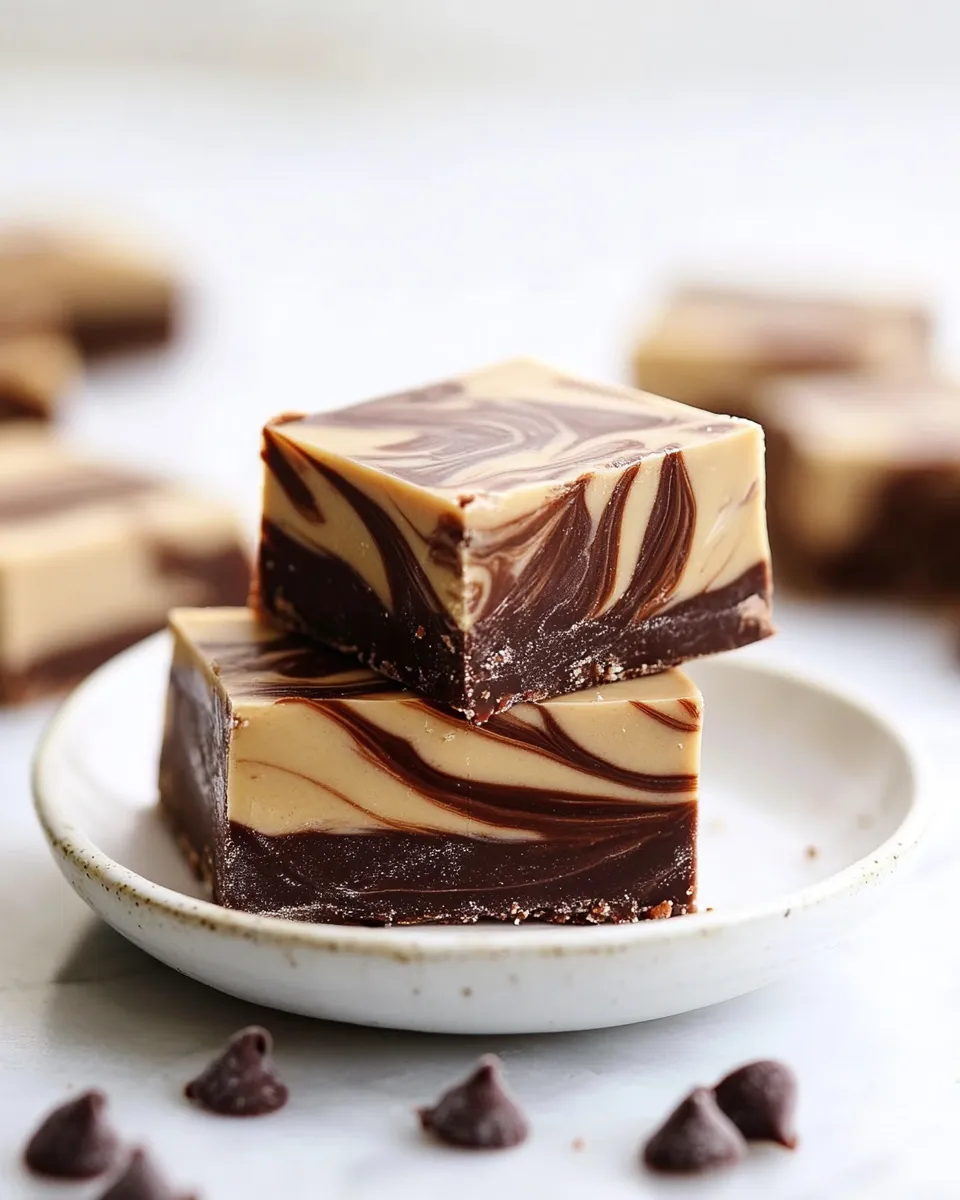
Tiger Butter Fudge is a delightful confection that combines the rich flavors of white chocolate and creamy peanut butter, topped with a swirl of semi-sweet and milk chocolate. This fudge is not only visually appealing with its tiger-striped pattern but is also incredibly easy to make. If you’re looking for a sweet treat that will impress family and friends, look no further! This recipe is perfect for gifting during the holidays or simply indulging your sweet tooth at home. Let’s dive into why you’ll keep making this luscious Tiger Butter Fudge.
Why You’ll Keep Making It
There are so many reasons to fall in love with Tiger Butter Fudge. For starters, it’s a no-bake treat, which means less time in the kitchen and more time enjoying its deliciousness. The creamy texture and the perfect balance of flavors make it a crowd-pleaser at any gathering. Plus, it’s customizable; you can swap any chocolate type based on your personal preferences. Before you know it, this fudge will be a staple in your dessert repertoire!
Ingredient List
- 4 cups white chocolate chips – The base of our fudge, providing sweetness and creaminess.
- 3/4 cup + 2 tablespoons creamy peanut butter – Adds that irresistible nutty flavor. Make sure to use creamy for a smooth texture.
- 1 cup semi-sweet chocolate chips – For that classic chocolate flavor that balances out the sweetness of the white chocolate.
- 1 cup milk chocolate chips or 1 additional cup semi-sweet chocolate chips – Either option works wonderfully for a richer chocolate experience.
What You’ll Need (Gear)
- Microwave-safe bowl – For melting the chocolate.
- Rubber spatula – Ideal for mixing and spreading the fudge evenly.
- 9×9 inch baking pan – This size is perfect for setting the fudge.
- Parchment paper – To line the pan for easy removal of the fudge.
- Refrigerator – To help the fudge set quickly.
Stepwise Method: Tiger Butter Fudge

Step 1: Prepare Your Pan
Line your 9×9 inch baking pan with parchment paper, leaving some overhang on the sides. This will help you lift the fudge out easily once it’s set.
Step 2: Melt the White Chocolate and Peanut Butter
In a microwave-safe bowl, combine 4 cups of white chocolate chips and 3/4 cup of creamy peanut butter. Heat in the microwave in 30-second intervals, stirring in between, until the mixture is smooth and fully melted.
Step 3: Pour into the Pan
Pour the melted white chocolate and peanut butter mixture into the prepared baking pan. Use a rubber spatula to spread it evenly across the bottom of the pan.
Step 4: Melt the Semi-Sweet and Milk Chocolate Chips
In another microwave-safe bowl, combine the semi-sweet chocolate chips and milk chocolate chips (or an additional cup of semi-sweet if you prefer). Repeat the melting process in the microwave until smooth.
Step 5: Swirl the Chocolate
Drizzle the melted semi-sweet and milk chocolate over the white chocolate fudge in the pan. Use a toothpick or a knife to gently swirl the chocolates together, creating a beautiful marbled effect.
Step 6: Set the Fudge
Refrigerate the fudge for at least 2 hours, or until it is completely set.
Step 7: Cut and Serve
Once set, lift the fudge out of the pan using the parchment paper overhang. Cut it into squares and serve. Enjoy the delightful combination of flavors!
Budget & Availability Swaps
- White chocolate chips – You can use white chocolate bars chopped into small pieces if chips are unavailable.
- Creamy peanut butter – Any nut or seed butter can be used as a substitute, such as almond or sunflower seed butter.
- Semi-sweet and milk chocolate chips – Feel free to use dark chocolate chips for a richer flavor.
- Parchment paper – If you don’t have any, you can lightly grease the pan instead.
Flavor Logic
The magic of Tiger Butter Fudge lies in its flavor harmony. The sweetness of the white chocolate beautifully complements the salty notes of the peanut butter, creating a delightful contrast. The semi-sweet and milk chocolate layers add depth and richness, making each bite a complex yet satisfying experience. This fudge is a true testament to the saying that opposites attract!
Keep-It-Fresh Plan
To keep your Tiger Butter Fudge fresh, store it in an airtight container at room temperature for up to a week. If you want to extend its shelf life, you can refrigerate it, where it will stay good for up to two weeks. For longer storage, you can freeze the fudge, wrapped tightly in plastic wrap and then placed in an airtight container. When you’re ready to enjoy, just thaw it in the refrigerator overnight.
Tiger Butter Fudge Q&A
Can I use different types of chocolate?
Absolutely! You can mix and match different types of chocolate based on your taste preferences. Dark chocolate can be a great substitute for semi-sweet or milk chocolate, creating a richer fudge.
How do I know when the fudge is set?
The fudge is set when it feels firm to the touch and doesn’t leave an indentation when pressed lightly. It should also have a glossy surface.
Can I add nuts or other mix-ins?
Yes! If you love a bit of crunch, feel free to fold in some chopped nuts like peanuts, almonds, or even crispy rice cereal for added texture.
What’s the best way to cut the fudge?
For clean cuts, use a sharp knife and lightly warm the blade with hot water before slicing. Wipe the knife clean after each cut for neat edges.
The Last Word
Tiger Butter Fudge is a delightful treat that brings together some of the best flavors in the world of sweets. With its creamy texture and beautiful marbled appearance, it’s bound to be a hit at any gathering. The combination of white chocolate and peanut butter, swirled with semi-sweet and milk chocolate, creates a symphony of flavors that will keep you coming back for more. Whether you are making it for a special occasion or just because, this fudge is sure to impress.
No matter how you choose to enjoy it, one thing is for sure: once you try this Tiger Butter Fudge, it will be hard to resist making it again and again. So gather your ingredients, grab your gear, and get ready to whip up a batch of this delicious fudge that everyone will love. Happy cooking!
Tiger Butter Fudge
Ingredients
Equipment
Method
- Line your 9x9 inch baking pan with parchment paper, leaving some overhang on the sides.
- In a microwave-safe bowl, combine 4 cups of white chocolate chips and 3/4 cup of creamy peanut butter. Heat in the microwave in 30-second intervals, stirring in between, until the mixture is smooth and fully melted.
- Pour the melted white chocolate and peanut butter mixture into the prepared baking pan. Use a rubber spatula to spread it evenly across the bottom of the pan.
- In another microwave-safe bowl, combine the semi-sweet chocolate chips and milk chocolate chips. Repeat the melting process until smooth.
- Drizzle the melted semi-sweet and milk chocolate over the white chocolate fudge in the pan. Use a toothpick or knife to gently swirl the chocolates together.
- Refrigerate the fudge for at least 2 hours, or until it is completely set.
- Once set, lift the fudge out of the pan using the parchment paper overhang. Cut it into squares and serve.
Notes
- Store in an airtight container at room temperature for up to a week.
- For longer shelf life, refrigerate for up to two weeks.
- Freeze tightly wrapped for longer storage.