Chocolate-Covered 7-Minute Microwave Caramels
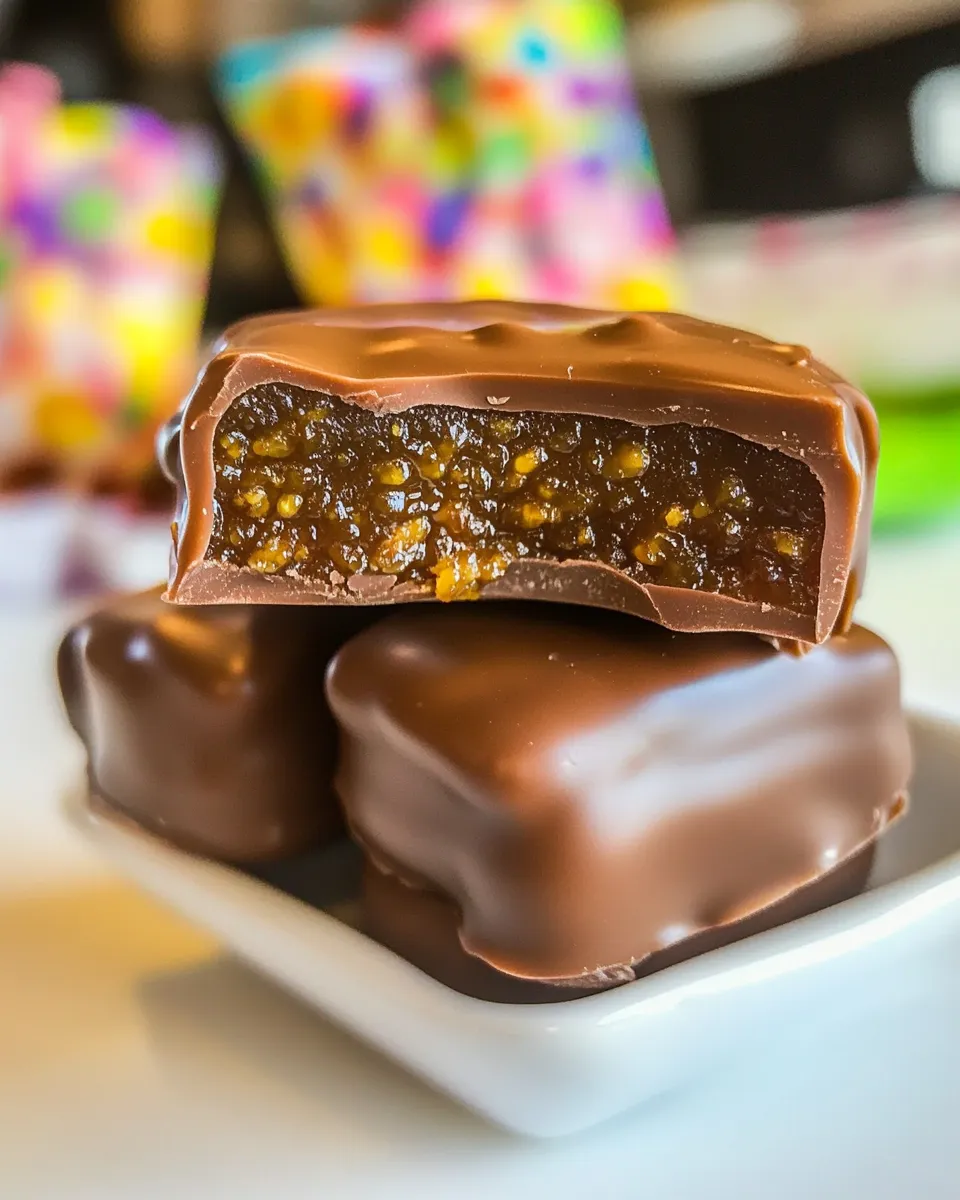
Imagine the delight of biting into a rich, chewy caramel, lovingly enveloped in smooth, velvety chocolate. These Chocolate-Covered 7-Minute Microwave Caramels will take your sweet cravings to the next level. With just a handful of ingredients and a mere seven minutes of your time, you’ll be on your way to creating a treat that’s perfect for gifting, sharing, or indulging in all by yourself. The best part? You don’t even need a candy thermometer!
Let’s dive into why you should whip up these delectable caramels and how easy they are to make right in your microwave.
Top Reasons to Make Chocolate-Covered 7-Minute Microwave Caramels

- Quick and Easy: With just seven minutes of cooking time, you can have homemade caramels ready to dip in chocolate.
- Customizable: These caramels can be coated in your choice of chocolate and topped with your favorite sprinkles or nuts.
- Perfect for Gifting: Pack them in a decorative box or jar for a sweet gift that will impress friends and family.
- Endless Flavor Combinations: Choose different chocolate types and toppings to create unique flavor profiles.
- Kid-Friendly Activity: Involve the kids in the kitchen for a fun and delicious experience.
What to Buy
- Butter: 1 cup (1 stick), melted. Use unsalted for balanced sweetness, or salted for a savory kick.
- Granulated Sugar: 1 cup. This is essential for the caramel’s sweetness.
- Light Brown Sugar: 1 cup, packed. This gives the caramels their rich flavor and chewy texture.
- Light Corn Syrup: 1 cup. Be sure to choose light in color, not “lite” for the right consistency.
- Sweetened Condensed Milk: 1 cup. This adds creaminess and helps achieve that gooey texture.
- Vanilla Extract: 1 teaspoon. A splash of vanilla enhances the flavor profile beautifully.
- Chocolate for Dipping: About 4 ounces each of Milk, 32% Dark, and 72% Dark chocolate for a variety of flavors.
- Vegetable Shortening: 1 to 4 tablespoons, optional but recommended for smoother chocolate.
- Toppings: Sprinkles, non-pareils, slivered almonds, coarse sea salt, or graham cracker crumbs for decoration.
Setup & Equipment
- Microwave-Safe Bowl: A large bowl for mixing and melting the ingredients.
- Measuring Cups and Spoons: For accurate ingredient measurements.
- Rubber Spatula: To stir all the ingredients together smoothly.
- Wax Paper or Parchment Paper: For cooling and setting the caramels.
- Chocolate Melting Pot or Microwave-Safe Bowl: For easily melting chocolate.
- Optional: Candy Thermometer: Not needed but can be used if you want to monitor the temperature of your caramel.
How to Prepare Chocolate-Covered 7-Minute Microwave Caramels
Step 1: Combine Ingredients
In a large microwave-safe bowl, combine the melted butter, granulated sugar, brown sugar, light corn syrup, and sweetened condensed milk. Stir well with a rubber spatula until fully combined.
Step 2: Microwave the Mixture
Place the bowl in the microwave and heat on high for 3 minutes. Carefully remove the bowl and stir the mixture thoroughly, scraping down the sides to ensure even cooking.
Step 3: Continue Microwaving
Return the bowl to the microwave and heat for an additional 3-4 minutes. Keep an eye on it to prevent overflow. The mixture should be bubbling and have a lovely caramel color.
Step 4: Stir in Vanilla
After removing the bowl from the microwave, stir in the vanilla extract quickly and thoroughly. The mixture will be extremely hot, so take care when handling it.
Step 5: Pour and Set
Line an 8×8-inch baking dish with wax paper or parchment paper. Pour the hot caramel mixture into the dish, spreading it evenly. Allow the caramels to cool completely at room temperature, which will take about 1-2 hours.
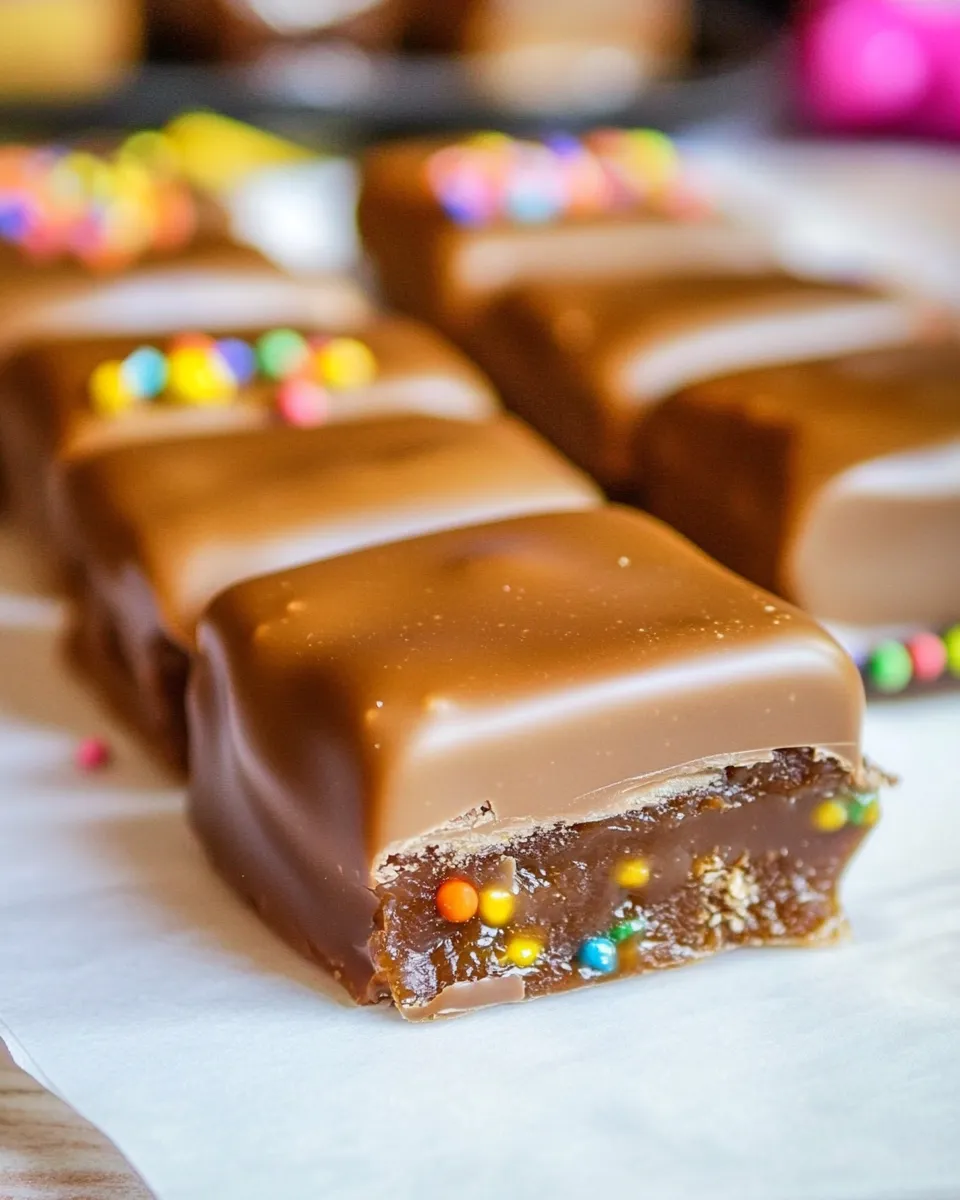
Step 6: Cut the Caramels
Once set, lift the caramels out of the dish using the edges of the paper. Cut them into squares or rectangles, depending on your preferred size.
Step 7: Melt the Chocolate
In a microwave-safe bowl, melt your choice of chocolate (milk, dark, or both) in 30-second intervals, stirring in between until smooth. If desired, add vegetable shortening to achieve a smoother consistency.
Step 8: Dip the Caramels
Dip each caramel into the melted chocolate, ensuring it is fully coated. Use a fork to lift it out, letting the excess chocolate drip back into the bowl.
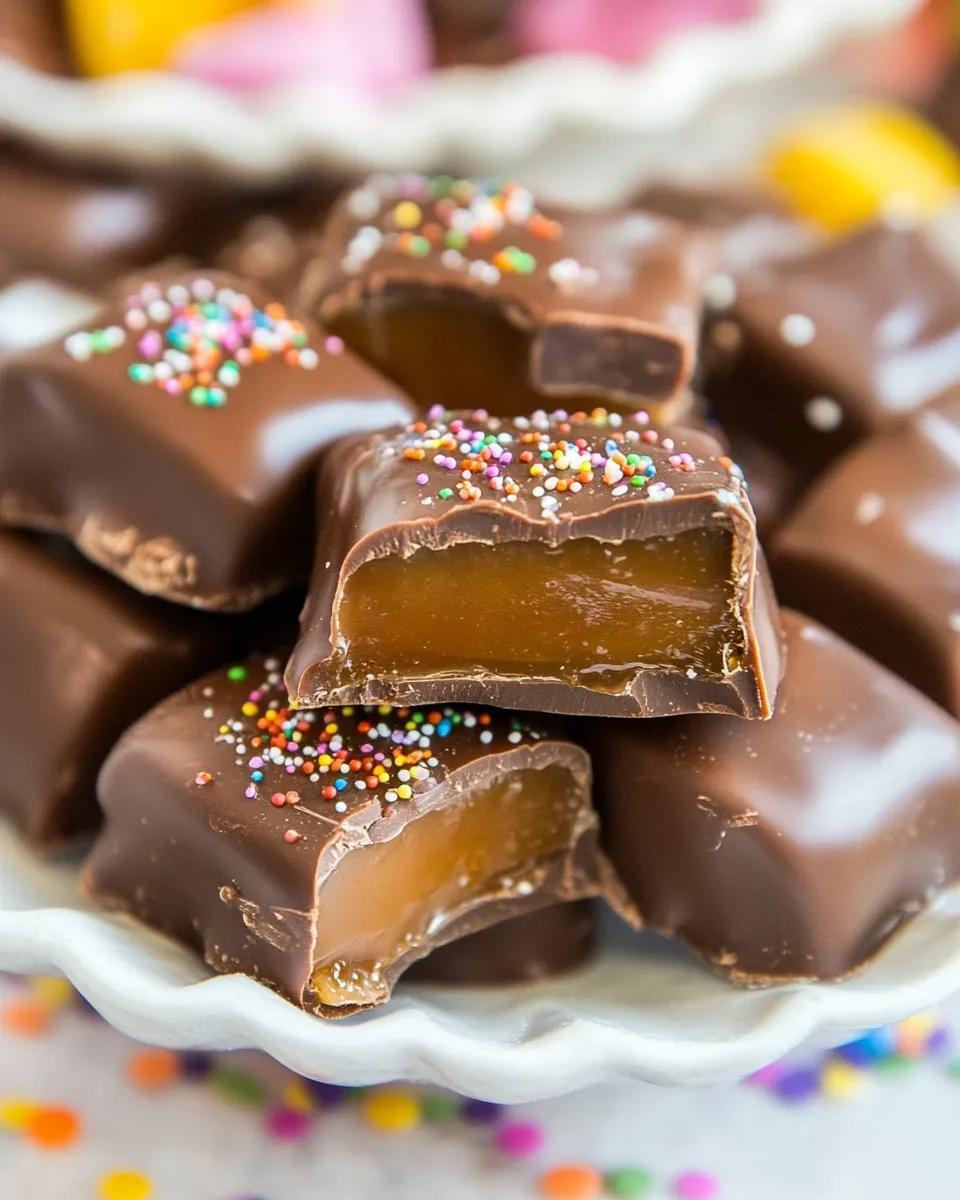
Step 9: Add Toppings
Before the chocolate sets, sprinkle your chosen toppings over the chocolate-covered caramels for added flair and flavor.
Step 10: Let Set
Place the dipped caramels onto a baking sheet lined with wax paper. Allow them to set at room temperature or refrigerate for quicker results.
Make It Year-Round
- Holiday Treats: Shape them into festive forms using cookie cutters or add seasonal toppings.
- Party Favors: Wrap them in cellophane and tie with a ribbon for a delightful party treat.
- Flavor Variations: Experiment with flavored chocolates or infuse the caramel with spices like cinnamon or sea salt.
- Themed Events: Customize your caramels for birthdays, anniversaries, or themed gatherings.
Flavor Logic
The beauty of Chocolate-Covered 7-Minute Microwave Caramels lies in their versatility. The base recipe is simple and delicious, allowing you to experiment with flavors. You can use different types of chocolate to find your perfect pairing. For instance, the creaminess of milk chocolate complements the sweetness of the caramel, while dark chocolate provides a rich contrast. Add a pinch of sea salt on top for a delightful sweet-and-salty combination that elevates each bite.
Storing Tips & Timelines
To keep your Chocolate-Covered 7-Minute Microwave Caramels fresh, store them in an airtight container at room temperature for up to two weeks. If you want to prolong their shelf life, consider refrigerating them, which can extend freshness for a month. Just remember to bring them back to room temperature before enjoying for the best texture!
Common Qs About Chocolate-Covered 7-Minute Microwave Caramels
Can I use dark chocolate instead of milk chocolate for dipping?
Absolutely! Using dark chocolate will give your caramels a rich, bittersweet flavor that pairs wonderfully with the sweetness of the caramel.
What if my caramel is too soft?
If your caramel doesn’t set properly, it might need more cooking time. You can microwave it in additional 30-second increments until it reaches a firmer consistency.
Can I freeze these caramels?
Yes, you can freeze them! Just wrap each caramel individually in wax paper and store them in an airtight container. They will last for several months in the freezer.
What toppings work best on chocolate-covered caramels?
Some popular options include coarse sea salt, crushed nuts, sprinkles, or even graham cracker crumbs for a s’mores flavor. Get creative and customize them to your taste!
Bring It Home
Now that you have the recipe for Chocolate-Covered 7-Minute Microwave Caramels, it’s time to get into the kitchen and create something truly special. These caramels are not just a treat; they’re an experience that you can share with loved ones or keep all to yourself as a well-deserved indulgence. The joy of making and enjoying these chewy, chocolate-dipped delights is something you won’t want to miss. So, roll up your sleeves, gather your ingredients, and let the caramel magic begin!
Chocolate-Covered 7-Minute Microwave Caramels
Ingredients
Equipment
Method
- In a large microwave-safe bowl, combine the melted butter, granulated sugar, brown sugar, light corn syrup, and sweetened condensed milk. Stir well with a rubber spatula until fully combined.
- Place the bowl in the microwave and heat on high for 3 minutes. Carefully remove the bowl and stir the mixture thoroughly, scraping down the sides to ensure even cooking.
- Return the bowl to the microwave and heat for an additional 3-4 minutes. Keep an eye on it to prevent overflow. The mixture should be bubbling and have a lovely caramel color.
- After removing the bowl from the microwave, stir in the vanilla extract quickly and thoroughly. The mixture will be extremely hot, so take care when handling it.
- Line an 8x8-inch baking dish with wax paper or parchment paper. Pour the hot caramel mixture into the dish, spreading it evenly. Allow the caramels to cool completely at room temperature, which will take about 1-2 hours.
- Once set, lift the caramels out of the dish using the edges of the paper. Cut them into squares or rectangles, depending on your preferred size.
- In a microwave-safe bowl, melt your choice of chocolate (milk, dark, or both) in 30-second intervals, stirring in between until smooth. If desired, add vegetable shortening to achieve a smoother consistency.
- Dip each caramel into the melted chocolate, ensuring it is fully coated. Use a fork to lift it out, letting the excess chocolate drip back into the bowl.
- Before the chocolate sets, sprinkle your chosen toppings over the chocolate-covered caramels for added flair and flavor.
- Place the dipped caramels onto a baking sheet lined with wax paper. Allow them to set at room temperature or refrigerate for quicker results.
Notes
- Store caramels in an airtight container at room temperature for up to two weeks.
- Refrigerating extends freshness for a month; bring to room temperature before eating.
- Experiment with different chocolates and toppings for unique flavors.