Crispy Ranch Chicken
If you’re on the lookout for a dish that combines simplicity with an explosion of flavor, then you need to try this Crispy Ranch Chicken. With its crunchy exterior and juicy inside, this chicken recipe is sure to become a weekday staple in your kitchen. Whether you’re cooking for family, friends, or just for yourself, this dish is easy to prepare and absolutely delicious. Let’s dive into the details of making this crispy, flavorful delight!
Why Cooks Rave About It
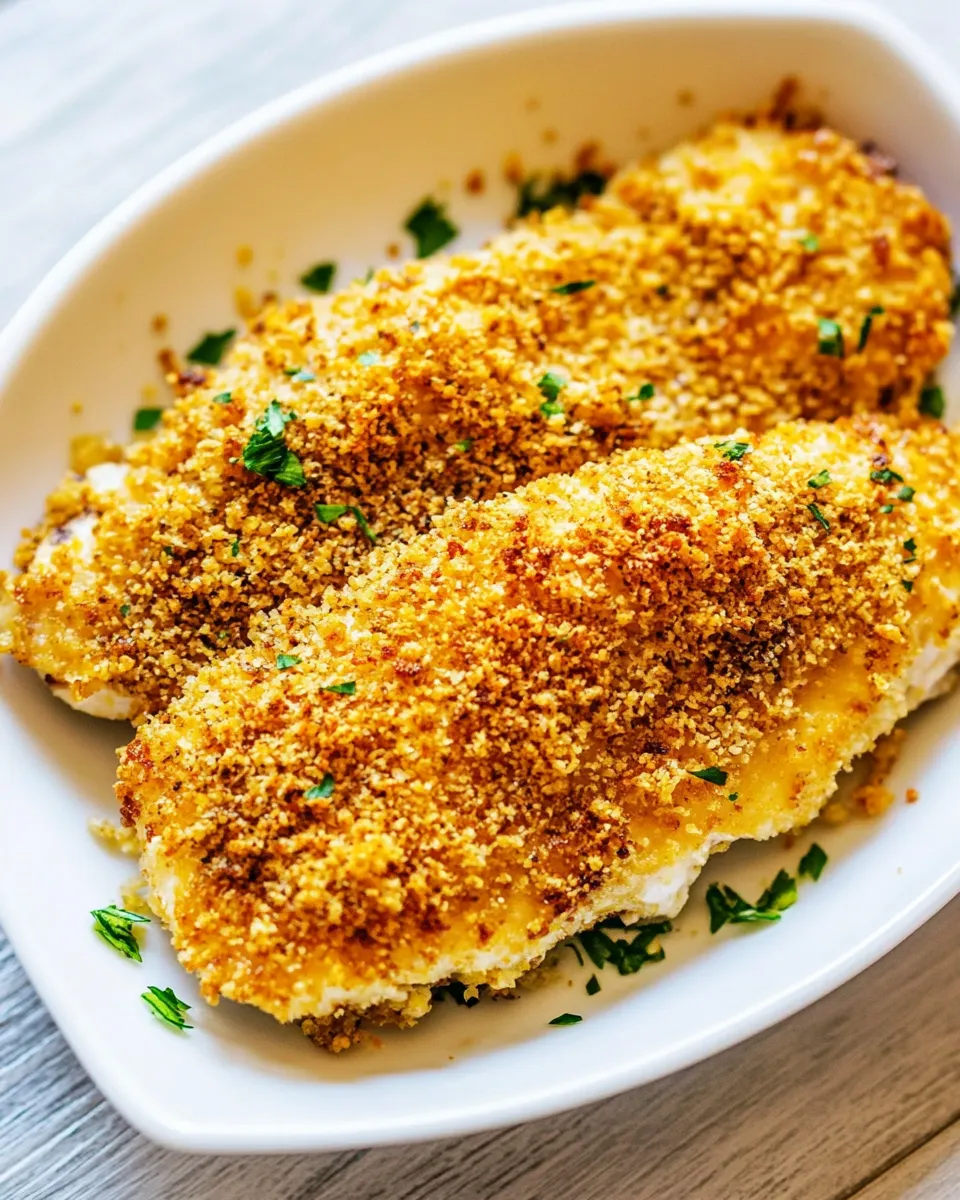
Crispy Ranch Chicken has earned its reputation among home cooks for several reasons. First, the combination of Panko breadcrumbs and Parmesan cheese creates a crunchy coating that is simply irresistible. The ranch seasoning infuses the chicken with a savory and zesty flavor that elevates the dish to new heights. Plus, it’s a versatile recipe that pairs well with a range of sides, making it perfect for any occasion. It’s also a one-dish wonder that can be prepared in under an hour, which is ideal for busy weeknights. Whether you’re serving it up for a casual family dinner or a gathering with friends, this chicken will leave everyone asking for seconds.
Ingredient Checklist
To make this Crispy Ranch Chicken, you’ll need the following ingredients:
- 4 boneless, skinless chicken breasts
- Kosher salt and freshly ground black pepper to taste
- 1 cup all-purpose flour
- 2 large eggs, beaten
- 1 cup Panko breadcrumbs
- ½ cup freshly grated Parmesan cheese
- 1 ounce ranch seasoning (store-bought or homemade, equivalent to 1 packet)
These simple ingredients come together to create a dish that is both satisfying and full of flavor.
Cook’s Kit
Before you start cooking, gather the following kitchen tools:
- Meat mallet or rolling pin (for flattening the chicken)
- Three shallow dishes (for breading process)
- Baking sheet lined with parchment paper
- Whisk (for beating the eggs)
- Oven (preheated to 400°F)
Having these tools ready will make the cooking process smooth and enjoyable!
Build Crispy Ranch Chicken Step by Step

Step 1: Prepare the Chicken
Start by placing the chicken breasts between two sheets of plastic wrap. Using a meat mallet or rolling pin, gently pound the chicken to an even thickness of about ¾ inch. This ensures even cooking and tenderizes the meat.
Step 2: Season the Chicken
Sprinkle both sides of the chicken breasts with Kosher salt and freshly ground black pepper to taste. This step adds a foundational layer of flavor that complements the ranch seasoning.
Step 3: Set Up the Breading Stations
In one shallow dish, add the all-purpose flour. In the second dish, pour the beaten eggs. In the third dish, mix together the Panko breadcrumbs, grated Parmesan cheese, and ranch seasoning.
Step 4: Bread the Chicken
Start with the first chicken breast and dredge it in the flour, making sure to coat both sides evenly. Shake off any excess flour. Next, dip the chicken in the beaten eggs, allowing any excess to drip off. Finally, press the chicken into the Panko mixture, ensuring a generous coating on both sides. Repeat this process for each chicken breast.
Step 5: Bake the Chicken
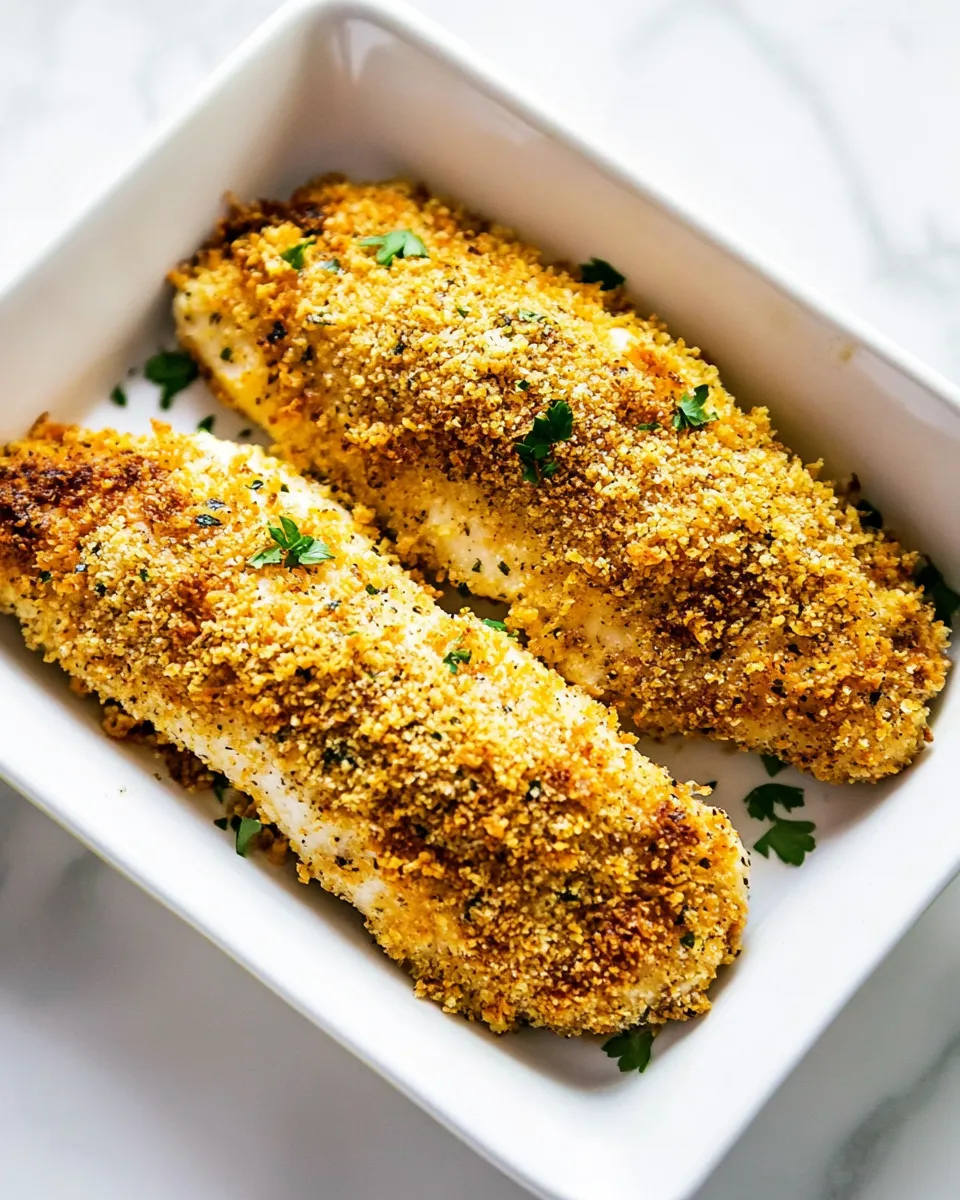
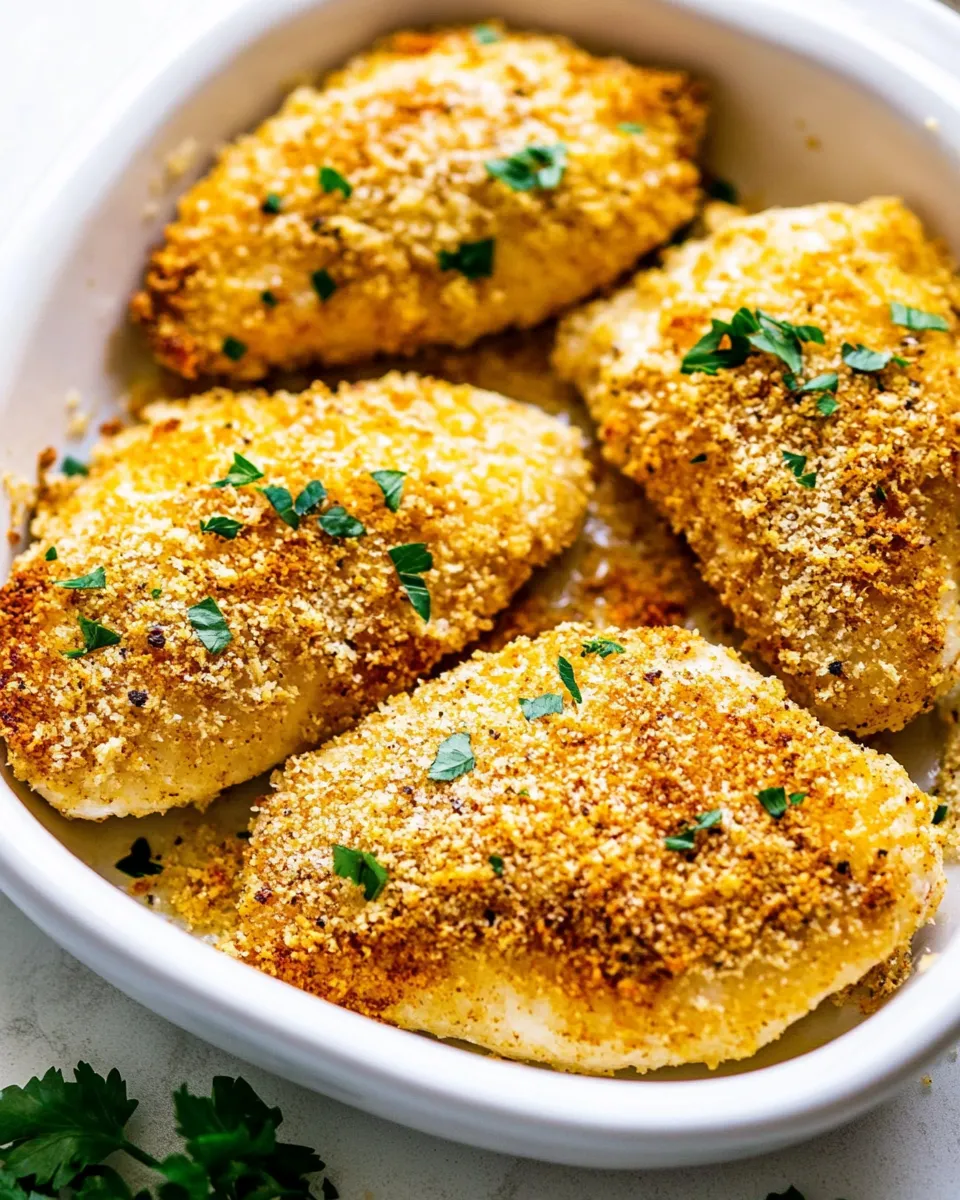
Place the breaded chicken breasts on the prepared baking sheet. Bake in the preheated oven for 25-30 minutes, or until the chicken is golden brown and reaches an internal temperature of 165°F.
Step 6: Serve and Enjoy
Once cooked, remove the chicken from the oven and let it rest for a few minutes before serving. This helps retain the juices and enhances the flavor. Serve with your favorite sides, and enjoy the crispy goodness!
Customize for Your Needs
There are plenty of ways to adapt this Crispy Ranch Chicken recipe to suit your tastes:
- For a spicy kick, add cayenne pepper or chili powder to the Panko breadcrumb mixture.
- Swap out the Parmesan cheese for another cheese like Pecorino Romano or nutritional yeast for a dairy-free option.
- Use homemade ranch seasoning by mixing dried herbs such as dill, parsley, garlic powder, onion powder, and a pinch of salt.
- For a gluten-free version, substitute the all-purpose flour and Panko breadcrumbs with gluten-free alternatives.
The possibilities are endless, allowing you to put your own spin on this delightful dish!
Testing Timeline
When creating this recipe, I recommend following this timeline for the best results:
- Preparation Time: 10-15 minutes for chicken prep and breading.
- Cooking Time: 25-30 minutes in the oven.
- Total Time: Approximately 40-45 minutes from start to finish.
This timeline makes Crispy Ranch Chicken a quick and satisfying meal option for any night of the week!
Freezer-Friendly Notes
If you want to meal prep or save some for later, here are some freezer-friendly tips:
- Once breaded, the chicken can be frozen before baking. Place the chicken on a baking sheet and freeze until solid, then transfer to a freezer-safe bag for up to 3 months.
- To cook from frozen, bake at 400°F for an additional 10-15 minutes, checking for doneness.
- Cooked leftovers can also be frozen. Store in an airtight container for up to 2 months. Reheat in the oven for the best texture.
These notes ensure that you can enjoy this Crispy Ranch Chicken even on your busiest days!
Your Top Questions
Can I use chicken thighs instead of breasts?
Absolutely! Chicken thighs will add even more moisture and flavor to the dish. Just adjust the cooking time as needed, since thighs may take a bit longer to cook through.
What can I serve with Crispy Ranch Chicken?
This dish pairs wonderfully with a variety of sides such as roasted vegetables, mashed potatoes, or a light salad. You can also serve it with a dipping sauce like ranch or honey mustard to enhance the flavors!
Can I bake the chicken instead of frying it?
Yes, baking is the method used in this recipe, and it ensures a crispy texture without the extra oil. This makes it a healthier option compared to frying.
How do I store leftovers?
Store any leftover Crispy Ranch Chicken in an airtight container in the refrigerator for up to 3 days. Reheat in the oven to maintain the crispiness.
Ready, Set, Cook
Now that you have all the details for making this Crispy Ranch Chicken, it’s time to roll up your sleeves and get cooking! This recipe is not only easy to follow but also provides a delicious meal that you can be proud to serve. So gather your ingredients, follow the steps, and enjoy the delightful crunch and savory flavor of this mouthwatering dish. Happy cooking!
Crispy Ranch Chicken
Ingredients
Equipment
Method
- Start by placing the chicken breasts between two sheets of plastic wrap. Using a meat mallet or rolling pin, gently pound the chicken to an even thickness of about ¾ inch.
- Sprinkle both sides of the chicken breasts with Kosher salt and freshly ground black pepper to taste.
- In one shallow dish, add the all-purpose flour. In the second dish, pour the beaten eggs. In the third dish, mix together the Panko breadcrumbs, grated Parmesan cheese, and ranch seasoning.
- Dredge the chicken in the flour, dip in the eggs, and press into the Panko mixture, coating both sides.
- Place the breaded chicken breasts on the prepared baking sheet. Bake in the preheated oven for 25-30 minutes, or until golden brown and the internal temperature reaches 165°F.
- Let the chicken rest for a few minutes before serving. Enjoy!
Notes
- For a spicy kick, add cayenne pepper or chili powder to the Panko mixture.
- Substitute Parmesan with Pecorino Romano or nutritional yeast for a dairy-free option.
- For a gluten-free version, use gluten-free flour and breadcrumbs.