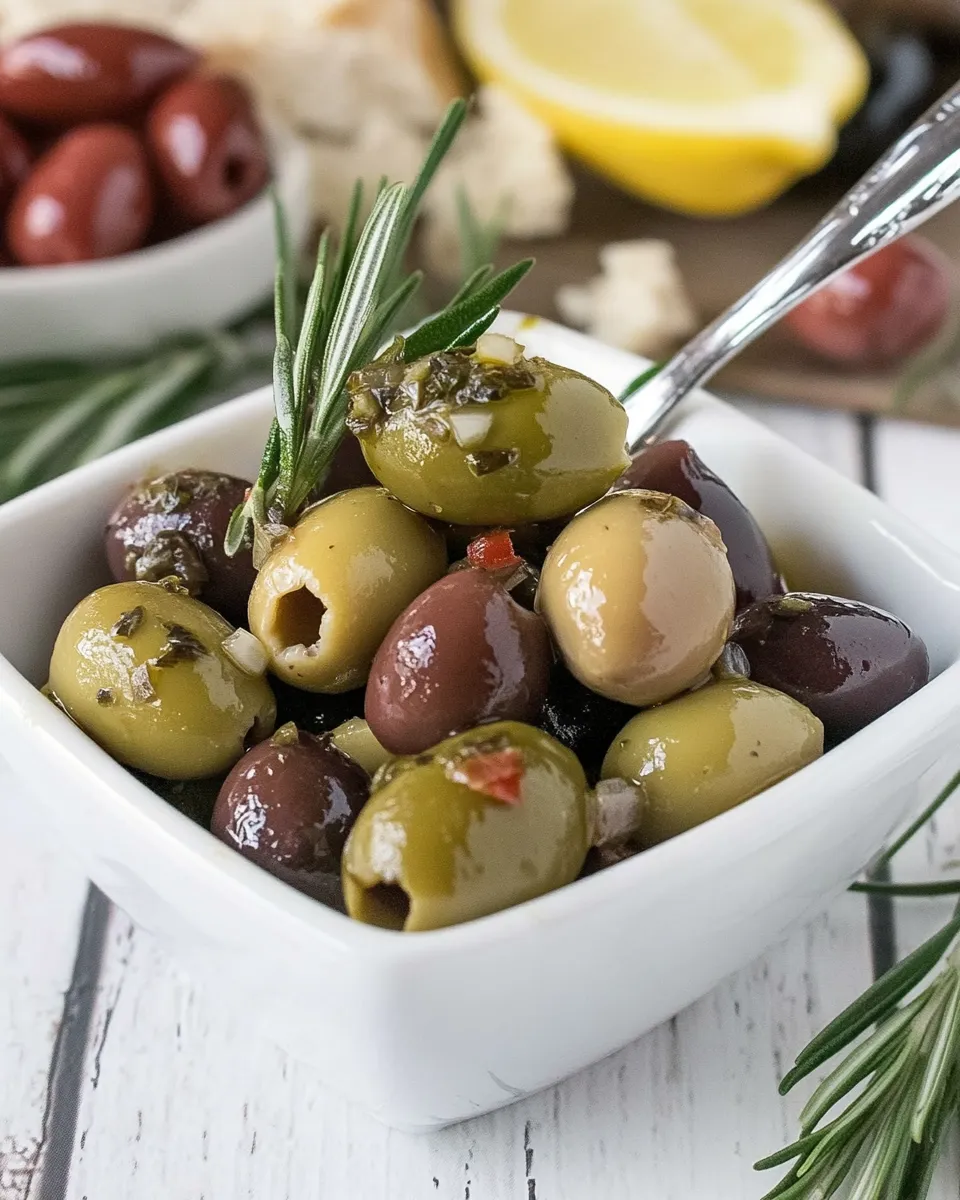
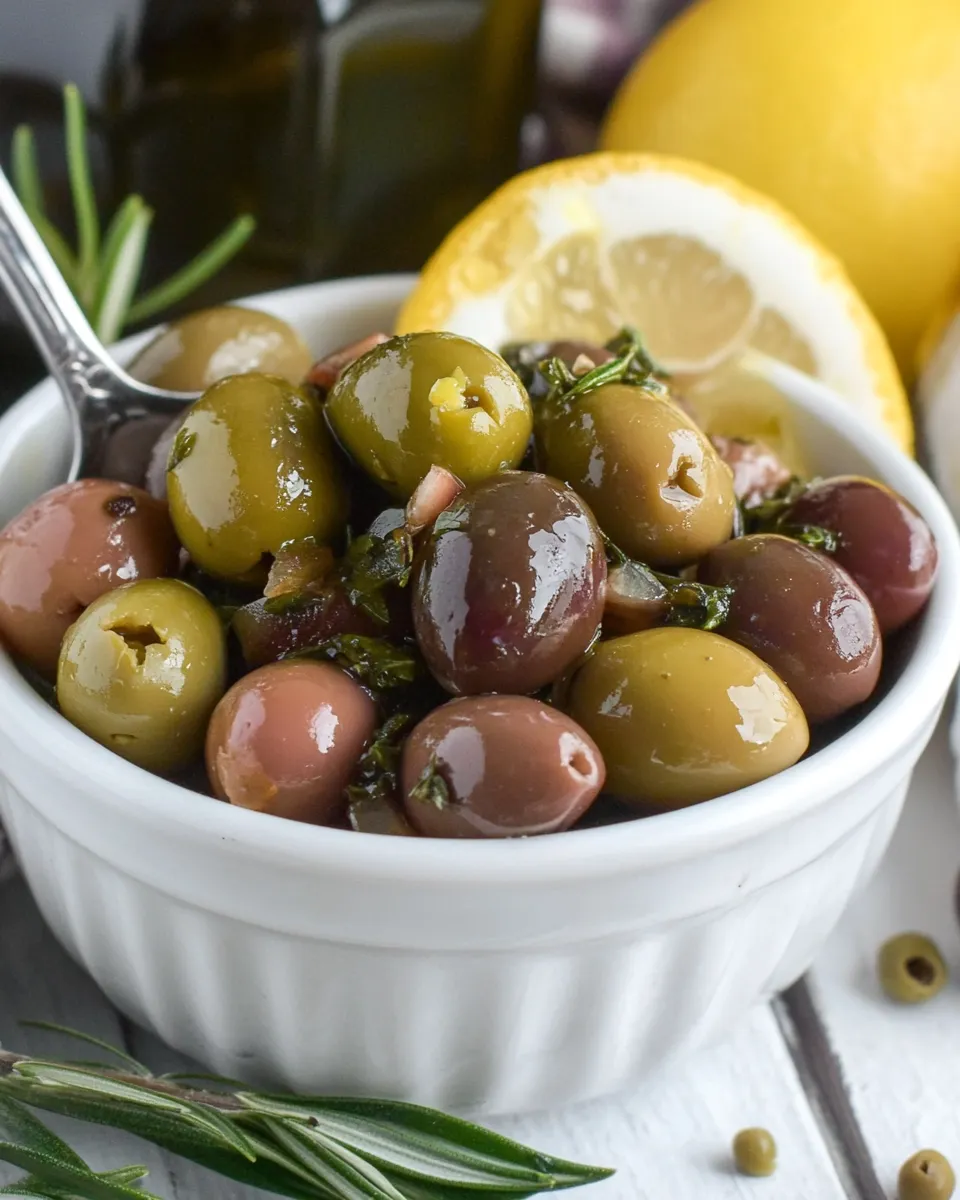
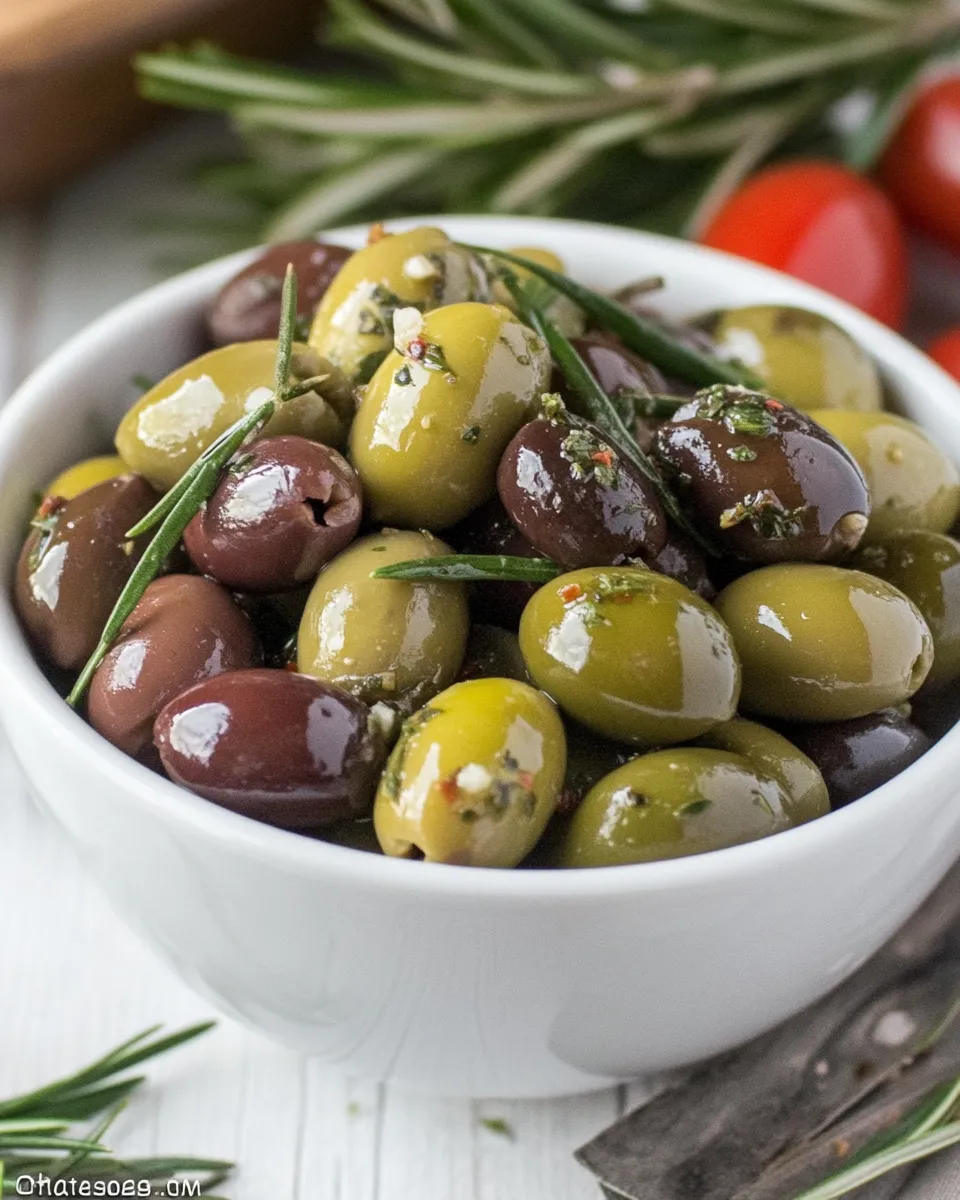
Herbed Olives
Olives are a delightful addition to any gathering, transforming simple moments into something special. Whether it’s a casual get-together or a festive celebration, herbed olives can elevate your appetizer game. The infusion of fresh herbs, spices, and citrus creates a medley of flavors that dance on your palate. Plus, they’re incredibly easy to prepare, allowing you to spend more time enjoying the company of friends and family.
Why It’s Crowd-Pleasing
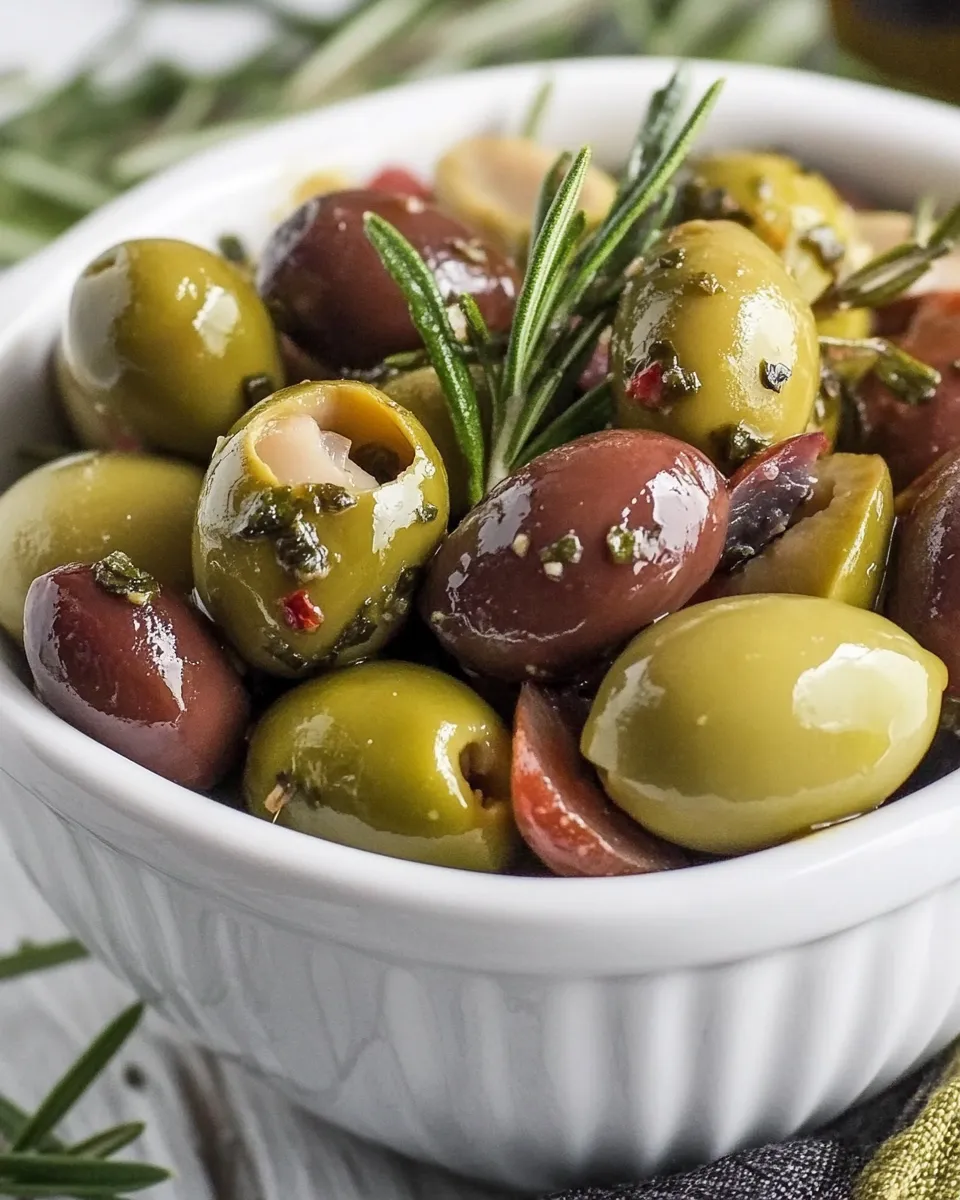
There’s something undeniably appealing about a bowl of herbed olives on a table. First, they are visually stunning, showcasing an array of colors and textures. Second, the combination of savory, tangy, and aromatic notes makes them a perfect snack or starter. People love to nibble on them, and their adaptability allows them to fit into various culinary themes, from Mediterranean to rustic Italian. As a bonus, they pair beautifully with cheese, bread, and wine, making them an essential part of any charcuterie board.
What You’ll Gather
- 2 cups of olives – Choose your favorites, whether they’re Kalamata, Castelvetrano, or green olives.
- 3 rosemary sprigs – Discard the stems and chop two of the sprigs for added flavor.
- 3 sprigs of thyme – Discard the stems and chop two sprigs for aromatic depth.
- 1 teaspoon coriander seeds – Adds a warm, citrusy flavor.
- 1 teaspoon peppercorns – Whole peppercorns provide a delightful kick.
- 1 teaspoon fennel seeds – Offers a subtle sweetness and anise flavor.
- ½ cup olive oil – The base that carries all the flavors.
- 4 garlic cloves – Sliced into quarters for a fragrant touch.
- 2 bay leaves – Cut lengthwise to infuse their herbal essence.
- ½ teaspoon red pepper flakes – For those who like a bit of heat.
- 2 strips of orange or lemon zest – Brightens the dish with a citrusy zing.
- Salt to taste – Essential for enhancing all the flavors.
Gear Checklist
- Mixing bowl – For combining ingredients.
- Jar or airtight container – To store your herbed olives.
- Knife and cutting board – For chopping herbs and slicing garlic.
- Measuring spoons – To ensure accurate measurements of spices.
The Method for Herbed Olives
Step 1: Prepare the Olives
Start by rinsing the olives under cold water to remove any excess brine. Pat them dry with a paper towel and place them in a mixing bowl.
Step 2: Add Fresh Herbs and Spices
To the bowl of olives, add the chopped rosemary and thyme, coriander seeds, peppercorns, fennel seeds, garlic quarters, and red pepper flakes. Toss everything together gently to ensure the olives are well coated with the herbs and spices.
Step 3: Infuse with Olive Oil
Pour the olive oil over the olive mixture, stirring to combine. The oil will carry the flavors of the herbs and spices into the olives, creating a flavorful brine.
Step 4: Add Citrus and Bay Leaves
Add the strips of orange or lemon zest and the bay leaves to the mix. These ingredients will enhance the overall flavor profile, adding a refreshing note.
Step 5: Season with Salt
Sprinkle salt over the mixture to taste. Remember, the olives will have some saltiness on their own, so start with a small amount and adjust as needed.
Step 6: Marinate
Transfer the herbed olives to a jar or airtight container. Seal it tightly and let the olives marinate in the refrigerator for at least 24 hours, although 48 hours is ideal for maximizing flavor.
Step 7: Serve
When ready to serve, remove the olives from the fridge and allow them to come to room temperature. Enjoy them as part of an appetizer spread or as a flavorful snack on their own.
Warm & Cool Weather Spins
- Summer Spin: Add diced fresh tomatoes and chopped basil for a refreshing summer twist.
- Winter Spin: Incorporate dried cranberries or figs for a touch of sweetness during the colder months.
- Fall Spin: Mix in toasted pumpkin seeds for added crunch and seasonal flavor.
- Spring Spin: Add a handful of fresh arugula or spinach for a vibrant, fresh salad option.
Easy-to-Miss Gotchas
- Don’t skip the marination step! The longer the olives marinate, the more flavorful they become.
- Ensure your jar or container is completely sealed to prevent air from altering the flavors.
- Remember to taste and adjust seasoning after marinating; flavors can change as ingredients meld.
- Experiment with different types of olives to find your personal favorite combination.
Best Ways to Store
Store your herbed olives in an airtight container in the refrigerator. They can last up to two weeks, although they’re usually devoured much faster! The flavors continue to develop over time, making them even more delicious. If you notice the oil solidifying in the fridge, let the olives sit at room temperature for a few minutes to allow the oil to return to liquid form before serving.
Reader Questions
Can I use any type of olive for this recipe?
Absolutely! You can use any type of olives you prefer, whether they are Kalamata, green, or mixed varieties. Each type will impart its unique flavor to the dish.
How long do the herbed olives need to marinate for optimal flavor?
While you can enjoy them after 24 hours, letting them marinate for 48 hours will yield the best flavor as the herbs and spices infuse more deeply.
What can I serve with herbed olives?
Herbed olives pair wonderfully with a variety of foods, including crusty bread, cheese platters, charcuterie boards, and salads. They also make a great snack on their own!
Can I make herbed olives in advance?
Yes! Herbed olives are perfect for making in advance. They can be prepared a week ahead of time, allowing the flavors to develop even more before serving.
That’s a Wrap
Herbed olives are not just a delicious treat; they are an experience that brings people together. Their versatility allows for endless variations, making them suitable for any occasion. Whether you’re hosting a party or simply indulging in a quiet evening at home, these olives will be a hit. So gather your ingredients, follow the steps, and enjoy the delightful flavors of homemade herbed olives. They are sure to become a staple in your culinary repertoire!
Herbed Olives
Ingredients
Equipment
Method
- Start by rinsing the olives under cold water to remove any excess brine. Pat them dry with a paper towel and place them in a mixing bowl.
- To the bowl of olives, add the chopped rosemary and thyme, coriander seeds, peppercorns, fennel seeds, garlic quarters, and red pepper flakes. Toss everything together gently to ensure the olives are well coated with the herbs and spices.
- Pour the olive oil over the olive mixture, stirring to combine. The oil will carry the flavors of the herbs and spices into the olives, creating a flavorful brine.
- Add the strips of orange or lemon zest and the bay leaves to the mix. These ingredients will enhance the overall flavor profile, adding a refreshing note.
- Sprinkle salt over the mixture to taste. Remember, the olives will have some saltiness on their own, so start with a small amount and adjust as needed.
- Transfer the herbed olives to a jar or airtight container. Seal it tightly and let the olives marinate in the refrigerator for at least 24 hours, although 48 hours is ideal for maximizing flavor.
- When ready to serve, remove the olives from the fridge and allow them to come to room temperature. Enjoy them as part of an appetizer spread or as a flavorful snack on their own.
Notes
- Don’t skip the marination step! The longer the olives marinate, the more flavorful they become.
- Ensure your jar or container is completely sealed to prevent air from altering the flavors.
- Experiment with different types of olives to find your personal favorite combination.