Chocolate Peanut Butter Crinkle Cookies.
There’s something undeniably magical about the combination of chocolate and peanut butter. These two flavors have a way of complementing each other, creating a sweet and salty experience that leaves you craving more. And when you turn this dynamic duo into a cookie, the result is nothing short of bliss. Today, we’re diving into the world of Chocolate Peanut Butter Crinkle Cookies, a delightful treat that is perfect for any occasion—whether it’s a cozy night in or a festive gathering.
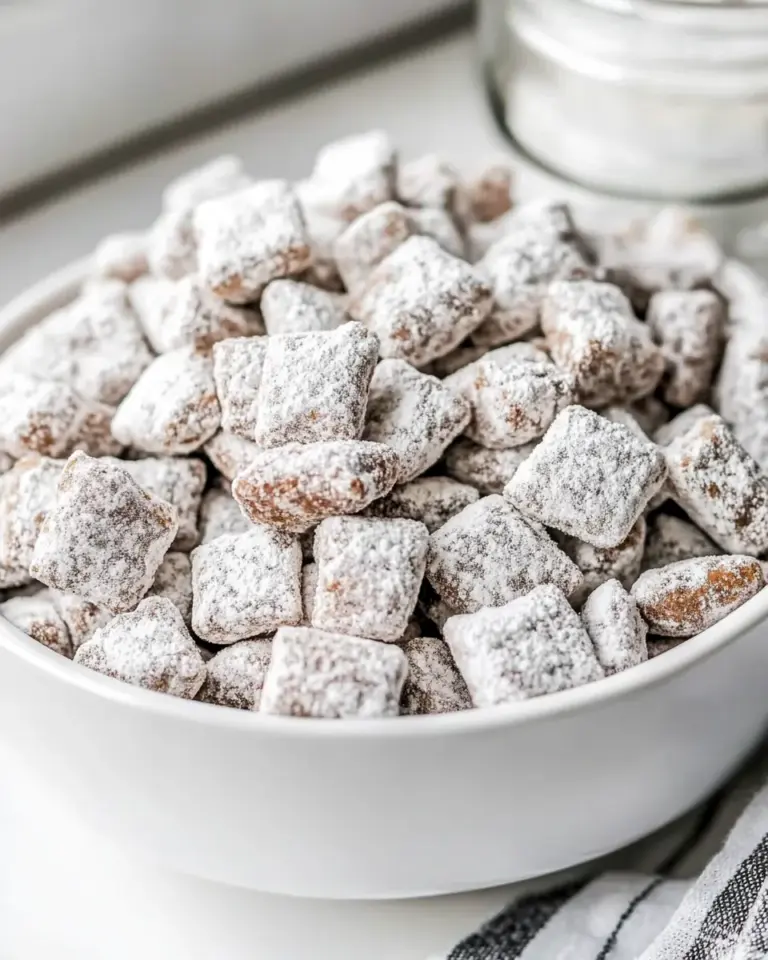
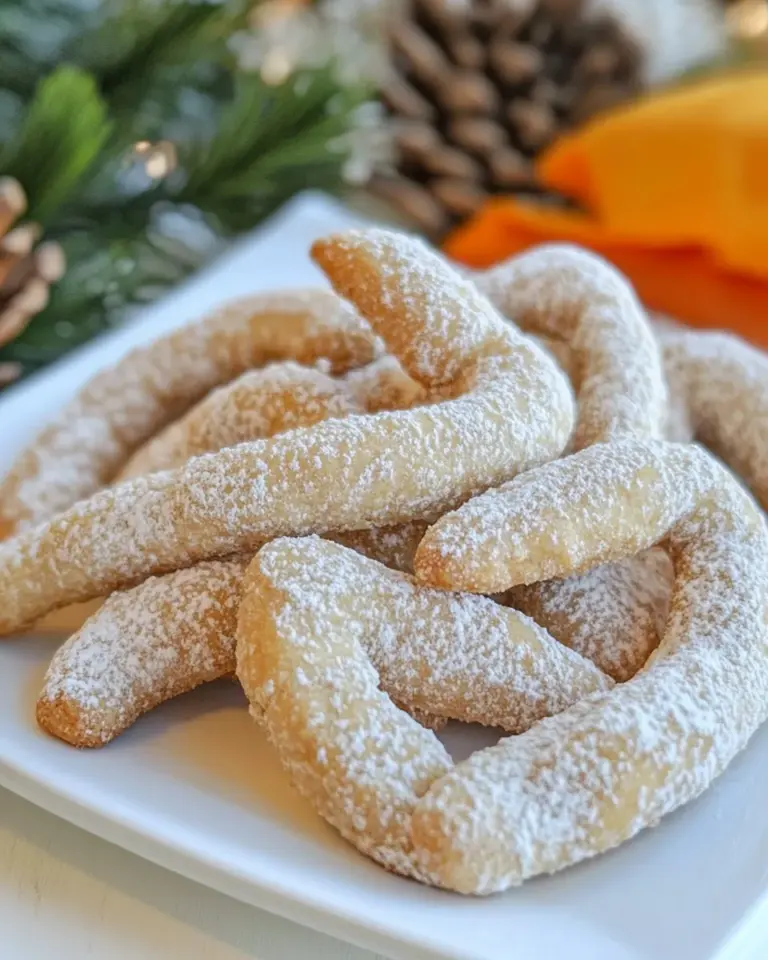
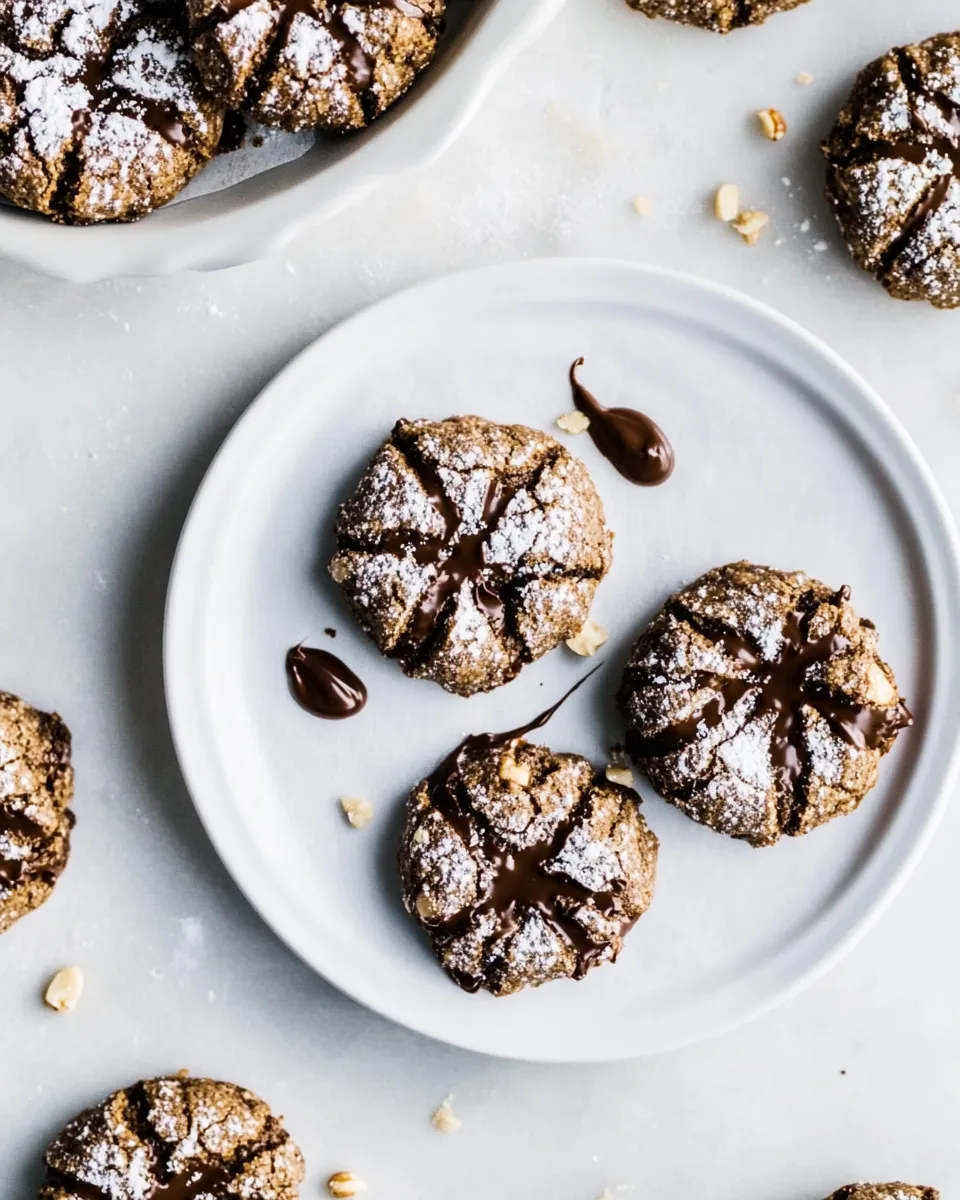
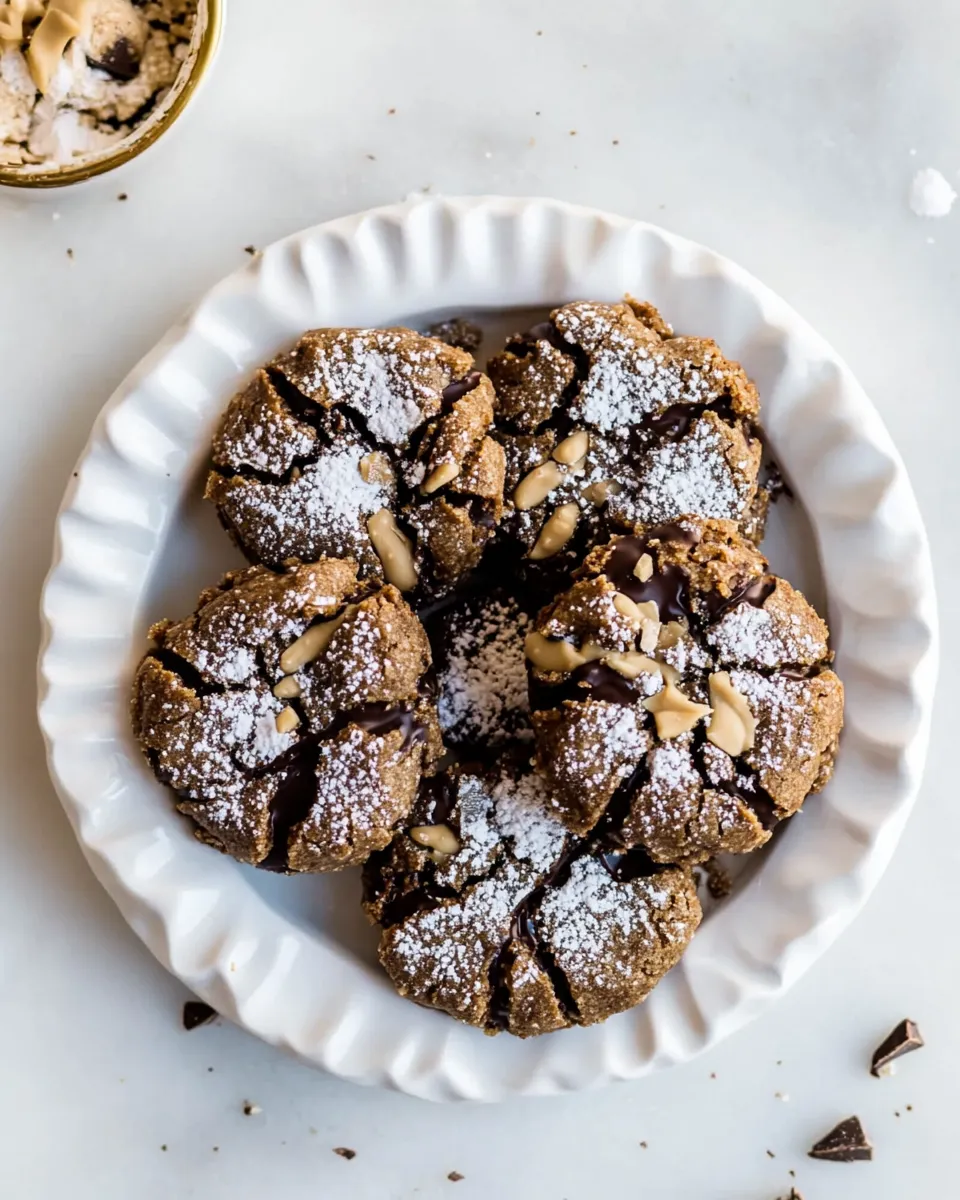
Imagine biting into a cookie that is soft and chewy on the inside, with a slightly crisp exterior, and then finding pockets of melted chocolate and creamy peanut butter throughout. These cookies not only look beautiful with their crinkled tops, but they also offer a flavor explosion that will make your taste buds dance. So, grab your apron, and let’s get started on creating these delightful Chocolate Peanut Butter Crinkle Cookies!
What Makes This Recipe Special
These Chocolate Peanut Butter Crinkle Cookies stand out for several reasons. First, the texture is a perfect balance of chewy and soft, thanks to a combination of butter and peanut butter. Second, the use of mini chocolate chips adds little bursts of chocolatey goodness with every bite. Lastly, the powdered sugar coating gives the cookies that signature crinkle look along with a touch of sweetness that pairs perfectly with the rich peanut butter flavor. This recipe is not just about the taste; it’s also about the joy of baking and the smiles these cookies will bring to those who indulge in them.
Ingredient Checklist
- 2 sticks butter at room temperature – This ensures a creamy texture.
- 1 cup creamy peanut butter – A must-have for that rich, nutty flavor.
- 1/2 cup light brown sugar – Adds moisture and a hint of caramel flavor.
- 1/4 cup granulated sugar – For sweetness and a slight crunch.
- 1 egg – Binds the ingredients together for a perfect texture.
- 2 teaspoons vanilla extract – Enhances the overall flavor.
- 1 1/3 cups all-purpose flour – The base of our cookie dough.
- 3/4 teaspoon baking soda – Helps the cookies rise.
- 1/2 teaspoon baking powder – Adds extra lift.
- 1/4 teaspoon salt – Balances the sweetness.
- 1/3 cup mini chocolate chips – For those delightful chocolate bursts.
- 2/3 cup powdered sugar – For coating the cookies before baking.
- 36-40 chocolate kisses – The perfect finishing touch on each cookie.
Gear Checklist
- Baking sheets – Ensure they are lined with parchment paper for easy removal.
- Mixing bowls – You’ll need at least two: one for wet ingredients and one for dry.
- Whisk or mixer – For creaming the butter and peanut butter together.
- Measuring cups and spoons – Accurate measurements are crucial for baking success.
- Spoon or cookie scoop – To portion the cookie dough evenly.
Chocolate Peanut Butter Crinkle Cookies. Cooking Guide
Step 1: Preheat Your Oven
Before you dive into mixing your ingredients, preheat your oven to 350°F (175°C). This ensures that your cookies bake evenly and achieve that perfect golden color.
Step 2: Cream the Butters
In a large mixing bowl, combine the butter (2 sticks) and creamy peanut butter (1 cup). Using a whisk or an electric mixer, beat them together until the mixture is smooth and creamy. This step is crucial as it incorporates air into the mixture, making your cookies light and fluffy.
Step 3: Add Sugars and Egg
Next, add the light brown sugar (1/2 cup) and granulated sugar (1/4 cup) to the butter mixture. Mix until well combined. Then, add in the egg (1) and vanilla extract (2 teaspoons). Beat until everything is well incorporated and fluffy.
Step 4: Combine Dry Ingredients
In another bowl, whisk together the all-purpose flour (1 1/3 cups), baking soda (3/4 teaspoon), baking powder (1/2 teaspoon), and salt (1/4 teaspoon). Gradually add this dry mixture to your wet ingredients, mixing just until combined. Be careful not to overmix, as this can result in tough cookies.
Step 5: Fold in Chocolate Chips
Gently fold in the mini chocolate chips (1/3 cup) to the dough. This step adds delicious chocolatey pockets to your cookies.
Step 6: Shape the Cookies
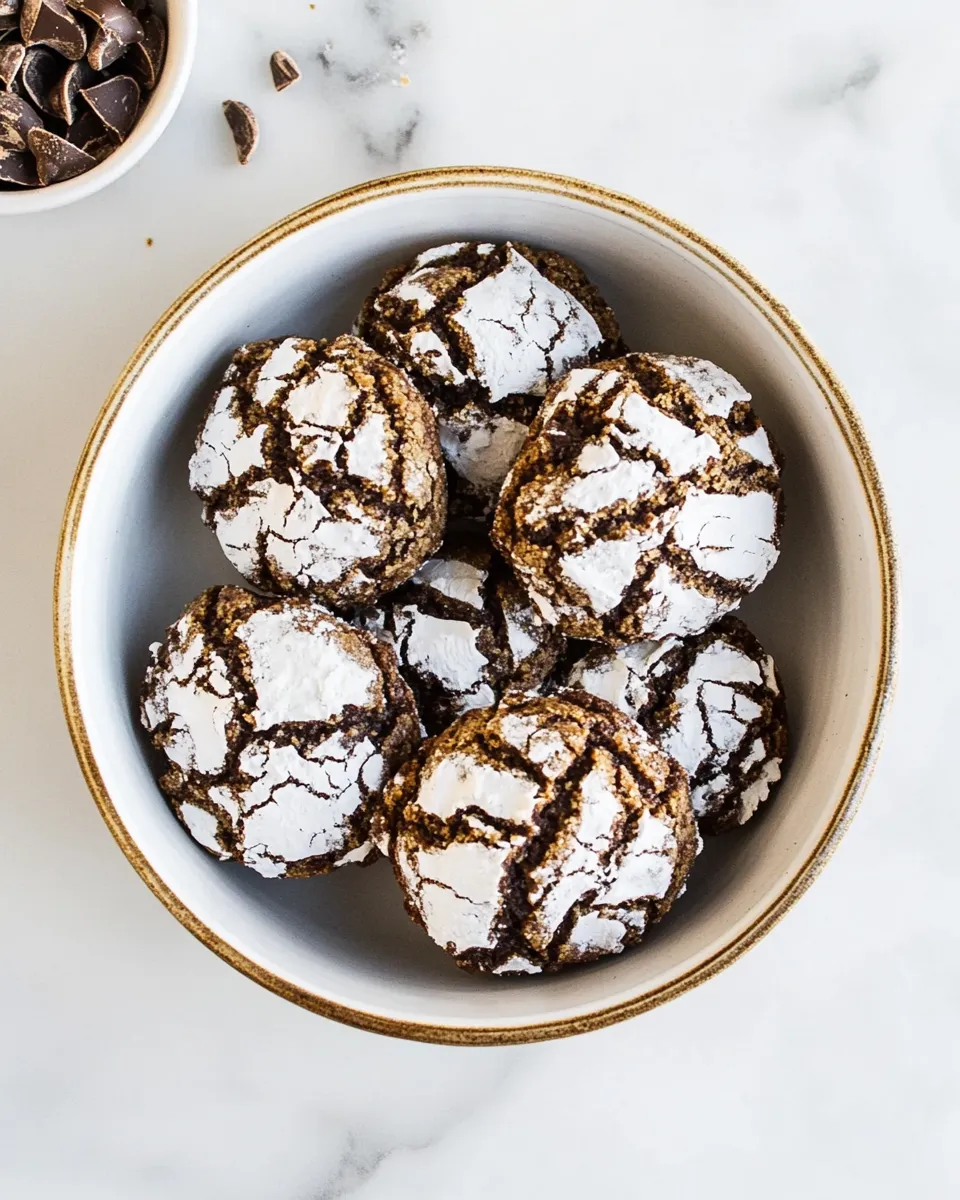
Using a cookie scoop or a spoon, portion out the dough into small balls, about 1-1.5 inches in diameter. Roll each ball in the powdered sugar (2/3 cup) until completely coated. This will create the crinkle effect during baking.
Step 7: Prepare for Baking
Place the powdered sugar-coated cookie balls on the prepared baking sheets, leaving enough space between each ball to allow them to spread while baking.
Step 8: Bake the Cookies
Bake in the preheated oven for 10-12 minutes, or until the edges are set but the centers are still soft. This will ensure a chewy texture.
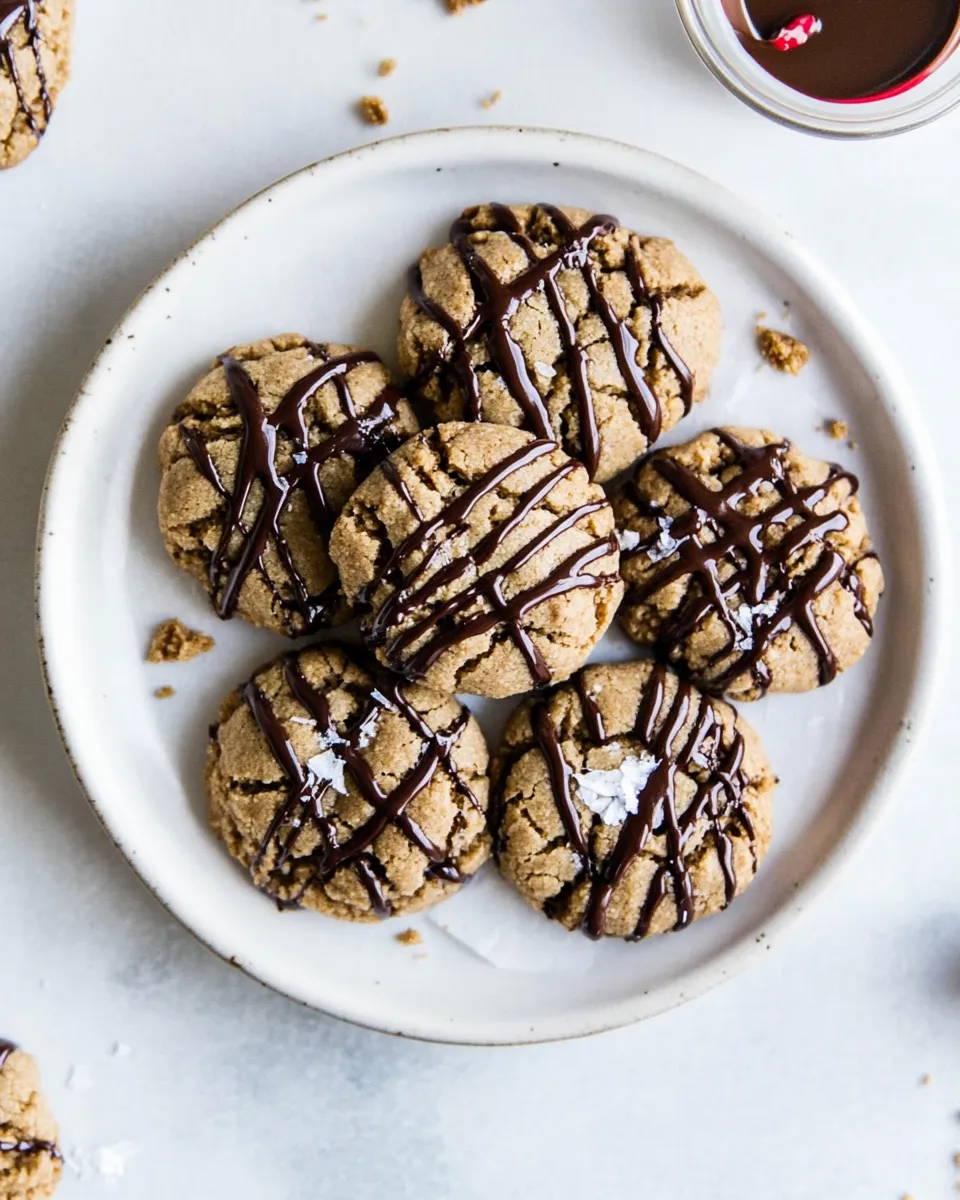
Step 9: Add Chocolate Kisses
As soon as you take the cookies out of the oven, gently press a chocolate kiss (1 per cookie) into the center of each cookie. The heat from the cookies will melt the chocolate slightly, creating a delicious topping.
Step 10: Cool and Enjoy!
Allow the cookies to cool on the baking sheets for about 5 minutes before transferring them to a wire rack to cool completely. Enjoy your freshly baked Chocolate Peanut Butter Crinkle Cookies with a glass of milk or your favorite beverage!
Make It Fit Your Plan
- Nut-Free Option: Replace peanut butter with sunflower seed butter for a similar texture.
- Gluten-Free Option: Use a 1:1 gluten-free all-purpose flour instead of regular flour.
- Less Sugar: Reduce the amount of sugar by 1/4 cup for a less sweet cookie.
- Vegan Option: Use a plant-based butter substitute and a flax egg (1 tablespoon ground flaxseed mixed with 2.5 tablespoons water) instead of the egg.
Author’s Commentary
These Chocolate Peanut Butter Crinkle Cookies have become a go-to recipe in my kitchen. The combination of flavors and textures is simply irresistible. Every time I bake these cookies, I’m reminded of childhood memories spent in the kitchen with my family, where we’d whip up batches of cookies to share with friends and neighbors. There’s something special about sharing baked goods, and I can guarantee that these cookies will bring smiles to anyone who gets a taste. Plus, they’re incredibly easy to make, so even if you’re a novice baker, you’ll feel like a pro!
Storing, Freezing & Reheating
To keep your Chocolate Peanut Butter Crinkle Cookies fresh, store them in an airtight container at room temperature for up to one week. If you want to keep them longer, you can freeze the cookie dough balls before baking. Just roll them in powdered sugar and place them in a freezer-safe bag. When you’re ready to bake, there’s no need to thaw; just add a couple of extra minutes to the baking time. For reheating, pop them in the microwave for about 10-15 seconds for that fresh-baked taste!
Your Top Questions
Can I use chunky peanut butter instead of creamy?
Yes, you can! Using chunky peanut butter will give your cookies a delightful texture, but it may alter the smoothness of the dough slightly.
Why are my cookies flat?
Flat cookies can be caused by several factors, including overmixing the dough, using melted butter instead of softened, or not chilling the dough before baking. Make sure to follow the recipe closely for the best results.
Can I add other mix-ins?
Absolutely! Feel free to add nuts, dried fruit, or even different types of chocolate chips to personalize your cookies further.
What’s the best way to achieve the perfect crinkle effect?
The powdered sugar coating before baking is key to achieving that crinkle effect. Make sure to roll the cookie dough balls generously in powdered sugar for the best results!
Let’s Eat
These Chocolate Peanut Butter Crinkle Cookies are more than just a dessert; they’re a celebration of flavors and a reminder of the joy that comes from baking. With their chewy texture, rich chocolate, and creamy peanut butter, they’re sure to become a beloved favorite in your household. So gather your ingredients, roll up your sleeves, and bake a batch of these delightful cookies today. You won’t regret it!
Chocolate Peanut Butter Crinkle Cookies.
Ingredients
Equipment
Method
- Step 1: Preheat Your Oven - Preheat your oven to 350°F (175°C) to ensure even baking.
- Step 2: Cream the Butters - In a large mixing bowl, combine the butter and creamy peanut butter. Beat until smooth and creamy.
- Step 3: Add Sugars and Egg - Mix in the light brown sugar and granulated sugar. Then add the egg and vanilla extract, beating until fluffy.
- Step 4: Combine Dry Ingredients - In another bowl, whisk together the all-purpose flour, baking soda, baking powder, and salt. Gradually mix this into the wet ingredients.
- Step 5: Fold in Chocolate Chips - Gently fold in the mini chocolate chips into the dough.
- Step 6: Shape the Cookies - Portion the dough into small balls and roll in powdered sugar.
- Step 7: Prepare for Baking - Place the cookie balls on lined baking sheets, spacing them out.
- Step 8: Bake the Cookies - Bake for 10-12 minutes until edges are set but centers are soft.
- Step 9: Add Chocolate Kisses - Press a chocolate kiss into the center of each cookie right after baking.
- Step 10: Cool and Enjoy! - Let the cookies cool for 5 minutes before transferring to a wire rack.
Notes
- Store cookies in an airtight container for up to one week.
- Freeze cookie dough balls for longer storage; no thawing needed before baking.
- For a nut-free option, use sunflower seed butter.