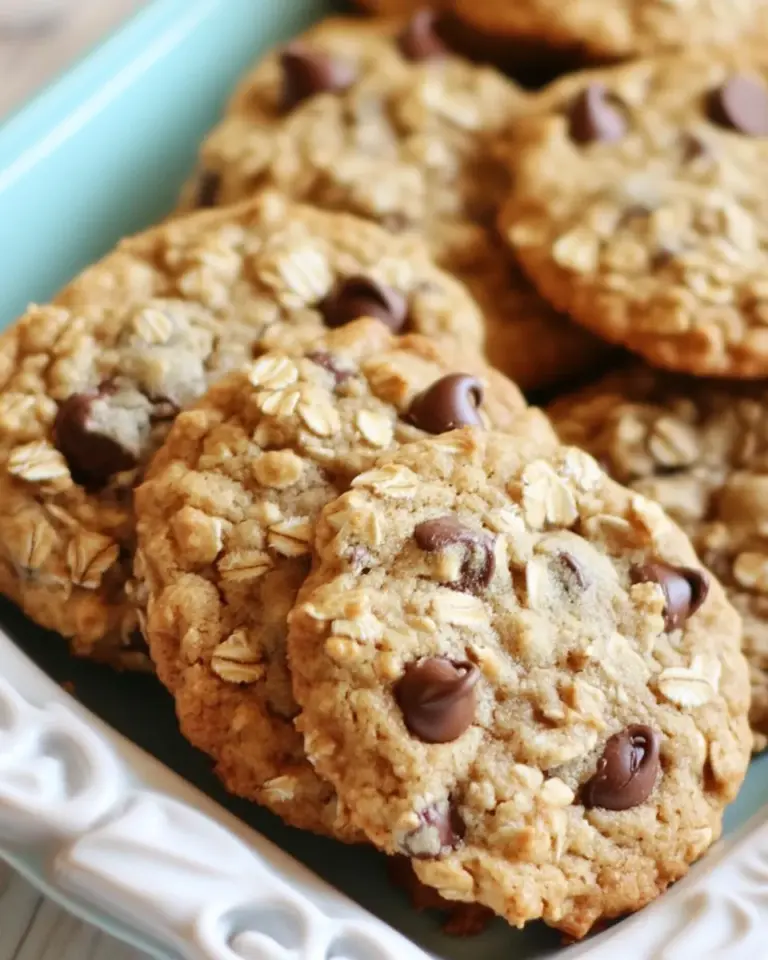
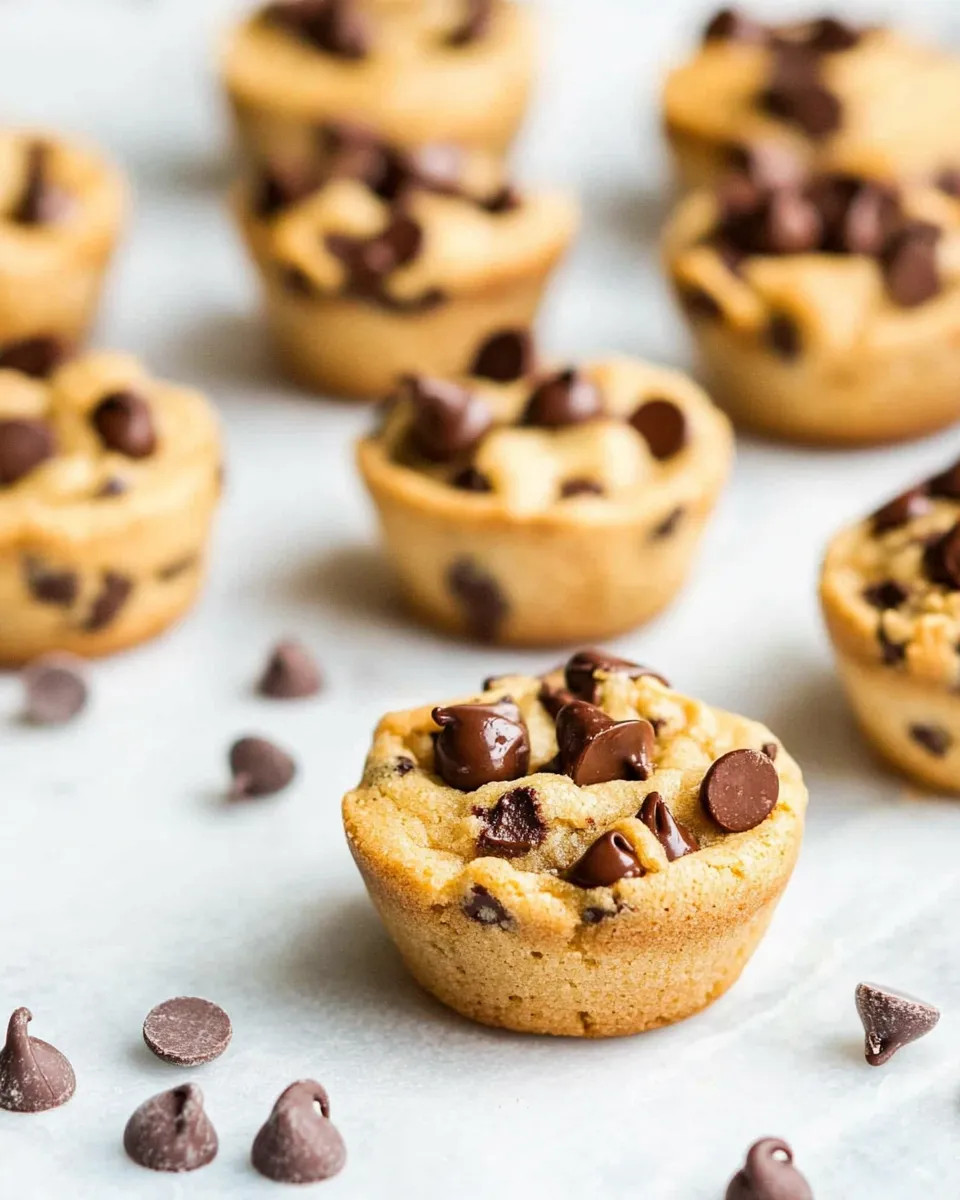
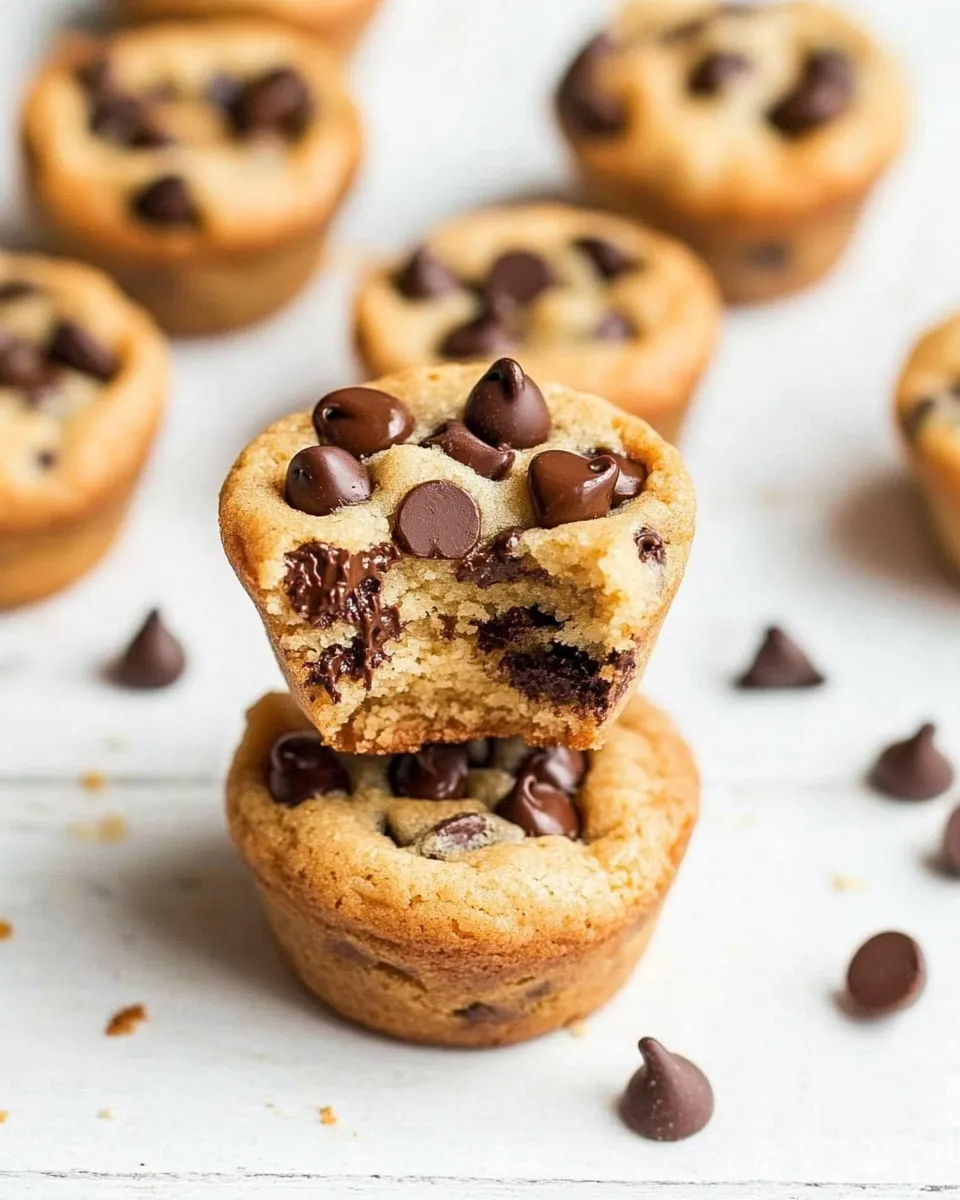
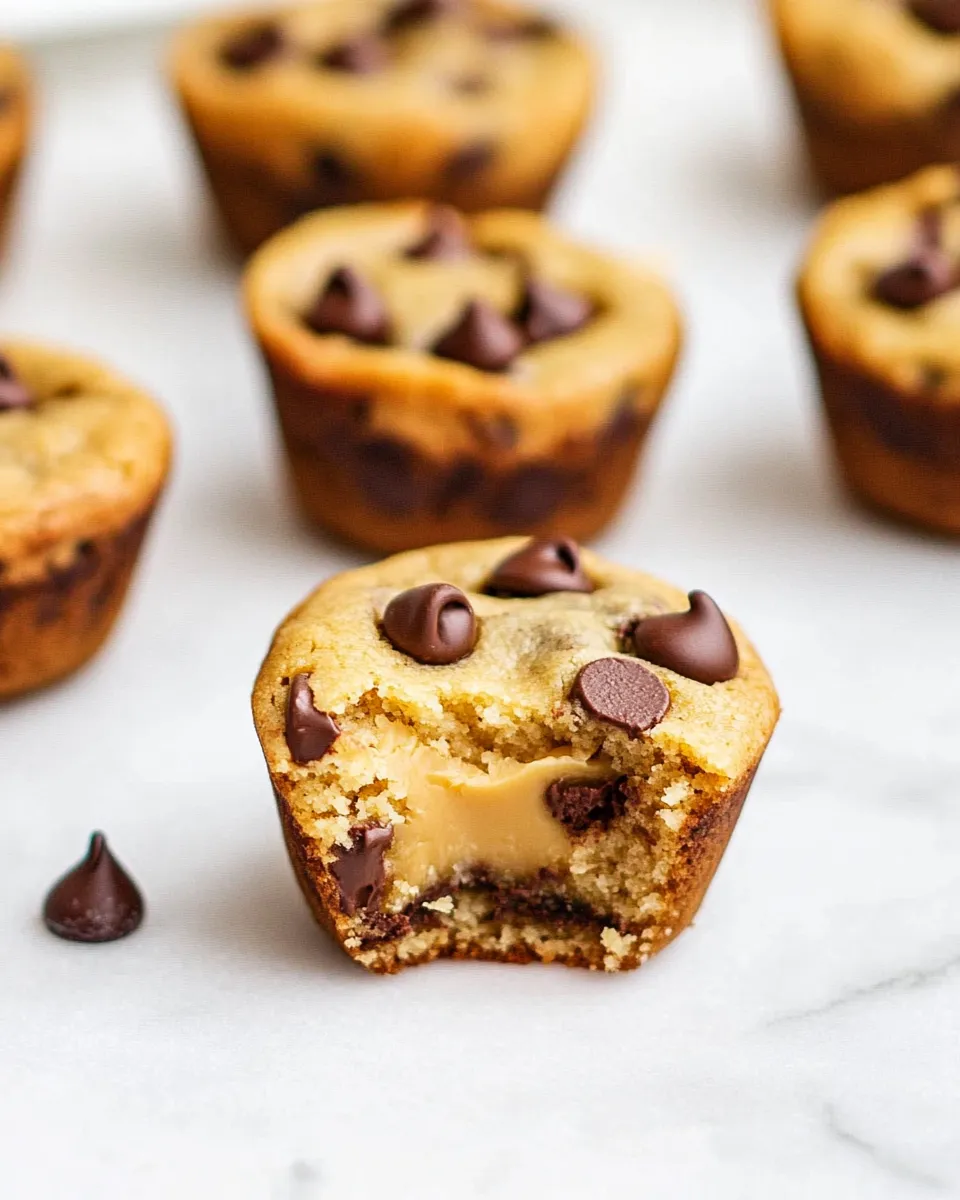
Browned Butter Chocolate Chip Cookie Cups
If you’re on the hunt for a dessert that melds the rich, nutty flavor of browned butter with the classic allure of chocolate chip cookies, you’ve landed in the right spot. These Browned Butter Chocolate Chip Cookie Cups are not just delicious; they are an experience. Imagine sinking your teeth into a perfectly baked cookie cup filled with melted chocolate chips, all while enjoying the depth of flavor that comes from browning the butter. This recipe is easy to follow and the results are utterly irresistible. Gather your ingredients and let’s dive into the wonderful world of cookie cups that are sure to impress family and friends alike!
Why You’ll Love This Recipe
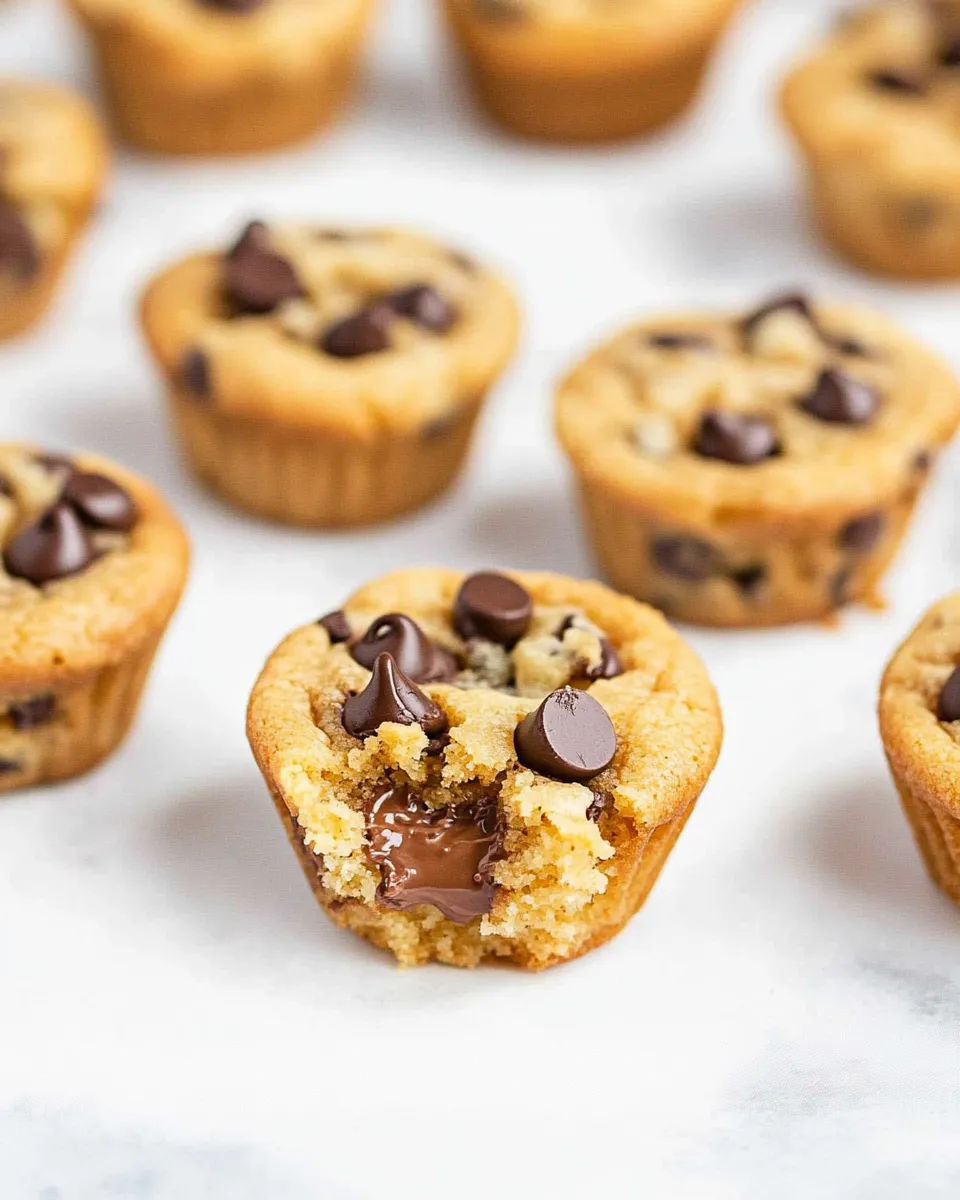
These Browned Butter Chocolate Chip Cookie Cups are the perfect blend of chewy and gooey, with a flavor profile that takes the beloved chocolate chip cookie to new heights. The browning of the butter adds a toasty dimension that elevates the sweetness of the sugars and chocolate. Plus, they are shaped like little cups, making them the ideal vessel for holding even more chocolate or your favorite ice cream. They are perfect for any occasion, whether it’s a cozy night in or a festive gathering.
Ingredient Checklist
- 1 cup unsalted butter, browned – This is where the magic begins! Browning the butter enhances the flavor.
- 1 large egg – Acts as a binder and adds moisture.
- 1 cup light brown sugar, packed – This adds sweetness and a hint of caramel flavor.
- 1 cup granulated sugar – Balances the brown sugar and adds sweetness.
- 2 teaspoons vanilla extract – For that classic cookie flavor.
- 1 ½ cups bread flour – Provides structure, but all-purpose flour can also be used.
- 1 teaspoon baking soda – Helps the cookie cups rise and become fluffy.
- ½ teaspoon salt, optional and to taste – Enhances flavor; adjust according to your preference.
- 1 ½ cups semi-sweet chocolate chips – The star of the show! Feel free to use milk chocolate or dark chocolate as well.
Tools of the Trade
- Mixing bowls – For combining your ingredients.
- Whisk – To mix the wet ingredients together smoothly.
- Rubber spatula – For folding in the flour and chocolate chips.
- Muffin tin – Essential for shaping your cookie cups.
- Baking sheets – For cooling your cookie cups once baked.
Build Browned Butter Chocolate Chip Cookie Cups Step by Step
Step 1: Brown the Butter
Start by melting the unsalted butter in a saucepan over medium heat. Stir occasionally until it begins to foam and turn a golden brown color. You’ll notice a nutty aroma. This process usually takes about 5-7 minutes. Once browned, remove it from the heat and let it cool slightly.
Step 2: Prepare the Cookie Dough
In a mixing bowl, combine the browned butter, light brown sugar, granulated sugar, and vanilla extract. Whisk until smooth and well combined. Add in the large egg and mix until fully incorporated.
Step 3: Combine Dry Ingredients
In a separate bowl, whisk together the bread flour, baking soda, and salt. Gradually add the dry ingredients to the wet mixture, stirring until just combined. Be careful not to overmix.
Step 4: Add Chocolate Chips
Fold in the semi-sweet chocolate chips until they are evenly distributed throughout the dough.
Step 5: Preheat and Prepare Muffin Tin
Preheat your oven to 350°F (175°C). Grease your muffin tin or use muffin liners for easy cleanup.
Step 6: Shape the Cookie Cups
Scoop about 2 tablespoons of dough into each muffin cup, pressing it down gently to create a cup shape. Make sure to leave a little space at the top, as the dough will spread during baking.
Step 7: Bake to Perfection
Place the muffin tin in the oven and bake for 10-12 minutes or until the edges are golden brown and the centers look slightly underbaked. This will ensure a chewy texture.
Step 8: Cool and Serve
Remove from the oven and allow the cookie cups to cool in the tin for about 5 minutes. Then, transfer them to a wire rack to cool completely. Enjoy them warm or at room temperature!
Make It Diet-Friendly
- Gluten-Free: Substitute the bread flour with a 1:1 gluten-free flour blend.
- Lower Sugar: Reduce the amount of granulated sugar or use a sugar substitute, keeping in mind that it may alter the flavor and texture.
- Dairy-Free: Use a dairy-free butter alternative in place of unsalted butter.
- Add Nuts: Incorporate walnuts or pecans for added texture and flavor.
Steer Clear of These
- Overmixing the dough can lead to tough cookie cups. Mix just until combined.
- Don’t skip browning the butter; it makes a huge difference in flavor.
- Avoid using cold ingredients; bring them to room temperature for the best results.
- Be careful not to overbake them; they should be slightly soft in the center for that perfect chewy texture.
Leftovers & Meal Prep
If you happen to have any leftovers (though they are unlikely to last long!), store them in an airtight container at room temperature for up to 3 days. For longer storage, you can freeze the cookie cups. Just wrap them individually in plastic wrap and place them in a freezer-safe bag. They will keep for up to 3 months. When you’re ready to enjoy, simply thaw at room temperature or warm them in the microwave for a few seconds.
Browned Butter Chocolate Chip Cookie Cups FAQs
Can I use different types of chocolate chips?
Absolutely! You can substitute semi-sweet chocolate chips with milk chocolate, dark chocolate, or even white chocolate chips depending on your preference.
Why is my cookie dough too dry?
This may happen if you measured your flour incorrectly. Make sure to spoon the flour into the measuring cup and level it off with a knife for the best results.
Can I make the dough ahead of time?
Yes! You can prepare the dough and refrigerate it for up to 2 days before baking. Just be sure to let it sit at room temperature for about 30 minutes before scooping and baking.
How can I tell when the cookie cups are done baking?
Look for a golden brown edge with a slightly underbaked center. They will continue to cook slightly after being removed from the oven.
Make It Tonight
There’s nothing quite like the smell of freshly baked cookies wafting through your home. With this recipe for Browned Butter Chocolate Chip Cookie Cups, you can treat yourself and your loved ones to a delightful dessert that is both comforting and indulgent. The steps are straightforward and the ingredients are simple, making this a recipe you’ll turn to time and again. So preheat that oven and get ready to enjoy a heavenly bite of cookie goodness that is sure to become a new favorite in your household.
Browned Butter Chocolate Chip Cookie Cups
Ingredients
Equipment
Method
- Start by melting the unsalted butter in a saucepan over medium heat. Stir occasionally until it begins to foam and turn a golden brown color, about 5-7 minutes. Remove from heat and let cool slightly.
- In a mixing bowl, combine the browned butter, light brown sugar, granulated sugar, and vanilla extract. Whisk until smooth and well combined. Add in the egg and mix until fully incorporated.
- In a separate bowl, whisk together the bread flour, baking soda, and salt. Gradually add the dry ingredients to the wet mixture, stirring until just combined. Be careful not to overmix.
- Fold in the semi-sweet chocolate chips until they are evenly distributed throughout the dough.
- Preheat your oven to 350°F (175°C). Grease your muffin tin or use muffin liners for easy cleanup.
- Scoop about 2 tablespoons of dough into each muffin cup, pressing it down gently to create a cup shape. Leave a little space at the top for spreading during baking.
- Place the muffin tin in the oven and bake for 10-12 minutes or until the edges are golden brown and the centers look slightly underbaked.
- Remove from the oven and allow the cookie cups to cool in the tin for about 5 minutes. Transfer them to a wire rack to cool completely. Enjoy warm or at room temperature!
Notes
- Store leftovers in an airtight container at room temperature for up to 3 days.
- For longer storage, freeze individually wrapped cookie cups for up to 3 months.
- Allow frozen cookie cups to thaw at room temperature before enjoying.