Lunch Lady Peanut Butter Bars
There’s something undeniably nostalgic about Lunch Lady Peanut Butter Bars. These rich, chewy, and indulgent treats often remind us of school days filled with laughter and fleeting friendships. With their gooey peanut butter base and creamy frosting, they’re a delightful addition to any dessert table or lunch box. Today, we’re diving into how to recreate this classic dessert in your home kitchen.
Why Lunch Lady Peanut Butter Bars is Worth Your Time
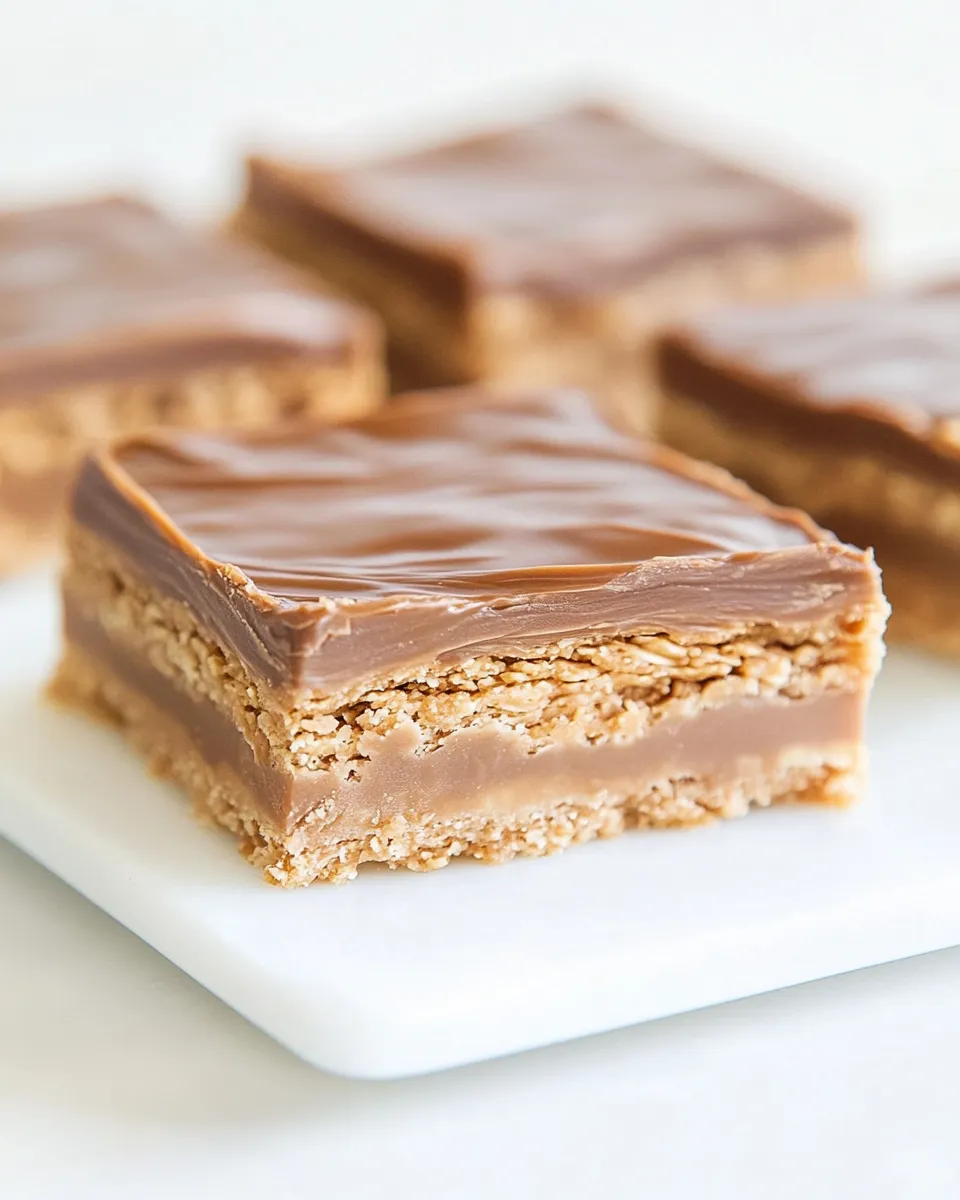
Lunch Lady Peanut Butter Bars are not just a treat; they are a slice of childhood memories wrapped in creamy peanut butter goodness. They offer a perfect balance of flavors and textures: the soft and chewy base paired with a luscious peanut butter frosting makes them irresistible. Plus, they’re straightforward to make, making them an excellent project for both novice and seasoned bakers. Whether you’re reminiscing about your school days or introducing a new generation to these bars, they’re worth every minute spent in the kitchen.
The Essentials
To make your own Lunch Lady Peanut Butter Bars, you’ll need the following ingredients:
- 1 cup unsalted butter, softened – This adds richness and flavor to your bars.
- 1 cup sugar – For sweetness and structure.
- 1 cup brown sugar, firmly packed – This adds moisture and a hint of caramel flavor.
- 2 teaspoons vanilla extract – A must for enhancing flavor.
- 2 large eggs – Provides structure and helps bind the ingredients.
- 1 cup peanut butter – The star ingredient that gives these bars their signature taste.
- 1 cup old-fashioned oats – Adds texture and chewiness.
- 2 cups all-purpose flour – The foundation of your bars.
- 1 teaspoon baking soda – Helps the bars rise slightly.
- 1 teaspoon salt – Balances out the sweetness.
- 1 cup creamy peanut butter – For the frosting, ensuring a smooth finish.
- 6 tablespoons butter, softened – To blend beautifully with the peanut butter for frosting.
- 4-6 tablespoons milk – Adjusts the consistency of the frosting.
- ½ cup cocoa powder – Adds a chocolatey kick to the frosting.
- 2 teaspoons vanilla extract – Enhances the flavor of the frosting.
- 3 cups powdered sugar – For sweetness and texture in the frosting.
- Pinch of salt – To balance the sweetness in the frosting.
Tools & Equipment Needed
You’ll need a few key tools to whip up these delicious bars:
- Mixing bowls – For combining your ingredients.
- Electric mixer – Makes creaming the butter and sugars a breeze.
- Measuring cups and spoons – Precision is key in baking.
- Baking pan (9×13 inches) – The perfect size for your bars.
- Rubber spatula – To scrape down the sides and mix everything thoroughly.
- Cooling rack – For cooling the bars after baking.
Lunch Lady Peanut Butter Bars: From Prep to Plate
Now, let’s get to the good part: making your Lunch Lady Peanut Butter Bars! Follow these simple steps to create a batch of delicious bars.
Step 1: Preheat your oven
Begin by preheating your oven to 350°F (175°C). This ensures that your bars bake evenly and come out perfectly golden.
Step 2: Prepare your baking pan
Grease a 9×13-inch baking pan with cooking spray or butter, and line it with parchment paper for easy removal.
Step 3: Cream the butter and sugars
In a large mixing bowl, combine the softened unsalted butter, granulated sugar, and brown sugar. Using an electric mixer, cream the mixture until it becomes light and fluffy. This should take about 2-3 minutes.
Step 4: Add the eggs and vanilla
Add the eggs, one at a time, mixing well after each addition. Then, stir in the vanilla extract, ensuring everything is well incorporated.
Step 5: Mix in the peanut butter
Next, add the peanut butter to the mixture and blend until smooth. The mixture will be creamy and rich at this stage.
Step 6: Combine dry ingredients
In a separate bowl, whisk together the old-fashioned oats, flour, baking soda, and salt. Gradually add this dry mixture to the wet ingredients, mixing just until combined. Be careful not to overmix.
Step 7: Pour the batter into the pan
Spread the batter evenly into the prepared baking pan. Use a rubber spatula to smooth the top, ensuring an even surface for baking.
Step 8: Bake
Bake in the preheated oven for 25-30 minutes, or until the edges are lightly golden and a toothpick inserted into the center comes out clean. Allow the bars to cool in the pan for about 10 minutes before transferring them to a cooling rack.
Step 9: Prepare the frosting
While the bars are cooling, prepare the creamy peanut butter frosting. In a mixing bowl, combine the creamy peanut butter, softened butter, and cocoa powder. Mix until smooth.
Step 10: Add milk and powdered sugar
Gradually add the powdered sugar, vanilla extract, and enough milk to achieve your desired frosting consistency. Mix until smooth and creamy.
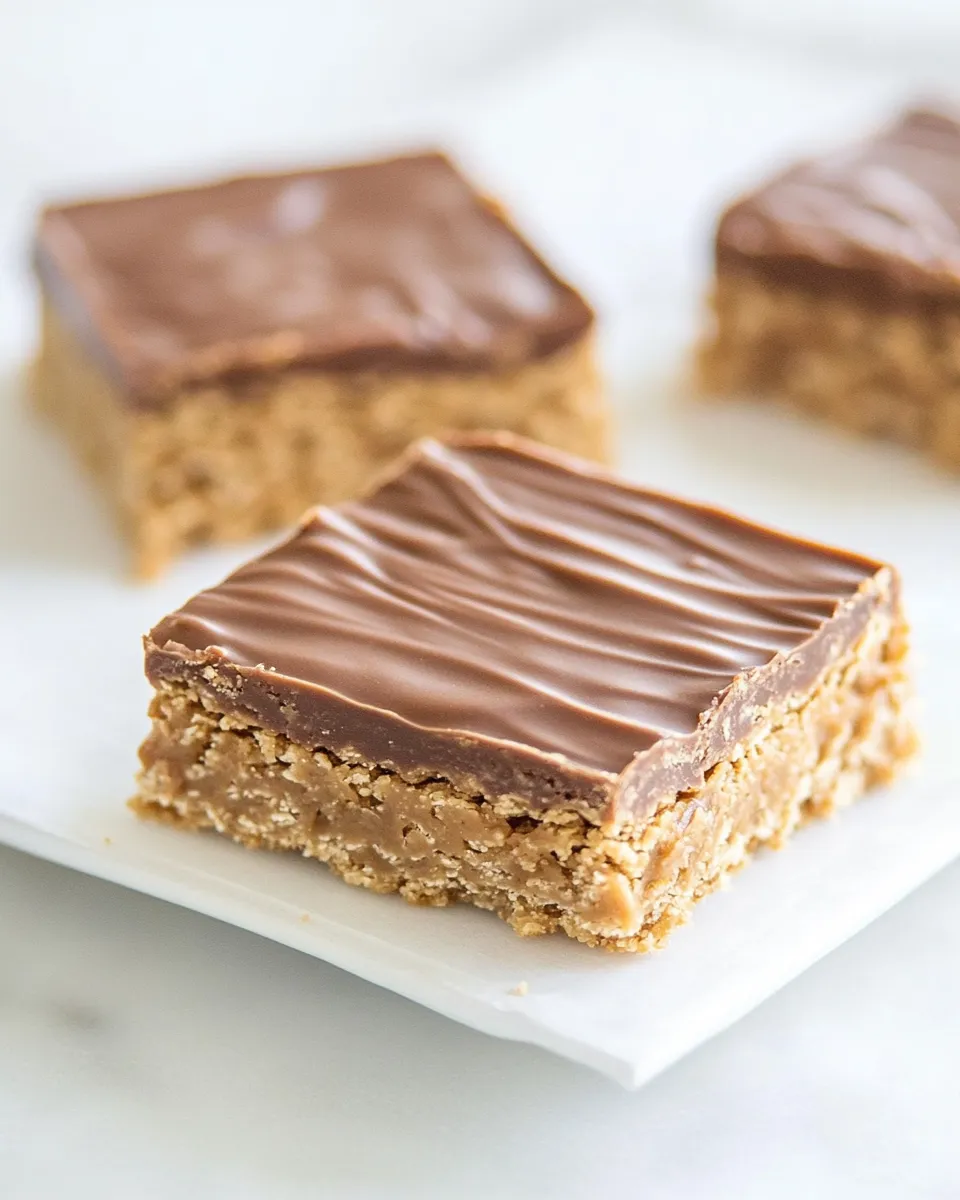
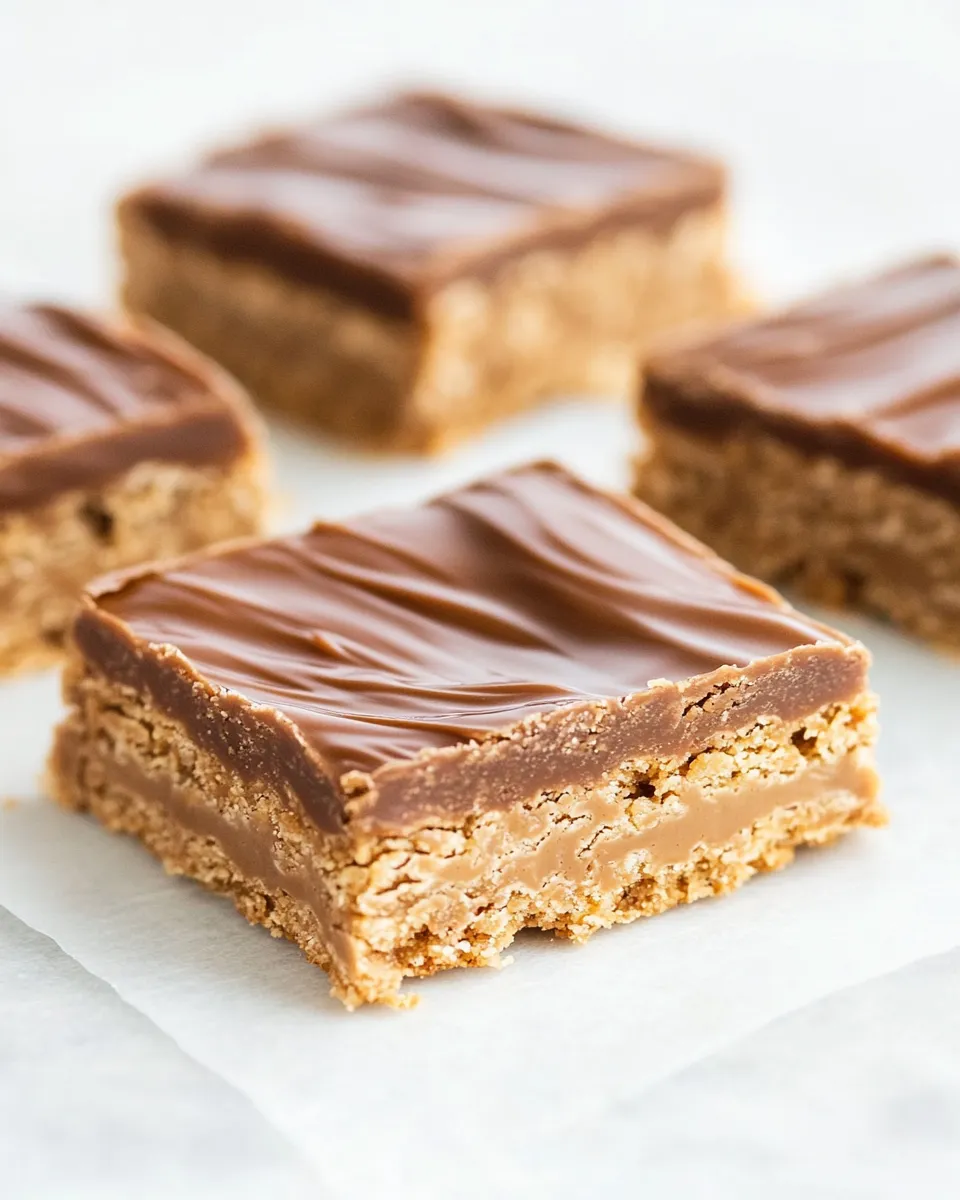
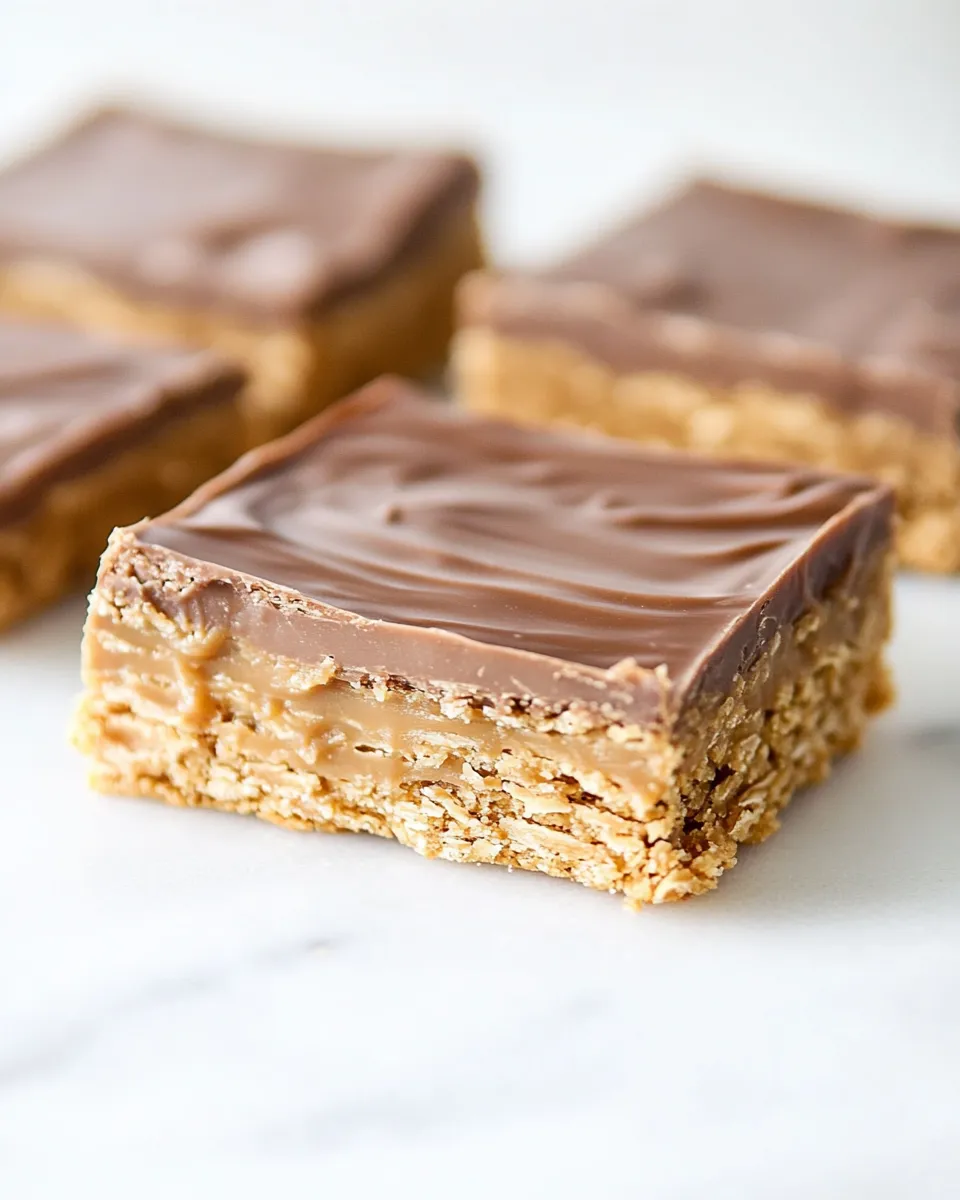
Step 11: Frost the bars
Once the bars have cooled completely, spread the peanut butter frosting evenly over the top. Use a spatula to create an even layer.
Step 12: Cut and serve
Let the frosting set for a few minutes, then cut the bars into squares. Serve them at room temperature or chilled for a refreshing treat.
Seasonal Twists
To keep things interesting, consider these seasonal variations of your Lunch Lady Peanut Butter Bars:
- Chocolate Chip Peanut Butter Bars – Add a cup of chocolate chips to the batter for extra indulgence.
- Crunchy Peanut Butter Bars – Use crunchy peanut butter instead of creamy for added texture.
- Banana Peanut Butter Bars – Incorporate mashed ripe bananas into the batter for a fruity twist.
- Nutty Peanut Butter Bars – Mix in chopped nuts like almonds or pecans for a delightful crunch.
Chef’s Rationale
Baking is an art, and creating Lunch Lady Peanut Butter Bars is an exercise in balance. The combination of sugars creates a sweet and chewy base, while the oats add texture. The creamy peanut butter frosting elevates these bars, ensuring every bite is a harmonious blend of flavors. Using high-quality ingredients, like fresh peanut butter and real butter, enhances the overall taste and makes a noticeable difference in your final product.
Freezer-Friendly Notes
If you find yourself with leftovers (although that’s unlikely!), you can easily freeze these bars for a later treat.
- Allow the bars to cool completely.
- Wrap them tightly in plastic wrap, then place them in an airtight container or freezer bag.
- They can be frozen for up to 3 months.
- When ready to enjoy, simply thaw at room temperature or in the refrigerator.
Quick Questions
Can I use natural peanut butter instead of creamy peanut butter?
Yes, you can use natural peanut butter, but be aware that it may alter the texture slightly. Natural peanut butter can be more oily, so make sure to stir it well before using.
How should I store leftover bars?
Store leftover Lunch Lady Peanut Butter Bars in an airtight container at room temperature for up to a week, or refrigerate for longer freshness.
Can I make these bars gluten-free?
Absolutely! Substitute regular flour with a gluten-free flour blend to make these bars gluten-free.
What can I use if I don’t have brown sugar?
You can substitute brown sugar with an equal amount of white sugar and add a tablespoon of molasses to replicate the flavor and moisture of brown sugar.
Next Steps
Now that you’ve mastered the art of making Lunch Lady Peanut Butter Bars, it’s time to gather your ingredients and start baking! These bars are perfect for school lunches, a casual get-together, or simply a satisfying snack at home. Don’t forget to share your creations with family and friends—after all, baking is always better when shared. So, roll up your sleeves, and let’s get baking those delicious Lunch Lady Peanut Butter Bars!
Lunch Lady Peanut Butter Bars
Ingredients
Equipment
Method
- Preheat your oven to 350°F (175°C).
- Grease a 9x13-inch baking pan and line it with parchment paper.
- Cream the butter, granulated sugar, and brown sugar in a large mixing bowl with an electric mixer until light and fluffy.
- Add the eggs one at a time, mixing well after each addition, then stir in the vanilla extract.
- Mix in the peanut butter until smooth.
- In a separate bowl, whisk together the oats, flour, baking soda, and salt. Gradually mix into the wet ingredients.
- Spread the batter evenly into the prepared baking pan.
- Bake for 25-30 minutes, or until golden and a toothpick comes out clean. Cool in the pan for 10 minutes before transferring to a cooling rack.
- Prepare the frosting by mixing the creamy peanut butter, softened butter, and cocoa powder until smooth.
- Gradually add powdered sugar, vanilla extract, and enough milk to reach desired consistency.
- Frost the cooled bars evenly with the peanut butter frosting.
- Let the frosting set, then cut the bars into squares and serve.
Notes
- These bars can be frozen for up to 3 months.
- Allow bars to cool completely before wrapping for freezing.
- Store in an airtight container at room temperature for up to a week.