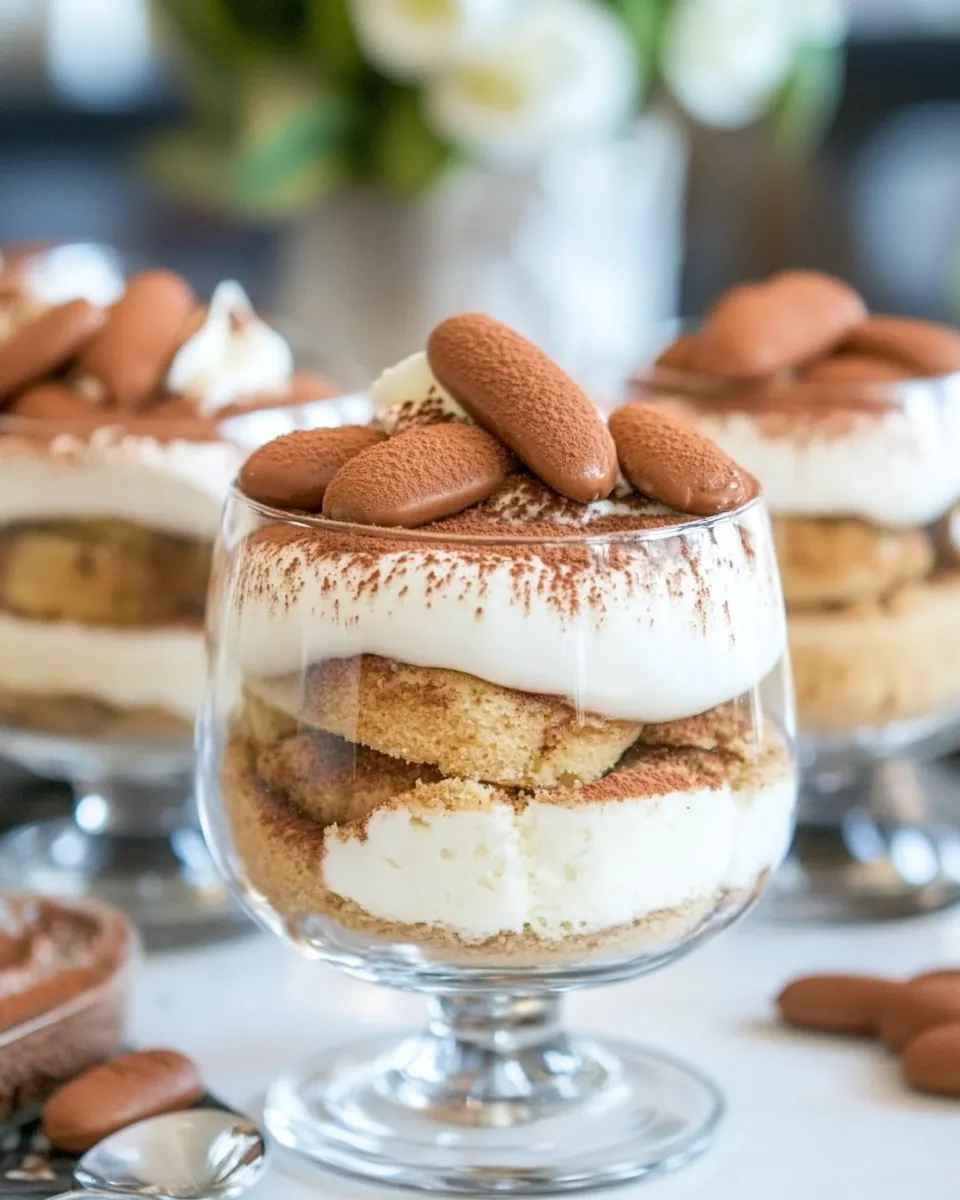
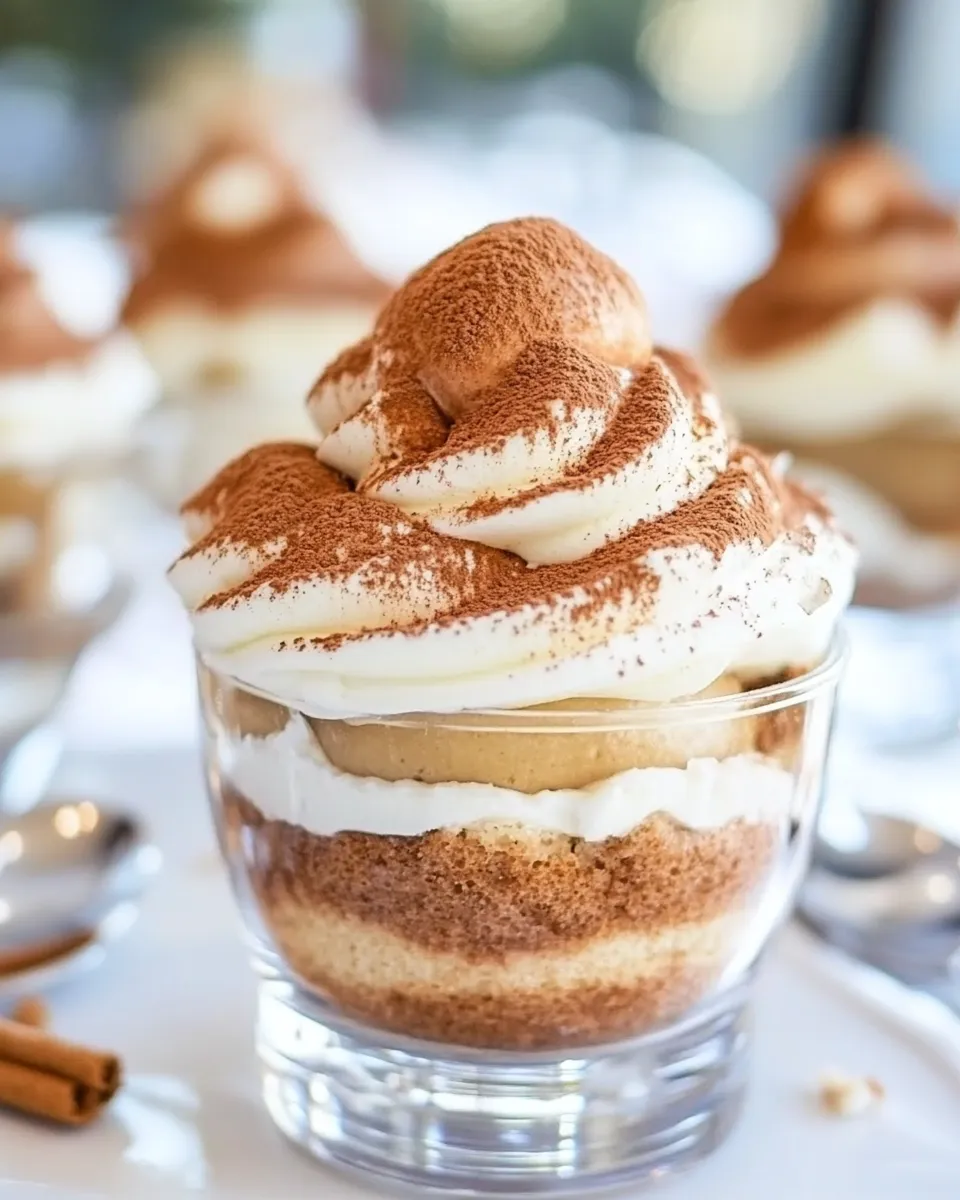
Easy Tiramisu Cups
If you’re looking for a quick and delightful dessert that brings a taste of Italy to your table, look no further than these Easy Tiramisu Cups. This no-bake treat is the perfect way to indulge your sweet tooth without spending hours in the kitchen. Layers of creamy mascarpone and coffee-soaked Nilla Wafers come together in individual cups, making serving a breeze. Whether it’s a dinner party or a casual family gathering, these cups are sure to impress. Let’s dive into the luscious world of Easy Tiramisu Cups, where every spoonful is a moment of bliss.
Why You’ll Love This Recipe
These Easy Tiramisu Cups are not only simple to make but also incredibly versatile. The creamy mascarpone cheese melds beautifully with the rich coffee flavor, creating a dessert that’s both satisfying and refreshing. The individual servings make it easy to portion control, while the presentation in cups adds an elegant touch. This recipe is perfect for those who are new to baking or simply looking for a quick sweet fix. Plus, it can be made ahead of time, allowing the flavors to develop for an even better taste!
Ingredient List
- 16 ounces mascarpone cheese (454 grams) – the creamy base of your tiramisu.
- ½ cup granulated sugar (67 grams) – for that perfect sweetness.
- ½ cup 2% milk (57 grams) – to create a smooth mixture.
- ¼ cup unsweetened cocoa powder (21 grams) – for dusting and adding a rich chocolate flavor.
- 36 Nabisco Nilla Wafers (135 grams) – the iconic cookies that soak up the coffee.
- ½ cup strongly brewed coffee (114 grams) – the heart of this tiramisu, delivering that unmistakable flavor.
Equipment Breakdown
- Mixing bowls – for combining your ingredients.
- Whisk or electric mixer – to beat the mascarpone and sugar together.
- Measuring cups and spoons – for precise ingredient measurements.
- Serving cups or dessert glasses – to beautifully present your tiramisu cups.
- Sifter – for evenly dusting cocoa powder on top.
Easy Tiramisu Cups — Do This Next

Step 1: Prepare the Coffee
Begin by brewing a strong cup of coffee. Allow it to cool to room temperature. This will be used to soak the Nilla Wafers, so it’s crucial that it’s not too hot.
Step 2: Make the Cream Mixture
In a mixing bowl, combine the 16 ounces of mascarpone cheese and ½ cup of granulated sugar. Use a whisk or an electric mixer to blend until smooth and creamy. Gradually add in the ½ cup of 2% milk until fully incorporated.
Step 3: Soak the Nilla Wafers
Quickly dip each Nilla Wafer into the cooled coffee, ensuring they are soaked but not soggy. This step infuses the cookies with coffee flavor while maintaining their structure.
Step 4: Assemble the Cups
In your serving cups, place a layer of soaked Nilla Wafers at the bottom. Follow this with a generous layer of the mascarpone mixture. Repeat the layers until your cups are filled, finishing with the mascarpone on top.
Step 5: Chill and Dust
Cover the cups with plastic wrap and refrigerate for at least 4 hours, or overnight if time allows. Just before serving, dust the tops with cocoa powder using a sifter for that classic tiramisu finish.
Better-for-You Options
- Substitute granulated sugar with coconut sugar or a natural sweetener like honey for a lower glycemic index option.
- Use low-fat mascarpone cheese or a light cream cheese alternative for a lighter version.
- Switch Nilla Wafers with whole grain or gluten-free cookies if desired.
- For a non-dairy option, use coconut cream in place of mascarpone.
Pitfalls & How to Prevent Them
- Over-soaking the Nilla Wafers: Make sure to dip the cookies quickly in coffee to avoid them becoming too soggy.
- Not chilling long enough: Allow ample time for the flavors to meld and the dessert to set properly; overnight is best.
- Using warm coffee: Always let the coffee cool to prevent the cookies from disintegrating.
- Not blending the mascarpone well: Ensure the mascarpone is fully mixed with the sugar and milk to avoid lumps in your cream.
Shelf Life & Storage
These Easy Tiramisu Cups can be stored in the refrigerator for up to 3 days. Cover them tightly with plastic wrap or a lid to keep them fresh. However, for the best taste and texture, enjoy them within the first two days of making. Avoid freezing, as the texture of the mascarpone may not hold up well after thawing.
Helpful Q&A
Can I use decaf coffee in this recipe?
Absolutely! If you prefer a caffeine-free option, decaf coffee works perfectly in these Easy Tiramisu Cups, allowing you to enjoy the flavor without the jitters.
Can I substitute mascarpone cheese with something else?
If you’re looking for a substitute, you can use a combination of cream cheese and sour cream to mimic the texture and flavor of mascarpone. Another option is to use whipped coconut cream for a dairy-free version.
How can I make this recipe more chocolatey?
For an extra chocolatey kick, you can fold in some mini chocolate chips into the mascarpone mixture or layer in chocolate shavings between the cookies and cream. Additionally, using chocolate-flavored cookies can add to the delicious depth of flavor.
Can I make this recipe vegan?
Yes! For a vegan version, use a plant-based cream cheese alternative and soak the cookies in a vegan coffee or chocolate beverage. Just be sure to choose vegan cookies that fit your dietary needs.
See You at the Table
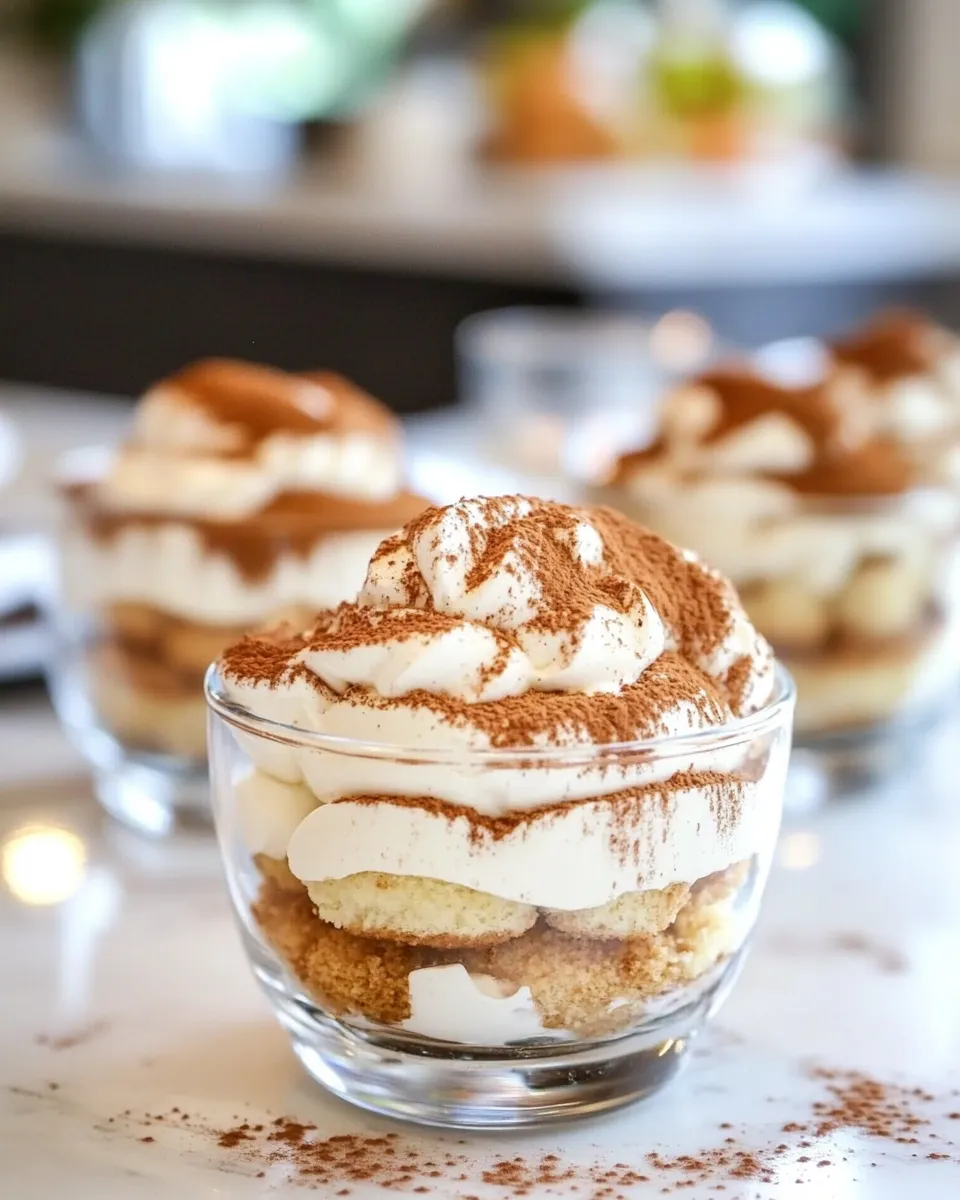
These Easy Tiramisu Cups are not only a treat for the taste buds but also a feast for the eyes. Their layered look and rich flavors make them an impressive dessert for any occasion. Whether you’re hosting a gathering or simply want to treat yourself, these cups are the answer to your dessert cravings. So grab your ingredients, follow the steps, and enjoy the delightful experience of making and sharing this classic Italian dessert. With every bite, you’ll be transported to a quaint Italian café, savoring the flavors of love and tradition.
Indulge in the joy of Easy Tiramisu Cups today, and let the sweetness linger long after the last spoonful.
Easy Tiramisu Cups
Ingredients
Equipment
Method
- Begin by brewing a strong cup of coffee. Allow it to cool to room temperature.
- In a mixing bowl, combine the mascarpone cheese and granulated sugar. Use a whisk or an electric mixer to blend until smooth and creamy.
- Gradually add in the milk until fully incorporated.
- Quickly dip each Nilla Wafer into the cooled coffee, ensuring they are soaked but not soggy.
- In your serving cups, place a layer of soaked Nilla Wafers at the bottom. Follow this with a layer of the mascarpone mixture. Repeat layers until your cups are filled, finishing with the mascarpone on top.
- Cover the cups with plastic wrap and refrigerate for at least 4 hours. Just before serving, dust the tops with cocoa powder using a sifter.
Notes
- Substitute granulated sugar with coconut sugar for a healthier option.
- Use low-fat mascarpone cheese for a lighter dessert.
- Store in the refrigerator for up to 3 days for best freshness.