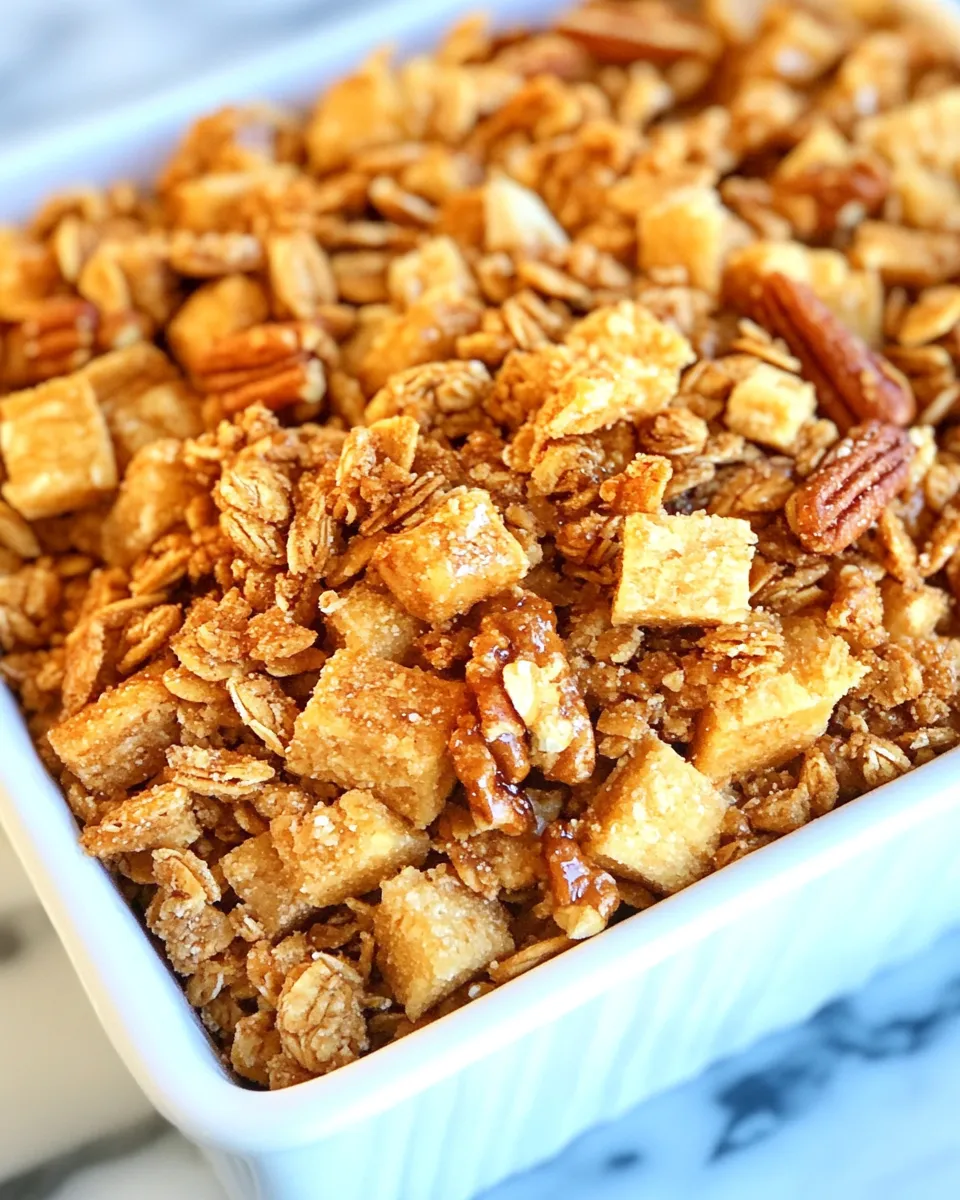
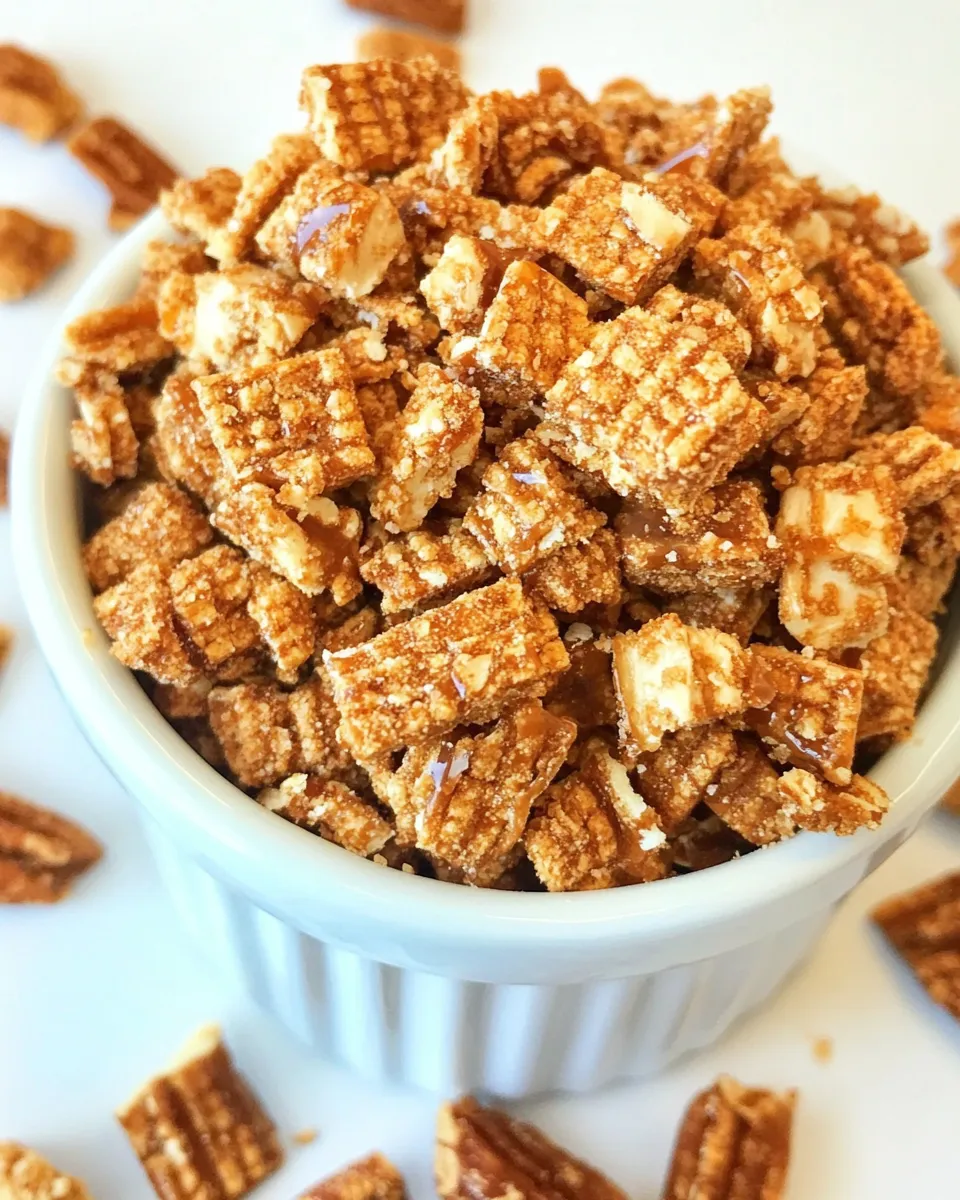
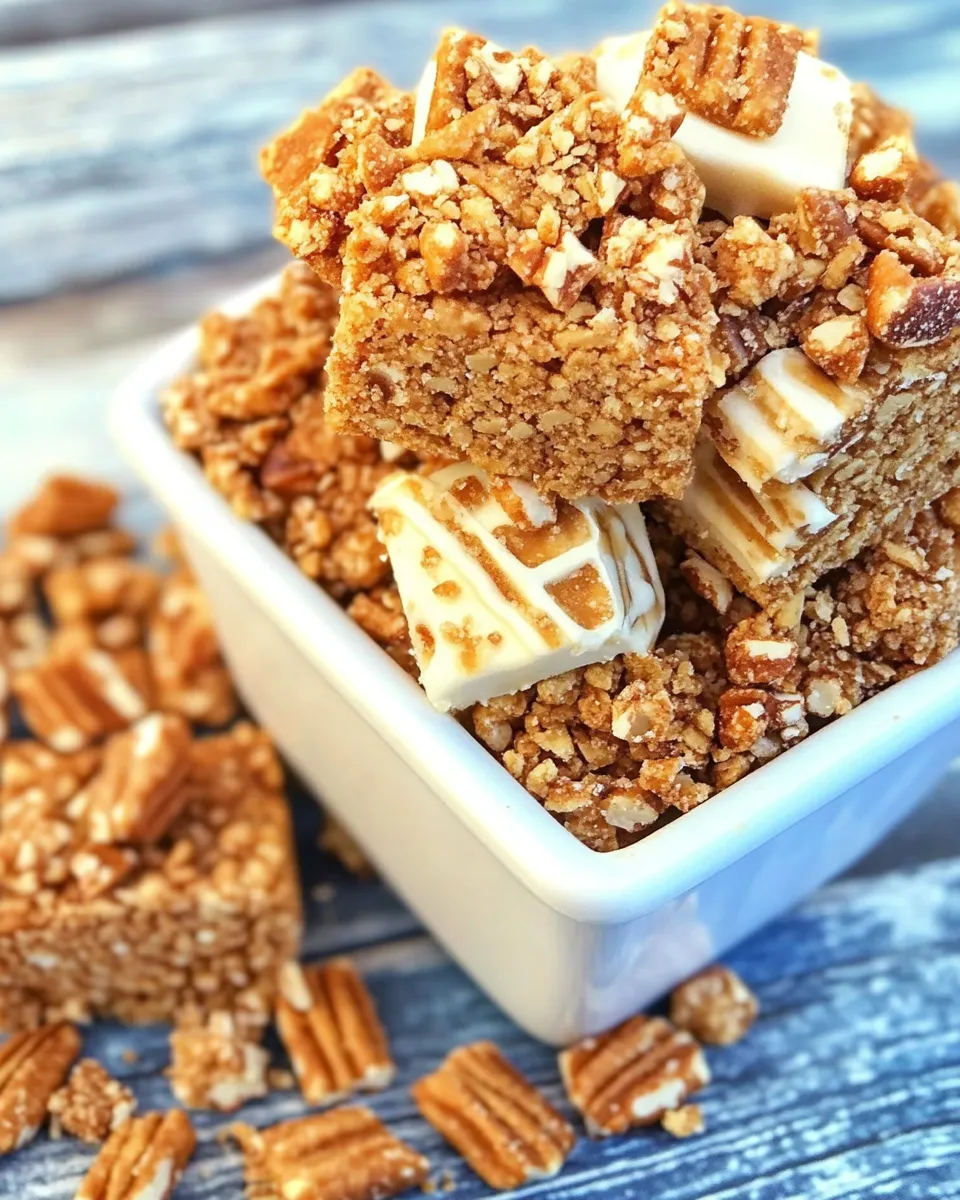
Praline Crunch
There’s something utterly irresistible about a sweet, crunchy treat that combines the nutty flavor of pecans with the satisfying crunch of cereal. Enter Praline Crunch—a delightful concoction that’s perfect for snacking, gifting, or even as a topping for your favorite desserts. This recipe is not only easy to make, but it also brings together a few simple ingredients to create a treat that’s packed with flavor and texture. Whether you’re hosting a gathering or just looking for a sweet pick-me-up, Praline Crunch is sure to be a hit.
Why I Love This Recipe
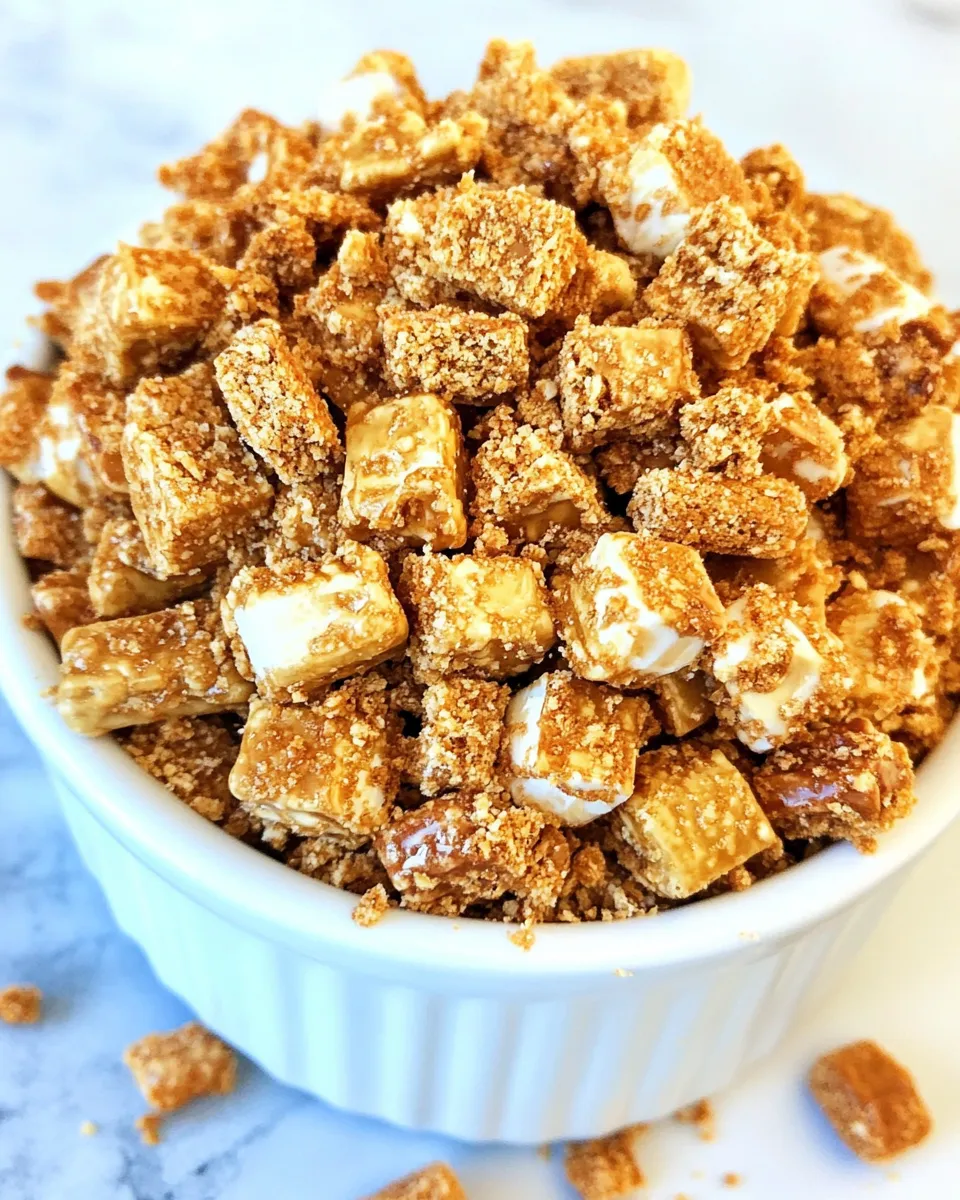
Praline Crunch is one of those snacks that brings back fond memories of family gatherings and holiday celebrations. Its crunchy texture and sweet, buttery goodness are simply addicting. What I love most about this recipe is its simplicity—it requires minimal ingredients and can be whipped up in no time. Plus, the use of salted pecans adds a delightful contrast to the sweetness, creating a perfect balance that keeps you coming back for more. Whether you enjoy it straight from the pan or serve it as a topping for ice cream or yogurt, Praline Crunch is a versatile treat that everyone will enjoy.
Ingredient List
To make your own Praline Crunch, here’s what you’ll need:
- 8 cups Crispix cereal
- 2 cups pecan halves (I use salted)
- 1 cup brown sugar, packed
- 1 cup corn syrup
- 1 cup butter
- 1 teaspoon vanilla extract
- 1 teaspoon baking soda
Must-Have Equipment
Before you dive into making your Praline Crunch, gather the following equipment:
- Large mixing bowl: To combine the cereal and pecans.
- Medium saucepan: For melting the sugary mixture.
- Wooden spoon: To stir the ingredients together.
- Baking sheet: For cooling the finished product.
- Parchment paper: To line the baking sheet for easy cleanup.
Build Praline Crunch Step by Step
Now that you have your ingredients and equipment ready, let’s walk through the steps to create your delicious Praline Crunch.
Step 1: Prepare Your Baking Sheet
Start by preheating your oven to 250°F (120°C). Line a large baking sheet with parchment paper, ensuring it’s well-covered for easy removal later.
Step 2: Combine Cereal and Pecans
In a large mixing bowl, combine the 8 cups of Crispix cereal and 2 cups of pecan halves. Gently mix them together, making sure the pecans are evenly distributed throughout the cereal.
Step 3: Make the Praline Mixture
In a medium saucepan, combine 1 cup of brown sugar, 1 cup of corn syrup, and 1 cup of butter. Heat over medium heat, stirring constantly until the mixture comes to a boil. Allow it to boil for 1 minute without stirring.
Step 4: Add Flavor and Texture
Remove the saucepan from the heat and stir in 1 teaspoon of vanilla extract and 1 teaspoon of baking soda. Be cautious as the mixture may bubble up when you add the baking soda.
Step 5: Coat the Cereal and Pecans
Quickly pour the hot praline mixture over the cereal and pecans in the large mixing bowl. Use a wooden spoon to gently stir until all the cereal and pecans are evenly coated with the sugary mixture.
Step 6: Bake the Praline Crunch
Spread the mixture evenly onto the prepared baking sheet. Bake in the preheated oven for 1 hour, stirring every 15 minutes to ensure even coating and browning.
Step 7: Cool and Break Apart
Once baked, remove the baking sheet from the oven and allow the Praline Crunch to cool completely on the sheet. Once cooled, break it apart into clusters and store it in an airtight container.
Ingredient Swaps & Substitutions
If you’re looking to customize your Praline Crunch or use what you have on hand, consider these ingredient swaps:
- Cereal: You can substitute Crispix with Rice Chex or Corn Chex for a different texture.
- Nuts: Swap pecans for almonds, walnuts, or even peanuts if you’re looking for a change.
- Butter: Use coconut oil for a dairy-free option.
- Corn Syrup: Maple syrup can be used as a natural alternative, though it may alter the final flavor slightly.
Common Errors (and Fixes)
Even the best of us can make mistakes in the kitchen! Here are some common errors to be aware of while making Praline Crunch:
- Too sticky: If your mixture is too sticky, it may not have baked long enough. Make sure to bake it for the full hour, stirring periodically.
- Burnt flavor: If the praline mixture burns while boiling, lower the heat and keep an eye on it to prevent scorching.
- Uneven coating: Stir thoroughly when combining the cereal and praline mixture to ensure every piece is coated evenly.
Shelf Life & Storage
To keep your Praline Crunch fresh and delicious, follow these storage tips:
- Store in an airtight container at room temperature to maintain crunchiness.
- For best quality, consume within 2-3 weeks. You can also freeze it for up to 3 months if you’d like to keep it for longer.
- Make sure the mixture is completely cooled before storing to prevent moisture buildup.
FAQ
Can I make Praline Crunch ahead of time?
Absolutely! Praline Crunch can be made a few days in advance. Just store it in an airtight container at room temperature for optimal freshness.
What can I use Praline Crunch for besides snacking?
This delightful treat can be used as a topping for ice cream, yogurt, or even incorporated into baked goods like cookies and brownies for added crunch.
Can I use sugar substitutes in this recipe?
You can experiment with sugar substitutes, but keep in mind that they may not provide the same texture or flavor as brown sugar. Make sure to follow the manufacturer’s guidelines for substitution ratios.
Is Praline Crunch gluten-free?
Yes, if you use gluten-free Crispix, this recipe can be made gluten-free. Always check the labels to ensure all ingredients meet your dietary needs.
Final Bite
Praline Crunch is more than just a sweet snack; it’s a delightful experience of flavors and textures that can brighten up any day. The combination of the crisp cereal, crunchy pecans, and the sweet, buttery coating creates a treat that’s simply hard to resist. Whether you’re enjoying it solo on the couch or sharing it with friends and family during a get-together, this recipe is sure to be a crowd-pleaser.
With just a few simple ingredients and easy steps, you can whip up a batch of this delectable Praline Crunch in no time. So, gather your ingredients, and let’s get crunching!
Praline Crunch
Ingredients
Equipment
Method
- Step 1: Prepare Your Baking Sheet - Preheat your oven to 250°F (120°C) and line a large baking sheet with parchment paper.
- Step 2: Combine Cereal and Pecans - In a large mixing bowl, combine the Crispix cereal and pecan halves, mixing gently.
- Step 3: Make the Praline Mixture - In a medium saucepan, combine brown sugar, corn syrup, and butter. Heat over medium heat, stirring until it boils. Boil for 1 minute without stirring.
- Step 4: Add Flavor and Texture - Remove from heat and stir in vanilla extract and baking soda, being cautious of bubbling.
- Step 5: Coat the Cereal and Pecans - Pour the praline mixture over the cereal and pecans, stirring until evenly coated.
- Step 6: Bake the Praline Crunch - Spread the mixture on the prepared baking sheet and bake for 1 hour, stirring every 15 minutes.
- Step 7: Cool and Break Apart - Allow to cool completely on the baking sheet, then break into clusters and store in an airtight container.
Notes
- Store in an airtight container at room temperature for best crunchiness.
- For variations, try different cereals or nuts based on your preference.
- This can be made in advance and stored for a few weeks.