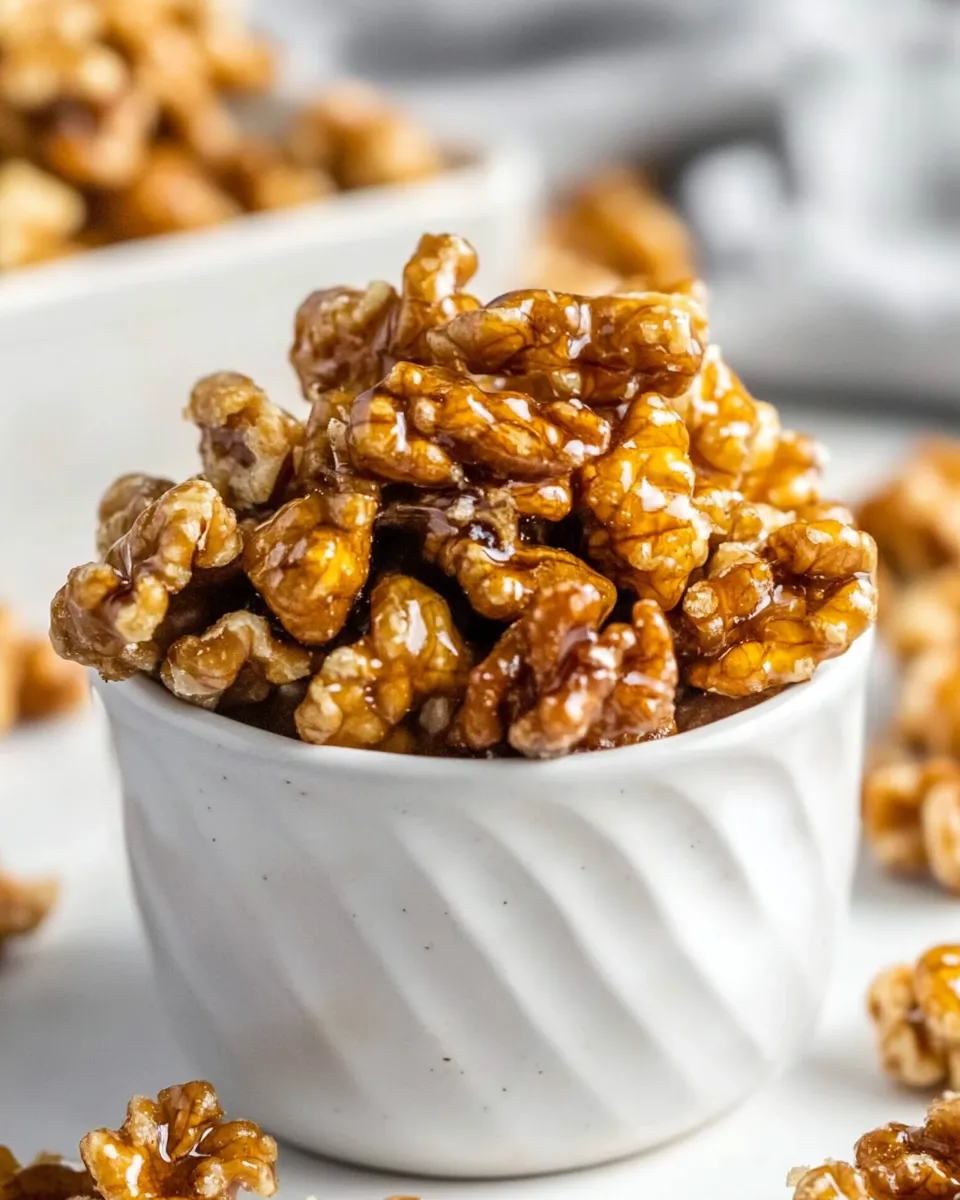
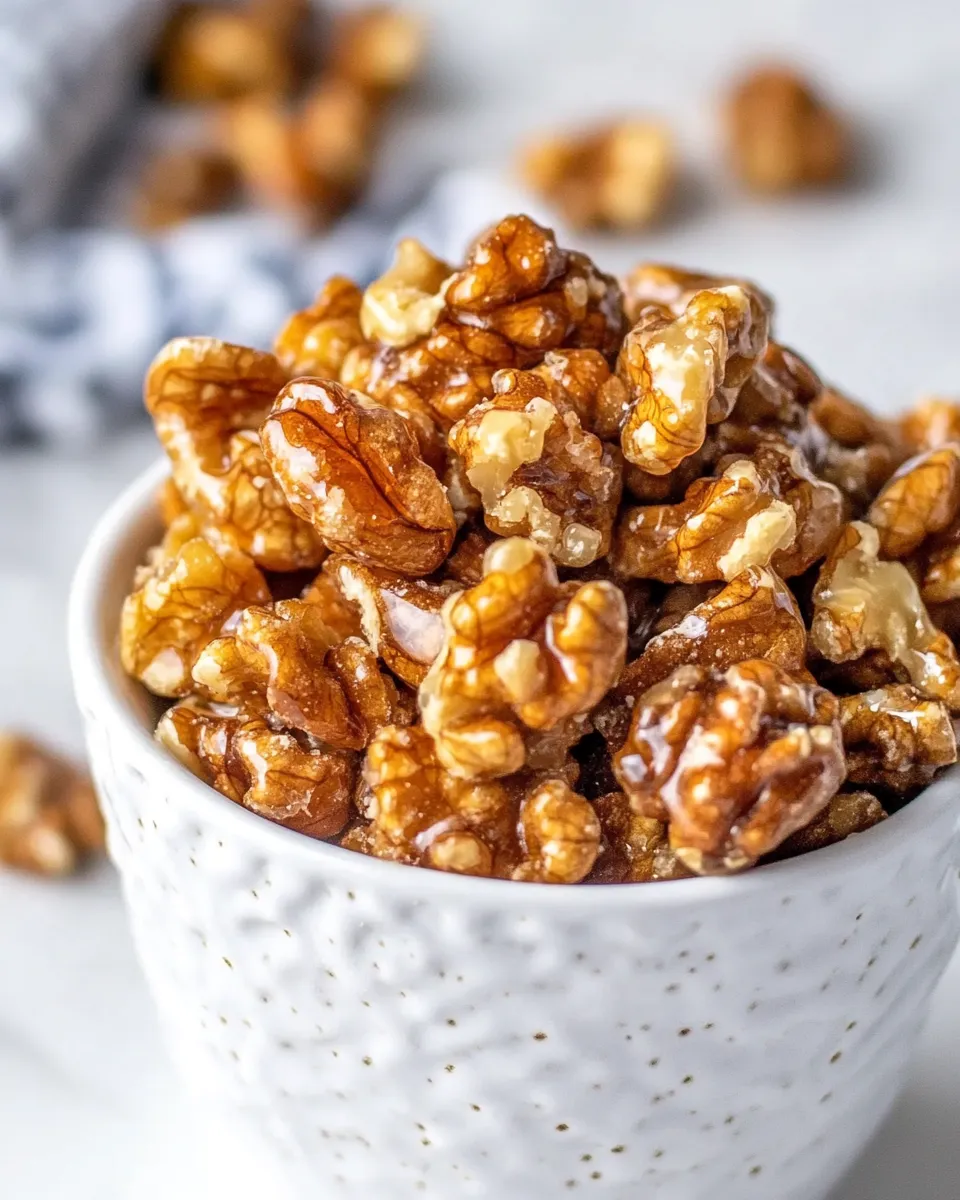
Candied Walnuts Recipe (How to Make Candied Walnuts)
There’s something truly magical about the sweet, crunchy goodness of candied walnuts. Whether you’re tossing them into a salad, topping off a dessert, or simply snacking on them straight from the bowl, these delicious morsels add a delightful crunch and a hint of sweetness that elevates any dish. Today, I’m excited to share with you my favorite candied walnuts recipe that is simple, quick, and oh-so-satisfying. Let’s dive right in!
Reasons to Love Candied Walnuts Recipe (How to Make Candied Walnuts)
Candied walnuts are more than just a tasty treat; they offer a variety of benefits:
- Versatile: Perfect for salads, desserts, or on their own.
- Quick to Make: Just a few ingredients and about 15 minutes of your time!
- Nutritious: Packed with healthy fats, protein, and antioxidants from walnuts.
- Customizable: Add spices or different types of sugar to suit your taste.
What You’ll Need
To get started, here’s what you’ll need to whip up this delicious candied walnuts recipe:
- 1 cup: Walnut halves or chopped walnuts (We LOVE California Walnuts!)
- 1 tablespoon: Salted butter
- 1/3 cup: Dark brown sugar
Tools & Equipment Needed
Before you start cooking, make sure you have the following tools on hand:
- Non-stick skillet: To prevent the walnuts from sticking while cooking.
- Wooden spoon: For stirring the mixture as it cooks.
- Baking sheet: To cool the candied walnuts once cooked.
- Parchment paper: Optional, but helps with easy cleanup.
Candied Walnuts Recipe (How to Make Candied Walnuts) in Steps
Now, let’s get into the step-by-step process of making these candied walnuts:
Step 1: Prepare Your Ingredients
Start by measuring out all your ingredients. Having everything ready to go will make the process smoother and faster.
Step 2: Melt the Butter
In a non-stick skillet over medium heat, add the tablespoon of salted butter. Allow it to melt completely, swirling the skillet occasionally to ensure it doesn’t burn.
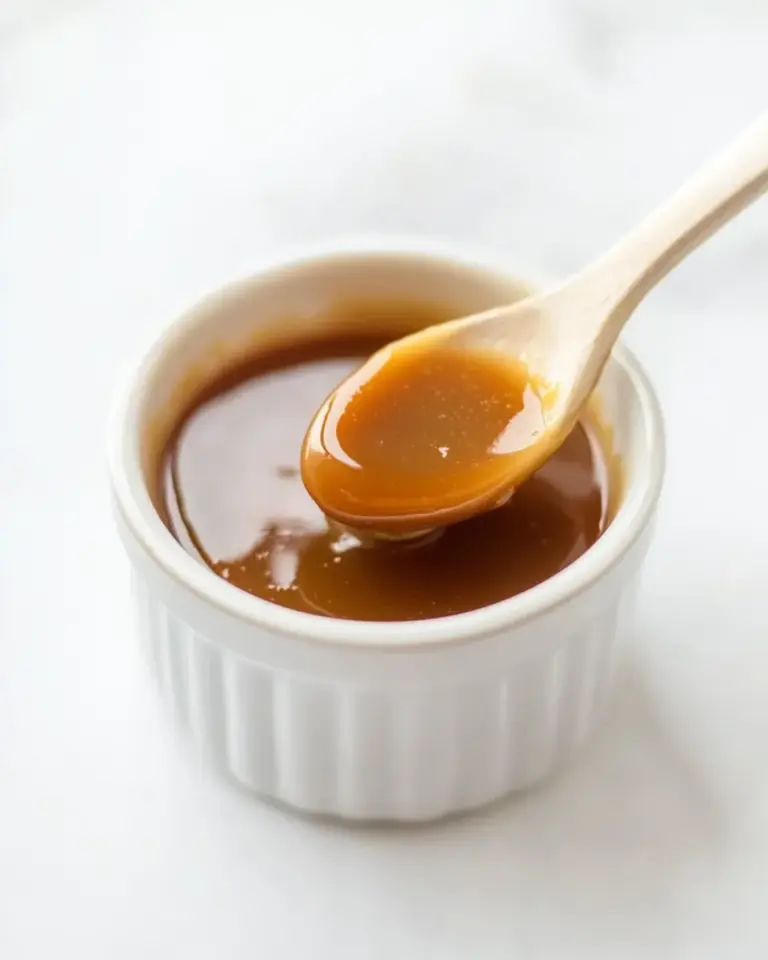
Step 3: Add the Brown Sugar
Once the butter is melted, add the 1/3 cup of dark brown sugar. Stir continuously until the sugar has dissolved and the mixture becomes bubbly and smooth, about 2-3 minutes.
Step 4: Incorporate the Walnuts
Add the walnut halves or chopped walnuts to the skillet. Stir well to coat all the walnuts in the buttery, sugary mixture. Cook for another 5-7 minutes, stirring frequently to prevent burning.
Step 5: Cool the Walnuts
Once the walnuts are evenly coated and caramelized, remove the skillet from the heat. Spread the walnuts onto a baking sheet lined with parchment paper. Use a spatula to separate any walnuts that are clumped together. Allow them to cool completely.
Step 6: Enjoy!
Once cooled, your candied walnuts are ready to be enjoyed! Store any leftovers in an airtight container.
Make It Year-Round
Candied walnuts are not just for special occasions; you can enjoy them all year long! Here are some ideas to incorporate them into your meals:
- Add them to your morning oatmeal or yogurt for added crunch.
- Sprinkle them over a fresh garden salad for an extra flavor boost.
- Use them as a topping for ice cream or desserts for a sweet finish.
- Mix them into your favorite trail mix for a delicious snack on-the-go.
Avoid These Traps
While making candied walnuts is simple, there are a few common mistakes to watch out for:
- Don’t overheat the sugar mixture; it should bubble gently without burning.
- Be careful not to leave the walnuts unattended while cooking, as they can burn quickly.
- Ensure you spread the walnuts out on the baking sheet to avoid clumping as they cool.
- Don’t skip the cooling step; this is crucial for achieving that perfect crunch.
Store, Freeze & Reheat
To enjoy your candied walnuts long after you’ve made them, here’s how to store, freeze, and reheat:
The cooled walnuts can be stored in an airtight container at room temperature for up to two weeks. If you want to keep them longer, consider freezing them. Simply place the cooled walnuts in a freezer-safe bag or container. They will last for up to three months in the freezer.
When you’re ready to enjoy frozen walnuts, just take them out and allow them to come to room temperature. They can be added directly to recipes without the need for reheating.
Candied Walnuts Recipe (How to Make Candied Walnuts) FAQs
Can I use unsalted butter instead of salted?
Yes, you can use unsalted butter if you prefer. Just consider adding a pinch of salt to balance the sweetness.
Can I substitute the brown sugar with white sugar?
While you can use white sugar, the flavor and color of the candied walnuts will be different. Brown sugar adds a deeper caramel flavor.
What if my walnuts burn while cooking?
If the walnuts start to burn, immediately remove them from the heat and transfer them to a cool surface to stop the cooking process. It’s important to keep stirring to prevent burning.
Can I add spices to my candied walnuts?
Absolutely! Try adding a pinch of cinnamon, nutmeg, or even cayenne pepper for a spicy twist to your candied walnuts recipe.
See You at the Table
With a few simple ingredients and a little bit of time, you can create a batch of candied walnuts that will impress your family and friends. Whether you use them as a topping, a salad addition, or a sweet snack, these walnuts are sure to be a hit. So gather your ingredients, follow the steps, and enjoy the process of making something wonderfully delicious. Happy cooking!
Candied Walnuts Recipe (How to Make Candied Walnuts)
Ingredients
Equipment
Method
- Start by measuring out all your ingredients. Having everything ready to go will make the process smoother and faster.
- In a non-stick skillet over medium heat, add the tablespoon of salted butter. Allow it to melt completely, swirling the skillet occasionally to ensure it doesn’t burn.
- Once the butter is melted, add the dark brown sugar. Stir continuously until the sugar has dissolved and the mixture becomes bubbly and smooth, about 2-3 minutes.
- Add the walnut halves or chopped walnuts to the skillet. Stir well to coat all the walnuts in the buttery, sugary mixture. Cook for another 5-7 minutes, stirring frequently to prevent burning.
- Once the walnuts are evenly coated and caramelized, remove the skillet from the heat. Spread the walnuts onto a baking sheet lined with parchment paper. Use a spatula to separate any walnuts that are clumped together. Allow them to cool completely.
- Once cooled, your candied walnuts are ready to be enjoyed! Store any leftovers in an airtight container.
Notes
- Store cooled walnuts in an airtight container at room temperature for up to two weeks.
- Freeze cooled walnuts in a freezer-safe bag for up to three months.
- Add spices like cinnamon or nutmeg for a flavor twist.