Yeasted Waffles
There’s something magical about waking up to the smell of freshly made waffles wafting through your home. Imagine a Sunday morning where the aroma of warm, fluffy Yeasted Waffles fills the air, inviting everyone to gather around the table. This recipe transforms traditional waffles into something truly special, using yeast to create a light, airy texture that elevates the breakfast experience. Perfectly crispy on the outside and pillowy soft on the inside, these Yeasted Waffles are sure to become a weekend staple in your home.
Why You’ll Love This Recipe
Yeasted Waffles are not just another breakfast option; they bring a delightful twist to the table. The yeast fermentation process allows for a depth of flavor that you won’t find in standard waffle recipes. The result is a waffle that is not only delicious but also has a lovely chewiness and a delicate crispness. Plus, they can be made in advance, giving you more time to enjoy your morning with family and friends. Whether topped with fresh fruits, drizzled with syrup, or slathered in whipped cream, these waffles adapt beautifully to your favorite toppings.
Ingredient List
- 2 1/2 cups milk (whole or 2% preferred) – Provides moisture and richness.
- 1/2 cup unsalted butter (cut into pieces) – Adds flavor and helps create a tender texture.
- 1 tablespoon granulated sugar – Enhances the flavor and helps activate the yeast.
- 2 cups all-purpose flour – The base of the waffle, contributing to structure.
- 1 teaspoon salt – Balances the sweetness and enhances the overall flavor.
- 1 package instant yeast (2 teaspoons) – Responsible for the leavening, making the waffles light and airy.
- 2 large eggs (separated) – Provides richness and stability to the batter.
- 1 teaspoon baking soda – Helps to create a lighter texture once combined with the buttermilk.
- 1 teaspoon vanilla extract – Adds a warm, sweet aroma to the waffles.
What’s in the Gear List
- Waffle Iron – Essential for cooking your waffles to perfection.
- Mixing Bowls – Use both large and medium bowls for combining ingredients.
- Whisk – Perfect for blending dry ingredients and whipping egg whites.
- Measuring Cups and Spoons – Accurate measurements are key to the perfect batter.
- Rubber Spatula – Useful for folding ingredients together gently.
Yeasted Waffles Cooking Guide
Step 1: Prepare the Yeast Mixture
In a small saucepan, gently heat the milk over medium-low heat until it’s warm but not boiling (about 110°F or 43°C). Remove from heat and whisk in the butter until melted. Stir in the sugar and the yeast, allowing it to sit for about 5 minutes until it becomes frothy.
Step 2: Mix the Dry Ingredients
In a large mixing bowl, combine the flour and salt. Mix well to ensure the salt is evenly distributed throughout the flour.
Step 3: Combine Wet and Dry Ingredients
Once the yeast mixture is frothy, add the egg yolks and vanilla extract. Pour this mixture into the bowl with the dry ingredients, stirring until just combined. The batter will be thick but should not have any dry flour pockets.
Step 4: Whip the Egg Whites
In a separate bowl, beat the egg whites until stiff peaks form. Gently fold the whipped egg whites into the batter. This step is crucial for creating light and airy waffles.
Step 5: Let the Batter Rise
Cover the bowl with a clean kitchen towel or plastic wrap and let it rise in a warm place for about 30-60 minutes, or until the batter has doubled in size.
Step 6: Preheat the Waffle Iron
While the batter is rising, preheat your waffle iron according to the manufacturer’s instructions. If it has a non-stick surface, you may not need to grease it, but a light spray of cooking oil can help ensure easy release.
Step 7: Cook the Waffles
Once the batter has risen, stir in the baking soda. Pour the recommended amount of batter into the preheated waffle iron, close the lid, and cook according to your waffle iron’s instructions. Aim for a golden brown color for the best results.
Step 8: Serve and Enjoy
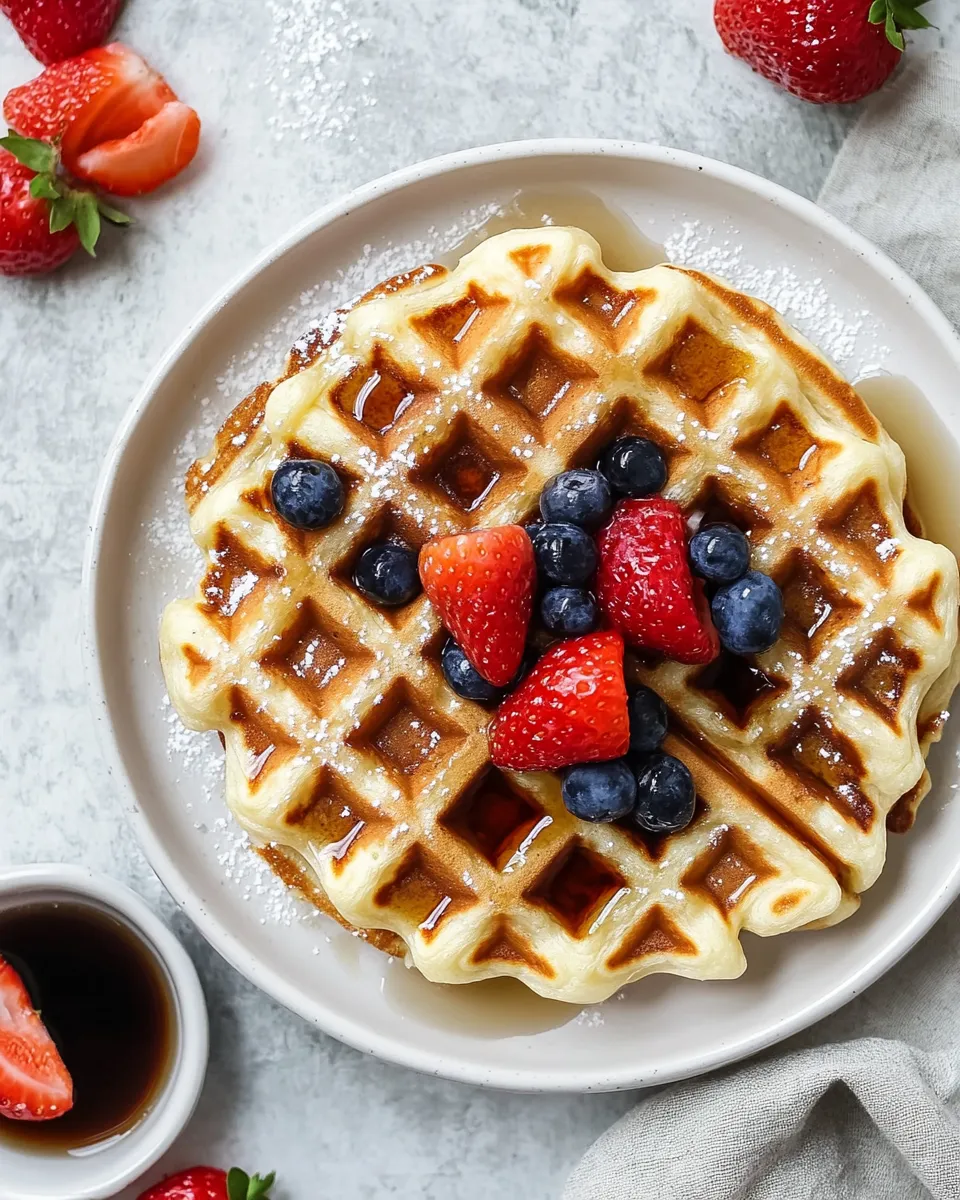
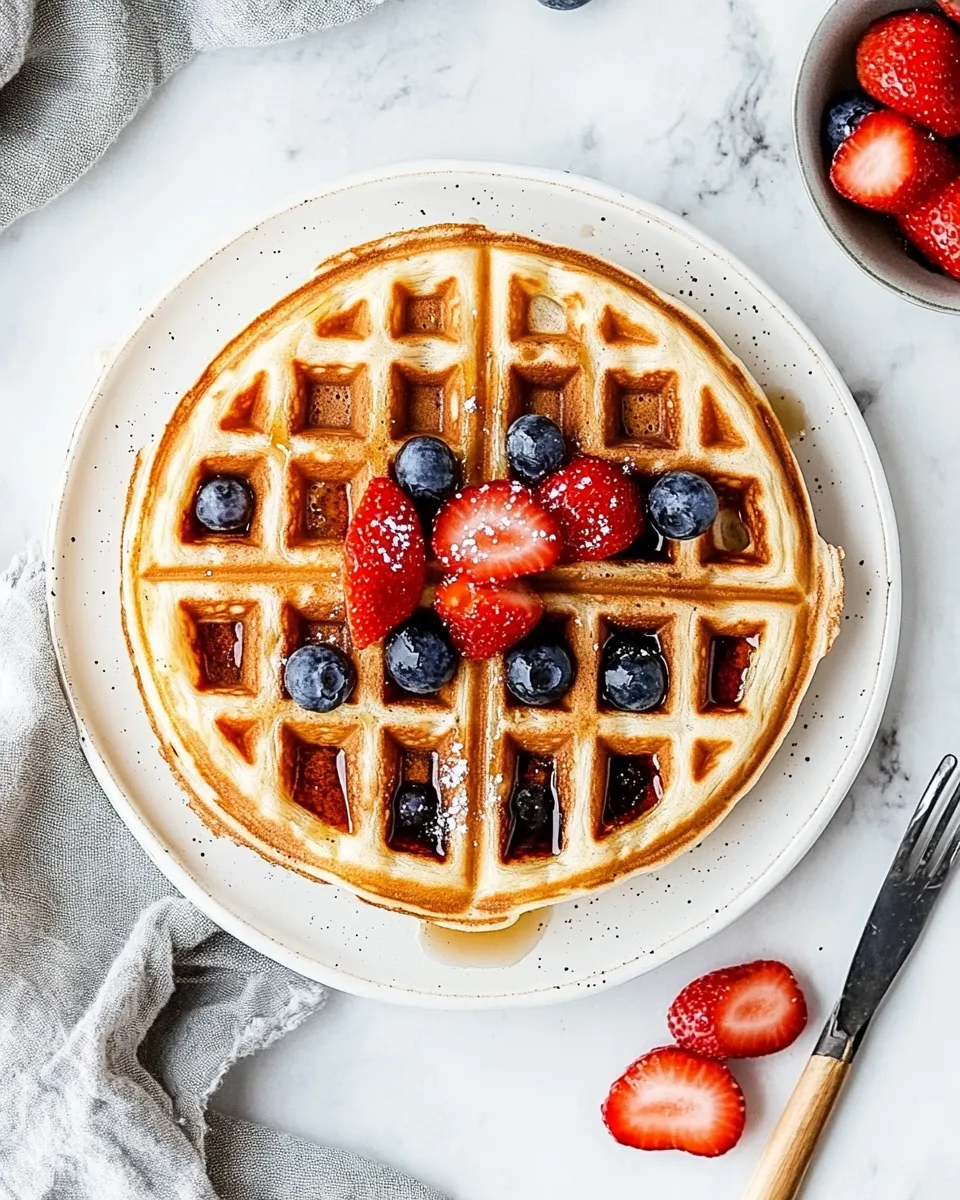
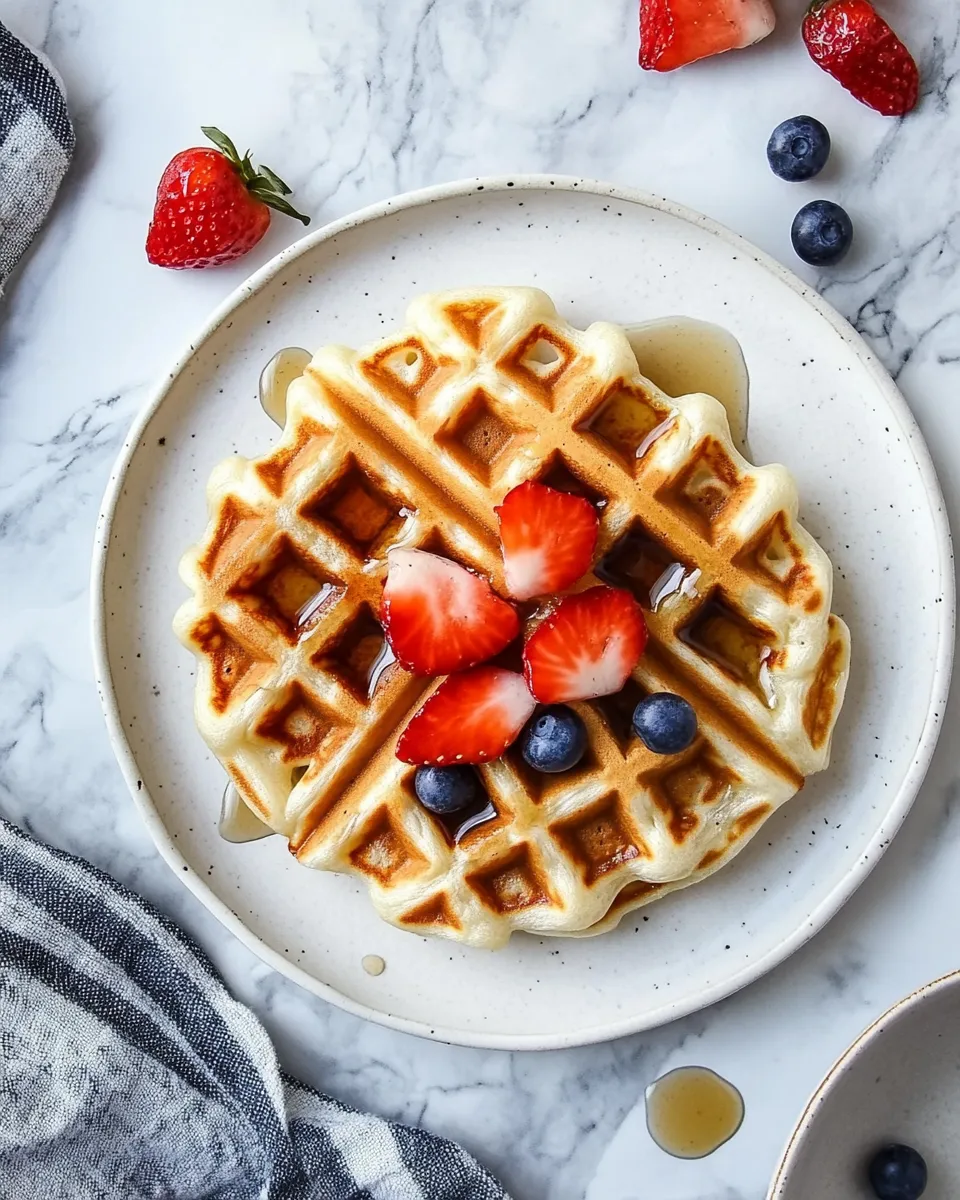
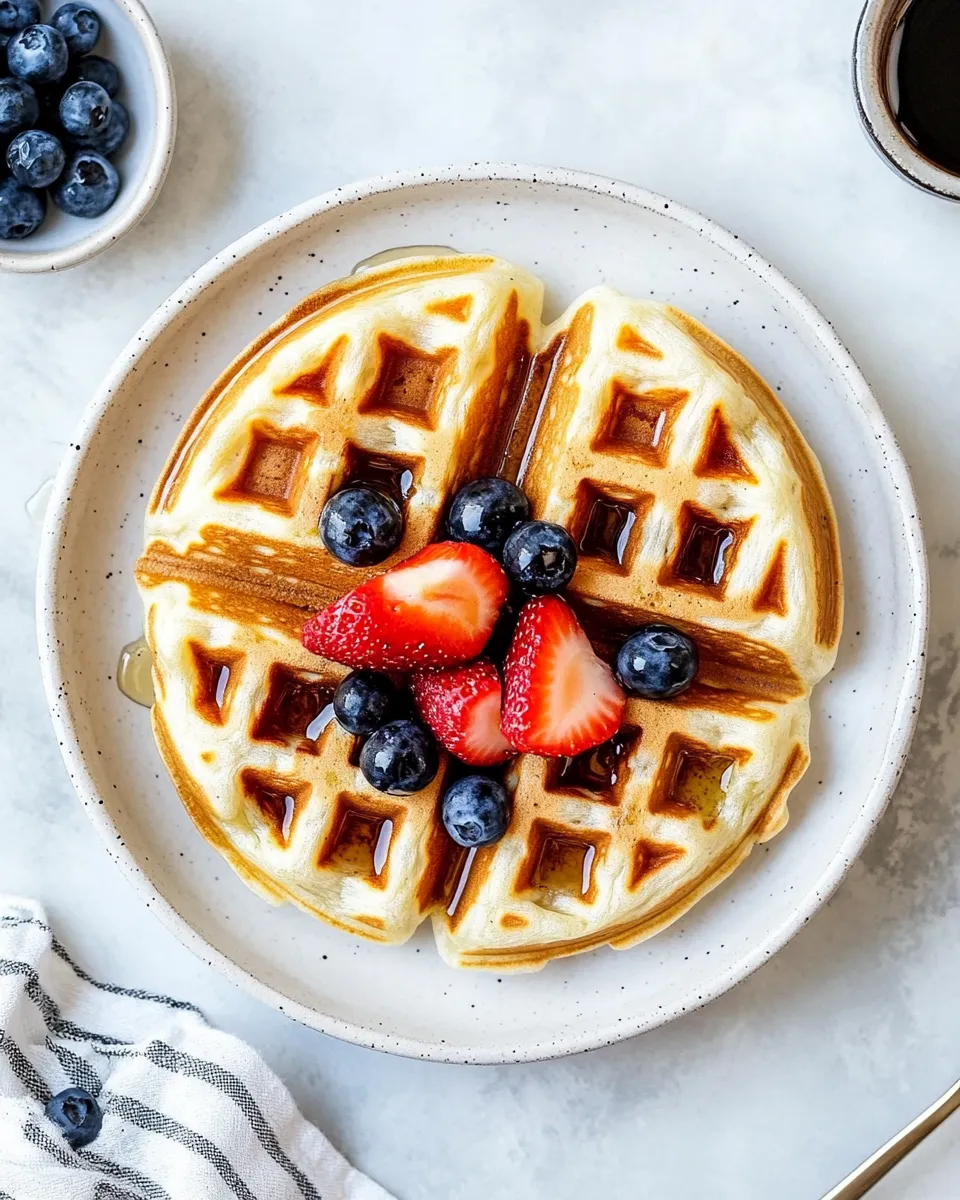
Carefully remove the waffles from the iron and serve immediately with your favorite toppings. Fresh fruits, maple syrup, or whipped cream are all excellent choices!
Spring–Summer–Fall–Winter Ideas
- Spring: Top with fresh berries and a dollop of whipped cream.
- Summer: Serve with sliced peaches and a drizzle of honey.
- Fall: Add spiced apples and a sprinkle of cinnamon sugar.
- Winter: Enjoy with warm chocolate sauce and marshmallows.
Problems & Prevention
Sometimes, making Yeasted Waffles can have its challenges. Here are some common issues and how to prevent them:
- Waffles sticking to the iron: Ensure your waffle iron is adequately preheated and consider using a light cooking spray.
- Waffles being too dense: Make sure your yeast is fresh and active. Allow enough time for the batter to rise.
- Waffles not browning: Adjust the cooking time and temperature on your waffle iron as needed.
- Flavors lacking: Don’t skip the vanilla extract and sugar; they’re essential for a flavorful waffle.
Save for Later: Storage Tips
If you have leftovers (which is rare, but can happen!), you can store them for later enjoyment:
- Refrigerate: Place cooled waffles in an airtight container and store in the refrigerator for up to 3 days.
- Freeze: Wrap waffles individually in plastic wrap and place them in a freezer-safe bag for up to 3 months. Reheat in the toaster or oven.
Questions People Ask
Can I use whole wheat flour instead of all-purpose flour?
Absolutely! You can substitute whole wheat flour for all-purpose flour, but the waffles may be denser. You might want to mix half whole wheat and half all-purpose for the best texture.
How do I know when the waffles are done cooking?
Waffles are typically done when they are golden brown and crisp on the outside. If your waffle iron has a light indicator, use that as a guide. Otherwise, check by lifting the lid slightly to see the color.
Can I make the batter ahead of time?
Yes, you can make the batter the night before! Just cover it tightly and refrigerate. Allow it to sit at room temperature for about 30 minutes before cooking to help revive the yeast.
What toppings go well with Yeasted Waffles?
The possibilities are endless! Popular toppings include fresh fruits, syrup, whipped cream, yogurt, chocolate chips, or even a savory twist with fried chicken.
In Closing
If you’re looking to elevate your breakfast game, these Yeasted Waffles are the perfect choice. Their unique texture, rich flavor, and versatility make them a delightful addition to any morning routine. Whether served as a cozy family breakfast or a brunch for friends, these waffles are sure to impress. So, gather your ingredients, fire up that waffle iron, and treat yourself to a deliciously indulgent start to your day!
Yeasted Waffles
Ingredients
Equipment
Method
- In a small saucepan, gently heat the milk over medium-low heat until it's warm but not boiling (about 110°F or 43°C). Remove from heat and whisk in the butter until melted. Stir in the sugar and the yeast, allowing it to sit for about 5 minutes until it becomes frothy.
- In a large mixing bowl, combine the flour and salt. Mix well to ensure the salt is evenly distributed throughout the flour.
- Once the yeast mixture is frothy, add the egg yolks and vanilla extract. Pour this mixture into the bowl with the dry ingredients, stirring until just combined. The batter will be thick but should not have any dry flour pockets.
- In a separate bowl, beat the egg whites until stiff peaks form. Gently fold the whipped egg whites into the batter. This step is crucial for creating light and airy waffles.
- Cover the bowl with a clean kitchen towel or plastic wrap and let it rise in a warm place for about 30-60 minutes, or until the batter has doubled in size.
- While the batter is rising, preheat your waffle iron according to the manufacturer's instructions. If it has a non-stick surface, you may not need to grease it, but a light spray of cooking oil can help ensure easy release.
- Once the batter has risen, stir in the baking soda. Pour the recommended amount of batter into the preheated waffle iron, close the lid, and cook according to your waffle iron's instructions. Aim for a golden brown color for the best results.
- Carefully remove the waffles from the iron and serve immediately with your favorite toppings. Fresh fruits, maple syrup, or whipped cream are all excellent choices!
Notes
- Ensure the yeast is fresh for best results.
- Leftover waffles can be refrigerated for up to 3 days.
- For a twist, try different toppings like fruit or chocolate sauce.