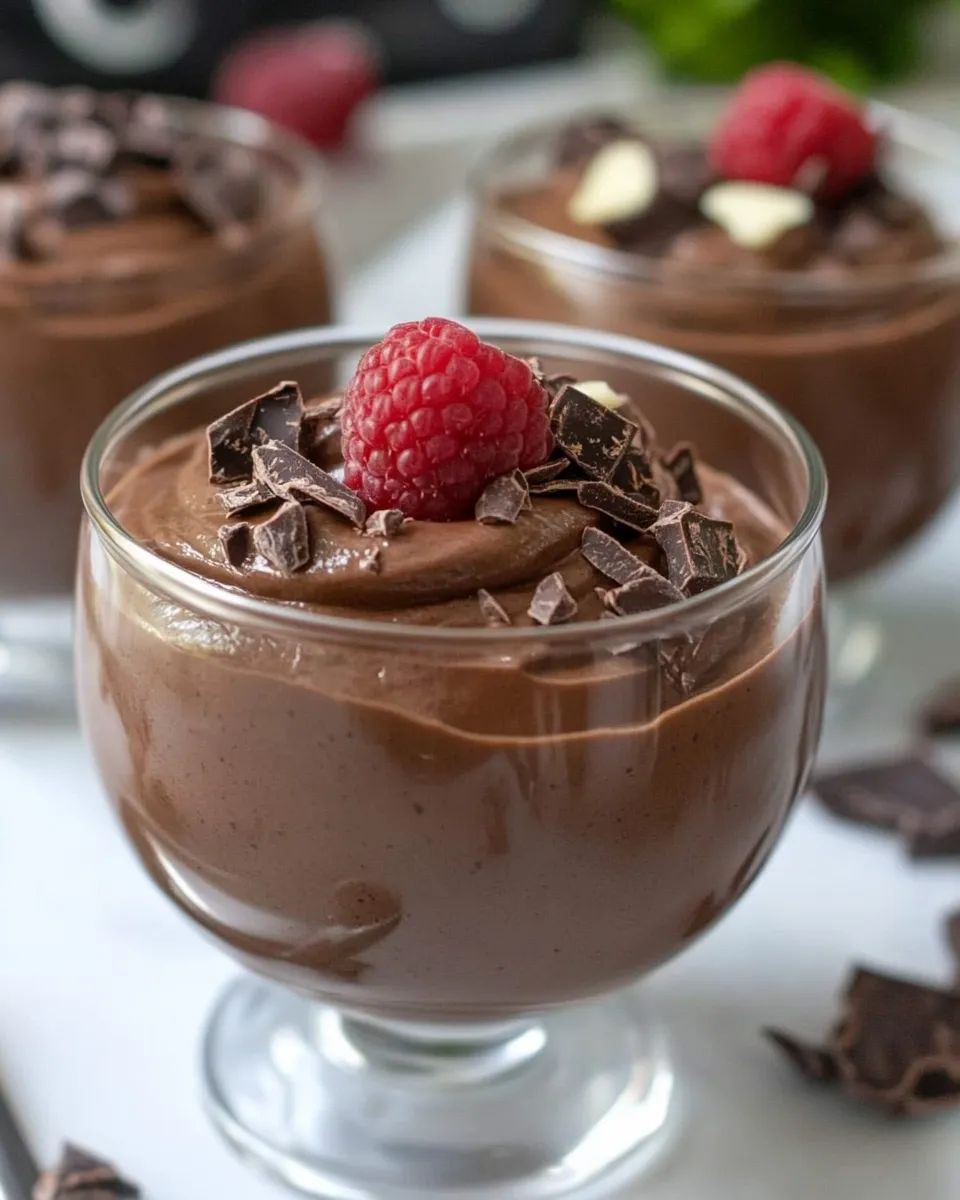
Blender Chocolate Mousse
Indulging in a rich, creamy chocolate mousse is one of life’s simple pleasures. With the right ingredients and a few easy steps, you can create a restaurant-quality dessert right in your own kitchen. This Blender Chocolate Mousse recipe uses just a handful of ingredients, ensures a silky texture, and is incredibly easy to whip up. Perfect for entertaining guests or treating yourself after a long day, this mousse promises to satisfy your chocolate cravings in the most delightful way.
Why This Recipe Works
This Blender Chocolate Mousse is a foolproof dessert that combines the luxurious flavor of semi-sweet chocolate with the lightness of whipped cream. The use of boiling water allows for the chocolate to melt perfectly, creating a smooth base. Adding heavy cream and vanilla extract enhances the flavor profile, while the egg contributes to the airy texture. This mousse is not only easy to prepare but is also a crowd-pleaser that will impress anyone who takes a bite.
What We’re Using
To make this delicious Blender Chocolate Mousse, you will need the following ingredients:
- 7 ounces semi-sweet chocolate, finely chopped
- 1/4 cup boiling water
- 1 cup heavy cream
- 1 teaspoon vanilla extract
- 1 egg (pasteurized preferred)
Each ingredient plays a crucial role in achieving the perfect balance of flavor and texture, making this mousse a standout dessert.
Essential Tools for Success
Before you start, gather the following tools to ensure a smooth process:
- Blender or Food Processor: Essential for achieving that velvety smooth texture.
- Mixing Bowl: For combining ingredients before blending.
- Rubber Spatula: To scrape down the sides of the blender and incorporate everything thoroughly.
- Measuring Cups and Spoons: For accurate ingredient measurement.
- Serving Dishes: To present your beautiful mousse, consider using glasses or ramekins.
Having the right tools on hand makes the preparation more efficient and enjoyable.
How to Prepare Blender Chocolate Mousse

Creating your own Blender Chocolate Mousse is simpler than you might think. Follow these easy steps to make this decadent dessert:
Step 1: Melt the Chocolate
Start by placing the finely chopped semi-sweet chocolate in a mixing bowl. Carefully pour the boiling water over the chocolate. Allow it to sit for a minute to soften, then stir until completely smooth and melted.
Step 2: Add the Egg
Once the chocolate is smooth, add the pasteurized egg to the mixture. Blend on low speed just until the egg is fully incorporated. This will help create a fluffy texture later on.
Step 3: Whip the Cream
In a separate mixing bowl, whip the heavy cream until soft peaks form. Add the vanilla extract during the whipping process for an added flavor boost. Be careful not to over-whip the cream, as you want it to remain light and airy.
Step 4: Combine the Mixtures
Using a rubber spatula, gently fold the whipped cream into the chocolate mixture. Start with a small amount of whipped cream to lighten the chocolate, then gradually fold in the rest. Be gentle to maintain the airy texture.
Step 5: Chill the Mousse
Once everything is combined, spoon the mousse into your serving dishes. Cover with plastic wrap and refrigerate for at least 2 hours, or until set. The chilling process allows the flavors to meld and the mousse to firm up.
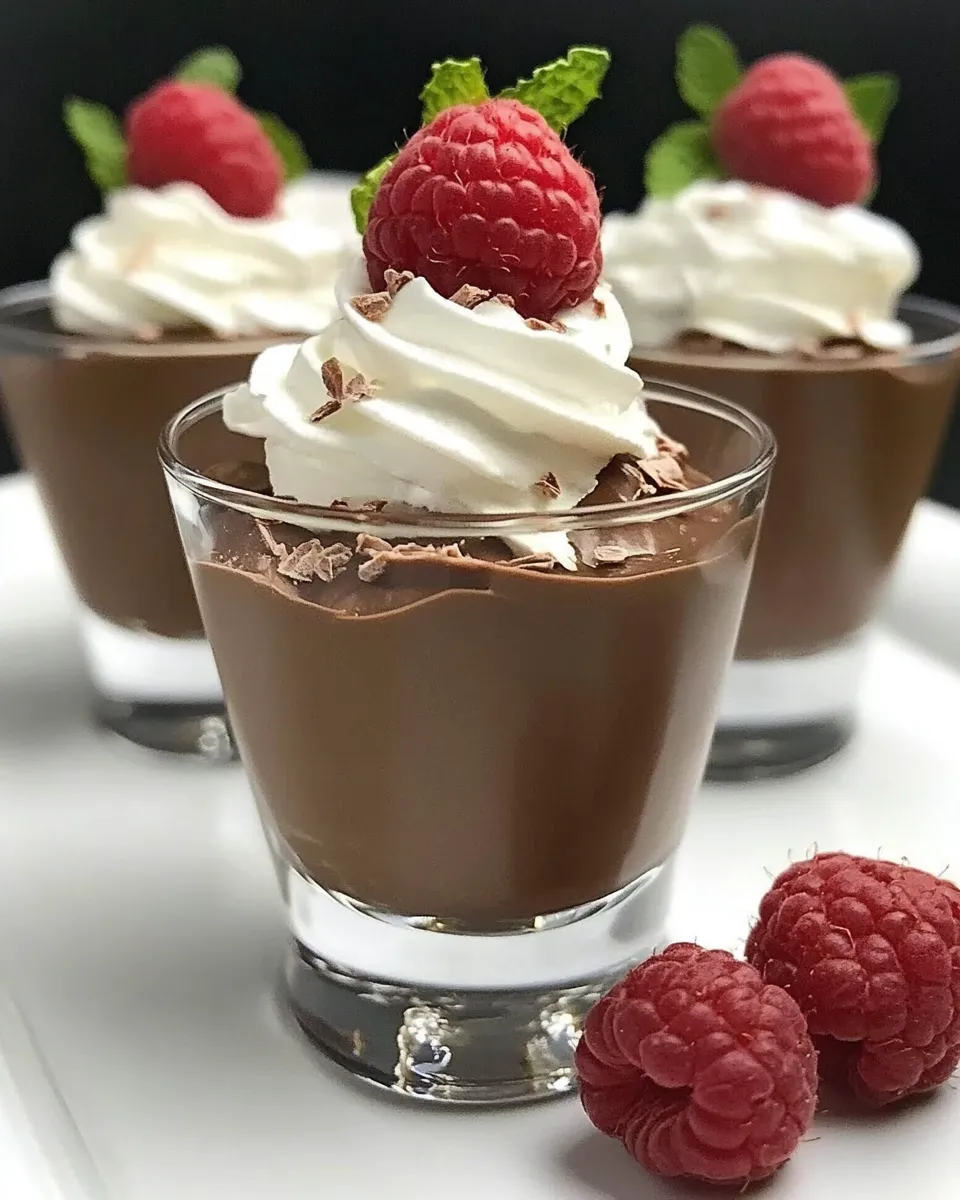
Step 6: Serve and Enjoy!
When ready to serve, remove from the fridge, garnish with additional whipped cream or chocolate shavings if desired, and enjoy your homemade Blender Chocolate Mousse!
Holiday-Friendly Variations

This Blender Chocolate Mousse is versatile and can be customized for various occasions. Here are some delightful variations to consider:
- Mint Chocolate Mousse: Add a few drops of peppermint extract to the chocolate mixture for a refreshing twist.
- Espresso Chocolate Mousse: Incorporate a tablespoon of instant espresso powder into the boiling water for a coffee-flavored boost.
- Orange Zest Chocolate Mousse: Stir in some freshly grated orange zest to the chocolate for a citrusy kick.
- Spicy Chocolate Mousse: Add a pinch of cayenne pepper or cinnamon for a warm, spicy flavor.
These variations are perfect for special occasions or simply to switch things up!
Notes from the Test Kitchen
- Always ensure your chocolate is finely chopped to facilitate even melting.
- If you cannot find pasteurized eggs, you can use egg substitutes designed for baking.
- For an extra rich flavor, consider using dark chocolate instead of semi-sweet chocolate.
- Be patient while folding in the whipped cream; this step is key to the mousse’s lightness.
These tips will help you achieve the best results possible.
Keep-It-Fresh Plan
Your Blender Chocolate Mousse can be stored in the fridge for up to three days. Here are some tips to keep it fresh:
- Cover the mousse tightly with plastic wrap or a lid to prevent it from absorbing any odors from the fridge.
- Do not freeze the mousse, as this can alter its texture.
- If you plan on making it in advance, wait to add any garnishes until just before serving to maintain their freshness.
Following these guidelines will help you enjoy your mousse for as long as possible.
Troubleshooting Q&A
What if my chocolate seizes when I add water?
If your chocolate seizes, it may have come into contact with moisture or was overheated. Try adding a bit more boiling water and whisking vigorously to salvage it. If it remains clumpy, you may need to start over with new chocolate.
Why is my mousse not fluffy?
The key to a fluffy mousse is in the folding technique. If you overmix the cream with the chocolate, you risk deflating the air incorporated into the whipped cream. Be gentle and fold until just combined.
Can I use a different type of chocolate?
Absolutely! You can use dark chocolate for a richer flavor or milk chocolate for a sweeter mousse. Just keep in mind that the sweetness level will change, so adjust accordingly.
How can I tell if my mousse has set properly?
After chilling for at least 2 hours, the mousse should be firm to the touch and hold its shape when scooped. If it still feels too soft, give it a bit more time in the fridge.
That’s a Wrap
Making a Blender Chocolate Mousse is not only a rewarding experience, but it also allows you to indulge in a delectable dessert that is sure to impress. Whether you’re enjoying it on a quiet evening or serving it at a festive gathering, this mousse will leave a lasting impression. With simple ingredients and a straightforward process, you can create a chocolate masterpiece that everyone will love. So grab your blender and get ready to whip up a dessert that will have people coming back for seconds! Enjoy the blissful taste of homemade chocolate mousse, and don’t forget to share with those you love—or keep it all to yourself!
Blender Chocolate Mousse
Ingredients
Equipment
Method
- Start by placing the finely chopped semi-sweet chocolate in a mixing bowl. Carefully pour the boiling water over the chocolate. Allow it to sit for a minute to soften, then stir until completely smooth and melted.
- Once the chocolate is smooth, add the pasteurized egg to the mixture. Blend on low speed just until the egg is fully incorporated.
- In a separate mixing bowl, whip the heavy cream until soft peaks form. Add the vanilla extract during the whipping process.
- Using a rubber spatula, gently fold the whipped cream into the chocolate mixture.
- Once everything is combined, spoon the mousse into your serving dishes. Cover with plastic wrap and refrigerate for at least 2 hours, or until set.
- When ready to serve, remove from the fridge, garnish with additional whipped cream or chocolate shavings if desired, and enjoy!
Notes
- Always ensure your chocolate is finely chopped to facilitate even melting.
- If you cannot find pasteurized eggs, you can use egg substitutes designed for baking.
- For an extra rich flavor, consider using dark chocolate instead of semi-sweet chocolate.