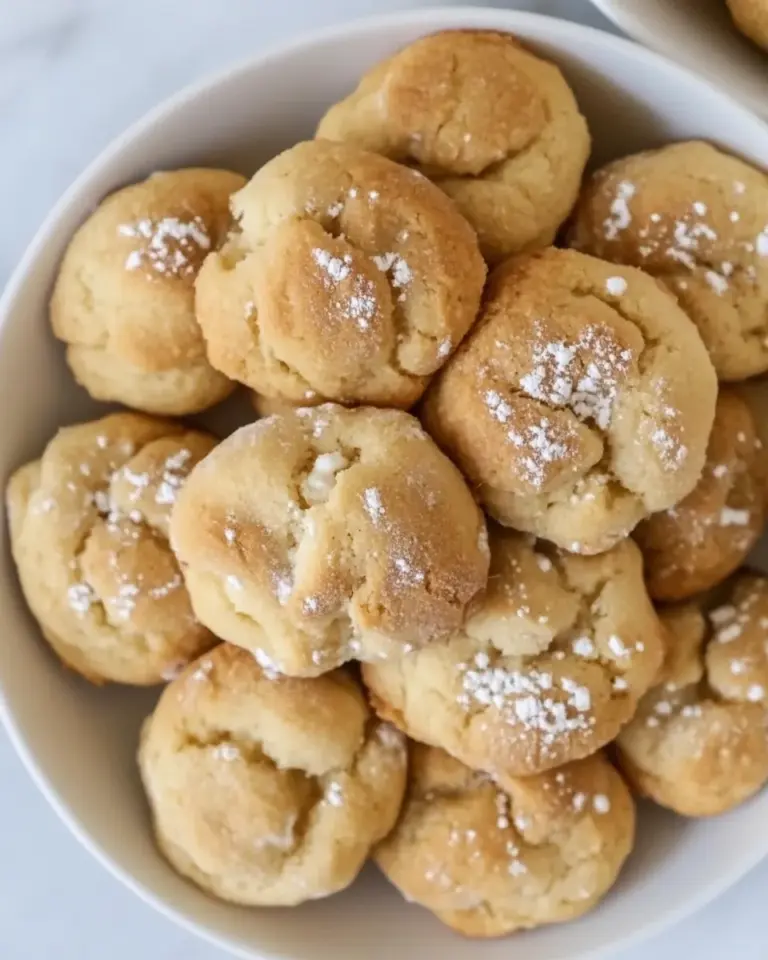
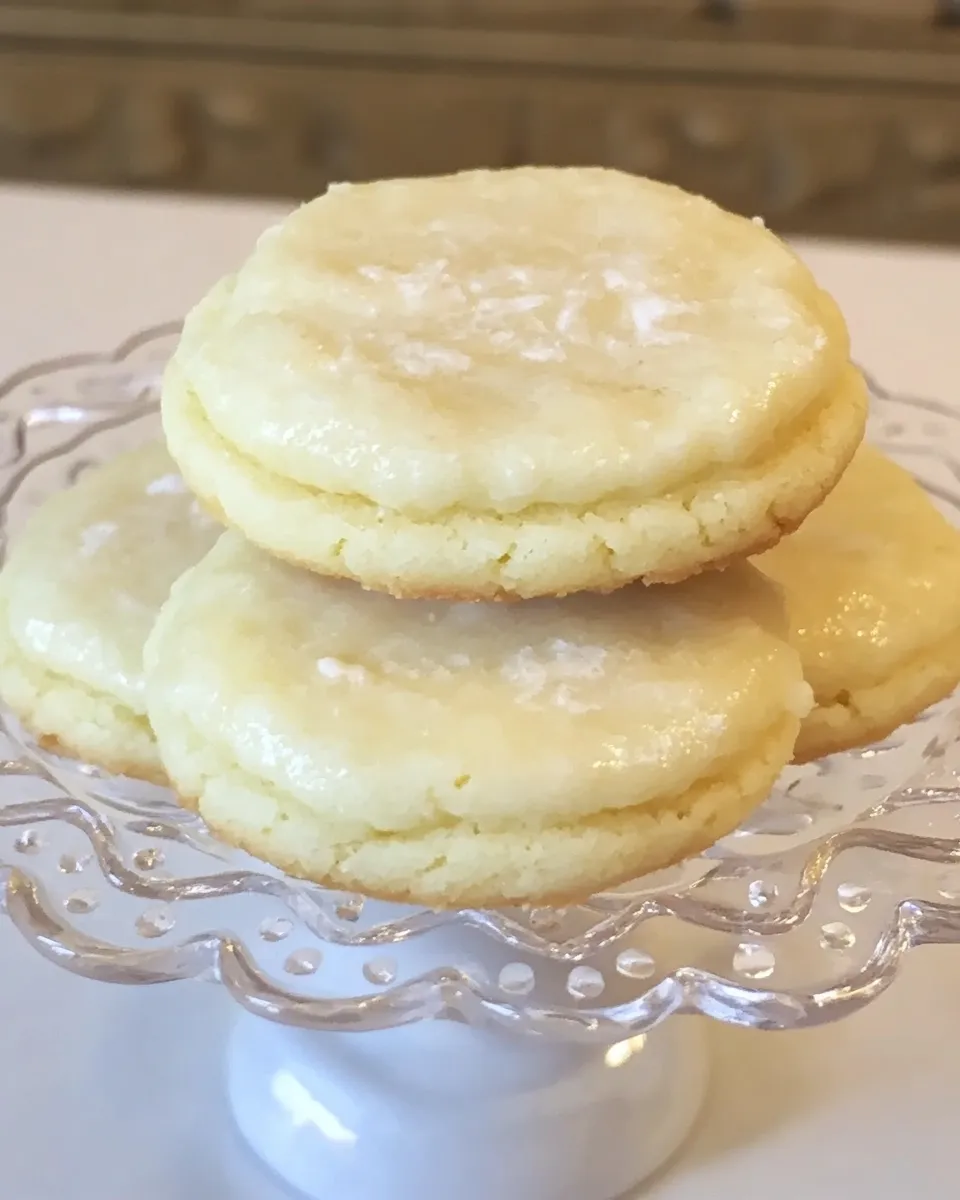
Recipe for Lemon Buttermilk Cookies
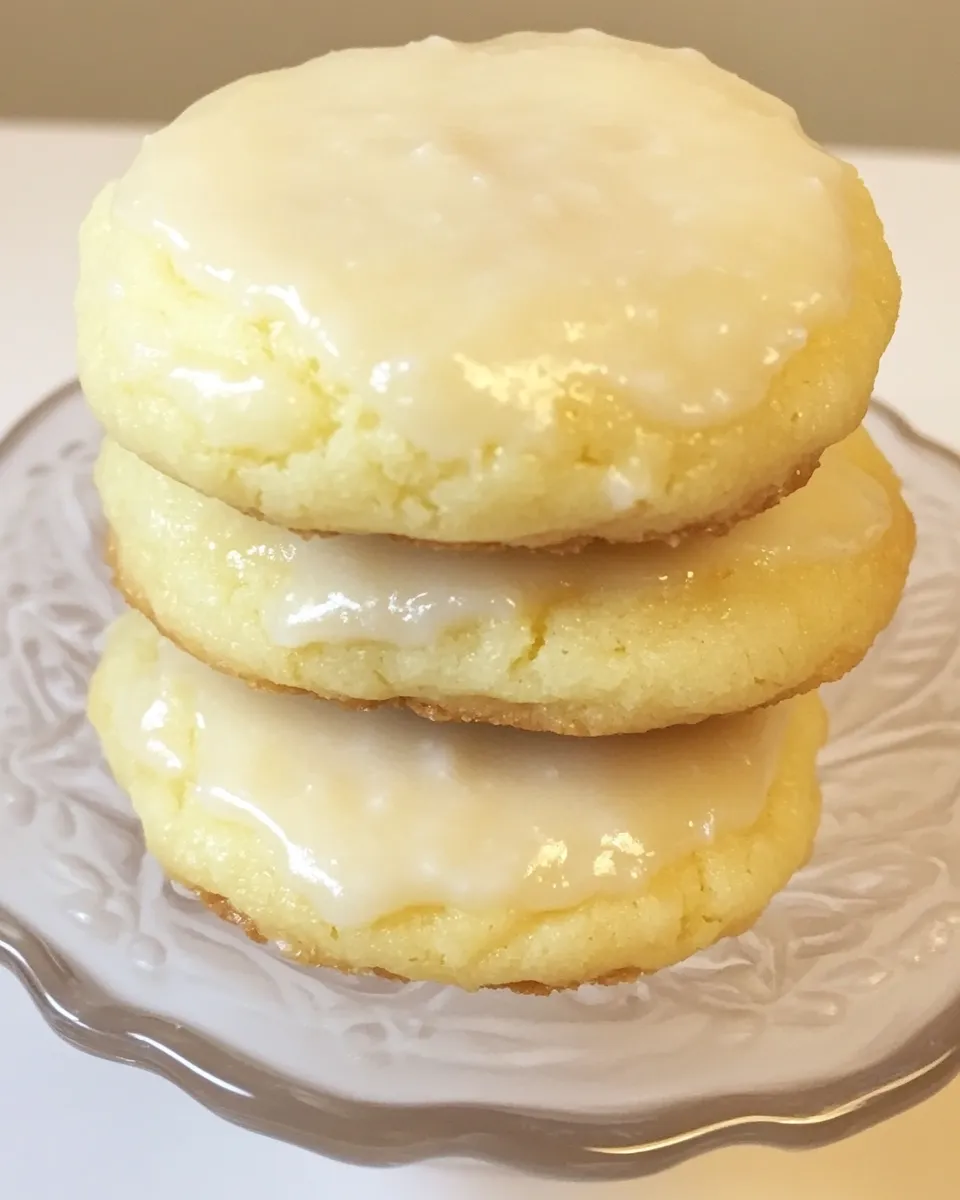
When it comes to cookies, few things can brighten your day quite like the zingy flavor of lemon combined with the rich, comforting touch of buttermilk. These Lemon Buttermilk Cookies are the perfect balance of sweet and tart, offering a delightful treat that’s as refreshing as a warm spring day. The addition of lemon zest not only enhances the flavor but also gives the cookies a lovely, fragrant aroma that draws everyone in. Imagine biting into a soft, chewy cookie with a sweet lemon glaze that dances on your taste buds. Whether you’re hosting a summer gathering or simply indulging in a sweet craving, this recipe is sure to impress.
The Upside of Recipe for Lemon Buttermilk Cookies
If you’ve been searching for a cookie that stands out from the crowd, look no further. These Lemon Buttermilk Cookies are not only delicious but also incredibly easy to make. The buttermilk adds a subtle tang that perfectly complements the bright lemon flavor, making each bite a burst of sunshine. Plus, they are versatile enough to be enjoyed at any time of the year. Here are a few reasons to love this recipe:
- Bright, zesty flavor with a hint of sweetness.
- Soft, chewy texture that melts in your mouth.
- Easy to make with simple ingredients.
- Perfect for any occasion, from casual snacks to elegant gatherings.
The Essentials
Before we dive into the baking process, let’s gather the essential ingredients. Here’s what you’ll need for these delightful Lemon Buttermilk Cookies:
- 1 ½ cups unbleached all-purpose flour
- Zest of two lemons
- ½ tsp baking soda
- ¼ tsp salt
- 6 tablespoons unsalted butter, at room temperature
- ¾ cup granulated sugar
- 1 large egg
- 1 tsp vanilla extract
- ⅓ cup well-shaken buttermilk
For the glaze, you will need:
- 1 cup confectioners’ sugar, sifted
- 1 Tbsp well-shaken buttermilk
- ½ tsp vanilla extract
- ½ tsp lemon zest
Tools & Equipment Needed
Gathering the right tools will make your cookie-making experience smoother. Here’s what you’ll need:
- Mixing bowls – for combining ingredients.
- Whisk – to blend wet ingredients evenly.
- Measuring cups and spoons – for accurate ingredient portions.
- Baking sheet – to bake the cookies.
- Parchment paper – for easy cleanup and to prevent sticking.
- Cooling rack – to cool the cookies after baking.
The Method for Recipe for Lemon Buttermilk Cookies
Now, let’s get baking! Follow these simple steps to create your Lemon Buttermilk Cookies:
Step 1: Preheat Your Oven
Begin by preheating your oven to 350°F (175°C). This ensures that your cookies bake evenly and achieve that perfect golden color.
Step 2: Prepare the Baking Sheet
Line a baking sheet with parchment paper. This will help your cookies bake without sticking and make cleanup a breeze.
Step 3: Mix the Dry Ingredients
In a medium mixing bowl, whisk together the unbleached all-purpose flour, baking soda, and salt. This helps to evenly distribute the leavening agent and the salt throughout the flour.
Step 4: Cream the Butter and Sugar
In a large mixing bowl, beat the unsalted butter and granulated sugar together until the mixture is light and fluffy. This usually takes about 2-3 minutes with a hand mixer or stand mixer.
Step 5: Add Egg and Vanilla
Add the large egg and vanilla extract to the butter-sugar mixture. Beat until thoroughly combined.
Step 6: Incorporate the Buttermilk and Lemon Zest
Gently stir in the well-shaken buttermilk and lemon zest. Make sure everything is mixed well without overworking the dough.
Step 7: Combine Wet and Dry Ingredients
Gradually add the dry ingredients to the wet mixture, stirring until just combined. Be careful not to overmix; a few lumps are perfectly fine.
Step 8: Scoop and Bake
Using a cookie scoop or tablespoon, drop rounded dough onto the prepared baking sheet, leaving space between each cookie. Bake in the preheated oven for 10-12 minutes, or until the edges are lightly golden.
Step 9: Cool the Cookies
Remove the cookies from the oven and let them cool on the baking sheet for a few minutes before transferring them to a cooling rack.
Step 10: Prepare the Glaze
While the cookies are cooling, prepare the glaze. In a small bowl, whisk together the sifted confectioners’ sugar, well-shaken buttermilk, vanilla extract, and lemon zest until smooth.
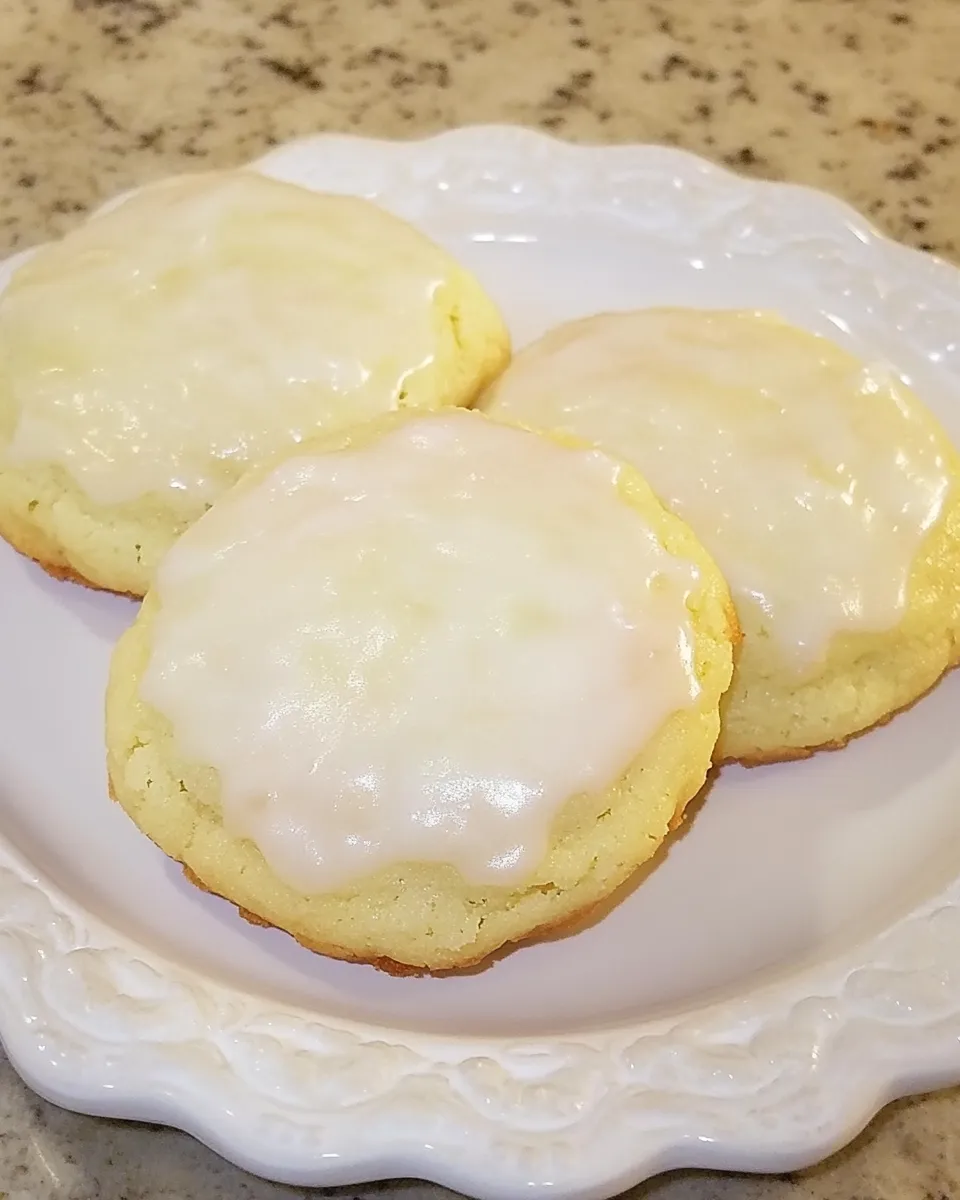
Step 11: Glaze the Cookies
Once the cookies are completely cool, drizzle the glaze over the top, allowing it to set before serving.
Health-Conscious Tweaks
If you’re looking to make these cookies a bit healthier without sacrificing flavor, consider the following tweaks:
- Substitute half of the all-purpose flour with whole wheat flour for added fiber.
- Use coconut sugar instead of granulated sugar for a lower glycemic index option.
- Replace the butter with coconut oil or a plant-based butter alternative.
- Try using a sugar substitute that measures cup-for-cup like stevia or monk fruit sweetener.
Easy-to-Miss Gotchas
Even the most experienced bakers can sometimes overlook details. Here are a few things to remember while making your Lemon Buttermilk Cookies:
- Make sure your butter is truly at room temperature. If it’s too cold, it won’t cream properly with the sugar.
- Accurate measuring is key; too much flour can lead to dry cookies. Always spoon flour into your measuring cup and level off with a knife.
- Don’t skip the chilling time for your cookies before baking if your kitchen is particularly warm; this helps maintain their shape.
- Allow the cookies to cool completely before glazing to prevent the glaze from melting into the cookies.
Save for Later: Storage Tips
Once you’ve baked your delicious Lemon Buttermilk Cookies, you’ll want to keep them fresh. Here are some tips for storing them:
- Store cookies in an airtight container at room temperature for up to one week.
- If you want to keep them longer, freeze the unglazed cookies in a single layer, then transfer them to a freezer bag for up to three months.
- For best results, glaze the cookies after thawing them, so the glaze remains fresh and bright.
Ask & Learn
Can I make these cookies gluten-free?
Yes! You can substitute the all-purpose flour with a gluten-free all-purpose flour blend. Make sure to check that the blend contains xanthan gum for the best texture.
What can I use instead of buttermilk?
If you don’t have buttermilk on hand, you can make a quick substitute by adding 1 tablespoon of vinegar or lemon juice to a cup of milk. Let it sit for about 5 minutes before using it in your recipe.
How do I know when the cookies are done baking?
The cookies will be lightly golden around the edges and may look slightly underbaked in the center. They will continue to firm up as they cool.
Can I add other flavors or mix-ins?
Absolutely! Feel free to experiment by adding white chocolate chips, chopped nuts, or dried cranberries for an extra layer of flavor.
Ready to Cook?
Now that you have everything you need to make these delightful Lemon Buttermilk Cookies, it’s time to gather your ingredients and get started. With their sunny flavor and irresistible texture, these cookies are bound to become a favorite in your home. Let the sweet aroma of lemon fill your kitchen as you bake a batch (or two) of these scrumptious treats. Happy baking!
The recipe for Lemon Buttermilk Cookies is not just a delicious treat, but a way to bring a little joy into your day. Whether you share them with friends and family or keep them all to yourself (we won’t tell!), these cookies are sure to leave a lasting impression. Enjoy every bite!

Recipe for Lemon Buttermilk Cookies
Ingredients
Equipment
Method
- Step 1: Preheat your oven to 350°F (175°C).
- Step 2: Line a baking sheet with parchment paper.
- Step 3: In a medium bowl, whisk together the flour, baking soda, and salt.
- Step 4: In a large bowl, beat the butter and sugar until light and fluffy.
- Step 5: Add the egg and vanilla, beating until combined.
- Step 6: Stir in the buttermilk and lemon zest.
- Step 7: Gradually add the dry ingredients to the wet mixture, stirring until just combined.
- Step 8: Drop rounded dough onto the prepared baking sheet and bake for 10-12 minutes.
- Step 9: Let the cookies cool on the baking sheet for a few minutes before transferring to a cooling rack.
- Step 10: In a small bowl, whisk together the glaze ingredients until smooth.
- Step 11: Drizzle the glaze over the cooled cookies.
Notes
- Store cookies in an airtight container for up to one week.
- Freeze unglazed cookies in a single layer for up to three months.
- Glaze cookies after thawing for the best results.