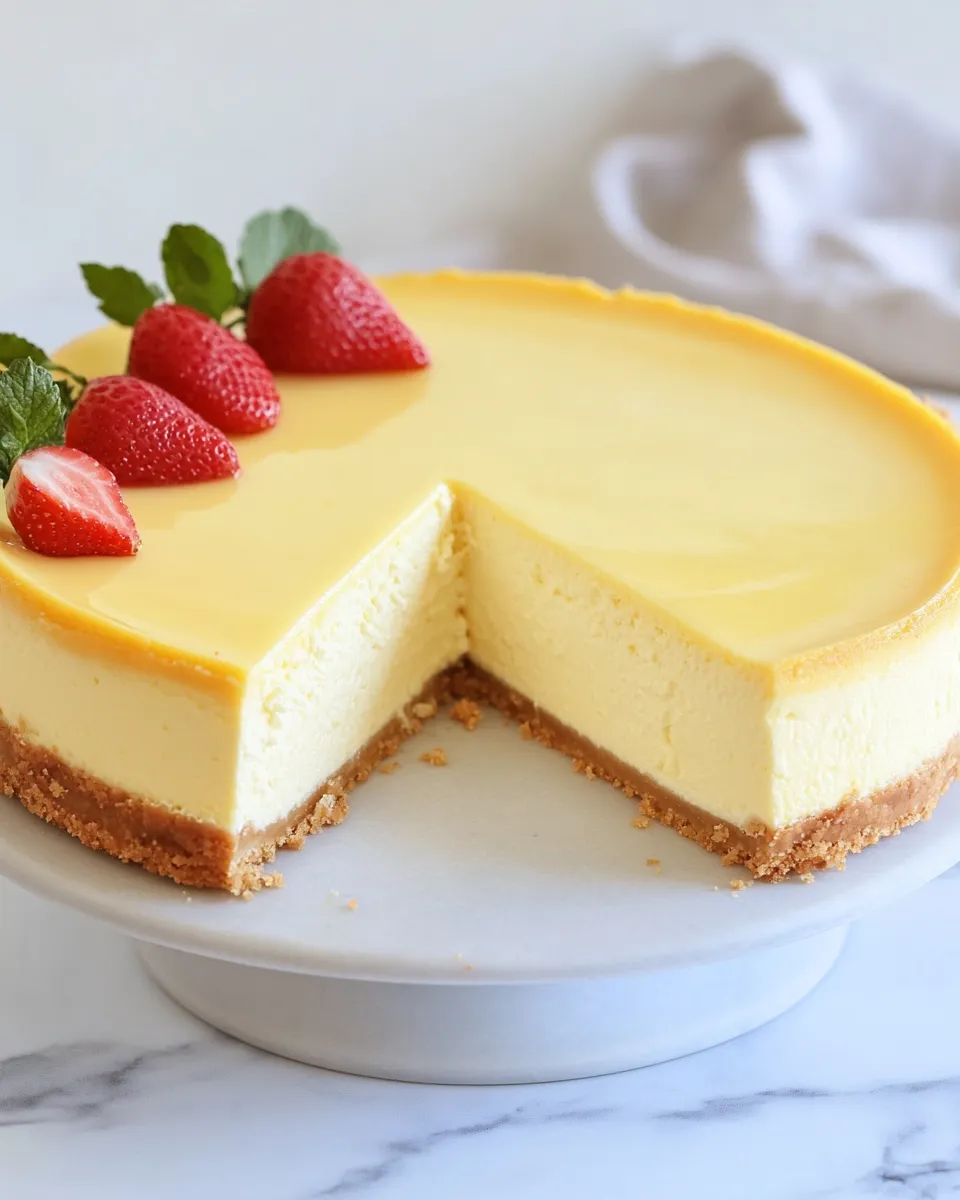
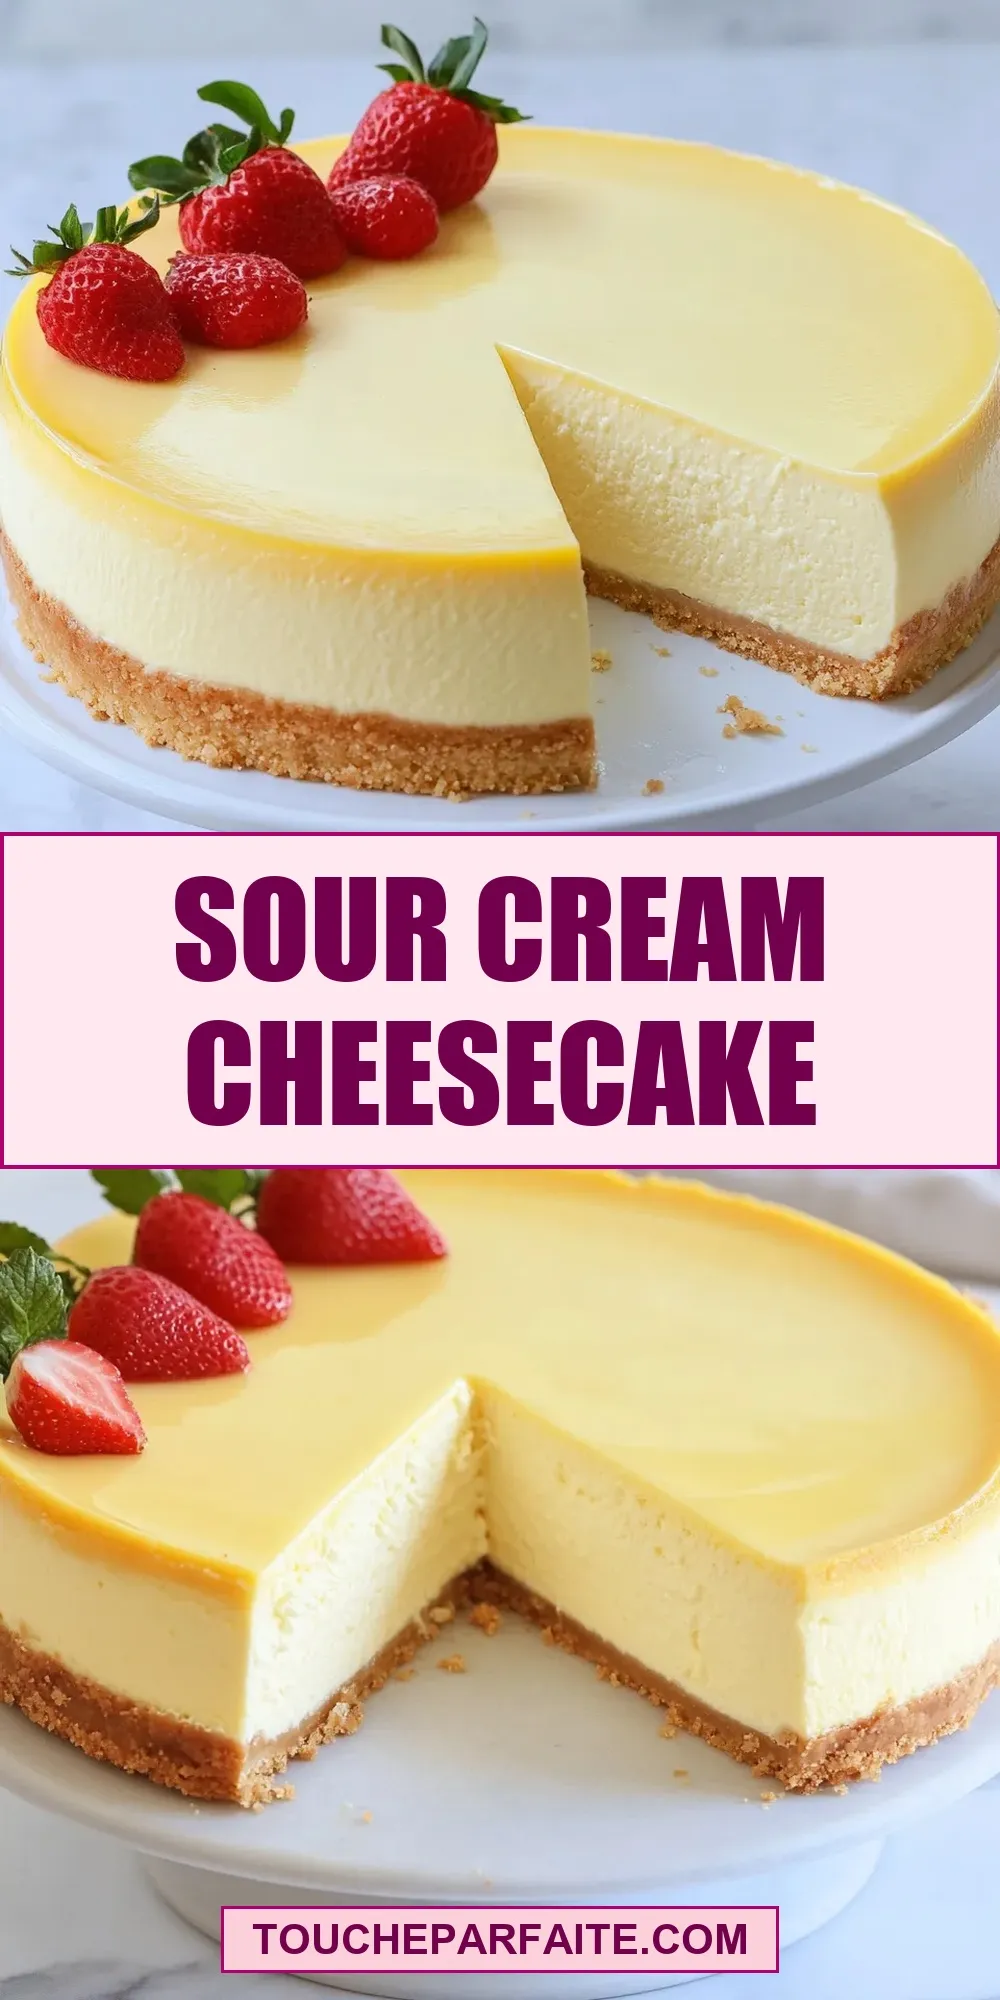
Sour Cream Cheesecake
There’s something irresistibly creamy and tangy about a classic Sour Cream Cheesecake that keeps me coming back for more. This luscious dessert combines the rich, velvety texture of cream cheese with the subtle tartness of sour cream, creating a perfectly balanced treat that’s both elegant and comforting. With a buttery graham cracker crust and a smooth, dreamy filling, this cheesecake is ideal for any occasion—from festive celebrations to cozy gatherings. Whether you serve it plain or topped with fresh fruit, it’s a timeless favorite that never fails to impress.
Why It’s My Go-To
This Sour Cream Cheesecake has earned a permanent spot in my recipe collection because it’s incredibly simple yet delivers extraordinary flavor and texture. The addition of sour cream adds a subtle tang that cuts through the richness of the cream cheese, resulting in a bright and refreshing finish that’s not overly sweet. It’s foolproof and forgiving, perfect for both beginners and seasoned bakers alike. Plus, the crust is buttery and crisp, providing the ideal contrast to the creamy filling. It’s the kind of dessert that feels indulgent without being heavy, making it the ideal choice when you want to wow guests or treat yourself.
Ingredient Rundown
- 1 1/2 cups graham cracker crumbs – This forms the crunchy, flavorful base. I like to use plain graham crackers for that classic taste and texture.
- 2 1/2 tablespoons granulated sugar – Adds just a touch of sweetness to the crust to balance the tangy filling.
- 7 tablespoons unsalted butter, melted – Binds the crust ingredients together and adds buttery richness.
- 32 ounces cream cheese, softened to room temperature – The star of the filling, it provides that signature creamy texture.
- 1 cup granulated sugar – Sweetens the filling perfectly without overpowering the tang from the sour cream.
- 2/3 cup sour cream – Gives the cheesecake its unique tang and silky texture.
- 1 teaspoon vanilla extract – Enhances the overall flavor with a warm, aromatic note.
- 1/4 teaspoon salt – Balances and enhances all the flavors.
- 4 large eggs, slightly beaten at room temperature – Binds the filling together and lends structure without heaviness.
- Fresh fruit for serving (optional) – Berries, sliced peaches, or pomegranate seeds add freshness and color to the finished cheesecake.
Tools of the Trade
- 9-inch springform pan – Essential for easily removing the cheesecake without damaging it.
- Mixing bowls – For combining crust and filling ingredients smoothly.
- Electric mixer – A stand or hand mixer makes beating the cream cheese filling effortless and lump-free.
- Measuring cups and spoons – Accuracy is key for baking success.
- Spatula – For scraping down the sides of the bowl and smoothing the cheesecake surface.
- Aluminum foil – To wrap the pan for a water bath, ensuring even baking and preventing cracks.
- Large roasting pan or baking dish – For the water bath to keep moisture consistent during baking.
Sour Cream Cheesecake — Do This Next
Step 1: Prepare the Crust
Preheat your oven to 325°F (163°C). In a medium bowl, combine the graham cracker crumbs, 2 1/2 tablespoons granulated sugar, and melted butter. Stir until the mixture resembles wet sand. Press the crust evenly into the bottom of a 9-inch springform pan. Use the bottom of a glass or measuring cup to firmly compact the crust. Bake for 10 minutes, then remove from the oven and allow it to cool while you prepare the filling.
Step 2: Make the Cheesecake Filling
In a large mixing bowl, beat the softened cream cheese with 1 cup sugar until smooth and creamy. Add the sour cream, vanilla extract, and salt; mix until fully combined. Gradually add the eggs, one at a time, beating gently after each addition. Be careful not to overmix, as this can incorporate too much air and cause cracks in the cheesecake.
Step 3: Bake the Cheesecake
Pour the filling over the cooled crust and smooth the top with a spatula. Wrap the bottom and sides of the springform pan with aluminum foil to prevent water from seeping in. Place the springform pan inside a larger roasting pan and pour hot water into the roasting pan until it reaches halfway up the sides of the springform pan. Bake for about 55-65 minutes, or until the edges are set but the center still jiggles slightly.
Step 4: Cool and Chill
Turn off the oven and leave the cheesecake inside with the door slightly open for 1 hour. This gradual cooling prevents cracks. Remove the cheesecake from the water bath and foil, then refrigerate for at least 4 hours or overnight until fully set.
Step 5: Serve
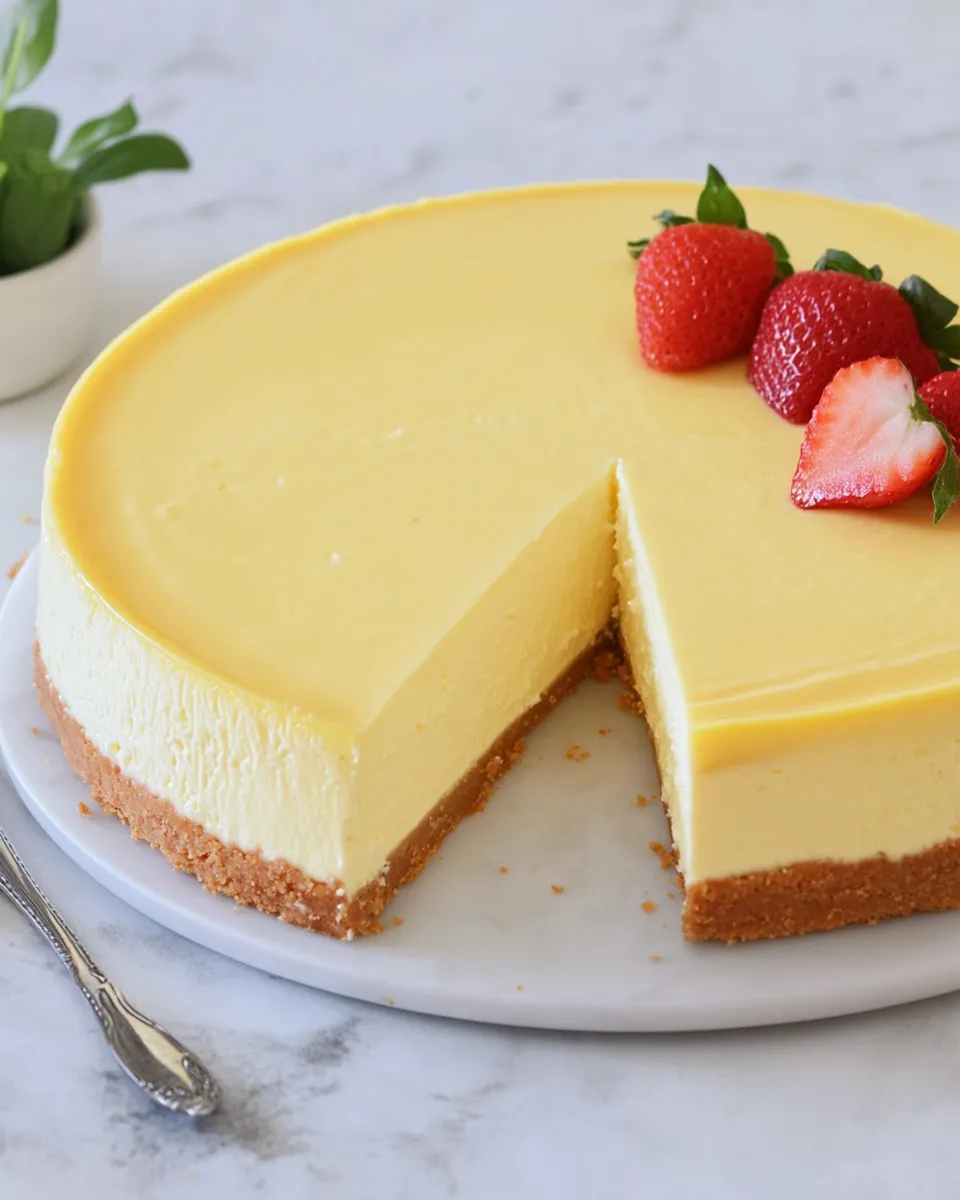
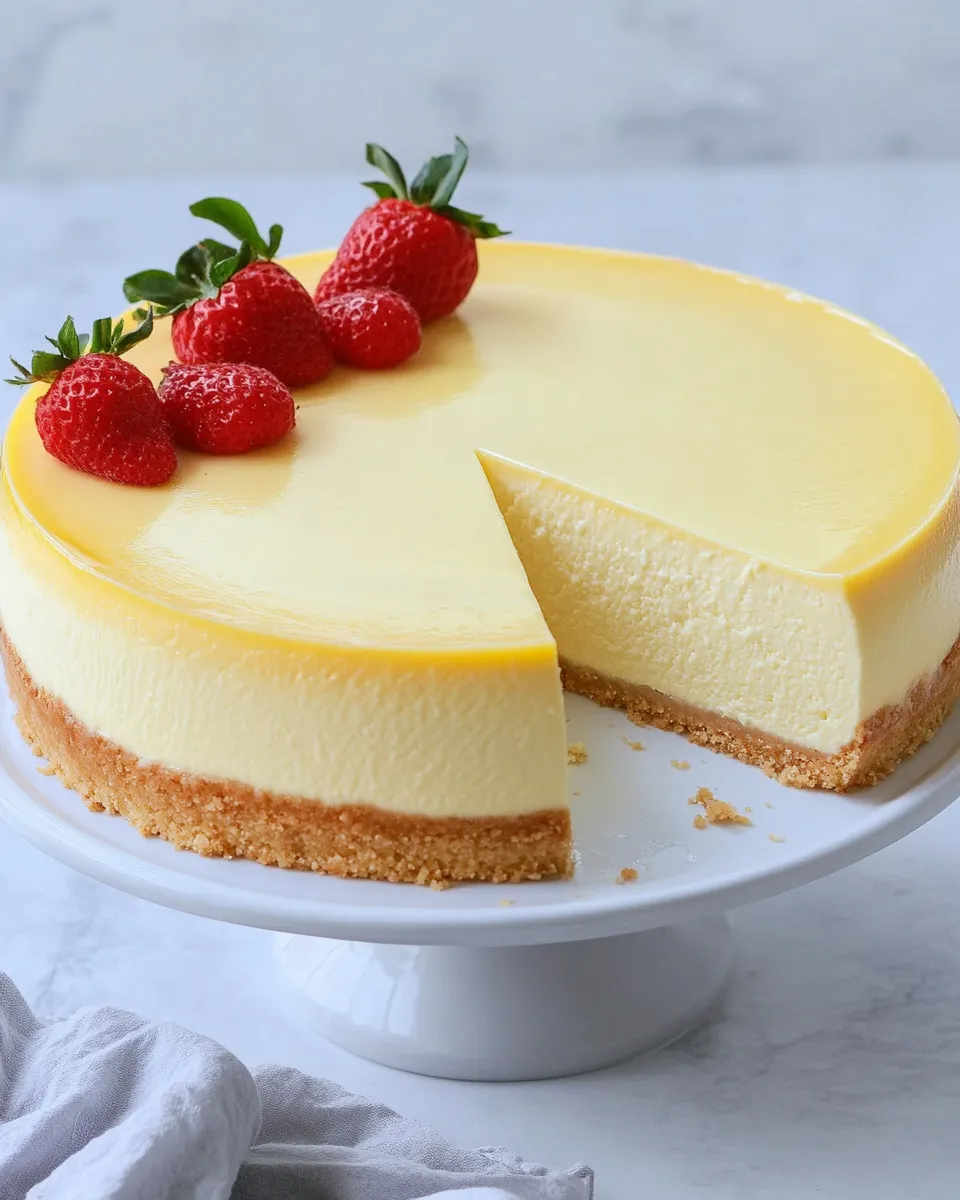
Release the springform pan sides and transfer the cheesecake to a serving plate. Top with fresh fruit if desired, such as a vibrant medley of berries or a few slices of juicy peaches. For a special touch, try pairing it with a luscious sauce or glaze.
Holiday & Seasonal Touches
- Add a swirl of cranberry sauce or pomegranate seeds during the winter holidays for a festive pop of color and flavor.
- Top with fresh sliced strawberries and a drizzle of honey or balsamic reduction in spring and summer.
- Incorporate a pinch of cinnamon or nutmeg into the crust or filling for subtle warmth during autumn.
- Serve alongside a spiced compote or a dollop of whipped cream infused with vanilla or citrus zest.
What I Learned Testing
Through multiple test bakes, I discovered that allowing the cream cheese and eggs to come to room temperature is crucial for a smooth filling without lumps. The water bath is a game changer—it keeps the baking environment moist and prevents cracking, ensuring that signature creamy texture. Avoid overmixing the batter to reduce air bubbles, which can cause the cheesecake to puff and crack. Lastly, the sour cream isn’t just for tang; it helps maintain moisture and a velvety mouthfeel that distinguishes this cheesecake from others.
Store, Freeze & Reheat
This cheesecake stores beautifully in the refrigerator for up to 5 days when covered tightly with plastic wrap or stored in an airtight container. For longer storage, wrap it well and freeze it for up to 2 months. To thaw, place it in the refrigerator overnight. Avoid reheating—serve chilled for the best texture and flavor. If you want to serve it with warmed fruit toppings or sauces, heat those separately to keep the cheesecake perfectly intact.
Common Qs About Sour Cream Cheesecake
Can I use low-fat sour cream instead of regular?
You can substitute low-fat sour cream, but keep in mind it may slightly affect the richness and texture of your cheesecake. The full-fat version adds creaminess and tang that low-fat alternatives can’t fully replicate.
What’s the best way to prevent cracks on the cheesecake surface?
Using a water bath is key to even baking and moisture retention. Also, avoid overmixing the batter and bake until the edges are set but the center still jiggles. Gradual cooling by leaving the cheesecake in the turned-off oven for an hour helps prevent cracks as well.
Can I make this cheesecake ahead of time?
Absolutely! In fact, it tastes even better after sitting overnight in the fridge. Just make sure to cover it tightly to keep it fresh. This makes it a great dessert option for holidays or dinner parties.
What fruit toppings pair best with this cheesecake?
Fresh berries, sliced peaches, or pomegranate seeds add a beautiful contrast in flavor and texture. You could also try a warm berry compote or a drizzle of caramel sauce. For a quick and delightful twist, check out this Caramel Apple Cheesecake Dip 3 Minute Prep for inspiration on cheesecake-inspired toppings.
Next Steps
Ready to impress with this creamy and tangy Sour Cream Cheesecake? Gather your ingredients, prep your tools, and dive into the step-by-step instructions above. Don’t forget to experiment with seasonal toppings to make it your own signature dessert. Whether it’s a special occasion or just a weekend treat, this cheesecake is sure to become your new favorite. Happy baking!
Rich, creamy, and irresistibly smooth, this Sour Cream Cheesecake is a dessert classic that delivers on flavor and texture every time. The perfect balance of sweet and tangy, paired with a buttery crust, makes it a crowd-pleaser for any occasion. Serve it chilled with fresh fruit or a drizzle of sauce, and watch it disappear in no time.
Share on Pinterest
Sour Cream Cheesecake
Ingredients
Equipment
Method
- Preheat your oven to 325°F (163°C). In a medium bowl, combine the graham cracker crumbs, 2 1/2 tablespoons granulated sugar, and melted butter. Stir until the mixture resembles wet sand. Press the crust evenly into the bottom of a 9-inch springform pan. Use the bottom of a glass or measuring cup to firmly compact the crust. Bake for 10 minutes, then remove from the oven and allow it to cool while you prepare the filling.
- In a large mixing bowl, beat the softened cream cheese with 1 cup sugar until smooth and creamy. Add the sour cream, vanilla extract, and salt; mix until fully combined. Gradually add the eggs, one at a time, beating gently after each addition. Be careful not to overmix, as this can incorporate too much air and cause cracks in the cheesecake.
- Pour the filling over the cooled crust and smooth the top with a spatula. Wrap the bottom and sides of the springform pan with aluminum foil to prevent water from seeping in. Place the springform pan inside a larger roasting pan and pour hot water into the roasting pan until it reaches halfway up the sides of the springform pan. Bake for about 55-65 minutes, or until the edges are set but the center still jiggles slightly.
- Turn off the oven and leave the cheesecake inside with the door slightly open for 1 hour. This gradual cooling prevents cracks. Remove the cheesecake from the water bath and foil, then refrigerate for at least 4 hours or overnight until fully set.
- Release the springform pan sides and transfer the cheesecake to a serving plate. Top with fresh fruit if desired, such as a vibrant medley of berries or a few slices of juicy peaches. For a special touch, try pairing it with a luscious sauce or glaze.
Notes
- Use a water bath during baking to keep the cheesecake moist and prevent cracks.
- Allow cream cheese and eggs to come to room temperature for a smooth, lump-free filling.
- Do not overmix the batter to avoid incorporating too much air and cracking.
- Store leftovers covered in the refrigerator for up to 5 days or freeze for up to 2 months.
- Top with seasonal fruits or sauces to customize flavors and presentation.