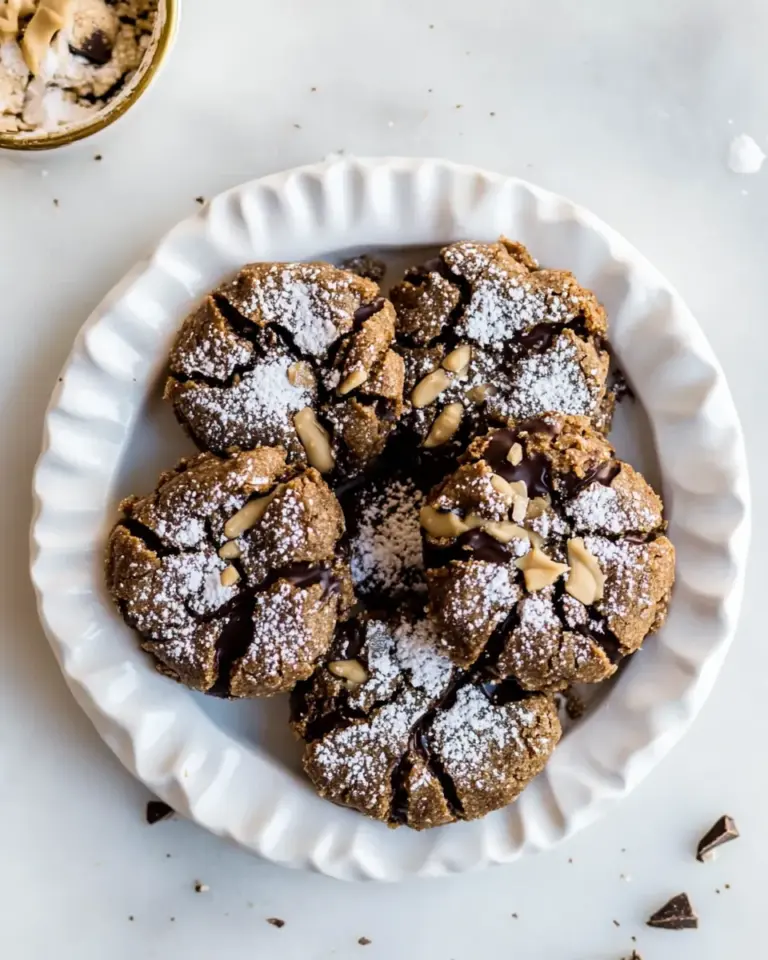
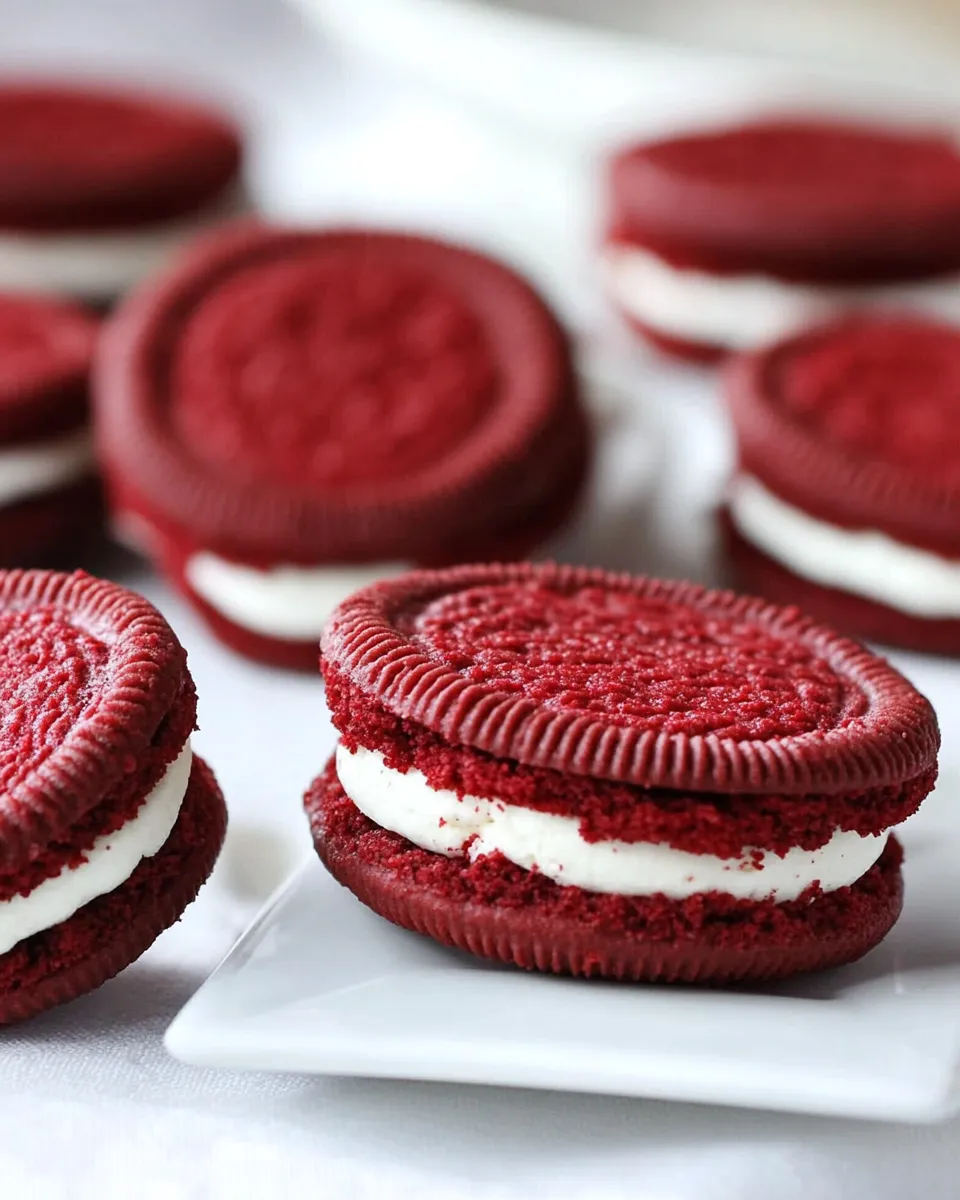
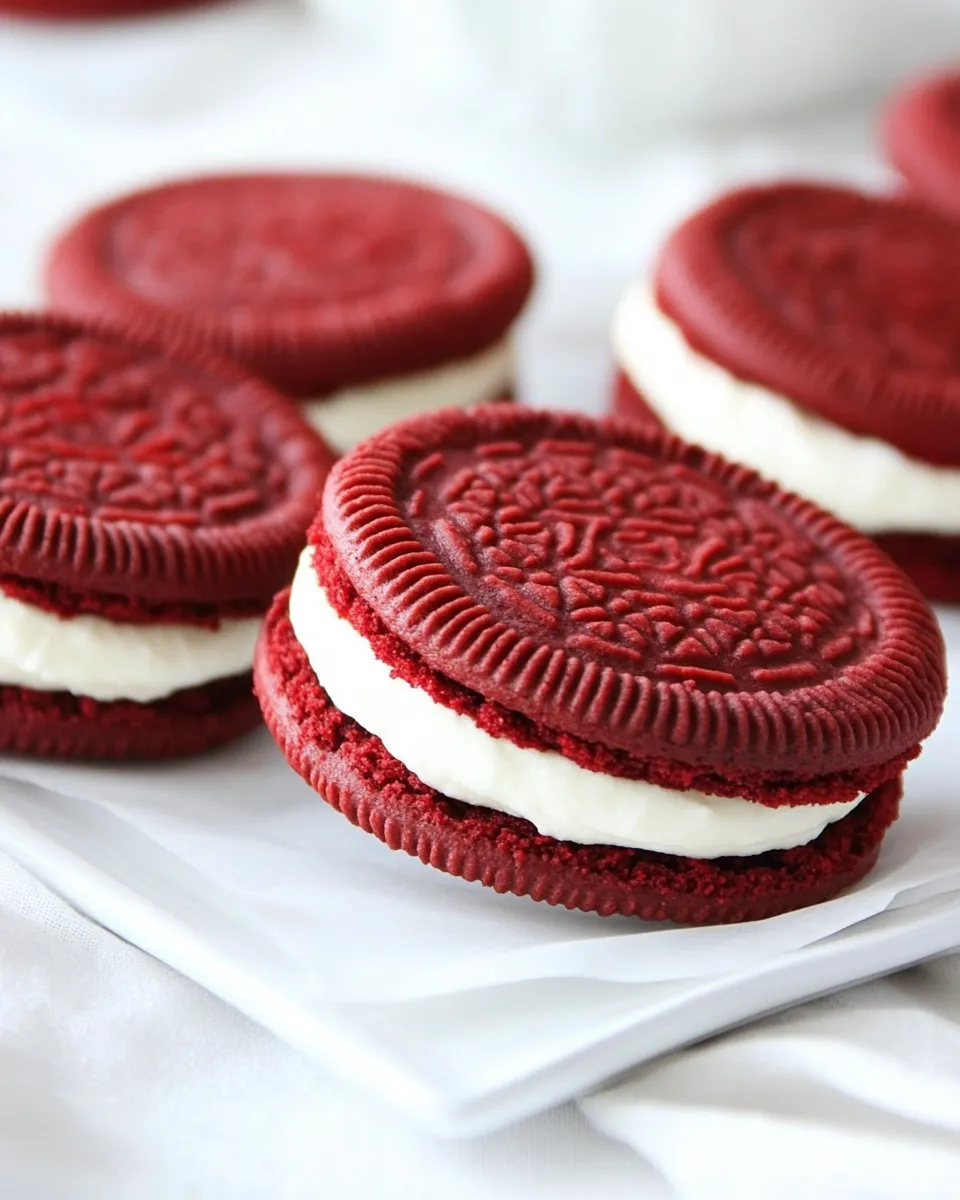
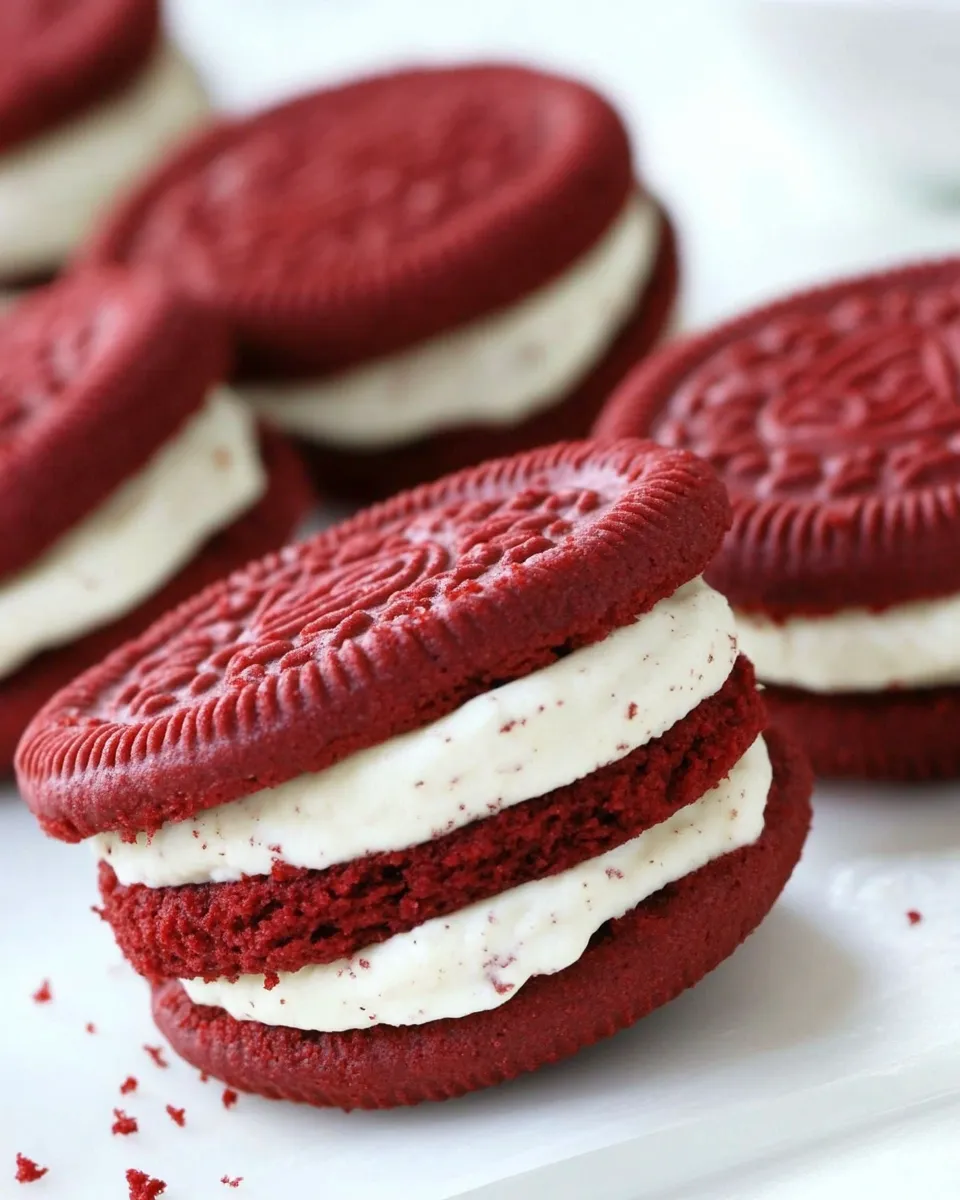
Homemade Red Velvet Oreos
If you love the classic Oreo cookie but crave a twist that’s colorful, flavorful, and utterly irresistible, then Homemade Red Velvet Oreos are exactly what you need. These delightful treats combine the rich, velvety texture of red velvet cake with a creamy, dreamy filling, all sandwiched between two perfectly soft yet slightly crisp cookies. Baking these from scratch is simpler than you think, and the results will have everyone asking for more. Whether you’re planning a festive dessert table or just want to indulge your sweet tooth with something special, these cookies bring charm and flavor in every bite.
Why This Recipe is a Keeper
What makes these Homemade Red Velvet Oreos stand out? First, the cookies have that signature red velvet allure with just a hint of cocoa, delivering a deep, complex flavor that’s balanced by the sweet, creamy filling. Unlike store-bought Oreos, these are soft on the inside with a gentle crunch on the edges, offering a delightful texture contrast. The recipe is straightforward, uses easy-to-find ingredients, and doesn’t require any unusual equipment. Plus, you control the sweetness and coloring, making it perfect for celebrations or everyday treats. Once you try these, you’ll see why they’re a staple in my baking rotation.
Your Shopping Guide
- All-purpose flour (1 1/2 cups): The foundation of your cookie dough, providing structure.
- Unsweetened cocoa powder (2 tablespoons): Adds that subtle chocolate depth without overpowering the red velvet flavor.
- Baking soda (1 teaspoon) and baking powder (1/4 teaspoon): Help your cookies rise and become tender.
- Salt (1/4 teaspoon): Enhances all the flavors.
- Sugar (1 cup): Sweetens the dough perfectly.
- Unsalted butter (16 tablespoons, softened): Divided between the dough and the filling for richness.
- Large egg (1): Binds the dough together and adds moisture.
- Liquid red food coloring (1 tablespoon): Gives these cookies their iconic red hue.
- Powdered sugar (2 cups): For the smooth, sweet filling.
- Vegetable shortening (1/2 cup): Adds stability and creaminess to the filling.
- Hot water (1 tablespoon): Helps to blend the filling ingredients smoothly.
- Vanilla extract (1/2 teaspoon): Enhances the flavor of the filling.
Equipment Breakdown
- Mixing bowls: For combining dry and wet ingredients separately.
- Electric mixer or hand mixer: Essential for creaming butter and sugar, and whipping the filling.
- Measuring cups and spoons: Accurate measurements mean consistent results.
- Baking sheets: For arranging your cookie dough rounds before baking.
- Parchment paper or silicone baking mats: Prevents sticking and ensures even baking.
- Cooling racks: Allows cookies to cool evenly without sogginess.
- Small spatula or knife: For spreading the filling evenly between cookies.
Method: Homemade Red Velvet Oreos
Step 1: Prep Your Oven and Ingredients
Preheat your oven to 350°F (175°C). Line two baking sheets with parchment paper or silicone mats. In a medium bowl, sift together 1 1/2 cups of all-purpose flour, 2 tablespoons of unsweetened cocoa powder, 1 teaspoon baking soda, 1/4 teaspoon baking powder, and 1/4 teaspoon salt. Set aside.
Step 2: Cream Butter and Sugar
Using an electric mixer, beat 8 tablespoons of softened unsalted butter with 1 cup sugar until fluffy and light in color, about 3-5 minutes. This step is key to giving your cookies a tender texture.
Step 3: Add Egg and Red Food Coloring
Beat in the large egg until combined, then mix in 1 tablespoon of liquid red food coloring. The batter will take on a vibrant red hue, which is signature to these cookies.
Step 4: Combine Wet and Dry Ingredients
Gradually add the dry ingredients to the wet mixture, mixing on low speed until just combined. Be careful not to overmix; stop when the dough comes together.
Step 5: Shape the Cookies
Roll the dough into small balls, about 1 tablespoon each. Place them on the prepared baking sheets, spacing them about 2 inches apart. Flatten each ball slightly with the palm of your hand or bottom of a glass.
Step 6: Bake the Cookies
Bake for 8-10 minutes, or until the edges are set but the centers still look slightly soft. Remove from oven and let the cookies cool on the baking sheet for 5 minutes before transferring to a cooling rack to cool completely.
Step 7: Make the Creamy Filling
In a clean bowl, beat together 8 tablespoons softened unsalted butter and 1/2 cup vegetable shortening until creamy. Add 2 cups powdered sugar gradually, beating well. Stir in 1 tablespoon hot water and 1/2 teaspoon vanilla extract until smooth and fluffy.
Step 8: Assemble Your Red Velvet Oreos
Once the cookies are fully cooled, spread about 1 teaspoon of filling on the flat side of one cookie. Top with another cookie, pressing gently to create a sandwich. Repeat with remaining cookies and filling.
Smart Substitutions
- Butter: You can substitute with margarine or a plant-based butter alternative if preferred.
- Vegetable shortening: Use coconut oil, solidified, for a slightly different but delicious filling texture.
- Liquid red food coloring: Substitute with natural beet juice or powdered beetroot for a natural red tint.
- All-purpose flour: For a gluten-free option, try a gluten-free flour blend, but expect a different texture.
Don’t Do This
- Don’t skip sifting the dry ingredients; it prevents lumps and ensures even mixing.
- Don’t overmix the dough once the dry ingredients are added; overworking can make cookies tough.
- Don’t assemble the cookies when they’re warm; the filling will melt and make a mess.
- Don’t forget to cool cookies completely before sandwiching to maintain their shape and texture.
Storing Tips & Timelines
To keep your Homemade Red Velvet Oreos fresh, store them in an airtight container at room temperature for up to 4 days. If you want them to last longer, refrigerate for up to 1 week. Just be sure to bring them to room temperature before serving for the best flavor and texture. For even longer storage, freeze the assembled cookies in a single layer on a baking sheet, then transfer to a freezer-safe container or bag for up to 3 months. Thaw at room temperature before enjoying.
Troubleshooting Q&A
Why are my cookie edges too hard?
If your cookie edges are turning out hard, it’s likely they baked too long or your oven runs hot. Try reducing the baking time by a minute or two and double-check your oven temperature with an oven thermometer. Also, ensure you’re flattening the dough balls slightly before baking to promote even cooking.
My cookies spread too much and lost their shape. What went wrong?
This usually happens if the dough is too warm or the butter was too soft when mixed. Chill the dough for at least 30 minutes before baking to prevent excessive spreading. Also, make sure you’re measuring flour correctly; too little flour can cause spreading.
How can I get a more vibrant red color?
Use a high-quality liquid red food coloring and add the full tablespoon as specified. Natural alternatives like beet juice may yield a softer hue, but they’re a great option if you prefer natural ingredients. Remember that cocoa powder slightly darkens the red, so the final color is a beautiful deep red velvet tone.
What if my filling is too runny?
Make sure your powdered sugar is fresh and sift it before mixing to avoid lumps. If the filling still seems runny, add a little more powdered sugar, a tablespoon at a time, until the desired consistency is reached. Also, ensure the butter and shortening are well softened but not melted.
Final Thoughts
Baking Homemade Red Velvet Oreos is a fun, rewarding project that elevates a beloved classic into something truly special. The combination of rich cookie flavor and luscious filling will impress family and friends alike. Whether you’re new to baking or a seasoned pro, this recipe is approachable and customizable, making it a fantastic addition to your dessert repertoire. Don’t hesitate to experiment with different fillings or natural colorings to make these cookies your own. Happy baking!
Making these cookies from scratch not only tastes better but fills your kitchen with the comforting aroma of fresh baked goodness. Enjoy every bite!
Share on Pinterest

Homemade Red Velvet Oreos
Ingredients
Equipment
Method
- Preheat your oven to 350°F (175°C). Line two baking sheets with parchment paper or silicone mats. In a medium bowl, sift together 1 1/2 cups of all-purpose flour, 2 tablespoons of unsweetened cocoa powder, 1 teaspoon baking soda, 1/4 teaspoon baking powder, and 1/4 teaspoon salt. Set aside.
- Using an electric mixer, beat 8 tablespoons of softened unsalted butter with 1 cup sugar until fluffy and light in color, about 3-5 minutes.
- Beat in the large egg until combined, then mix in 1 tablespoon of liquid red food coloring.
- Gradually add the dry ingredients to the wet mixture, mixing on low speed until just combined. Be careful not to overmix.
- Roll the dough into small balls, about 1 tablespoon each. Place them on the prepared baking sheets, spacing them about 2 inches apart. Flatten each ball slightly with the palm of your hand or bottom of a glass.
- Bake for 8-10 minutes, or until the edges are set but the centers still look slightly soft. Remove from oven and let cookies cool on the baking sheet for 5 minutes before transferring to a cooling rack to cool completely.
- In a clean bowl, beat together 8 tablespoons softened unsalted butter and 1/2 cup vegetable shortening until creamy. Add 2 cups powdered sugar gradually, beating well. Stir in 1 tablespoon hot water and 1/2 teaspoon vanilla extract until smooth and fluffy.
- Once the cookies are fully cooled, spread about 1 teaspoon of filling on the flat side of one cookie. Top with another cookie, pressing gently to create a sandwich. Repeat with remaining cookies and filling.
Notes
- Store cookies in an airtight container at room temperature for up to 4 days or refrigerate up to 1 week.
- Freeze assembled cookies for up to 3 months; thaw at room temperature before serving.
- Chill the dough before baking to prevent cookies from spreading too much.
- Use high-quality liquid red food coloring for the most vibrant red color.