
Best Butter Mints (Homemade)
Homemade butter mints are a delightful treat that can transport you back to childhood gatherings and celebrations. These little bites of creamy, minty goodness melt in your mouth and are perfect for any occasion, whether it’s a wedding, party, or simply a sweet craving at home. With just a few simple ingredients, you can whip up a batch of these nostalgic sweets that will impress your family and friends. Let’s dive into the world of making the Best Butter Mints (Homemade)!
What Makes This Recipe Special
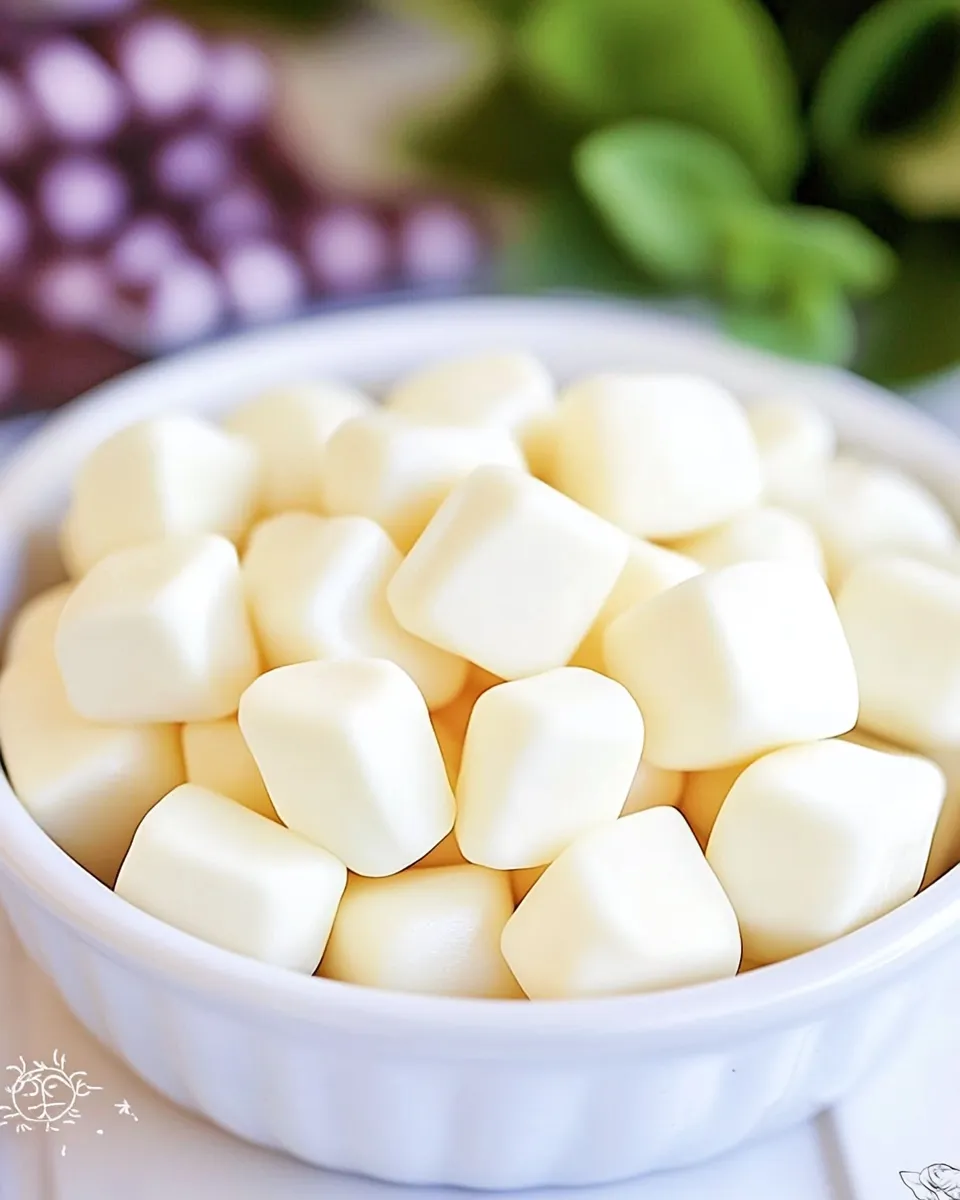
What sets this recipe apart from store-bought mints is the sheer simplicity and the ability to customize flavors and colors. The combination of rich butter, sweet powdered sugar, and refreshing peppermint oil creates a balanced flavor profile that is both indulgent and refreshing. Plus, making these mints at home allows you to control the ingredients, ensuring they are fresh and tailored to your tastes. The addition of food coloring not only makes them visually appealing but can also be adjusted to suit any occasion—think pastel colors for springtime celebrations or vibrant shades for festive gatherings.
Gather These Ingredients
To make the Best Butter Mints (Homemade), you’ll need the following ingredients:
- 1/2 cup butter (equivalent to 1 stick, softened) – This forms the rich base of your mints.
- 4 cups powdered sugar – The primary sweetener, giving the mints their signature melt-in-your-mouth texture.
- 1 tablespoon half and half – Adds a creamy richness to the mixture.
- 1 teaspoon vanilla extract – For a hint of warmth and depth in flavor.
- 1/4 teaspoon peppermint oil – Provides the refreshing mint flavor.
- Dash of salt – Enhances the sweetness and balances the flavors.
- Yellow food coloring – Optional, for adding a fun touch to your mints.
Cook’s Kit
Before you get started, make sure you have the following tools handy:
- Mixing bowl – A large bowl for mixing ingredients.
- Electric mixer – Helps achieve a smooth and creamy texture.
- Rubber spatula – For scraping down the sides of the bowl and mixing.
- Measuring cups and spoons – For precise measurements of ingredients.
- Parchment paper – To prevent sticking when shaping the mints.
- Cookie cutter or knife – For cutting the mints into your desired shapes.
The Method for Best Butter Mints (Homemade)
Creating the Best Butter Mints (Homemade) is a fun and straightforward process. Follow these steps to create your own batch:
Step 1: Cream the Butter
In a large mixing bowl, beat the softened butter using an electric mixer on medium speed until it is light and fluffy. This should take about 2-3 minutes.
Step 2: Add Sugar and Other Ingredients
Gradually add the powdered sugar, mixing on low speed to prevent a sugar cloud. Once incorporated, add the half and half, vanilla extract, peppermint oil, and a dash of salt. Continue mixing until the ingredients are well combined and the mixture is smooth.
Step 3: Color the Mixture
If you want to add a pop of color, now is the time! Add a few drops of yellow food coloring to the mixture. Start with a small amount and mix until you achieve your desired shade.
Step 4: Shape the Mints
Once your mixture is ready, turn it out onto a clean surface dusted with powdered sugar. Using your hands, roll small pieces of the mixture into balls or logs, depending on your preference. If using a cookie cutter, roll the mixture out to about 1/4 inch thickness and cut out shapes.
Step 5: Let Them Set
Place the shaped mints onto a parchment-lined baking sheet. Allow them to set at room temperature for about 1-2 hours until they firm up. For quicker results, you can refrigerate them for 30-60 minutes.
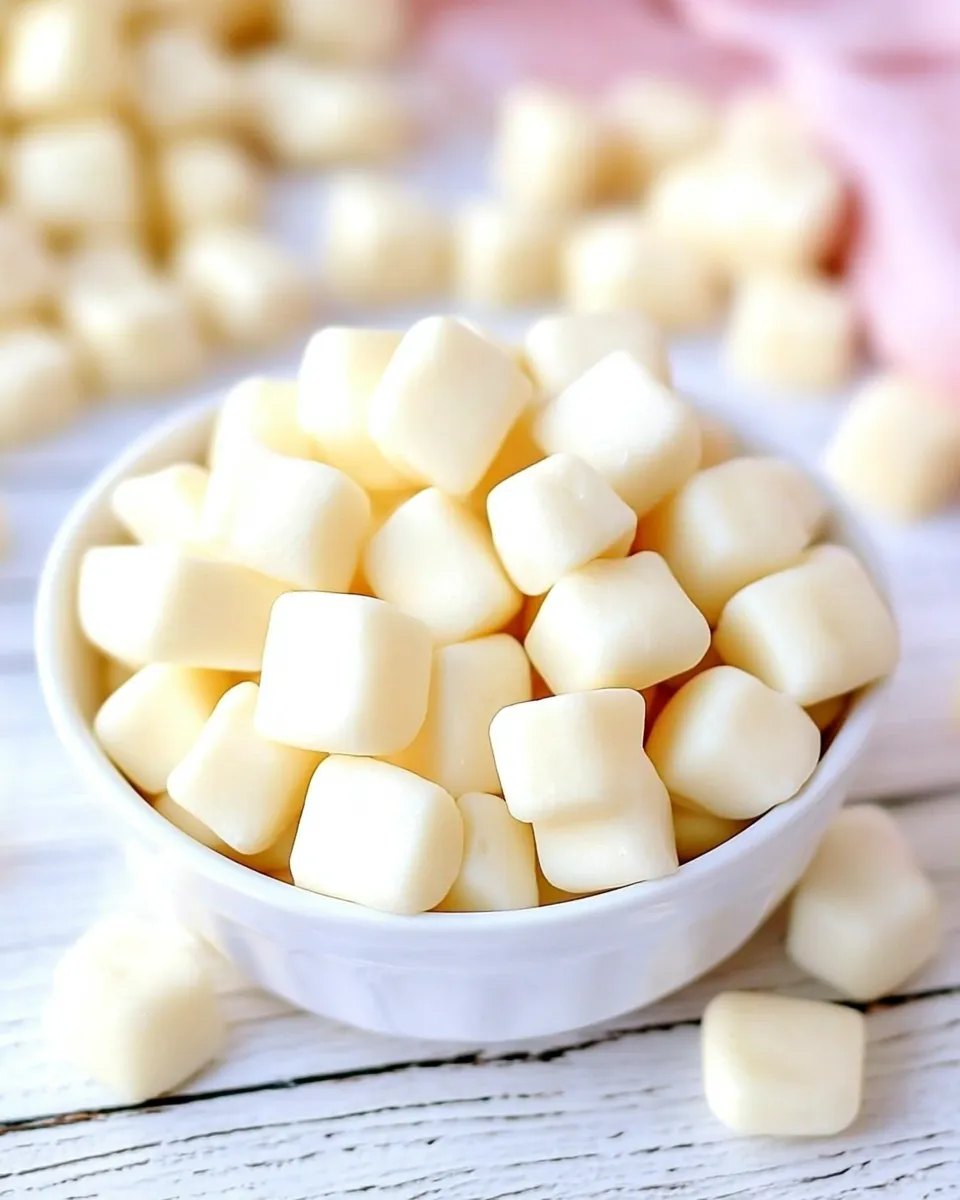
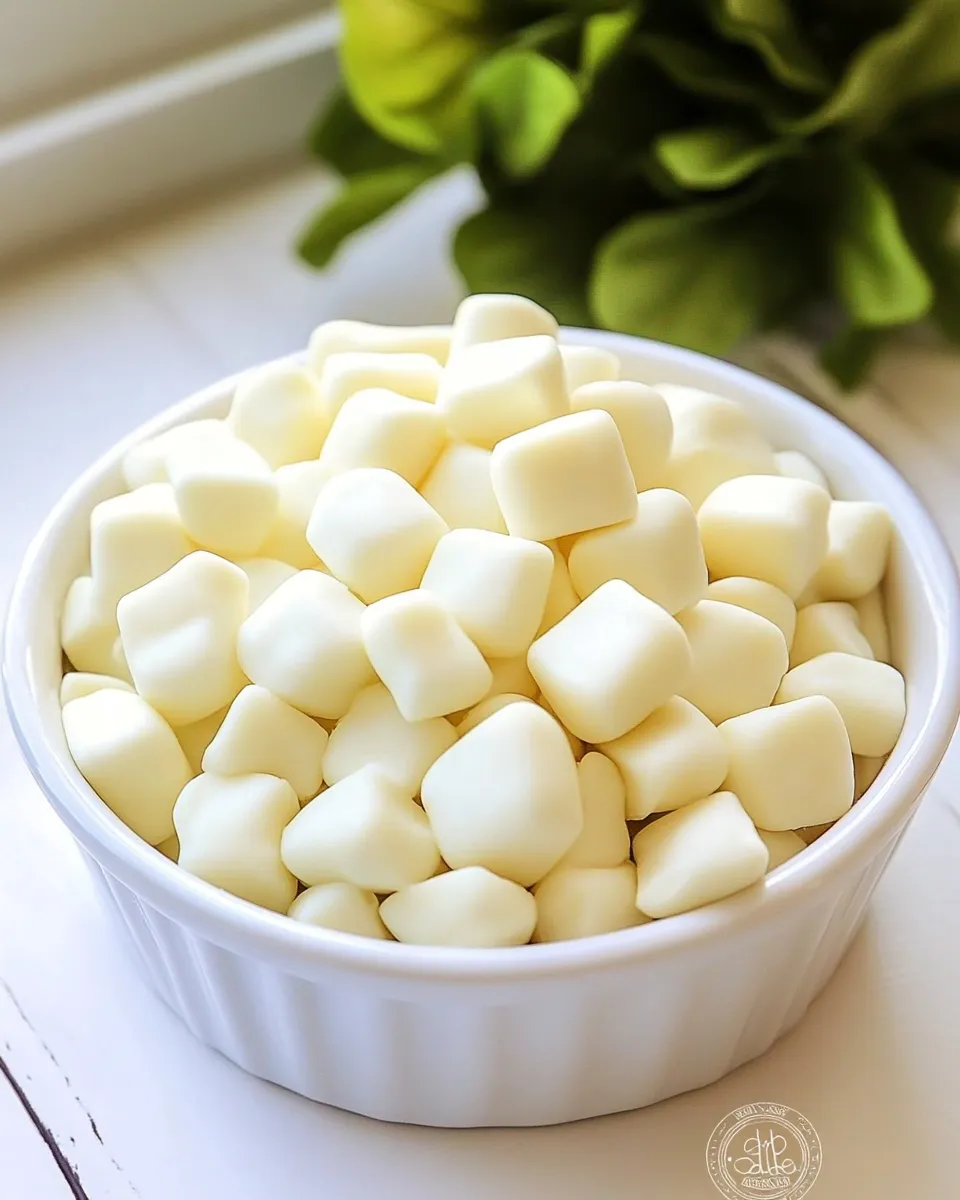
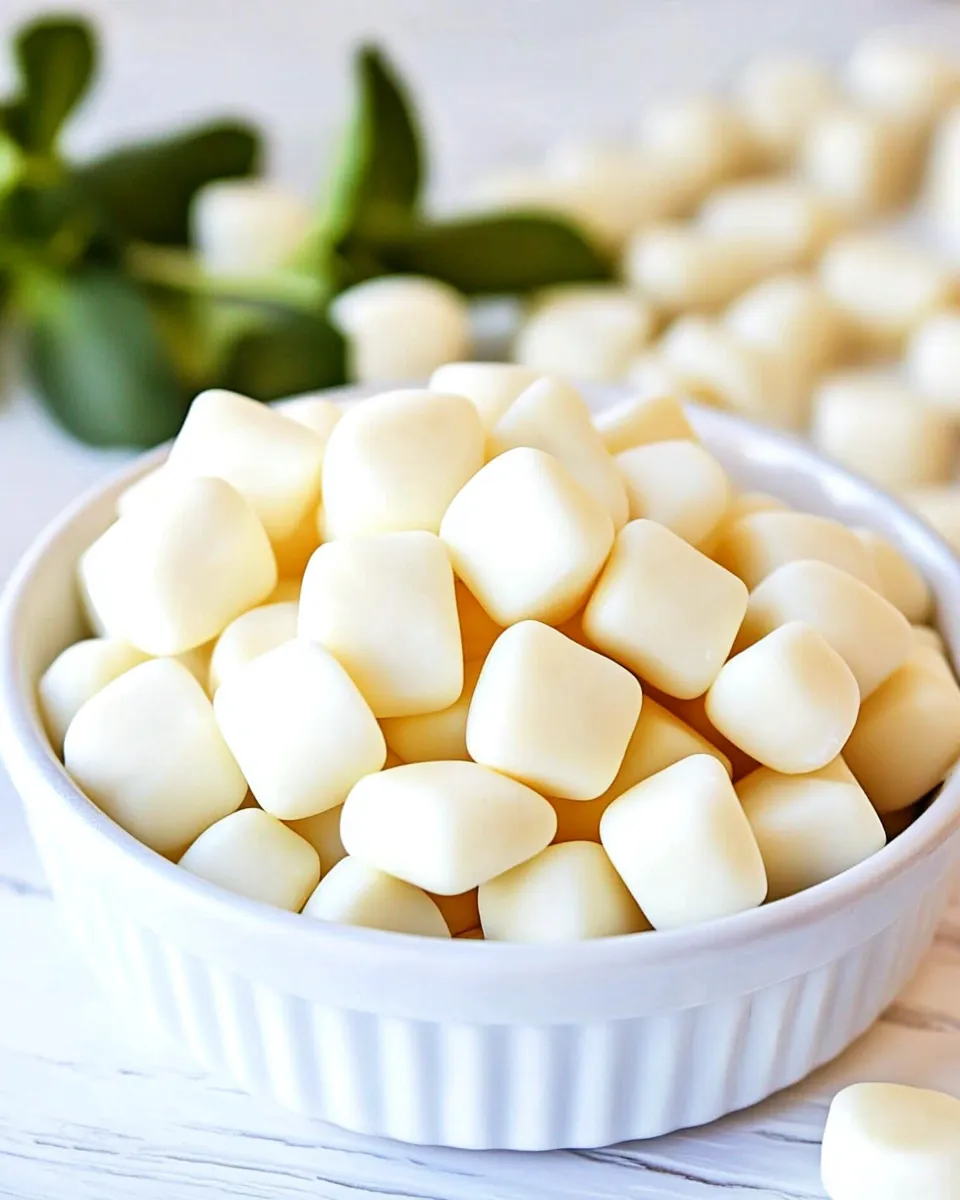
Step 6: Enjoy!
Once the mints are set, they are ready to be enjoyed! Store any leftovers in an airtight container at room temperature or in the fridge for a cool treat.
Make It Your Way
Customization is key when it comes to the Best Butter Mints (Homemade). Here are a few ideas to personalize your mints:
- Flavored Oils: Try different flavored oils like spearmint, wintergreen, or even chocolate mint for a unique twist.
- Color Combinations: Use various food coloring to create a rainbow of mints for parties or themed events.
- Coated Options: Dip the mints in melted chocolate for a decadent treat.
- Textured Mints: Roll the mints in crushed nuts or coconut for added texture and flavor.
Troubles You Can Avoid
Making butter mints is relatively straightforward, but here are a few common pitfalls to watch out for:
- Too Sticky: If your mixture is too sticky to handle, add a bit more powdered sugar to firm it up.
- Crumbly Mixture: If the mixture is too crumbly, add a little more half and half to reach the right consistency.
- Flavor Imbalance: Taste the mixture before shaping. Adjust the peppermint oil or vanilla according to your flavor preference.
- Sticking: Dust your work surface and hands with powdered sugar to prevent sticking while shaping the mints.
Save for Later: Storage Tips
To keep your Best Butter Mints (Homemade) fresh and tasty, follow these storage tips:
- Airtight Container: Store mints in an airtight container at room temperature to maintain their texture.
- Refrigerate: For a firmer texture, store them in the refrigerator. Just remember to bring them to room temperature before serving.
- Freezing: You can freeze shaped but uncoated mints for up to 3 months. Thaw them in the refrigerator before serving.
Popular Questions
Can I use regular mint extract instead of peppermint oil?
Yes, you can use mint extract, but it has a different flavor profile and is usually less concentrated. Start with a teaspoon and adjust to taste.
How long do these butter mints last?
When stored properly in an airtight container, homemade butter mints can last up to two weeks at room temperature or longer in the refrigerator.
Can I make these mints vegan?
To make vegan butter mints, substitute the butter with a plant-based butter alternative and use non-dairy half and half.
What other flavors can I try?
Feel free to experiment with flavors such as chocolate, orange, or almond extract for a different twist on classic butter mints!
The Last Word
Making Best Butter Mints (Homemade) is not only a fun and rewarding experience but also a delicious way to share a little sweetness with those around you. With their creamy texture, delightful flavor, and customizable nature, these mints are sure to become a favorite in your home. Whether you’re preparing for a special occasion or simply satisfying a sweet craving, this recipe is a go-to for homemade treats that impress.
So gather your ingredients, roll up your sleeves, and get ready to make a batch of these delightful butter mints. They are sure to bring smiles and sweet memories to every gathering!
Best Butter Mints (Homemade)
Ingredients
Equipment
Method
- Cream the softened butter in a large mixing bowl using an electric mixer on medium speed until light and fluffy (about 2-3 minutes).
- Gradually add the powdered sugar, mixing on low speed, then add the half and half, vanilla extract, peppermint oil, and a dash of salt. Mix until smooth.
- If desired, add a few drops of yellow food coloring and mix until you achieve your desired shade.
- Turn the mixture onto a clean surface dusted with powdered sugar. Roll into balls or logs, or roll out to 1/4 inch thickness and cut out shapes.
- Place the shaped mints onto a parchment-lined baking sheet and let them set at room temperature for 1-2 hours, or refrigerate for 30-60 minutes.
- Enjoy the mints once they are set! Store leftovers in an airtight container.
Notes
- Customize flavors with different oils like spearmint or chocolate mint.
- Roll mints in crushed nuts or coconut for extra texture.
- Store in an airtight container to keep them fresh.