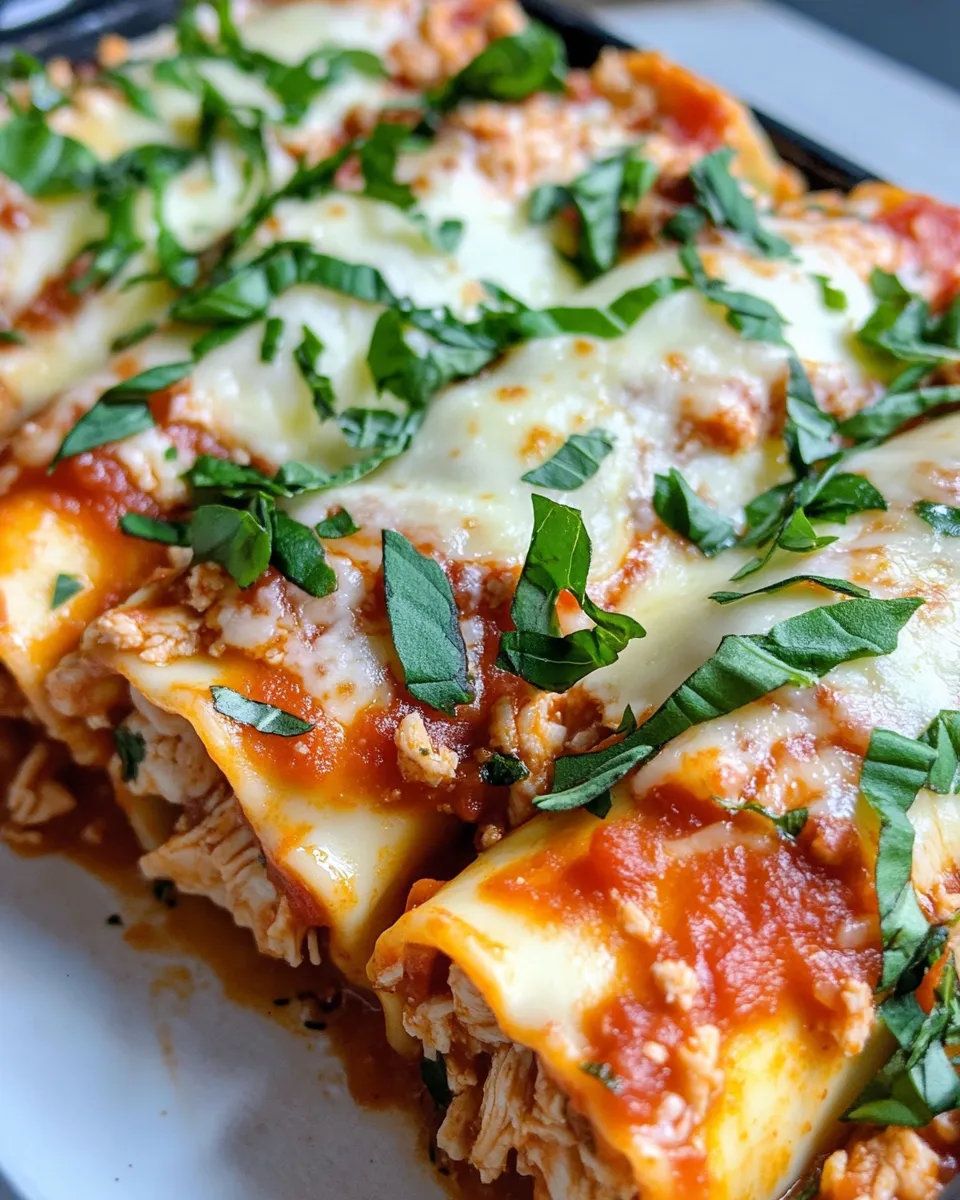
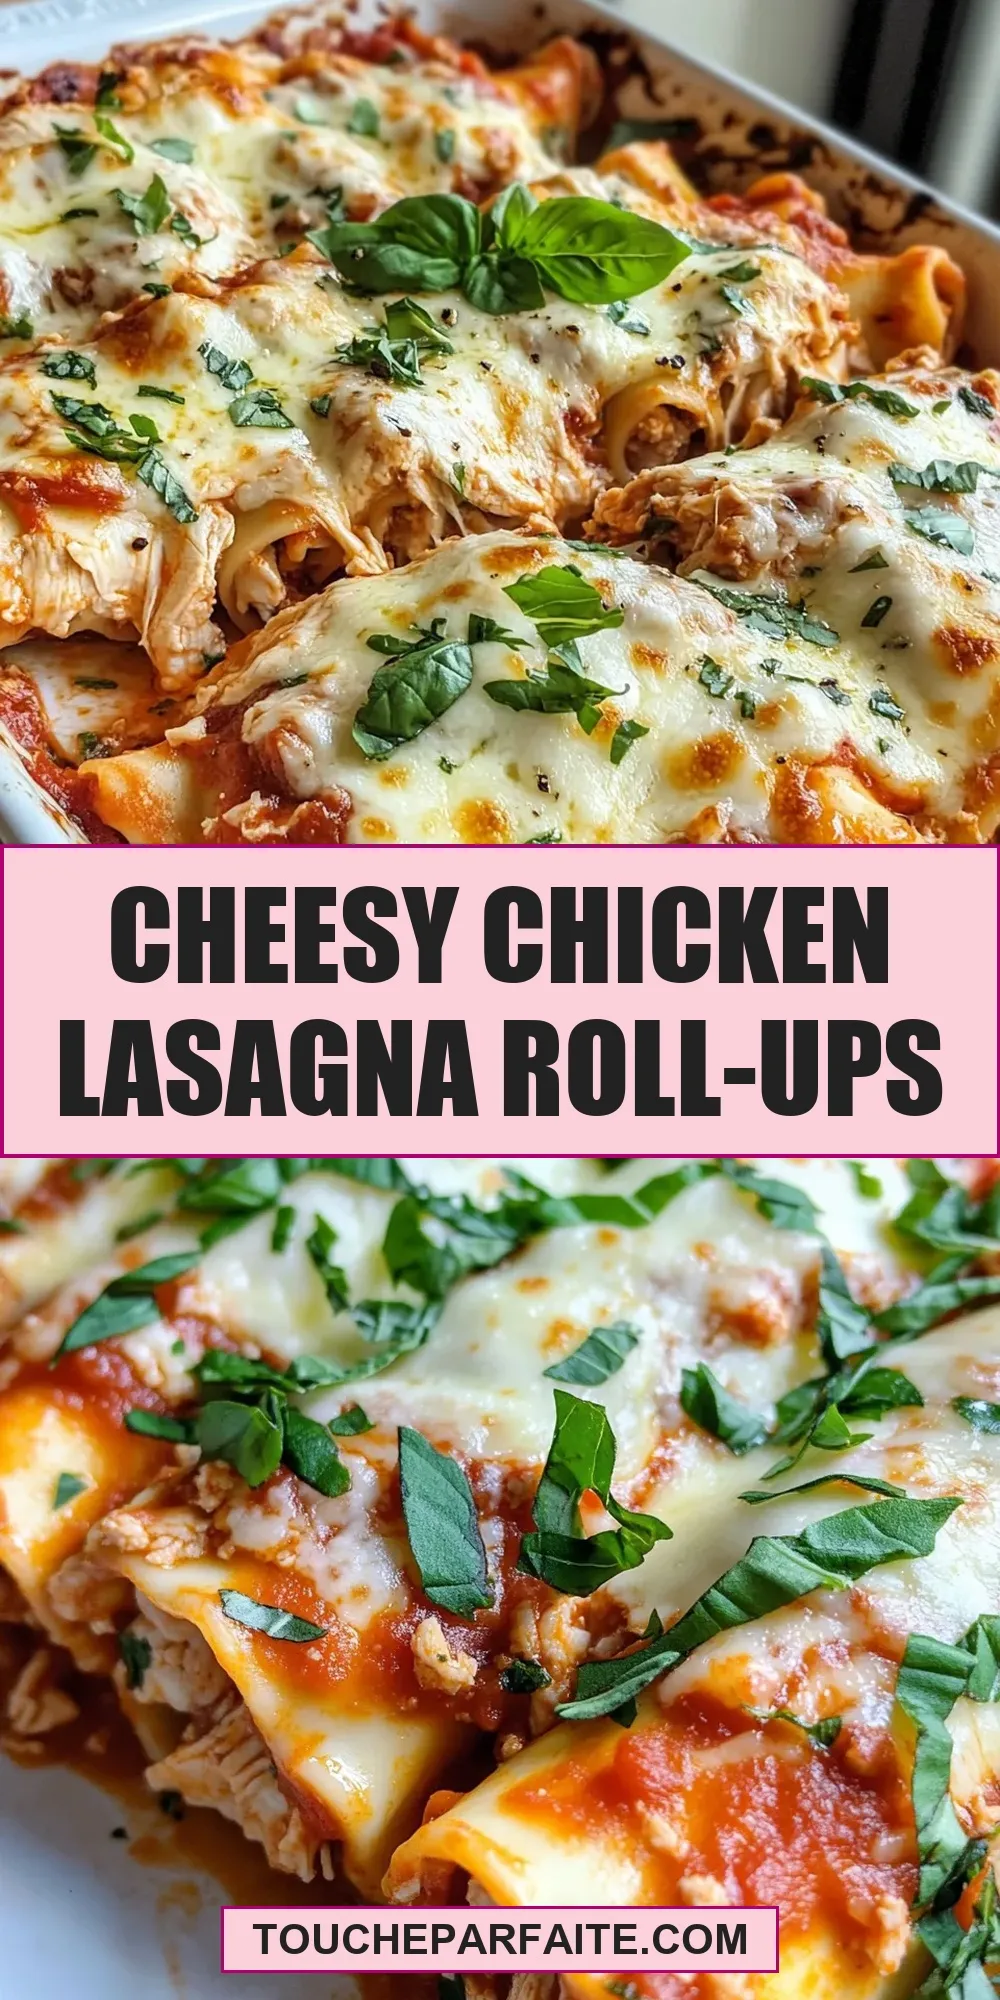
Cheesy Chicken Lasagna Roll-Ups
If you’re craving comfort food that’s both satisfying and packed with flavor, look no further than these Cheesy Chicken Lasagna Roll-Ups. This recipe takes classic lasagna to a fun and easy new level by rolling tender chicken, creamy cheeses, and savory seasonings inside perfectly cooked noodles. It’s the kind of dish that’s perfect for weeknight dinners or a special occasion when you want to impress without spending hours in the kitchen. Plus, it’s a crowd-pleaser that feeds both kids and adults with ease.
Why It Deserves a Spot
Lasagna is one of those dishes that almost everyone loves, but traditional layered lasagna can be time-consuming and a bit messy to serve. Enter these Cheesy Chicken Lasagna Roll-Ups — they offer all the flavors of lasagna but in a neat, handheld package. Not only do they look beautiful on the plate, but they also offer portion control that’s perfect for families. The combination of shredded chicken and three types of cheese creates a creamy, cheesy center that’s bursting with flavor. And using marinara sauce keeps the dish vibrant and tangy, balancing out the richness. Whether you’re new to cooking or a seasoned pro, this recipe is straightforward enough to whip up without fuss but impressive enough to earn rave reviews.
Ingredient List
- 8 large lasagna noodles
- 2 cups cooked chicken, shredded
- 1 cup ricotta cheese
- 1 cup shredded mozzarella cheese
- 1 cup grated Parmesan cheese
- 2 cups marinara sauce
- 1 teaspoon garlic powder
- 1 teaspoon Italian seasoning
- Salt and pepper to taste
- Fresh basil for garnish
Prep & Cook Tools
- Large pot – for boiling lasagna noodles
- Mixing bowl – to combine the chicken and cheese mixture
- Baking dish (9×13 inch works well) – to bake the roll-ups
- Spoon or spatula – to spread the filling onto noodles
- Cheese grater – if grating your own Parmesan or mozzarella
- Aluminum foil – to cover the dish while baking
Make Cheesy Chicken Lasagna Roll-Ups: A Simple Method
Step 1: Cook the Lasagna Noodles
Bring a large pot of salted water to a boil. Add the 8 large lasagna noodles and cook according to package instructions until al dente, usually about 8-10 minutes. Drain the noodles carefully and lay them flat on a clean kitchen towel or parchment paper to cool slightly and prevent sticking.
Step 2: Prepare the Filling
In a mixing bowl, combine the shredded chicken, ricotta cheese, ½ cup of shredded mozzarella, ½ cup grated Parmesan, garlic powder, Italian seasoning, salt, and pepper. Mix everything thoroughly until well incorporated. This flavorful, cheesy filling will be the star inside your roll-ups.
Step 3: Assemble the Roll-Ups
Lay one lasagna noodle flat and spread a generous layer of the chicken and cheese mixture evenly over it. Roll the noodle up tightly from one end to the other. Repeat this process for all eight noodles.
Step 4: Prepare the Baking Dish
Spread 1 cup of marinara sauce evenly on the bottom of your baking dish. Place each lasagna roll-up seam-side down into the dish, arranging them close together. Pour the remaining marinara sauce over the top of the roll-ups, then sprinkle the remaining mozzarella and Parmesan cheese evenly over everything.
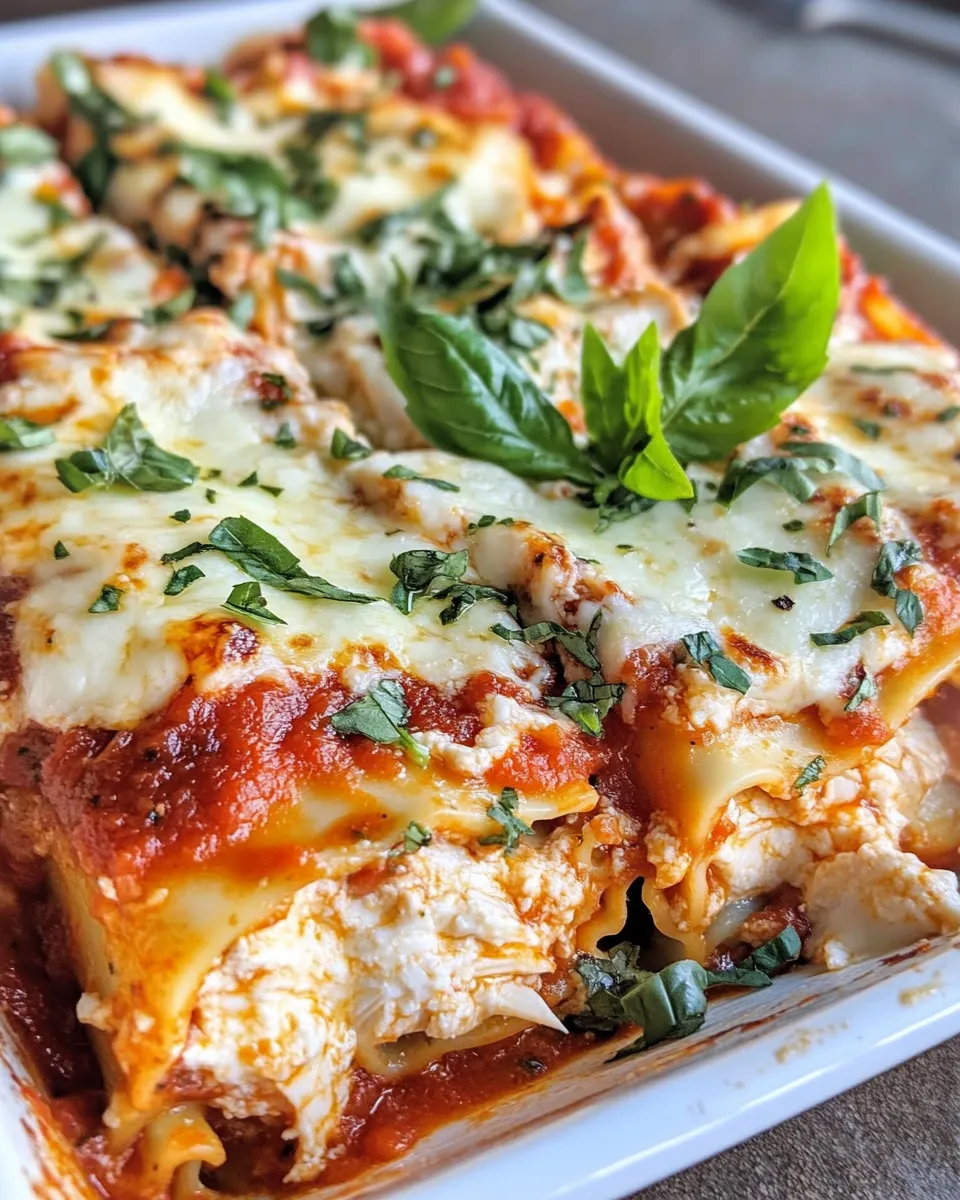
Step 5: Bake to Perfection
Cover the dish with aluminum foil and bake in a preheated oven at 375°F (190°C) for about 25 minutes. Then, remove the foil and bake for an additional 10 minutes, or until the cheese is bubbly and golden brown.
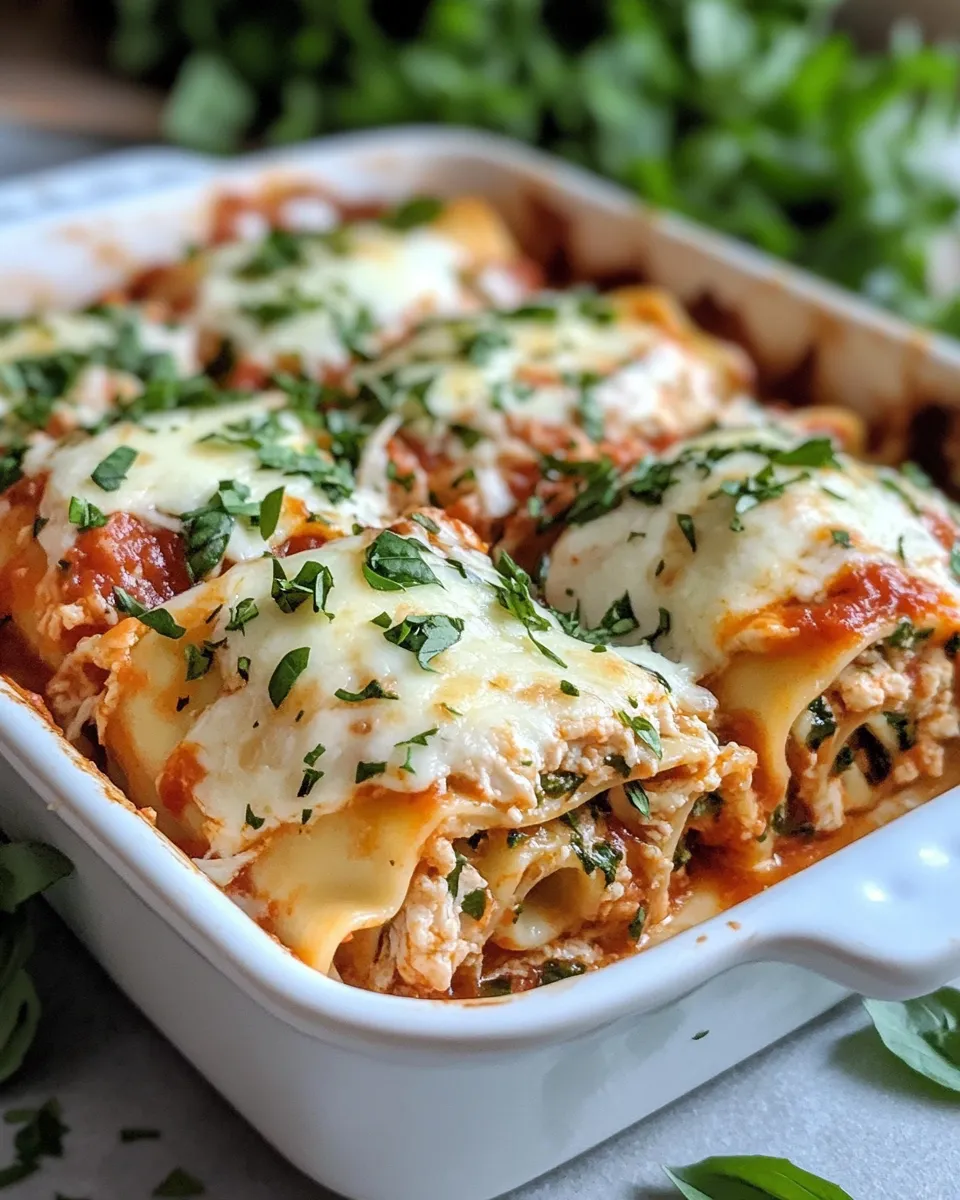
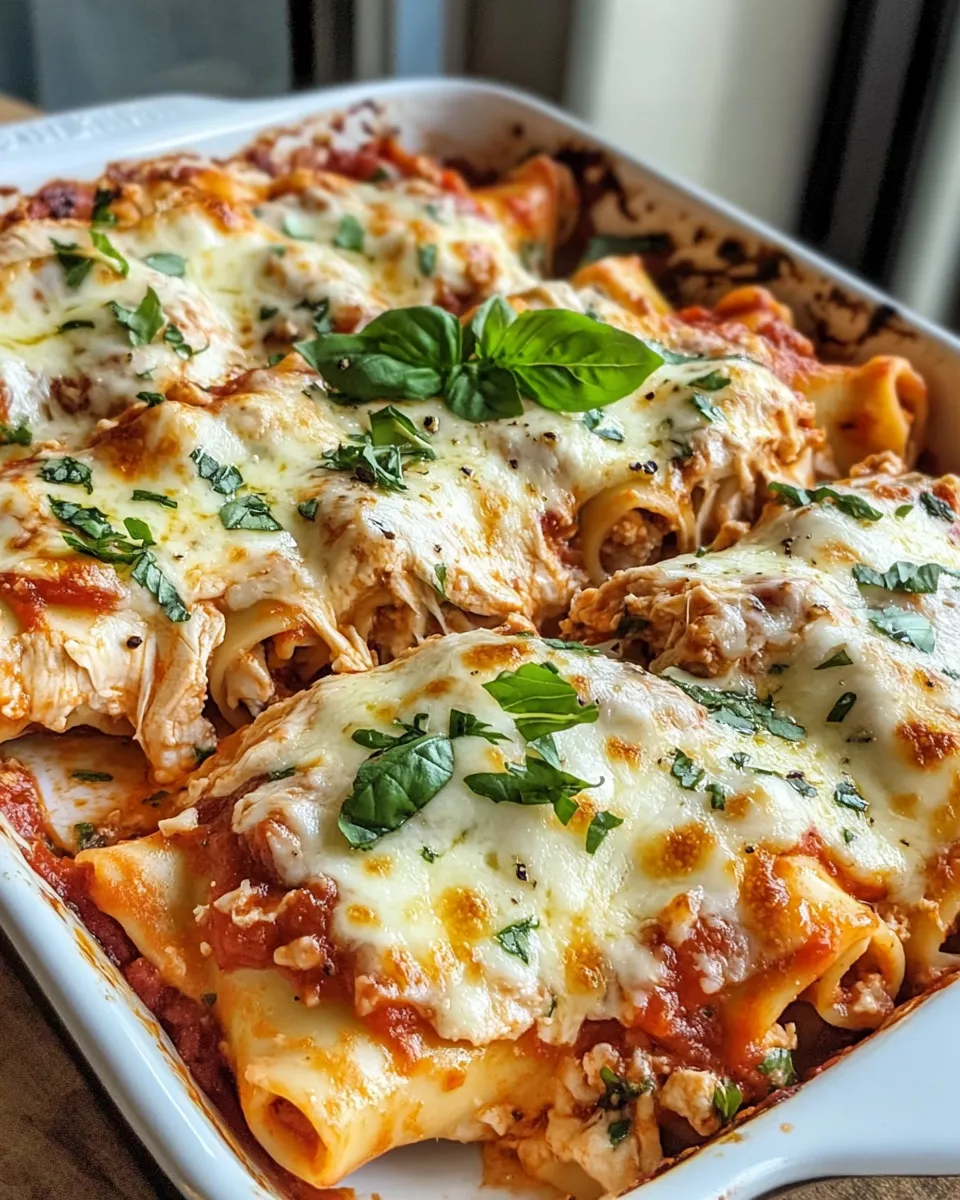
Step 6: Garnish and Serve
Once out of the oven, let the roll-ups rest for a few minutes. Garnish with fresh basil leaves for a burst of color and fresh flavor. Serve warm and enjoy the gooey, cheesy goodness!
If you love this recipe, you might also want to check out the Baked Four Cheese Lasagna Roll Ups for a delightful twist or the Baked Three Cheese Chicken Penne for another cheesy chicken pasta dish.
Low-Carb/Keto Alternatives
- Use thinly sliced zucchini or eggplant strips instead of lasagna noodles.
- Swap regular marinara sauce for a low-sugar, no-sugar-added tomato sauce.
- Replace ricotta cheese with cream cheese for higher fat content and creaminess.
- Add extra shredded chicken or cooked spinach to bulk up the filling without carbs.
What Could Go Wrong
- Noodles sticking together: Be sure to lay cooked noodles flat and separate them immediately to prevent clumping.
- Roll-ups falling apart: Roll the noodles tightly and place them seam-side down in the baking dish to keep them intact.
- Dry filling: Don’t skip the marinara sauce—it keeps the roll-ups moist and flavorful.
- Cheese not melting well: Use freshly shredded cheeses rather than pre-shredded, which often contain anti-caking agents.
Storing Tips & Timelines
These Cheesy Chicken Lasagna Roll-Ups keep well in the refrigerator for up to 3-4 days. Store them in an airtight container to maintain freshness. Reheat in the oven at 350°F (175°C) until warmed through or microwave individual portions for quick meals.
For longer storage, freeze the roll-ups before baking. Place them in a single layer on a baking sheet to freeze solid, then transfer to a freezer-safe container or bag. They’ll keep for up to 2 months. When ready to bake, thaw overnight in the fridge and proceed with baking as directed.
Common Questions
Can I use store-bought rotisserie chicken?
Absolutely! Using rotisserie chicken is a great shortcut that saves time and adds delicious flavor. Just shred it well before mixing with the cheeses and seasonings.
What type of marinara sauce works best?
A simple, high-quality marinara sauce with no added sugars or preservatives works best. You can also use homemade marinara if you prefer, which allows you to control the seasoning perfectly.
Can I prepare these roll-ups ahead of time?
Yes! You can assemble the roll-ups and refrigerate them for up to 24 hours before baking. Just cover tightly with plastic wrap or foil until ready to bake.
Is it possible to make this recipe vegetarian?
Definitely! Simply omit the chicken and increase the amount of cheese or add sautéed vegetables like spinach, mushrooms, or zucchini to the filling.
The Last Word
There’s something truly special about the way Cheesy Chicken Lasagna Roll-Ups combine creamy cheeses, tender chicken, and rich marinara into one perfectly portioned dish. They’re not only delicious but practical, making dinner time easier without sacrificing flavor or presentation. Whether you’re cooking for family, meal prepping for the week, or hosting a casual get-together, these roll-ups fit the bill. So next time you want cozy Italian-inspired comfort food, give this recipe a try — your taste buds will thank you!
Share on Pinterest
Cheesy Chicken Lasagna Roll-Ups
Ingredients
Equipment
Method
- Bring a large pot of salted water to a boil. Add the 8 large lasagna noodles and cook according to package instructions until al dente, about 8-10 minutes. Drain and lay noodles flat on a clean towel or parchment paper to cool.
- In a mixing bowl, combine shredded chicken, ricotta cheese, ½ cup shredded mozzarella, ½ cup grated Parmesan, garlic powder, Italian seasoning, salt, and pepper. Mix thoroughly.
- Lay one lasagna noodle flat and spread a generous layer of the chicken and cheese mixture evenly over it. Roll the noodle up tightly. Repeat for all noodles.
- Spread 1 cup marinara sauce evenly on the bottom of the baking dish. Place each roll-up seam-side down in the dish. Pour remaining marinara sauce over the roll-ups and sprinkle remaining mozzarella and Parmesan cheese over top.
- Cover the dish with aluminum foil and bake at 375°F (190°C) for 25 minutes. Remove foil and bake an additional 10 minutes until cheese is bubbly and golden.
- Let the roll-ups rest for a few minutes after baking. Garnish with fresh basil leaves and serve warm.
Notes
- Use rotisserie chicken for a quick shortcut.
- Prevent noodles from sticking by laying them flat immediately after cooking.
- Assemble roll-ups ahead and refrigerate up to 24 hours before baking.
- Freeze unbaked roll-ups for up to 2 months; thaw before baking.
- Use freshly shredded cheese for better melting and flavor.