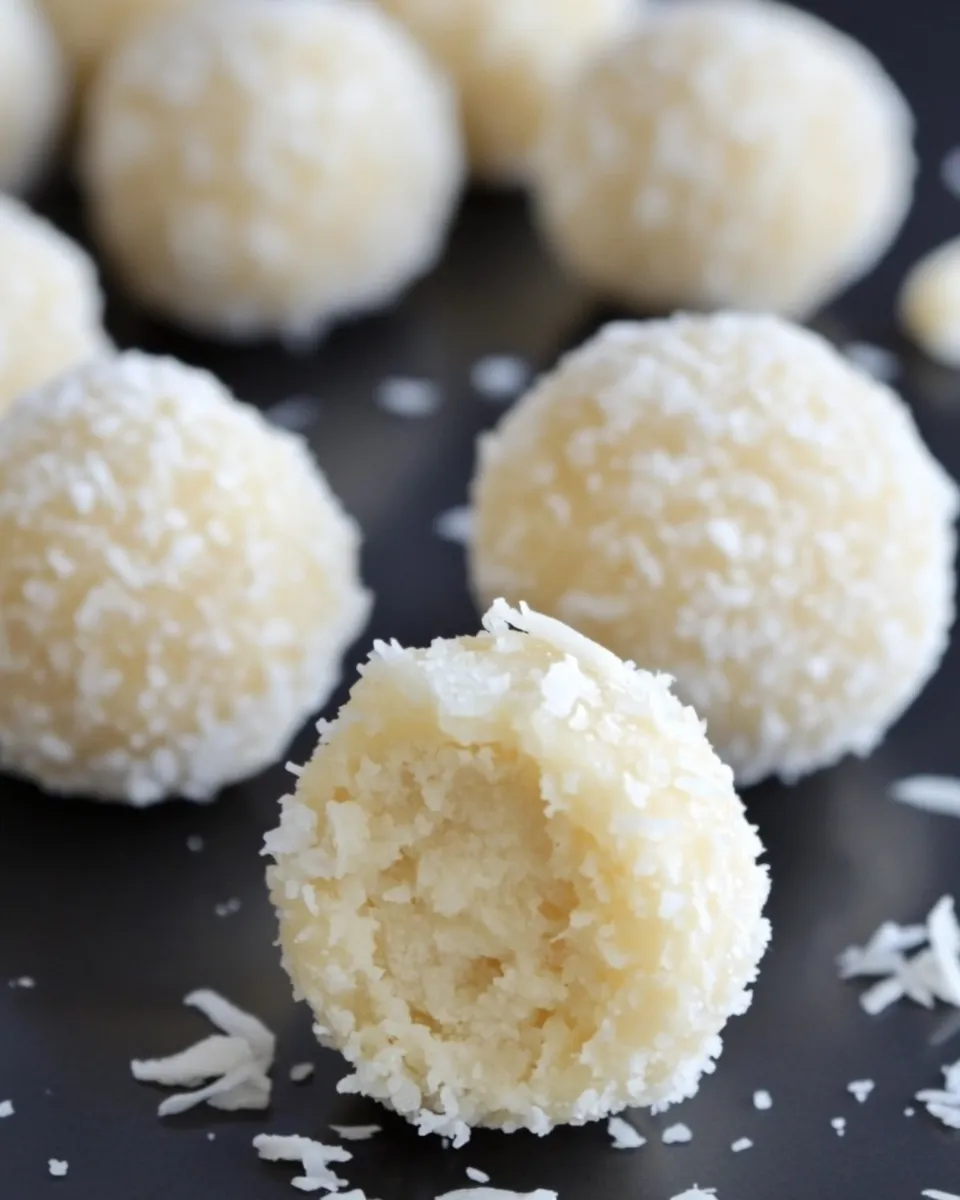
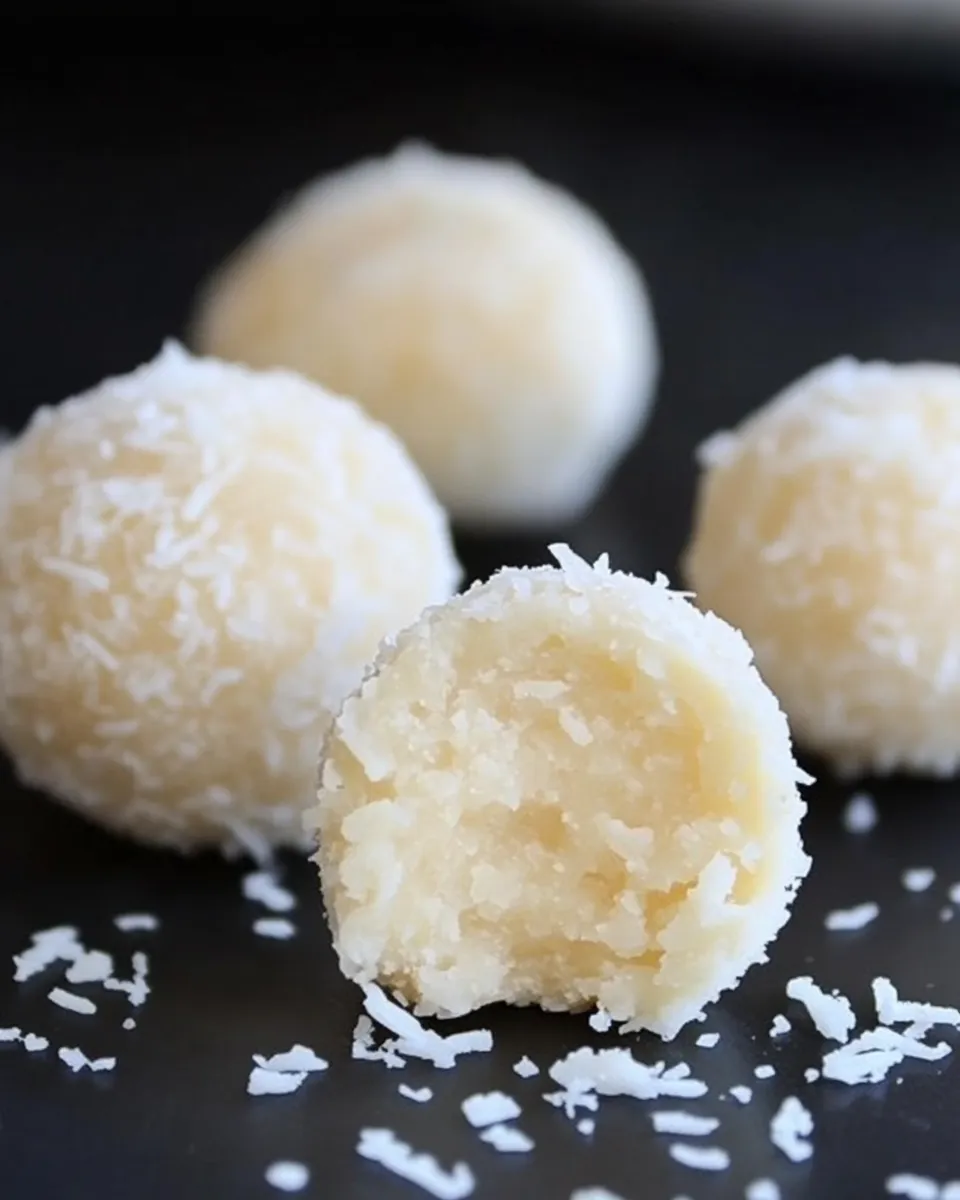
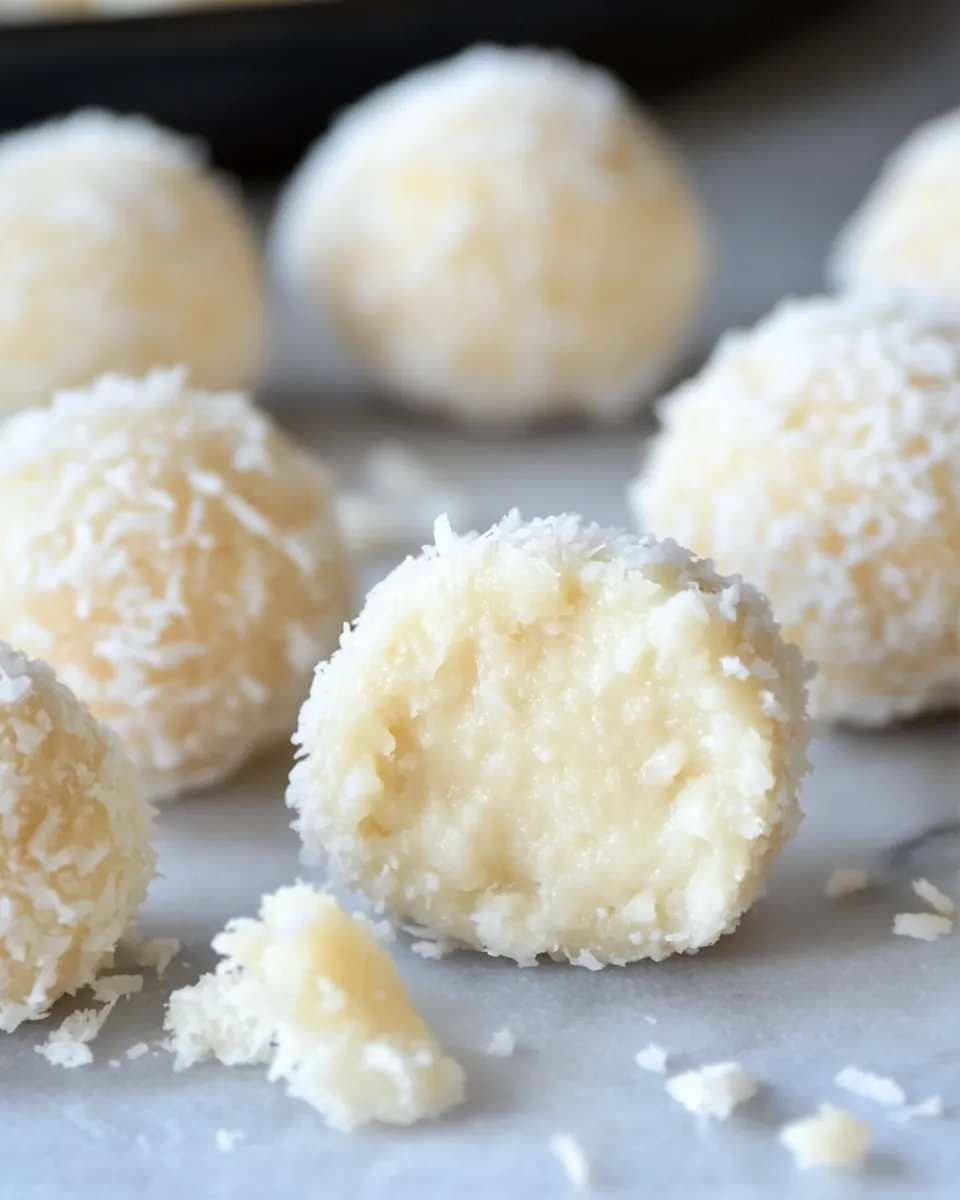
Coconut Truffles
Coconut Truffles are the delightful little bites that bring a taste of the tropics right into your kitchen. With their creamy coconut center, smooth white chocolate coating, and crunchy hazelnut topping, these truffles are the perfect treat for any occasion. Whether you’re hosting a gathering or just indulging in a sweet moment at home, these truffles will surely impress. Let’s dive into the details of how to create these heavenly morsels!
Why It Deserves a Spot
Coconut Truffles deserve a special place in your dessert repertoire for several reasons. First, they are incredibly easy to make, requiring minimal ingredients and effort, yet delivering maximum flavor. The balance of rich white chocolate with the tropical essence of coconut creates a luxurious experience that feels sophisticated yet approachable. Additionally, these truffles are perfect for any occasion, from festive gatherings to cozy nights in. Their versatility and delightful taste make them a must-try!
What’s in the Bowl
Here’s what you’ll need to create these delicious Coconut Truffles:
- 6 oz white chocolate: This will be melted for the outer coating, providing a sweet and creamy layer.
- 1 cup coconut milk cream: This adds a rich, coconutty flavor and velvety texture to the truffle filling.
- 1 teaspoon vanilla extract: A touch of vanilla enhances the overall flavor profile beautifully.
- 1 cup almond flour: This forms the base of the truffle filling, giving it a wonderful nutty taste and a slight crunch.
- 1 cup coconut flakes: These add texture and an extra burst of coconut flavor, making each bite irresistibly delicious.
- 1 cup roasted whole peeled hazelnuts: These will be used for rolling the truffles, providing a delightful crunch and nutty flavor.
Setup & Equipment
Before you get started, gather the following equipment:
- Mixing bowl: For combining all of your ingredients.
- Double boiler or microwave-safe bowl: For melting the white chocolate safely.
- Cookie scoop or tablespoon: To portion out the truffles evenly.
- Wax paper or parchment paper: To set the truffles on after coating them in chocolate.
- Food processor: For finely chopping the hazelnuts, if necessary.
Coconut Truffles — Do This Next
Now that you have everything ready, let’s get to the fun part! Follow these steps to create your Coconut Truffles:
Step 1: Prepare the Filling
In a mixing bowl, combine the coconut milk cream, almond flour, vanilla extract, and coconut flakes. Stir until well combined and the mixture is thick but smooth.
Step 2: Chill the Mixture
Cover the bowl with plastic wrap and refrigerate the mixture for about 30 minutes. This will help it firm up, making it easier to shape into truffles.
Step 3: Shape the Truffles
Once the mixture is chilled, use a cookie scoop or tablespoon to portion out small amounts of the filling. Roll each portion into a ball, about 1 inch in diameter, and place them on a baking sheet lined with wax paper.
Step 4: Melt the White Chocolate
Using a double boiler or microwave, melt the white chocolate until smooth. If using the microwave, heat in 30-second intervals, stirring in between to avoid burning.
Step 5: Coat the Truffles
Once the chocolate is melted, dip each truffle into the chocolate, ensuring it is fully coated. Use a fork to lift the truffles out, allowing excess chocolate to drip off.
Step 6: Roll in Hazelnuts
Immediately roll each chocolate-coated truffle in the chopped roasted hazelnuts, ensuring they are well covered. Return them to the baking sheet.
Step 7: Set the Truffles
Let the truffles sit at room temperature for about 30 minutes to allow the chocolate to set. Alternatively, you can place them in the refrigerator for quicker setting.
Make It Year-Round
Coconut Truffles are not just for special occasions; they can be enjoyed year-round! Here are some ideas to ensure you can savor these delights anytime:
- Seasonal Variations: Add different flavorings like peppermint extract for a festive twist during the holidays or citrus zest for a refreshing summer treat.
- Gift Giving: Package these truffles in decorative boxes or tins for thoughtful homemade gifts for birthdays, holidays, or any celebration.
- Party Pleaser: Serve them at your next gathering or potluck; they are sure to be a hit among guests of all ages.
- Snack Attack: Keep a stash in your fridge for a quick, satisfying treat when cravings hit!
Slip-Ups to Skip
To ensure your Coconut Truffles turn out perfectly, keep these common pitfalls in mind:
- Don’t skip chilling the mixture; this helps with shaping and prevents melting when dipped in chocolate.
- Be cautious when melting the white chocolate; overheating can cause it to seize; stir frequently.
- Ensure the truffles are fully coated in chocolate before rolling in hazelnuts for the best texture and flavor.
- Let the chocolate set completely before transferring the truffles to avoid smudging.
Freezer-Friendly Notes
If you want to enjoy Coconut Truffles later, you’ll be pleased to know they freeze beautifully! Here are some tips:
- Place your truffles in an airtight container, separating layers with parchment paper to prevent sticking.
- They can be frozen for up to three months, making them perfect for meal prep or unexpected guests.
- To thaw, simply remove the desired amount from the freezer and let sit at room temperature for about 15-20 minutes before enjoying.
Your Questions, Answered
Can I use dark chocolate instead of white chocolate?
Absolutely! Dark chocolate will provide a rich contrast to the sweetness of the coconut filling, creating a deliciously different flavor profile.
What if I don’t have hazelnuts?
No problem! You can use any other nuts you prefer, such as almonds or pecans, or even skip the nuts altogether for a nut-free version.
How do I store the truffles?
Store your Coconut Truffles in an airtight container in the refrigerator for up to one week, or freeze them for longer storage.
Can I make these truffles vegan?
Yes! Substitute the white chocolate with a vegan chocolate alternative, and ensure the coconut milk cream is dairy-free.
Let’s Eat
Now that you’ve mastered the art of making Coconut Truffles, it’s time to indulge! These bites of bliss are perfect for satisfying your sweet tooth or impressing friends and family. With their creamy coconut center and crunchy hazelnut exterior, each truffle is a little taste of paradise. So gather your ingredients, roll up your sleeves, and get ready to enjoy these delectable delights! They are a sweet reminder of how simple ingredients can come together to create something truly special. Happy truffle-making!
Coconut Truffles
Ingredients
Equipment
Method
- In a mixing bowl, combine the coconut milk cream, almond flour, vanilla extract, and coconut flakes. Stir until well combined and the mixture is thick but smooth.
- Cover the bowl with plastic wrap and refrigerate the mixture for about 30 minutes. This will help it firm up, making it easier to shape into truffles.
- Once the mixture is chilled, use a cookie scoop or tablespoon to portion out small amounts of the filling. Roll each portion into a ball, about 1 inch in diameter, and place them on a baking sheet lined with wax paper.
- Using a double boiler or microwave, melt the white chocolate until smooth. If using the microwave, heat in 30-second intervals, stirring in between to avoid burning.
- Once the chocolate is melted, dip each truffle into the chocolate, ensuring it is fully coated. Use a fork to lift the truffles out, allowing excess chocolate to drip off.
- Immediately roll each chocolate-coated truffle in the chopped roasted hazelnuts, ensuring they are well covered. Return them to the baking sheet.
- Let the truffles sit at room temperature for about 30 minutes to allow the chocolate to set. Alternatively, you can place them in the refrigerator for quicker setting.
Notes
- Chill the mixture well to make shaping easier.
- Use high-quality chocolate for the best flavor.
- These truffles freeze well, so make a batch for later!