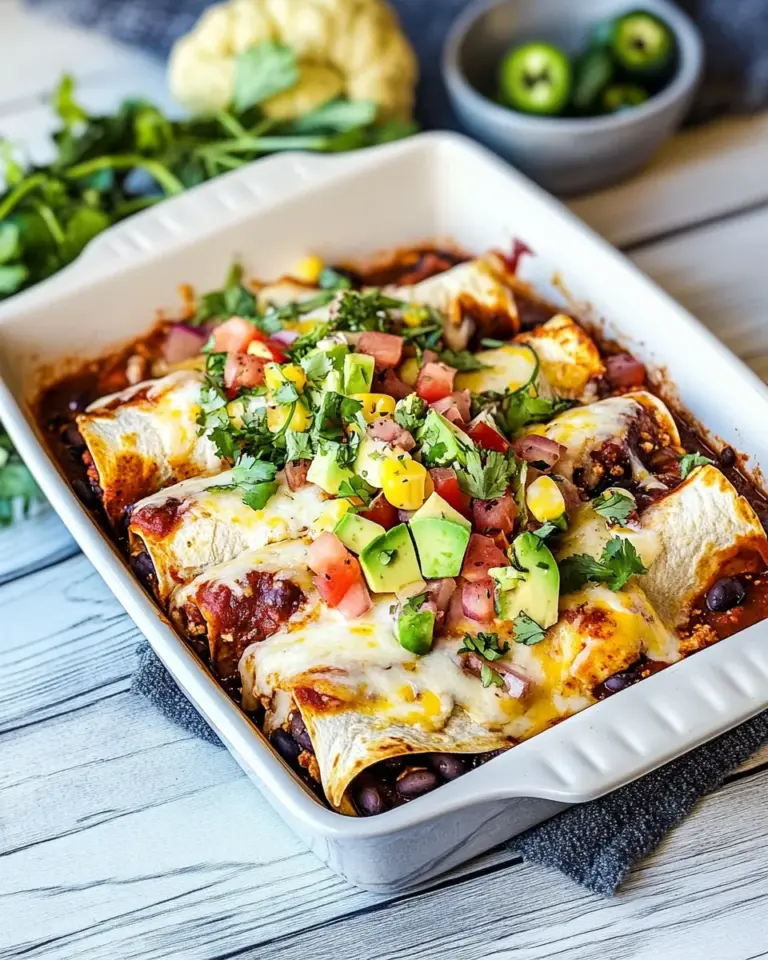
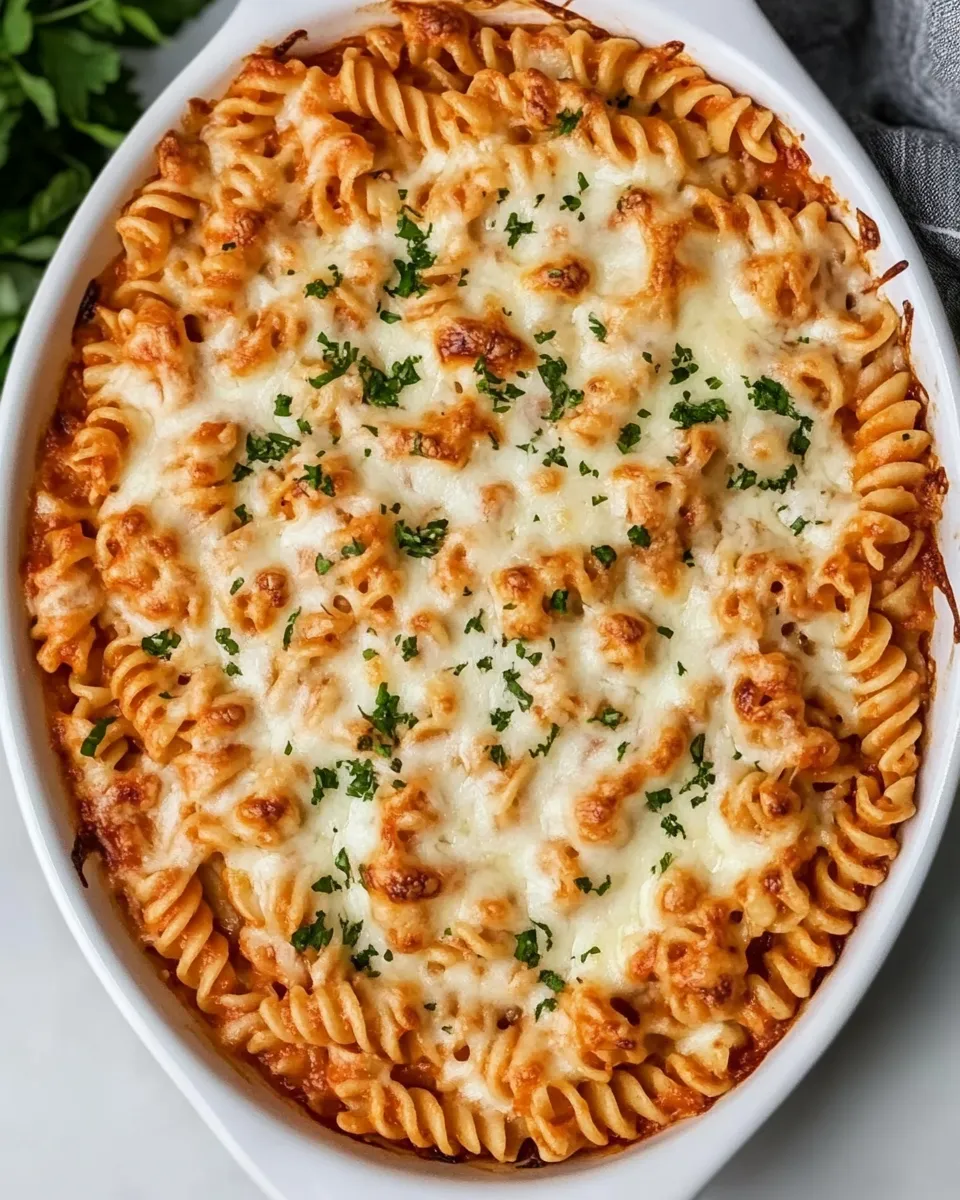
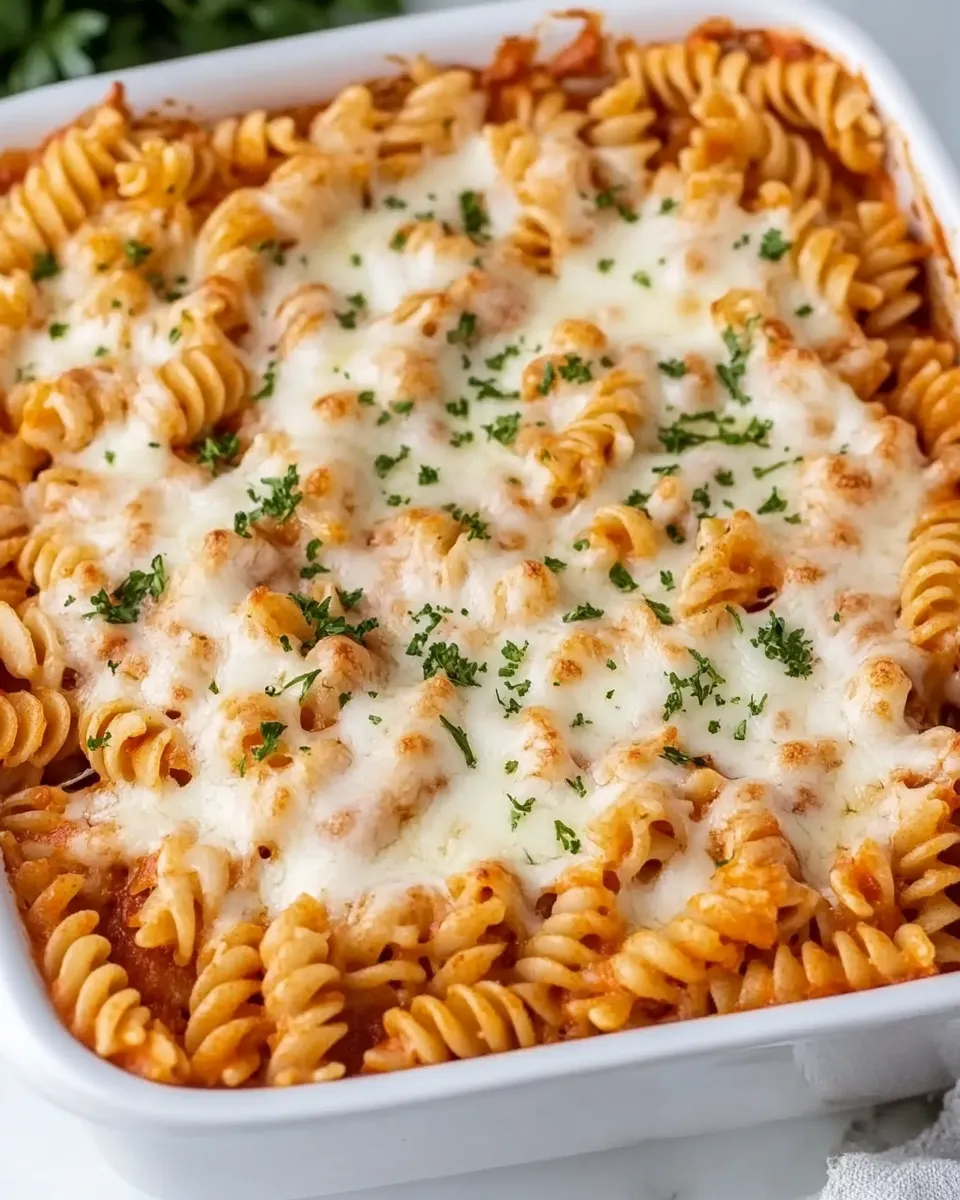
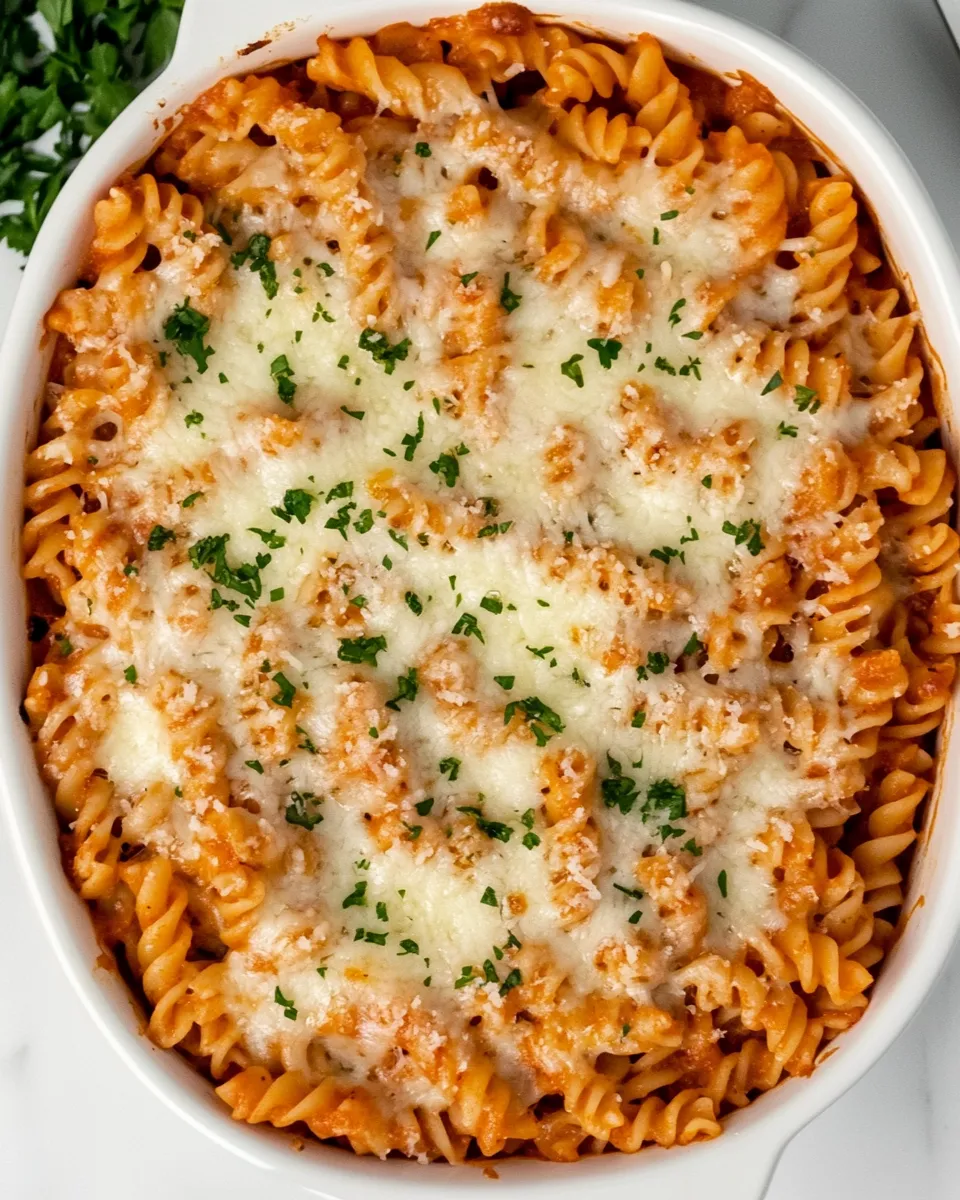
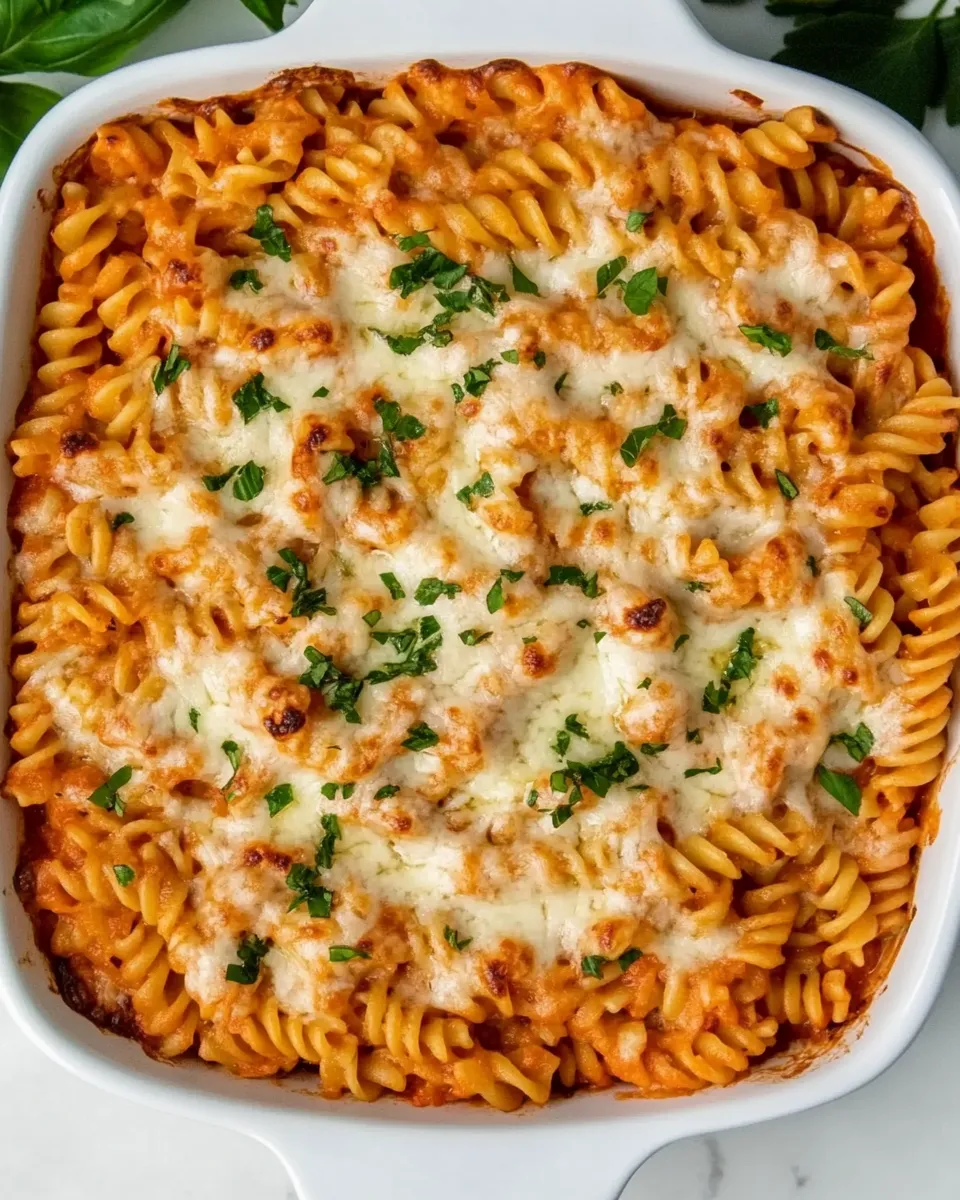
Easy Baked Rotini
If you’re looking for a comforting dish that’s easy to prepare, satisfying, and sure to please the whole family, then look no further than this Easy Baked Rotini. This dish combines the heartiness of rotini pasta with the deliciousness of marinara sauce and cheesy goodness, all baked together to create a melty, flavorful experience. Perfect for weeknight dinners or meal prep, this recipe is as simple as it is delightful.
The Upside of Easy Baked Rotini
Easy Baked Rotini is not just a meal; it’s an experience! The beauty of this dish lies in its versatility and convenience. You can whip it up in no time, and it requires minimal prep. Here are a few reasons why you’ll love making this recipe:
- Quick to Prepare: With simple ingredients and straightforward steps, you can have this dish ready in under an hour.
- Kid-Friendly: The cheesy and saucy nature of this dish makes it a hit with children and adults alike.
- Meal Prep Friendly: Make a big batch, and you’ll have leftovers that are just as delicious the next day.
- Customization: Feel free to add your favorite veggies or proteins to personalize this dish to your liking.
What to Buy
Before you embark on your Easy Baked Rotini journey, here’s a list of all the ingredients you’ll need to gather:
- 16 ounces rotini noodles
- 28 ounces spaghetti sauce or marinara
- 16 ounces cottage cheese (full-fat or reduced-fat, but not fat-free)
- 2 cups mozzarella cheese, shredded (divided into 1 cup for mixing and 1 cup for topping)
- 1 large egg, whisked
Tools of the Trade
To make your cooking experience smooth and enjoyable, gather these tools:
- Large Pot: For boiling the rotini noodles.
- Mixing Bowl: To combine the cottage cheese, egg, and mozzarella.
- Baking Dish: A 9×13 inch dish works perfectly for this recipe.
- Spoon or Spatula: For mixing and serving the dish.
- Oven: To bake your Easy Baked Rotini to golden perfection.
How to Prepare Easy Baked Rotini
Now that you have everything ready, let’s dive into the step-by-step process of making your Easy Baked Rotini:
Step 1: Cook the Rotini
Begin by bringing a large pot of salted water to a boil. Add the 16 ounces of rotini noodles and cook until al dente, according to package instructions. Drain and set aside.
Step 2: Preheat Your Oven
While the pasta is cooking, preheat your oven to 350°F (175°C). This ensures that your meal bakes evenly.
Step 3: Mix the Cheese Filling
In a mixing bowl, combine the cottage cheese, whisked egg, and 1 cup of shredded mozzarella cheese. Stir until well mixed, forming a creamy filling.
Step 4: Combine with Sauce
In a separate large bowl, mix the cooked rotini noodles with the 28 ounces of spaghetti sauce or marinara. Ensure all the noodles are coated in the sauce.
Step 5: Layer the Ingredients
In your baking dish, spread half of the sauced rotini in an even layer. Then, dollop the cheese mixture over the pasta. Using a spoon or spatula, spread the cheese mixture evenly over the rotini. Top with the remaining sauced rotini.
Step 6: Add the Final Touch
Sprinkle the remaining 1 cup of shredded mozzarella cheese over the top layer of rotini. This will create a deliciously cheesy crust once baked.
Step 7: Bake
Cover the baking dish with aluminum foil and place it in the preheated oven. Bake for 25 minutes. After 25 minutes, remove the foil and bake for an additional 10-15 minutes, or until the cheese is bubbly and golden.
Fit It to Your Goals
This Easy Baked Rotini recipe is not just adaptable for taste but also for dietary preferences. Here are some ideas to fit it to your goals:
- Add Veggies: Toss in some spinach, zucchini, or bell peppers for extra nutrients.
- Protein Boost: Add cooked ground turkey or Italian sausage for a protein-packed meal.
- Gluten-Free Option: Use gluten-free rotini to make this dish suitable for gluten-sensitive eaters.
- Herb Infusion: Sprinkle in some Italian herbs like oregano or basil for an aromatic touch.
Slip-Ups to Skip
While making your Easy Baked Rotini, here are a few common mistakes to avoid:
- Overcooking the Pasta: Ensure you cook the rotini just until al dente, as it will continue cooking while baking.
- Skipping the Foil: Covering the dish with foil initially helps to prevent the cheese from burning before the pasta is heated through.
- Using Fat-Free Cheese: Opt for full-fat or reduced-fat cheese for the best flavor and texture.
- Not Letting it Rest: Allow the dish to sit for a few minutes after baking for easier serving.
Shelf Life & Storage
Easy Baked Rotini is perfect for leftovers! Here’s how to store it:
You can store any leftover Easy Baked Rotini in an airtight container in the refrigerator for up to 3-4 days. When ready to eat, simply reheat in the microwave or in the oven until warmed through. If you want to store it for longer, consider freezing it. Make sure to wrap it tightly in foil or plastic wrap and it will last in the freezer for up to 3 months. Just thaw in the fridge overnight before reheating.
Reader Q&A
Can I use a different type of pasta?
Absolutely! While rotini is great for holding sauce, you can substitute it with your favorite pasta shape such as penne or fusilli.
Can I make this dish ahead of time?
Yes! You can assemble the Easy Baked Rotini ahead of time and store it in the fridge for up to 24 hours before baking. Just add a few extra minutes to the baking time if baking straight from the fridge.
What can I serve with Easy Baked Rotini?
This dish pairs well with a simple side salad or garlic bread. You can also serve it with steamed vegetables for a complete meal.
Can I make it vegetarian?
Absolutely! This recipe is already vegetarian. Just make sure to use a marinara sauce that doesn’t contain meat, and you’re good to go!
Final Thoughts
Easy Baked Rotini is a delightful dish that brings comfort and joy to your table. With its cheesy layers and savory sauce, it’s hard to resist going back for seconds. The recipe is flexible, allowing you to tailor it to your family’s tastes and dietary needs, ensuring that everyone leaves the table satisfied. So gather your ingredients, roll up your sleeves, and get ready to enjoy a warm, cheesy bowl of Easy Baked Rotini.
Easy Baked Rotini
Ingredients
Equipment
Method
- Step 1: Cook the Rotini - Begin by bringing a large pot of salted water to a boil. Add the rotini noodles and cook until al dente, according to package instructions. Drain and set aside.
- Step 2: Preheat Your Oven - While the pasta is cooking, preheat your oven to 350°F (175°C).
- Step 3: Mix the Cheese Filling - In a mixing bowl, combine the cottage cheese, whisked egg, and 1 cup of shredded mozzarella cheese. Stir until well mixed.
- Step 4: Combine with Sauce - In a separate large bowl, mix the cooked rotini noodles with spaghetti sauce or marinara.
- Step 5: Layer the Ingredients - In your baking dish, spread half of the sauced rotini in an even layer. Dollop the cheese mixture over the pasta and spread evenly. Top with the remaining sauced rotini.
- Step 6: Add the Final Touch - Sprinkle the remaining shredded mozzarella cheese over the top layer of rotini.
- Step 7: Bake - Cover the baking dish with aluminum foil and place it in the preheated oven. Bake for 25 minutes, then remove the foil and bake for an additional 10-15 minutes.
Notes
- Store leftovers in an airtight container for up to 3-4 days.
- Reheat in the microwave or oven until warmed through.
- To freeze, wrap tightly and it will last for up to 3 months.