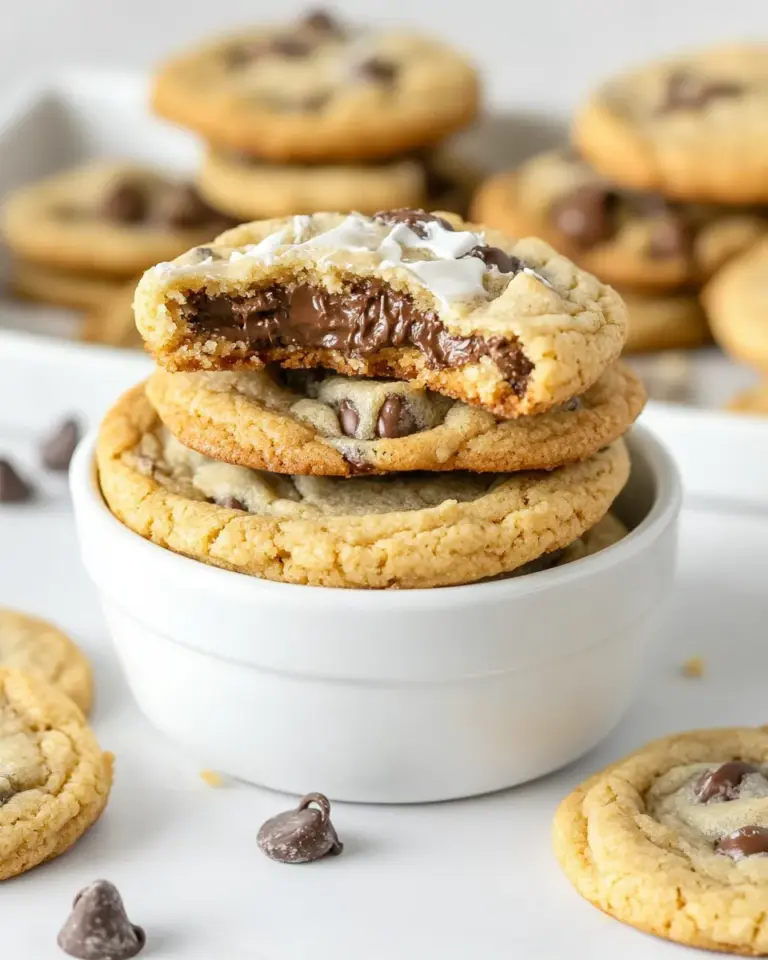
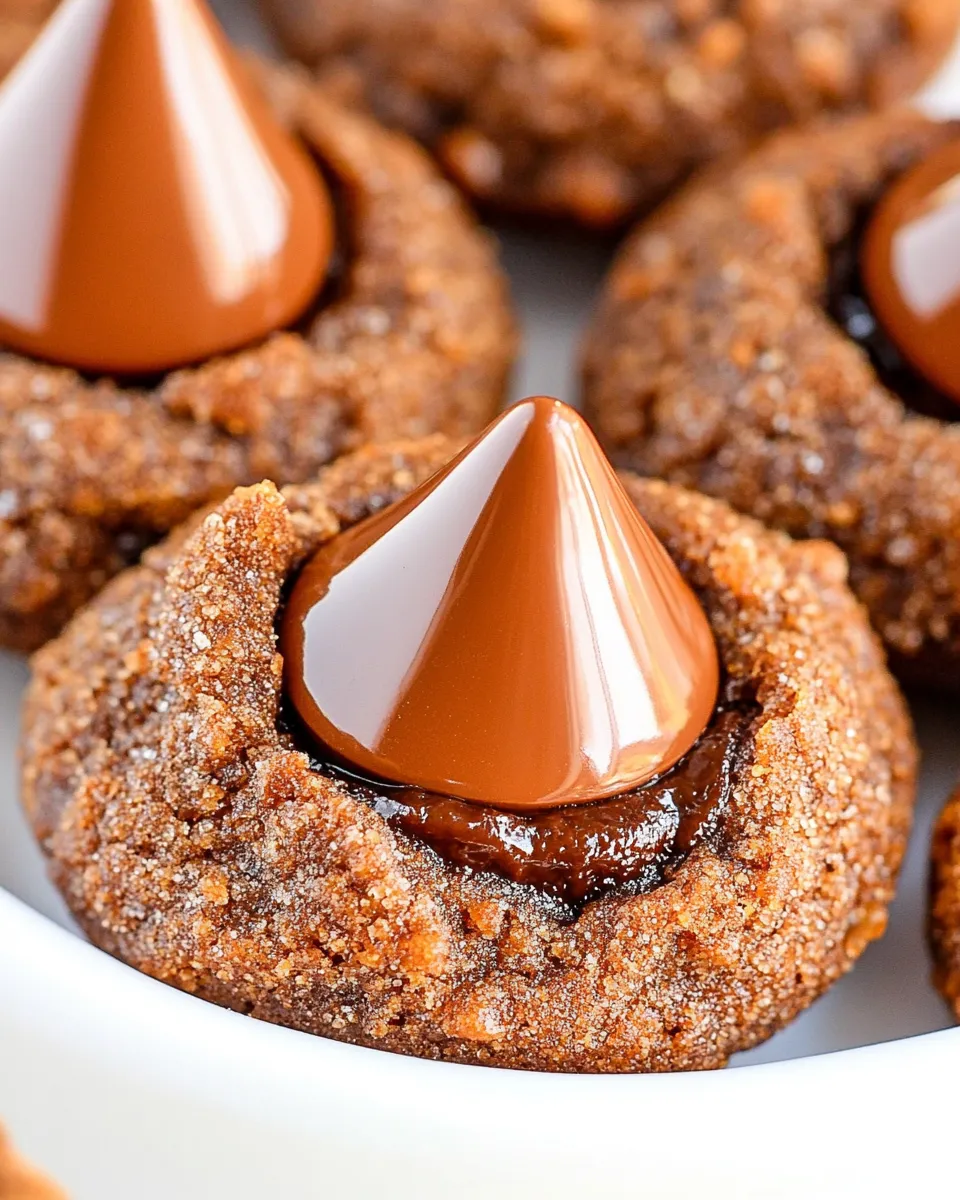
Hershey Kiss Cookies
There’s something undeniably magical about Hershey Kiss Cookies. These soft, chocolatey delights crowned with a shiny Hershey’s Kiss in the center are a classic treat that brings smiles to every occasion. Whether you’re baking for a holiday, a gathering, or just because, these cookies deliver a perfect balance of rich cocoa flavor and a melt-in-your-mouth texture. They’re simple enough for beginner bakers but impressive enough to serve at your next party. Let’s dive into the recipe and discover why these cookies deserve a permanent spot in your baking repertoire.
Why It Deserves a Spot

Hershey Kiss Cookies are more than just a cookie—they’re a nostalgic experience wrapped in chocolate. The combination of cocoa powder in the dough and the iconic Hershey’s Kiss on top creates a delightful surprise with every bite. They’re soft, chewy, and have a slight crunch from the sugar coating, making them irresistible. Plus, they’re incredibly versatile and can be customized with different flavored kisses or added nuts for a personal touch. Whether you’re making them for kids or adults, their festive look and delicious taste make them a crowd-pleaser year-round.
Ingredient Checklist
- 1 cup white granulated sugar – adds sweetness and a slight crunch
- ½ cup unsalted butter, room temperature – for richness and softness
- 1 egg, room temperature – binds the dough together
- 1 egg yolk, room temperature – adds extra moisture and chewiness
- 1 teaspoon vanilla extract – enhances overall flavor
- 2 cups all-purpose flour – the base of the dough
- ⅓ cup unsweetened cocoa powder – brings deep chocolate flavor
- ½ teaspoon baking soda – leavens the dough for soft texture
- ¼ teaspoon salt – balances sweetness and enhances flavors
- 20-24 chocolate kisses – for the signature Hershey’s Kiss topping
- 2 tablespoons white granulated sugar (for rolling cookies) – adds crunch and visual appeal
Tools & Equipment Needed
- Mixing bowls – for combining wet and dry ingredients separately
- Hand mixer or stand mixer – to cream butter and sugar smoothly
- Measuring cups and spoons – to ensure precise ingredient amounts
- Whisk – to mix dry ingredients evenly
- Baking sheet – to bake the cookies evenly
- Parchment paper or silicone baking mat – prevents sticking and makes cleanup easy
- Cooling rack – helps cookies cool properly without becoming soggy
- Small bowl for rolling sugar – to coat cookie dough balls
Hershey Kiss Cookies: How It’s Done

Step 1: Prep the Oven and Ingredients
Preheat your oven to 350°F (175°C). Line your baking sheet with parchment paper or a silicone baking mat. This ensures your cookies bake evenly and don’t stick.
Step 2: Cream Butter and Sugar
In a large mixing bowl, use a hand or stand mixer to cream together ½ cup of unsalted butter and 1 cup of white granulated sugar until the mixture is light and fluffy. This usually takes about 2-3 minutes on medium speed.
Step 3: Add Eggs and Vanilla
Add 1 egg, 1 egg yolk, and 1 teaspoon of vanilla extract to the creamed butter and sugar. Mix until fully incorporated, creating a smooth, rich batter.
Step 4: Mix Dry Ingredients
In a separate bowl, whisk together 2 cups all-purpose flour, ⅓ cup unsweetened cocoa powder, ½ teaspoon baking soda, and ¼ teaspoon salt. This step ensures all dry ingredients are evenly distributed.
Step 5: Combine Wet and Dry Ingredients
Gradually add the dry ingredients to the wet mixture, beating on low speed or folding gently with a spatula. Mix just until combined—overmixing can make the cookies tough.
Step 6: Roll Dough in Sugar
Pour 2 tablespoons of white granulated sugar into a small bowl. Using a spoon or your hands, form the dough into 1-inch balls, then roll each ball in the sugar until fully coated. This adds a lovely sugary crust to the cookies.
Step 7: Bake and Add Kisses
Place the sugar-coated dough balls onto the prepared baking sheet, spacing them about 2 inches apart. Bake for 8-10 minutes until the edges are set but the centers are still soft. Remove the baking sheet from the oven and immediately press a Hershey’s Kiss into the center of each cookie. The residual heat will soften the cookie, allowing the kiss to adhere perfectly.
Step 8: Cool and Enjoy
Allow the cookies to cool on the baking sheet for 5 minutes before transferring them to a wire rack to cool completely. This resting time helps the cookies set and keeps the kisses beautifully intact.
International Equivalents
- Butter: In some countries, “margarine” or “table spread” may be used, but for best results, choose a high-quality unsalted butter alternative.
- All-Purpose Flour: Known as plain flour in the UK and Australia, it serves the same purpose.
- Granulated Sugar: Often called caster sugar in some regions; it’s slightly finer but works well for rolling the dough.
- Hershey’s Kisses: If unavailable, substitute with any small individually wrapped chocolate drops or truffles.
Troubleshooting Tips
- Cookies spreading too much: Chill the dough for 30 minutes before baking to prevent excessive spreading.
- Kisses sinking or melting completely: Press them onto the cookies immediately after baking while the cookies are still warm but not hot.
- Dry or crumbly cookies: Ensure your butter and eggs are at room temperature for proper mixing and moisture balance.
- Cookies too flat: Double-check the baking soda amount and avoid overmixing the dough which can flatten the texture.
Best Ways to Store
To keep your Hershey Kiss Cookies fresh and delicious, store them in an airtight container at room temperature. They will stay soft and chewy for up to 5 days. For longer storage, place them in the freezer inside a sealed container or freezer bag for up to 3 months. When ready to enjoy, thaw at room temperature for about 30 minutes. Avoid refrigerating as it can dry out the cookies and diminish their softness.
Questions People Ask
Can I use dark chocolate kisses instead of milk chocolate?
Absolutely! Dark chocolate kisses add a richer, slightly bitter contrast that pairs beautifully with the sweet cocoa cookie base. Feel free to experiment with different chocolate varieties to suit your taste.
Is it necessary to roll the dough balls in sugar?
Rolling the dough balls in sugar before baking adds a delightful crunchy texture and shimmer to the cookie surface. It’s a simple step that enhances both appearance and flavor but can be skipped if you prefer a softer exterior.
Can I make these cookies gluten-free?
Yes! Substitute the all-purpose flour with a gluten-free baking blend that measures cup-for-cup. Just ensure it contains xanthan gum or another binder to maintain the cookie’s structure.
How do I prevent the kisses from melting too much during baking?
Place the kisses on the cookies immediately after removing them from the oven, rather than before baking. The residual heat is enough to soften the cookie but prevents the chocolate from melting excessively and losing shape.
Bring It to the Table
Hershey Kiss Cookies are perfect for any occasion—holiday celebrations, cookie swaps, or as a sweet surprise in lunchboxes. Their irresistible chocolate flavor and charming appearance make them a delightful gift when wrapped in festive cellophane or a decorative tin. Pair them with a glass of cold milk, a hot cup of coffee, or even a scoop of vanilla ice cream for an indulgent treat. When you bake these cookies, you’re not just making a dessert—you’re creating moments of joy and warmth around the table.
These cookies also complement other baked goods beautifully. Try serving them alongside your favorite Browned Butter Sugar Cookies Vanilla Glaze for a diverse cookie platter, or enjoy them after nibbling on some crunchy Chocolate Dipped Cranberry Pistachio Biscotti. Their soft, chewy texture and chocolate richness contrast wonderfully with crisp, buttery cookies and crunchy biscotti.
In the end, Hershey Kiss Cookies aren’t just a recipe—they’re a timeless treat that brings people together. Whether you’re baking them for a special event or a simple everyday indulgence, this recipe guarantees a sweet success every time. So grab your ingredients, preheat your oven, and get ready to make some magic happen in your kitchen!
Share on Pinterest

Hershey Kiss Cookies
Ingredients
Equipment
Method
- Preheat your oven to 350°F (175°C). Line your baking sheet with parchment paper or a silicone baking mat.
- In a large mixing bowl, use a hand or stand mixer to cream together ½ cup of unsalted butter and 1 cup of white granulated sugar until light and fluffy, about 2-3 minutes.
- Add 1 egg, 1 egg yolk, and 1 teaspoon of vanilla extract to the creamed mixture. Mix until fully incorporated.
- In a separate bowl, whisk together 2 cups all-purpose flour, ⅓ cup unsweetened cocoa powder, ½ teaspoon baking soda, and ¼ teaspoon salt.
- Gradually add the dry ingredients to the wet mixture, mixing just until combined.
- Pour 2 tablespoons white granulated sugar into a small bowl. Form dough into 1-inch balls and roll each in sugar until coated.
- Place dough balls on the baking sheet about 2 inches apart. Bake for 8-10 minutes until edges are set but centers soft. Remove from oven and immediately press a Hershey’s Kiss into the center of each cookie.
- Allow cookies to cool on the baking sheet for 5 minutes, then transfer to a wire rack to cool completely.
Notes
- Chill the dough for 30 minutes before baking to prevent cookies from spreading too much.
- Press Hershey’s Kisses onto cookies immediately after baking to avoid melting or sinking.
- Use room temperature butter and eggs for proper mixing and moisture balance.
- For gluten-free version, substitute all-purpose flour with a gluten-free blend including xanthan gum.
- Store cookies in an airtight container at room temperature for up to 5 days or freeze for up to 3 months.