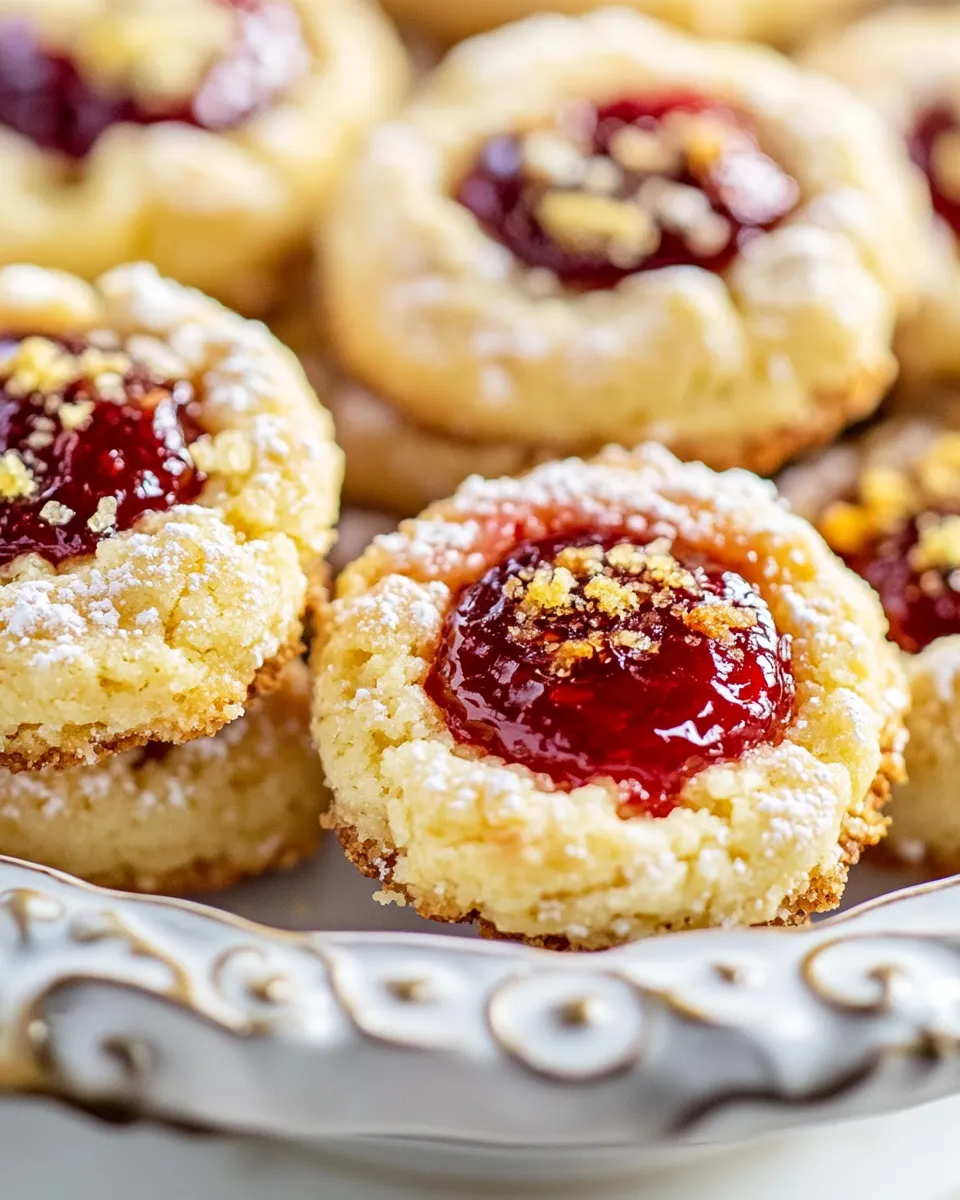
Italian Thumbprint Cookies
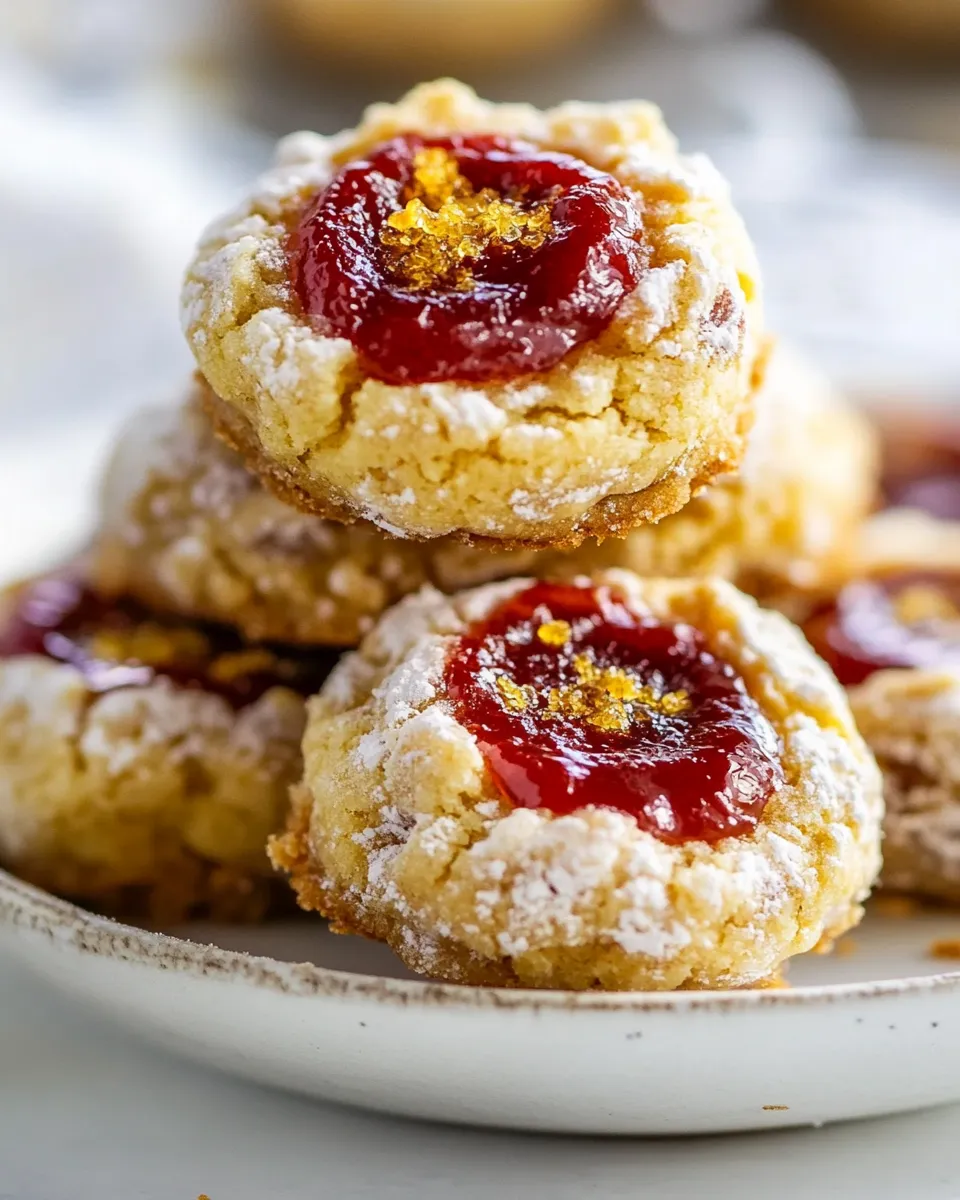
Italian Thumbprint Cookies are a delightful treat that brings together the rich culinary traditions of Italy with a modern twist. These cookies are not only beautiful but also bursting with flavor, making them perfect for any occasion. The combination of buttery dough, nutty pistachios, and sweet strawberry preserves creates a symphony of textures and tastes that will leave your guests wanting more. Let’s dive into the world of Italian Thumbprint Cookies and discover how to make this exquisite dessert from scratch.
Why Cooks Rave About It
Italian Thumbprint Cookies are cherished for their elegant appearance and delicious flavor. Cooks rave about them for several reasons:
- Versatility: They can be filled with various jams or chocolates, allowing for endless flavor combinations.
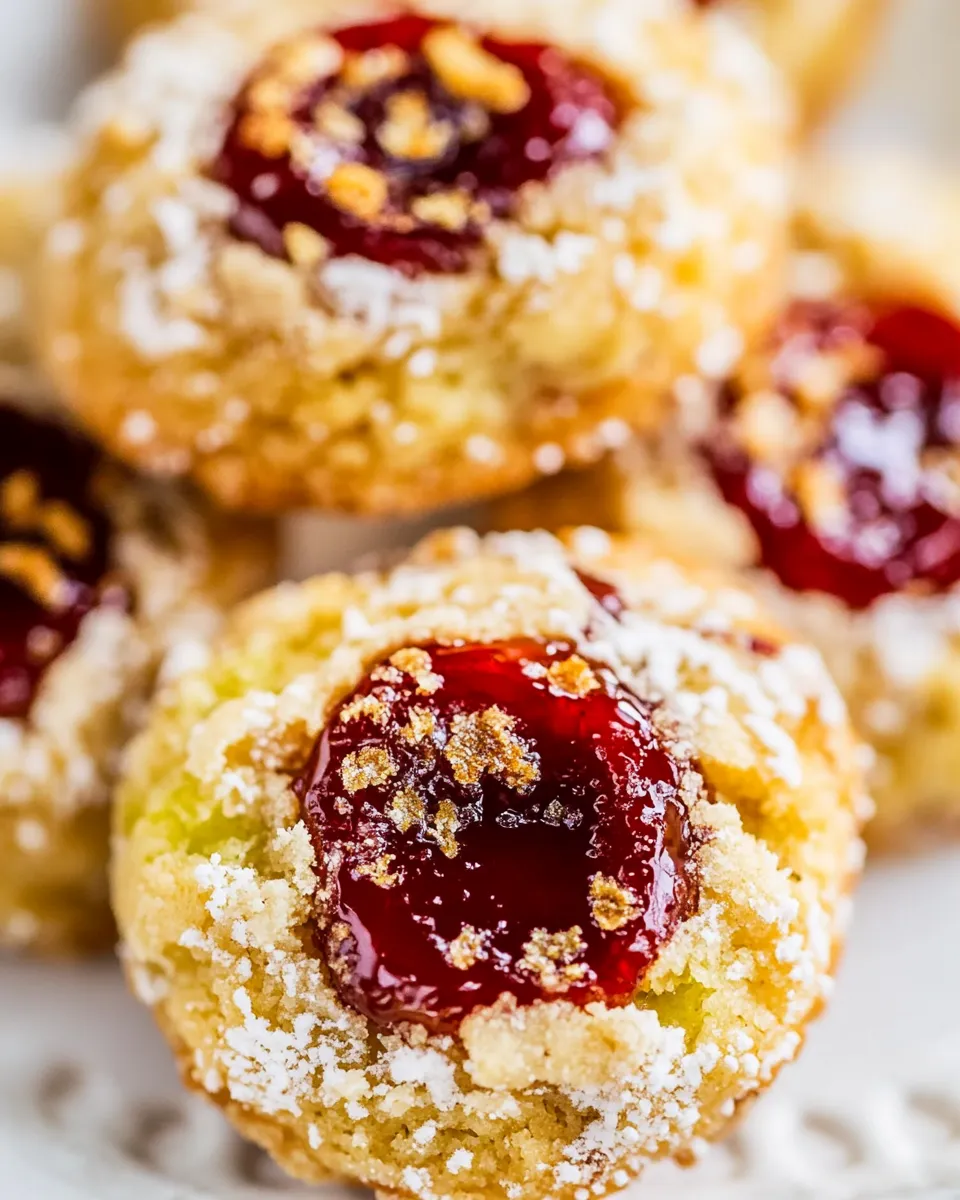
- Textural Delight: The crunchy pistachios pair wonderfully with the soft, buttery cookie and the smooth preserves.
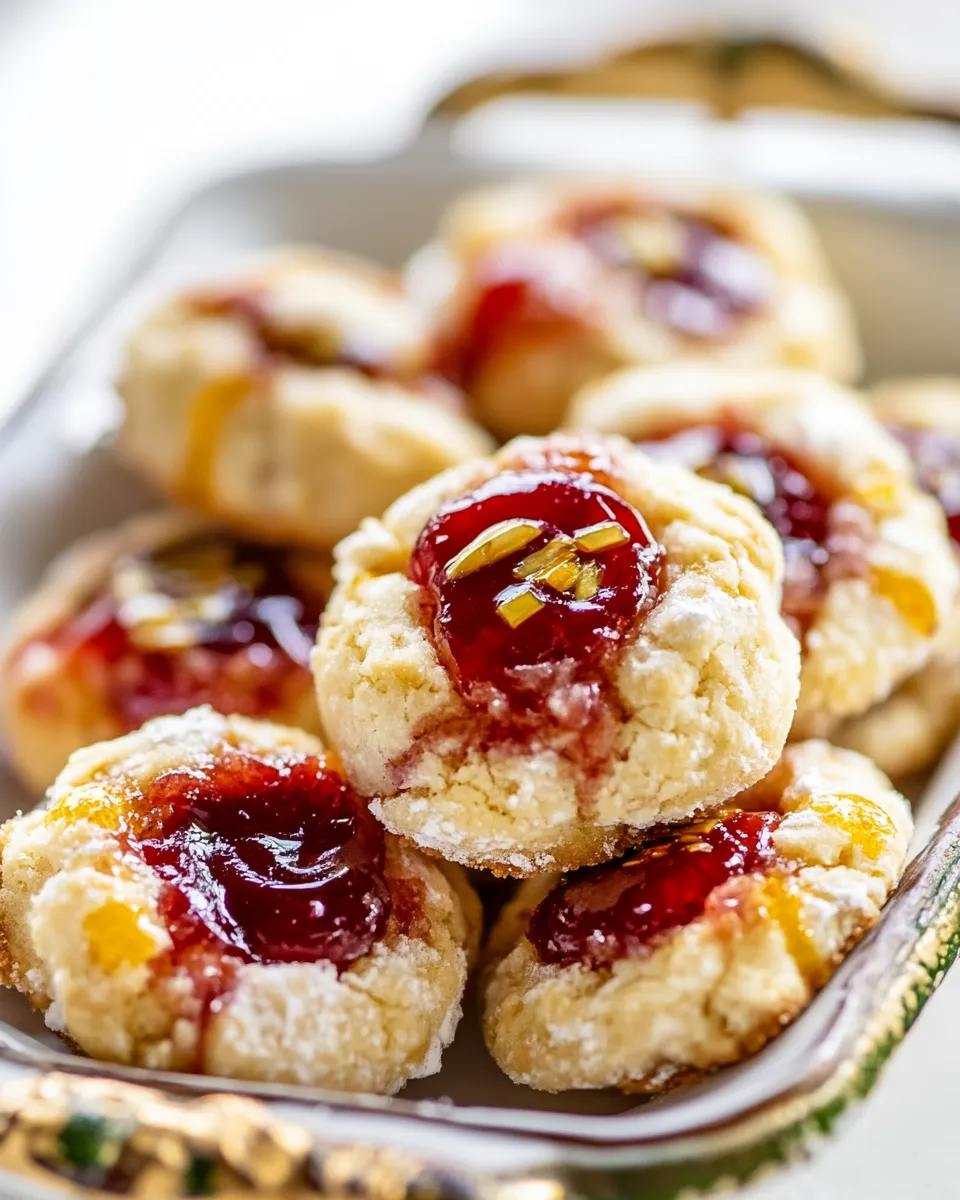
- Showstopper Presentation: These cookies look stunning on any dessert table, making them perfect for gatherings.
- Simple Ingredients: Made from basic pantry staples, they are easy to whip up and share with loved ones.
Ingredients at a Glance
To make these delightful Italian Thumbprint Cookies, gather the following ingredients:
- 2 1/4 cups all-purpose flour
- 1 cup salted butter, firm but not cold
- 2/3 cup granulated sugar
- Seeds of 1 vanilla bean (or 1 1/2 tsp vanilla extract as a substitute)
- 2 large eggs, yolks and whites divided
- 1 cup unsalted pistachios, finely chopped
- 1/2 cup strawberry preserves
- 4 oz white chocolate or semi-sweet chocolate, melted
Essential Tools for Success
Before you start baking, make sure you have these essential tools on hand:
- Baking sheets: A sturdy baking sheet ensures even baking.
- Parchment paper: This makes for easy cleanup and prevents sticking.
- Mixing bowls: A set of various sizes for mixing ingredients and whipping egg whites.
- Cookie scoop: Helps to keep the cookies uniform in size.
- Whisk: Perfect for beating egg whites until they are fluffy.
- Rubber spatula: Great for folding in ingredients without deflating the mixture.
Build Italian Thumbprint Cookies Step by Step
Creating Italian Thumbprint Cookies is a straightforward process. Follow these steps for cookie perfection:
Step 1: Prepare the Dough
In a large mixing bowl, cream together the firm salted butter and granulated sugar until light and fluffy. This will take about 3-4 minutes.
Step 2: Add Vanilla and Egg Yolks
Add the seeds of the vanilla bean (or vanilla extract) and the egg yolks to the butter mixture. Mix until well combined.
Step 3: Incorporate the Flour
Gradually add the all-purpose flour to the mixture, stirring gently until the dough comes together. Avoid overmixing to keep the cookies tender.
Step 4: Chill the Dough
Cover the dough with plastic wrap and chill in the refrigerator for at least 30 minutes. Chilling helps the cookies maintain their shape during baking.
Step 5: Preheat and Prepare Baking Sheets
Preheat your oven to 350°F (175°C). Line your baking sheets with parchment paper.
Step 6: Shape the Cookies
Take the chilled dough and scoop out tablespoon-sized portions. Roll them into balls and place them on the prepared baking sheets about 2 inches apart.
Step 7: Create the Thumbprint Indentations
Using your thumb (or the back of a measuring spoon), create a small indentation in the center of each cookie.
Step 8: Prepare Egg Whites and Pistachios
In a separate bowl, whisk the egg whites until frothy. Dip each cookie ball into the egg whites, then roll them in the finely chopped pistachios, ensuring they are well-coated.
Step 9: Fill with Preserves
Spoon a small amount of strawberry preserves into each thumbprint indentation, being careful not to overfill.
Step 10: Bake to Perfection
Bake the cookies in the preheated oven for 12-15 minutes, or until the edges are lightly golden. Allow them to cool on the baking sheets for a few minutes before transferring them to a wire rack.
Step 11: Drizzle with Chocolate
Once the cookies are completely cool, drizzle melted chocolate over the top for an elegant finish.
Low-Carb/Keto Alternatives
If you’re looking for low-carb or keto alternatives, consider the following substitutions:
- Replace all-purpose flour with almond flour or coconut flour.
- Use a sugar substitute like erythritol or stevia instead of granulated sugar.
- Opt for sugar-free strawberry preserves to keep the carbs low.
- Choose unsweetened chocolate or sugar-free chocolate for the drizzle.
Flavor Logic
The flavor profile of Italian Thumbprint Cookies is a delightful blend of sweet, nutty, and creamy elements. The salted butter provides richness, while the granulated sugar adds a touch of sweetness. The vanilla bean brings aromatic warmth, complementing the strawberry preserves perfectly. The pistachios not only add a lovely crunch but also introduce a subtle earthiness that balances the overall flavor. Each bite is a harmonious combination of textures and tastes that make these cookies irresistible.
Meal Prep & Storage Notes
For meal prep and storage, consider the following tips:
Italian Thumbprint Cookies can be made ahead of time and stored in an airtight container at room temperature for up to a week. If you want to prepare the dough in advance, you can refrigerate it for up to 3 days or freeze it for up to a month. Just make sure to thaw it in the refrigerator before baking.
For longer storage, these cookies freeze beautifully. Place cooled cookies in a single layer in a freezer-safe container, separating layers with parchment paper. They’ll remain fresh for up to 3 months. Simply thaw at room temperature before enjoying.
Italian Thumbprint Cookies FAQs
Can I use different preserves for the filling?
Absolutely! These cookies are incredibly versatile. Feel free to experiment with your favorite jams or even chocolate ganache for a unique twist.
Why did my cookies spread too much during baking?
If cookies spread too much, it could be due to the butter being too soft or not chilling the dough long enough. Ensure your butter is firm and chill the dough as directed for the best results.
Can I make these cookies gluten-free?
Yes! By substituting all-purpose flour with a gluten-free flour blend, you can easily modify this recipe to be gluten-free while still enjoying the same deliciousness.
How can I make these cookies more festive?
To make them more festive, consider adding colored sprinkles on top of the chocolate drizzle or incorporating seasonal flavored preserves, like raspberry or orange marmalade.
Serve & Enjoy
Italian Thumbprint Cookies are perfect for any occasion, whether it’s a holiday gathering, a birthday party, or simply a cozy afternoon treat with coffee or tea. Their charming appearance and delightful taste will surely impress your family and friends. Serve them on a beautiful platter, and watch as they disappear in no time.
The next time you’re in the mood for baking, remember this recipe for Italian Thumbprint Cookies. With their buttery texture, nutty crunch, and sweet filling, they’re sure to become a beloved favorite in your household. Happy baking!
Italian Thumbprint Cookies
Ingredients
Equipment
Method
- In a large mixing bowl, cream together the firm salted butter and granulated sugar until light and fluffy. This will take about 3-4 minutes.
- Add the seeds of the vanilla bean (or vanilla extract) and the egg yolks to the butter mixture. Mix until well combined.
- Gradually add the all-purpose flour to the mixture, stirring gently until the dough comes together. Avoid overmixing to keep the cookies tender.
- Cover the dough with plastic wrap and chill in the refrigerator for at least 30 minutes. Chilling helps the cookies maintain their shape during baking.
- Preheat your oven to 350°F (175°C). Line your baking sheets with parchment paper.
- Take the chilled dough and scoop out tablespoon-sized portions. Roll them into balls and place them on the prepared baking sheets about 2 inches apart.
- Using your thumb (or the back of a measuring spoon), create a small indentation in the center of each cookie.
- In a separate bowl, whisk the egg whites until frothy. Dip each cookie ball into the egg whites, then roll them in the finely chopped pistachios, ensuring they are well-coated.
- Spoon a small amount of strawberry preserves into each thumbprint indentation, being careful not to overfill.
- Bake the cookies in the preheated oven for 12-15 minutes, or until the edges are lightly golden. Allow them to cool on the baking sheets for a few minutes before transferring them to a wire rack.
- Once the cookies are completely cool, drizzle melted chocolate over the top for an elegant finish.
Notes
- These cookies can be made ahead and stored in an airtight container for up to a week.
- Freeze the cookies by placing them in a single layer in a freezer-safe container for up to 3 months.
- Experiment with different preserves for unique flavors.