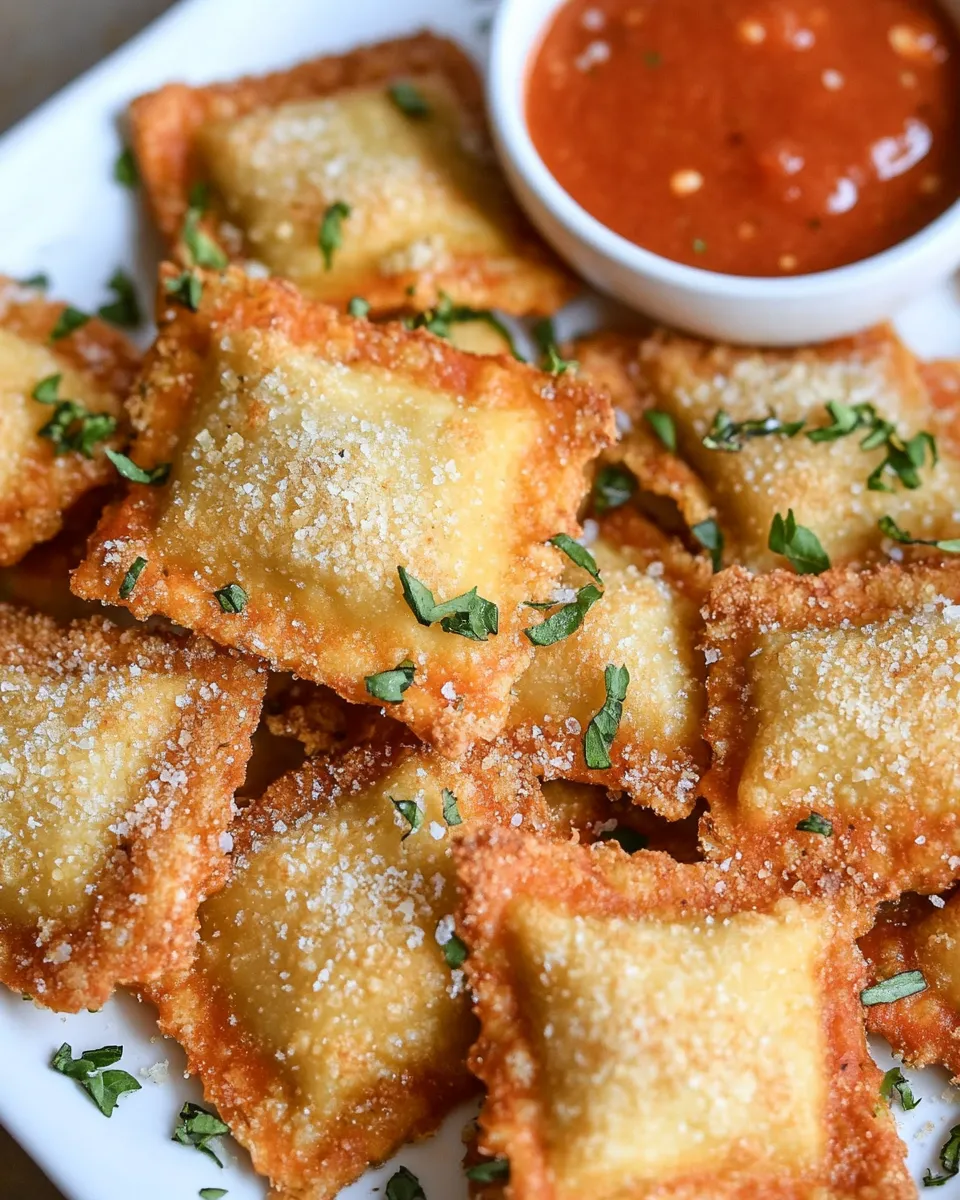
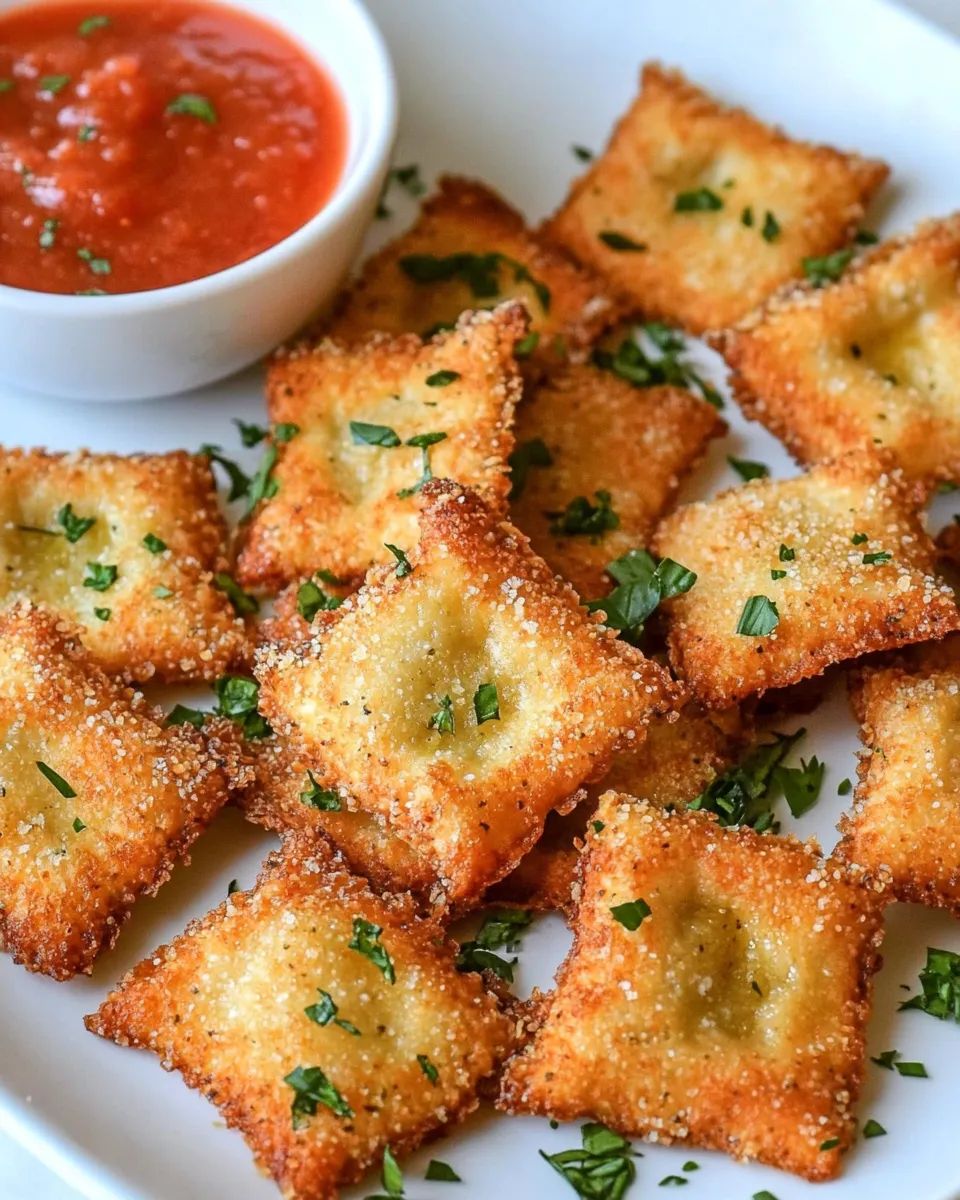
Olive Garden Toasted Ravioli
If you’re a fan of Olive Garden, you know that their toasted ravioli is a must-try appetizer. These crispy, golden-brown pockets of joy are filled with deliciously seasoned meat and served with a side of marinara sauce for dipping. Today, I’m going to share a simple recipe for Olive Garden Toasted Ravioli that you can whip up in the comfort of your own kitchen. Whether you’re hosting a gathering or just craving a savory snack, this recipe is sure to impress!
Why You’ll Keep Making It

There are countless reasons to keep making these delightful Olive Garden Toasted Ravioli. First and foremost, they are incredibly easy to prepare, making them perfect for both novice cooks and seasoned chefs. The combination of crispy breadcrumbs, flavorful ravioli, and the rich taste of garlic salt creates a mouthwatering experience. Moreover, they are versatile! You can serve them as a party appetizer, a snack during movie night, or even as a main course paired with a salad. Once you discover how simple it is to create this beloved dish at home, you’ll find yourself reaching for this recipe time and time again.
Ingredient List
- 16 ounces meat ravioli
- 2 eggs, beaten
- 1/4 cup water
- 1 teaspoon garlic salt
- 1 cup flour
- 1 cup breadcrumbs
- 1 teaspoon Italian seasoning
- Oil for frying
Before You Start: Equipment
- Large pot for boiling ravioli
- Shallow bowls for egg wash and flour
- Frying pan or deep fryer
- Slotted spoon or spatula for flipping
- Paper towels for draining excess oil
- Serving platter for presentation
Olive Garden Toasted Ravioli, Made Easy

Step 1: Prepare the Ravioli
Start by boiling the 16 ounces of meat ravioli according to the package instructions. This usually takes about 3-5 minutes. Once cooked, drain them gently and let them cool slightly.
Step 2: Set Up Your Dipping Stations
In one shallow bowl, place the 1 cup of flour. In another bowl, whisk together the 2 beaten eggs and 1/4 cup of water until well combined.
Step 3: Mix the Breadcrumbs
In a third bowl, combine the 1 cup of breadcrumbs, 1 teaspoon of garlic salt, and 1 teaspoon of Italian seasoning. This will add that delicious flavor we all crave.
Step 4: Bread the Ravioli
Now, take each ravioli and dip it first into the flour, shaking off any excess. Next, coat it in the egg wash, and then finally, roll it in the seasoned breadcrumb mixture until fully covered. Set aside on a baking sheet.
Step 5: Heat the Oil
In a frying pan or deep fryer, heat enough oil for frying over medium heat. You want the oil to be hot enough so that the ravioli sizzle as they hit the oil.
Step 6: Fry the Ravioli
Carefully place a few breaded ravioli in the hot oil (do not overcrowd the pan) and fry for about 2-3 minutes on each side or until they are golden brown and crispy.
Step 7: Drain and Serve
Using a slotted spoon, remove the toasted ravioli from the oil and place them on paper towels to drain any excess oil. Serve hot with marinara sauce on the side for dipping.
Ingredient Swaps & Substitutions
- You can use cheese ravioli instead of meat if you prefer a vegetarian option.
- For a gluten-free version, substitute regular flour and breadcrumbs with gluten-free alternatives.
- Try adding different spices to the breadcrumb mixture, like paprika or cayenne pepper, for an extra kick.
- If you don’t have Italian seasoning, a mix of dried oregano, basil, and parsley will work well.
Mistakes Even Pros Make
- Not allowing the ravioli to cool slightly after boiling can lead to soggy breading.
- Overcrowding the frying pan can cause the oil temperature to drop, leading to oily ravioli instead of crispy ones.
- Skipping the flour step can result in the breading not adhering properly to the ravioli.
- Not monitoring the cooking time can easily lead to burnt or undercooked ravioli.
Keep It Fresh: Storage Guide
To keep any leftover Olive Garden Toasted Ravioli fresh, allow them to cool completely before transferring them to an airtight container. They can be stored in the refrigerator for up to 3 days. If you want to enjoy them later, consider freezing them before frying. Lay the breaded ravioli on a baking sheet in a single layer and freeze until solid, then transfer them to a freezer bag. When you’re ready to eat, simply fry them straight from the freezer, adding a few extra minutes to the cooking time.
Common Qs About Olive Garden Toasted Ravioli
Can I bake the toasted ravioli instead of frying them?
Yes! If you prefer a healthier version, you can bake the breaded ravioli at 400°F for about 15-20 minutes, flipping halfway through, until they are golden and crispy.
What type of ravioli is best for this recipe?
Meat ravioli works wonderfully, but you can also use cheese or vegetable ravioli based on your preference. Just make sure they are pre-cooked and suitable for frying.
Can I prepare the ravioli in advance?
Absolutely! You can bread the ravioli ahead of time and store them in the refrigerator until you’re ready to fry. Just ensure they’re well covered to prevent drying out.
What can I serve with toasted ravioli?
These delicious bites pair perfectly with marinara sauce or a creamy alfredo dip. You can also serve them alongside a fresh salad for a complete meal.
Next Steps
Now that you’ve learned how to make Olive Garden Toasted Ravioli, it’s time to gather your ingredients and get cooking! Don’t forget to invite friends or family over to enjoy this delicious dish together. Experiment with different dipping sauces and sides to make the meal your own. Remember, cooking is all about creativity and sharing joy with others.
The next time you’re craving a taste of Olive Garden, you won’t have to leave the house. Instead, you can impress your loved ones with your culinary skills right from your kitchen. Enjoy the delightful flavors of these toasted ravioli and savor every bite!
Olive Garden Toasted Ravioli
Ingredients
Equipment
Method
- Start by boiling the 16 ounces of meat ravioli according to the package instructions. This usually takes about 3-5 minutes. Once cooked, drain them gently and let them cool slightly.
- In one shallow bowl, place the 1 cup of flour. In another bowl, whisk together the 2 beaten eggs and 1/4 cup of water until well combined.
- In a third bowl, combine the 1 cup of breadcrumbs, 1 teaspoon of garlic salt, and 1 teaspoon of Italian seasoning.
- Take each ravioli and dip it first into the flour, shaking off any excess. Next, coat it in the egg wash, and then finally, roll it in the seasoned breadcrumb mixture until fully covered. Set aside on a baking sheet.
- In a frying pan or deep fryer, heat enough oil for frying over medium heat.
- Carefully place a few breaded ravioli in the hot oil and fry for about 2-3 minutes on each side or until they are golden brown and crispy.
- Using a slotted spoon, remove the toasted ravioli from the oil and place them on paper towels to drain any excess oil. Serve hot with marinara sauce on the side for dipping.
Notes
- Allow ravioli to cool slightly after boiling to prevent soggy breading.
- Don’t overcrowd the frying pan to keep the oil hot and crispy.
- Monitor cooking time to avoid burnt or undercooked ravioli.