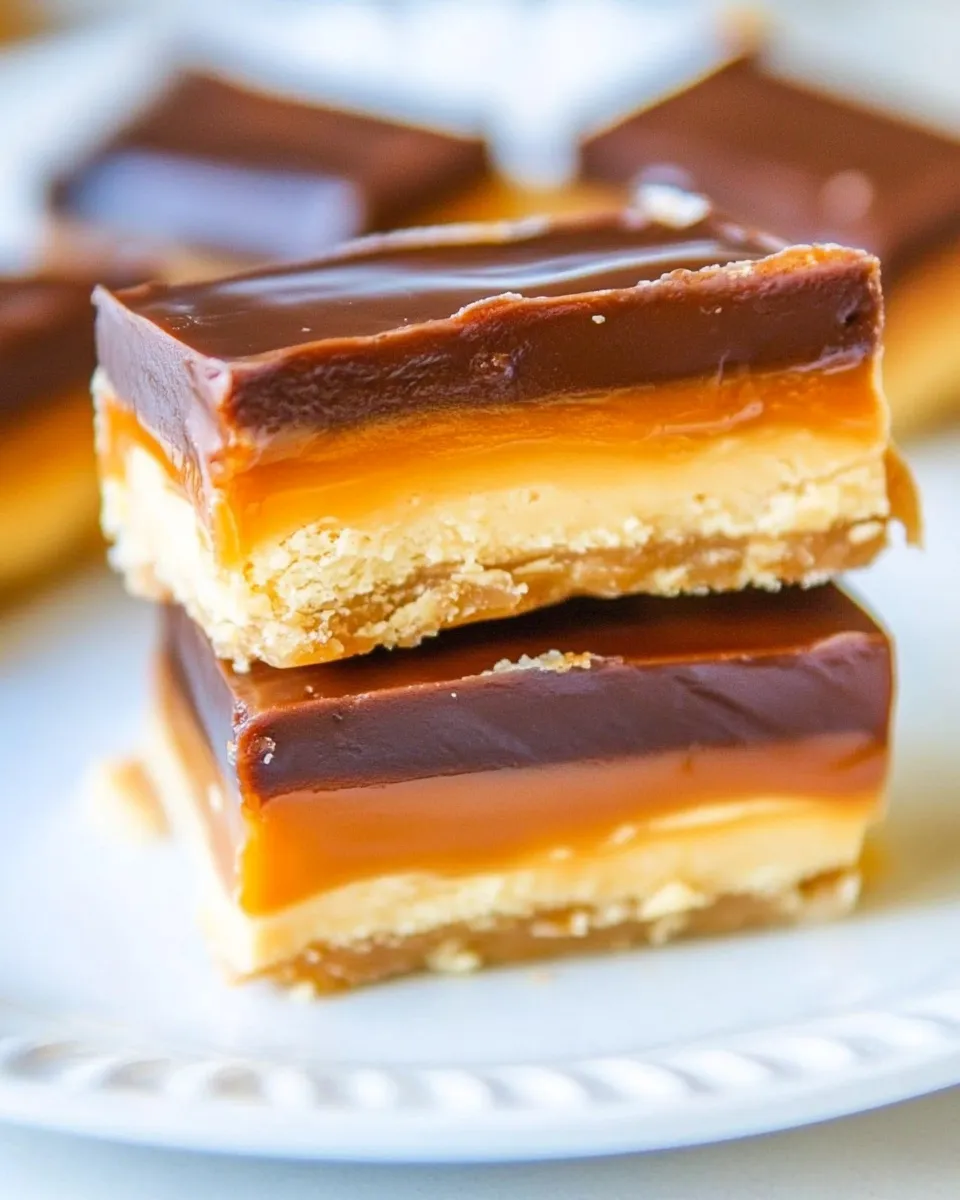
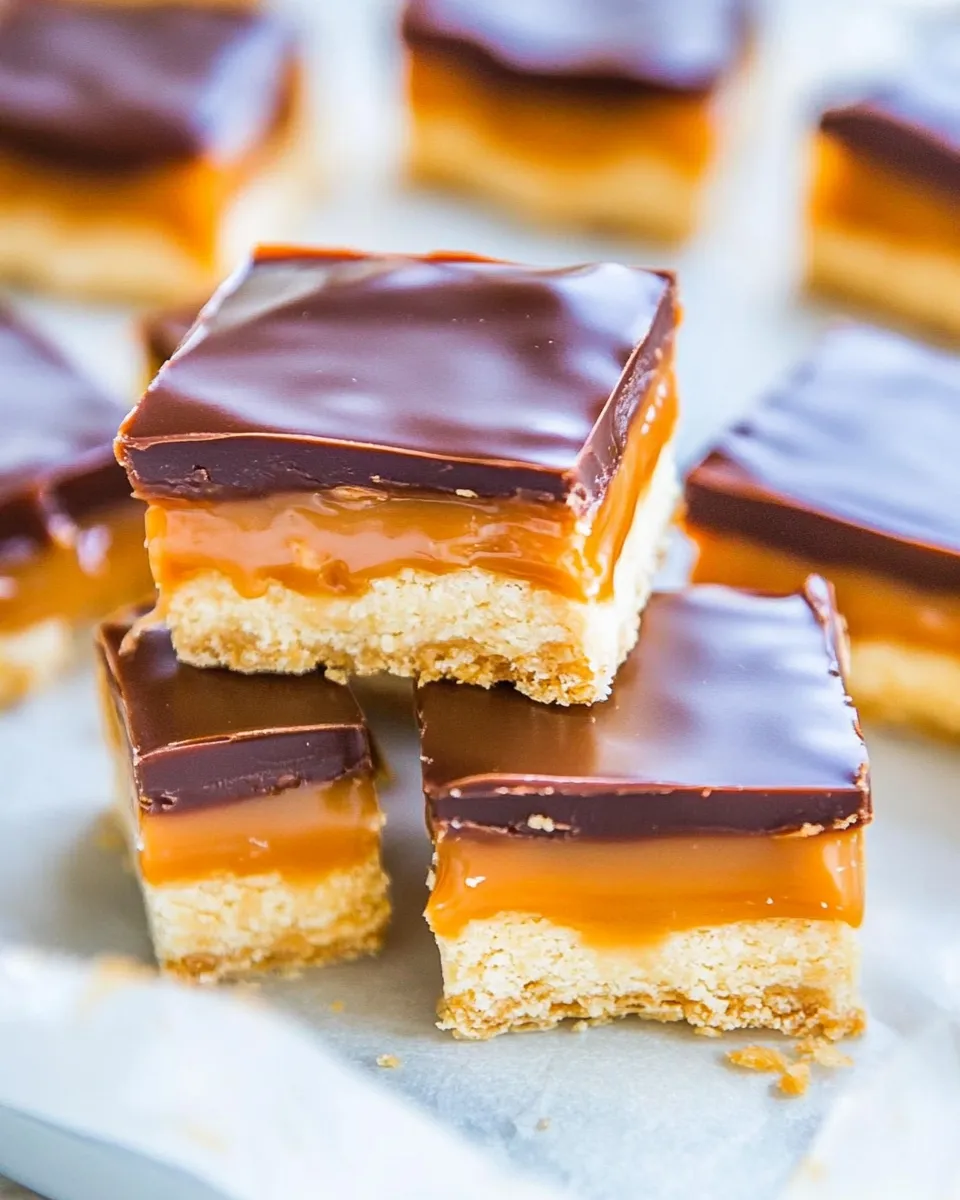
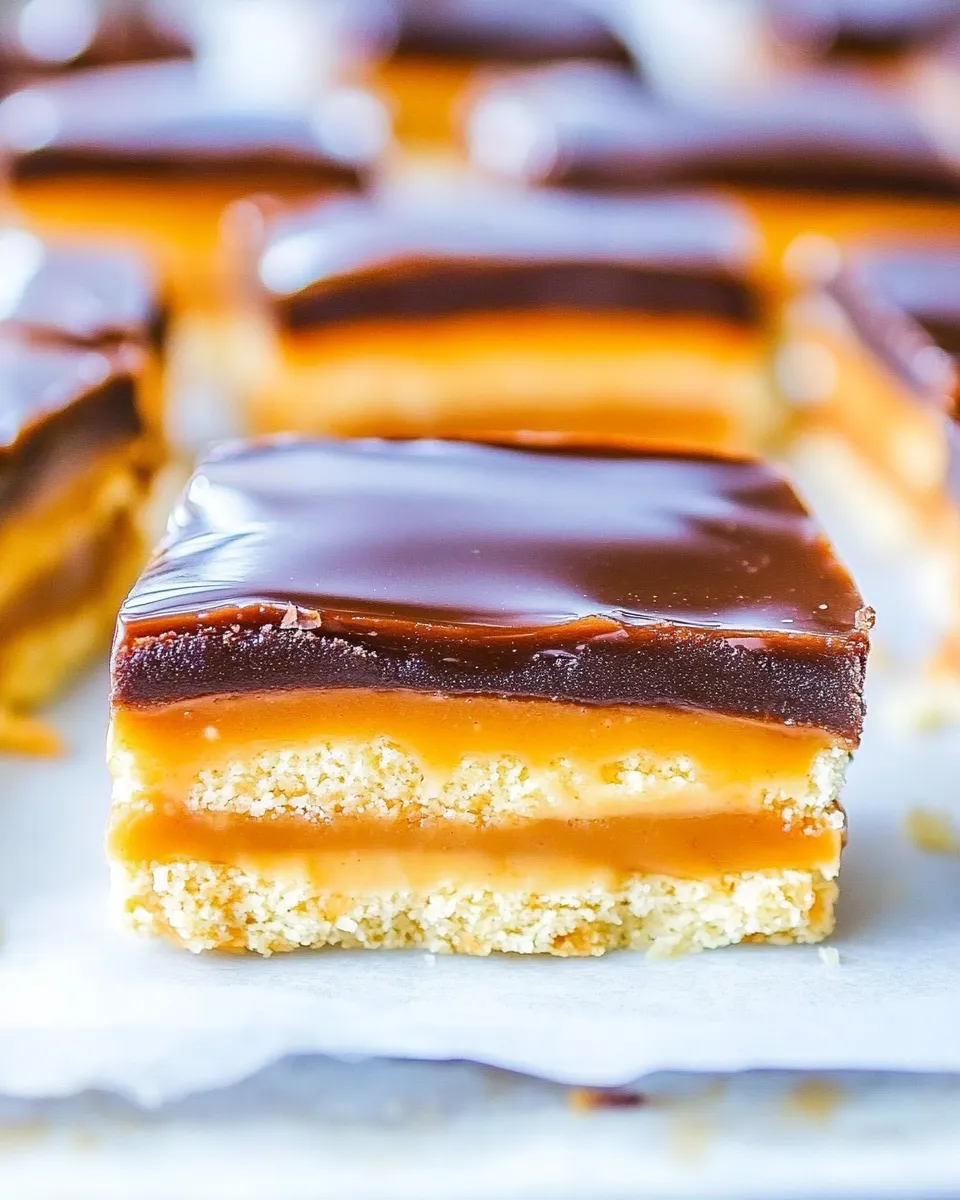
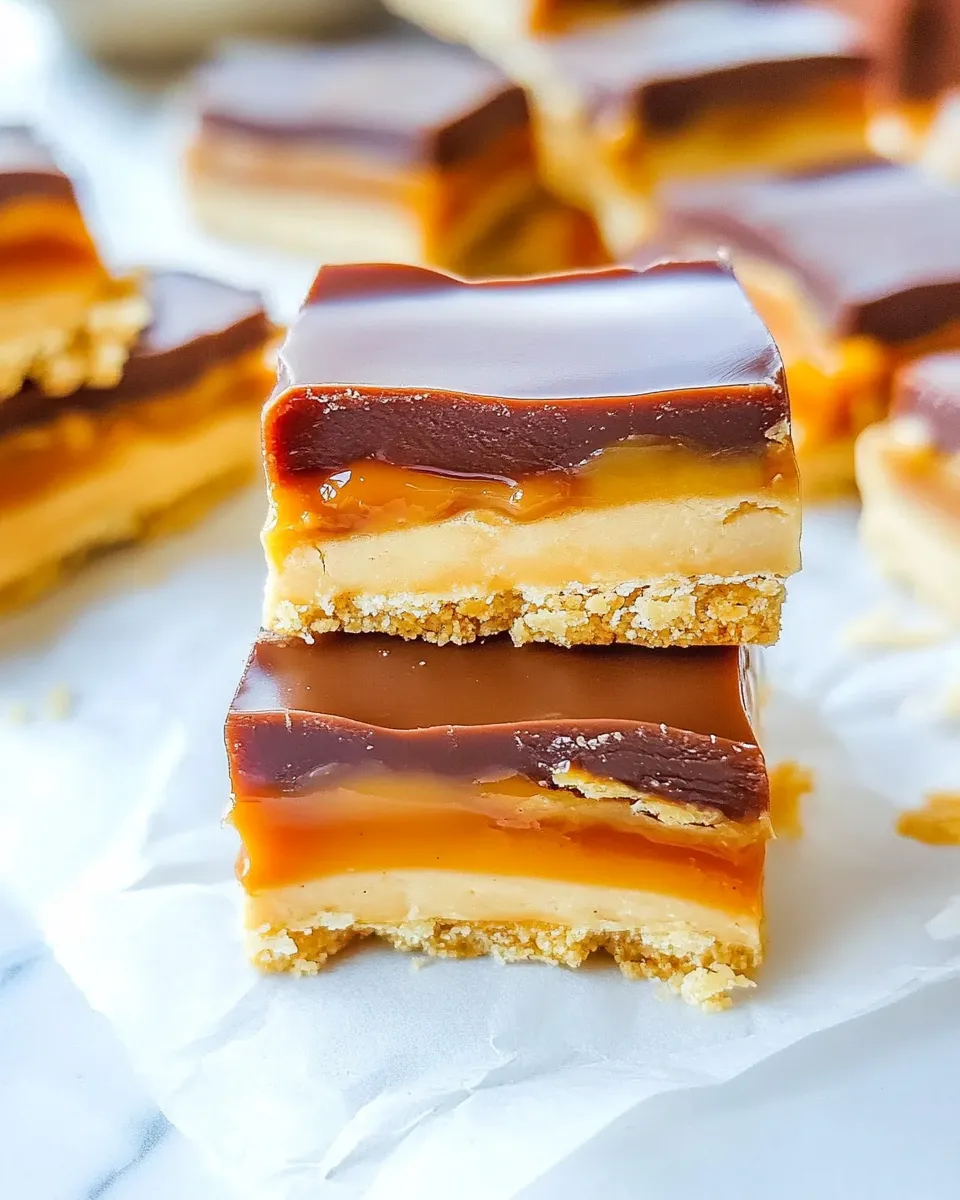
Peanut Butter Caramel Twix Bars
If you’re a fan of sweet treats that combine rich flavors and delightful textures, then these Peanut Butter Caramel Twix Bars are about to become your new favorite indulgence! Imagine a buttery shortbread crust topped with a creamy peanut butter layer, drizzled with luscious caramel, and finished off with a smooth chocolate coating. They’re the perfect balance of sweet and salty, crunchy and creamy, making them a showstopper for any occasion. Whether you’re hosting a gathering, craving a late-night snack, or looking to impress your loved ones, these bars will surely delight.
What Makes This Recipe Special
What sets these Peanut Butter Caramel Twix Bars apart is the combination of flavors and the ease of preparation. They come together with simple, accessible ingredients, yet the end result is luxurious and satisfying. The layers of buttery shortbread, creamy peanut butter, and silky chocolate create a delightful experience with each bite. Plus, they’re no-bake, which means you can whip them up without even turning on the oven!
Ingredient Notes
- Unsalted Butter: One stick of extremely soft unsalted butter creates a rich base for the shortbread crust.
- All-Purpose Flour: This is the foundation of your crust, providing structure and texture.
- Confectioners Sugar: Adds sweetness and helps create a melt-in-your-mouth texture.
- Cornstarch: A secret ingredient that gives the crust a tender crumb.
- Vanilla Extract: Enhances the overall flavor profile with a warm, aromatic note.
- Creamy Peanut Butter: Use a brand like Jif or Skippy for the best results; natural peanut butter tends to be too runny.
- Salted Caramel Sauce: This can be store-bought or homemade, and it’s what ties all the flavors together beautifully.
- Semi-Sweet Chocolate Chips: They provide a rich, chocolatey coating that perfectly contrasts the sweetness of the caramel and peanut butter.
- Vegetable Shortening: Optional but recommended for achieving a smoother chocolate coating that doesn’t crack when sliced.
Cook’s Kit
- Mixing Bowls: Essential for combining your ingredients effectively.
- 9×9-inch Baking Pan: Perfect for creating the ideal thickness for your bars.
- Spatula: Great for spreading and smoothing the layers.
- Double Boiler or Microwave-Safe Bowl: For melting chocolate smoothly.
- Measuring Cups and Spoons: Accurate measurements ensure the perfect balance of flavors.
- Parchment Paper: Helps with easy removal of the bars from the pan.
Peanut Butter Caramel Twix Bars Made Stepwise
Step 1: Prepare the Crust
In a medium mixing bowl, beat together 1 cup of extremely soft unsalted butter, 1 cup of all-purpose flour, 1 cup of confectioners sugar, 1 tablespoon of cornstarch, and 1 teaspoon of vanilla extract. Mix until the ingredients are well combined and form a crumbly dough.
Step 2: Press the Crust
Line a 9×9-inch baking pan with parchment paper for easy removal. Press the crust mixture evenly into the bottom of the prepared pan. Use a spatula or your hands to ensure it’s packed tightly and evenly.
Step 3: Chill the Crust
Refrigerate the crust for about 30 minutes to set it before adding the next layers.
Step 4: Make the Peanut Butter Layer
In a separate bowl, combine 1 cup of creamy peanut butter, 1/2 cup of confectioners sugar, and 1/2 teaspoon of vanilla extract. Mix until smooth and creamy.
Step 5: Spread Peanut Butter Layer
Once the crust has chilled, spread the peanut butter mixture evenly over the crust, smoothing it out with a spatula.
Step 6: Add the Caramel Sauce
Drizzle approximately 8 ounces of salted caramel sauce over the peanut butter layer. Use a spatula to spread it gently, ensuring an even layer.
Step 7: Chill Again
Return the pan to the refrigerator and let it chill for at least 30 minutes to allow the caramel to firm up.
Step 8: Melt the Chocolate
In a double boiler or microwave-safe bowl, melt 1 to 1 ½ cups of semi-sweet chocolate chips along with 2 to 3 tablespoons of vegetable shortening (if using) until smooth and fully melted.
Step 9: Coat the Bars
Pour the melted chocolate over the chilled layers, spreading it evenly to cover the entire surface.
Step 10: Chill Once More
Place the pan back in the refrigerator for at least 1 hour or until the chocolate is fully set.
Step 11: Slice and Serve
Once set, lift the bars out of the pan using the parchment paper. Slice them into squares or bars and enjoy your homemade Peanut Butter Caramel Twix Bars!
Seasonal Flavor Boosts
- For Fall: Add a sprinkle of pumpkin spice to the peanut butter layer for a seasonal twist.
- For Winter: Mix in crushed peppermint candies into the chocolate coating for a festive flavor.
- For Spring: Drizzle with a white chocolate ganache on top for a beautiful contrast.
- For Summer: Add a layer of chopped nuts like almonds or pecans for added crunch.
Things That Go Wrong
- Crust is Crumbly: If your crust doesn’t hold together, try adding a bit more melted butter or pressing it more firmly into the pan.
- Peanut Butter Layer is Too Runny: Ensure you’re using a creamy peanut butter that’s not too thin. If needed, refrigerate it for a bit before spreading.
- Chocolate Sets Too Firm: If you skip the vegetable shortening, your chocolate may crack when slicing. It’s best to use shortening for a smoother finish.
- Caramel is Too Hard: If your caramel sauce is too thick, gently warm it before drizzling over the peanut butter layer.
Best Ways to Store
To keep your Peanut Butter Caramel Twix Bars fresh, store them in an airtight container in the refrigerator. They will stay good for up to a week if properly stored. You can also freeze them for longer storage; just make sure to wrap them tightly in plastic wrap and then place them in an airtight container. When you’re ready to enjoy, simply thaw them in the refrigerator overnight.
Peanut Butter Caramel Twix Bars Q&A
Can I use a different type of nut butter?
Yes, you can substitute with almond butter or cashew butter, but keep in mind that the flavor and consistency may vary slightly.
Is it necessary to chill the layers?
Chilling the layers is essential for achieving the right texture and ensuring that they hold together well when sliced.
Can I make these bars ahead of time?
Absolutely! These bars are perfect for making ahead of time. Just store them in the refrigerator until you’re ready to serve.
What can I substitute for the caramel sauce?
If you don’t have caramel sauce on hand, you can make your own or use a homemade 5-minute caramel sauce recipe for a quick alternative.
Wrap-Up
These Peanut Butter Caramel Twix Bars are an irresistible combination of flavors and textures that are sure to satisfy your sweet tooth. They’re simple to make and perfect for sharing, making them an ideal treat for any occasion. With a buttery crust, creamy peanut butter, gooey caramel, and a rich chocolate coating, each bite is a delightful experience. Whether you keep them for yourself or share them with friends and family, you can be sure they’ll be a hit. So gather your ingredients and get ready to indulge in this scrumptious homemade treat!
Peanut Butter Caramel Twix Bars
Ingredients
Equipment
Method
- In a medium mixing bowl, beat together the unsalted butter, all-purpose flour, confectioners sugar, cornstarch, and vanilla extract until well combined and crumbly.
- Line a 9x9-inch baking pan with parchment paper and press the crust mixture evenly into the bottom.
- Refrigerate the crust for about 30 minutes to set.
- In a separate bowl, combine the creamy peanut butter, confectioners sugar, and vanilla extract until smooth.
- Spread the peanut butter mixture evenly over the chilled crust.
- Drizzle the salted caramel sauce over the peanut butter layer and spread it gently.
- Return the pan to the refrigerator and chill for at least 30 minutes.
- Melt the semi-sweet chocolate chips with vegetable shortening until smooth.
- Pour the melted chocolate over the chilled layers and spread it evenly.
- Chill the pan for at least 1 hour until the chocolate is set.
- Once set, lift the bars out using the parchment paper, slice into squares, and enjoy!
Notes
- Store bars in an airtight container in the refrigerator for up to a week.
- For freezing, wrap tightly in plastic wrap before placing in an airtight container.
- Chill each layer to ensure they hold together well when sliced.