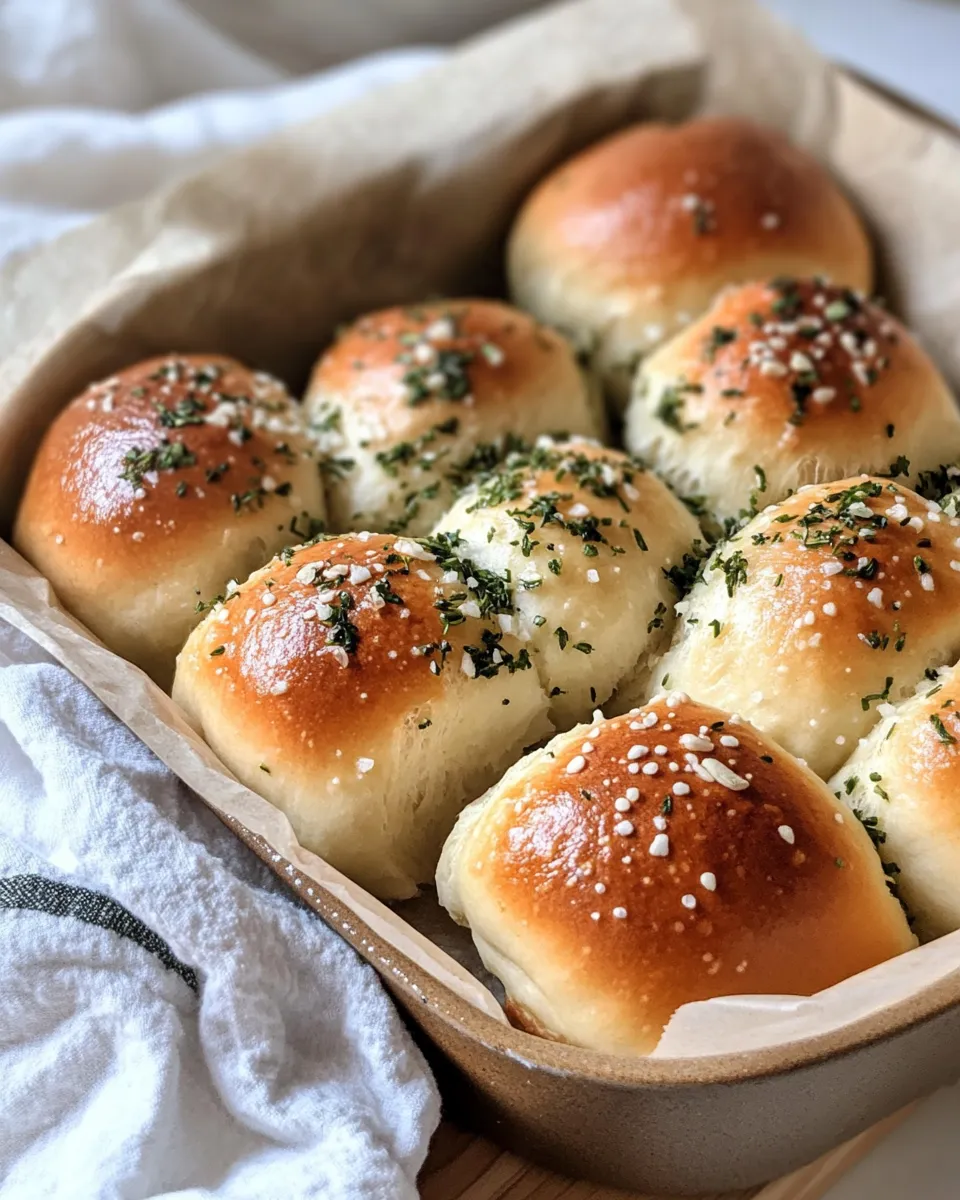
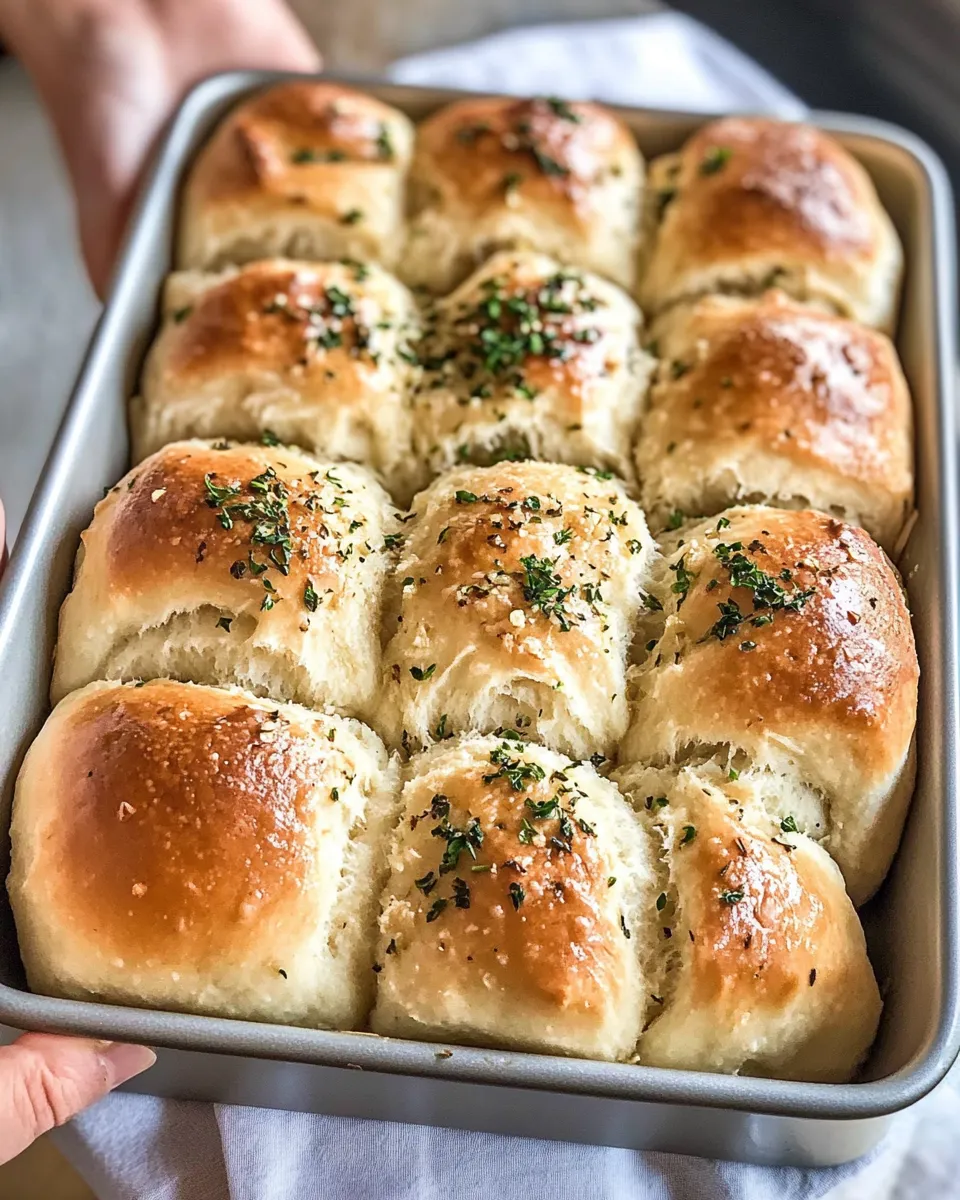
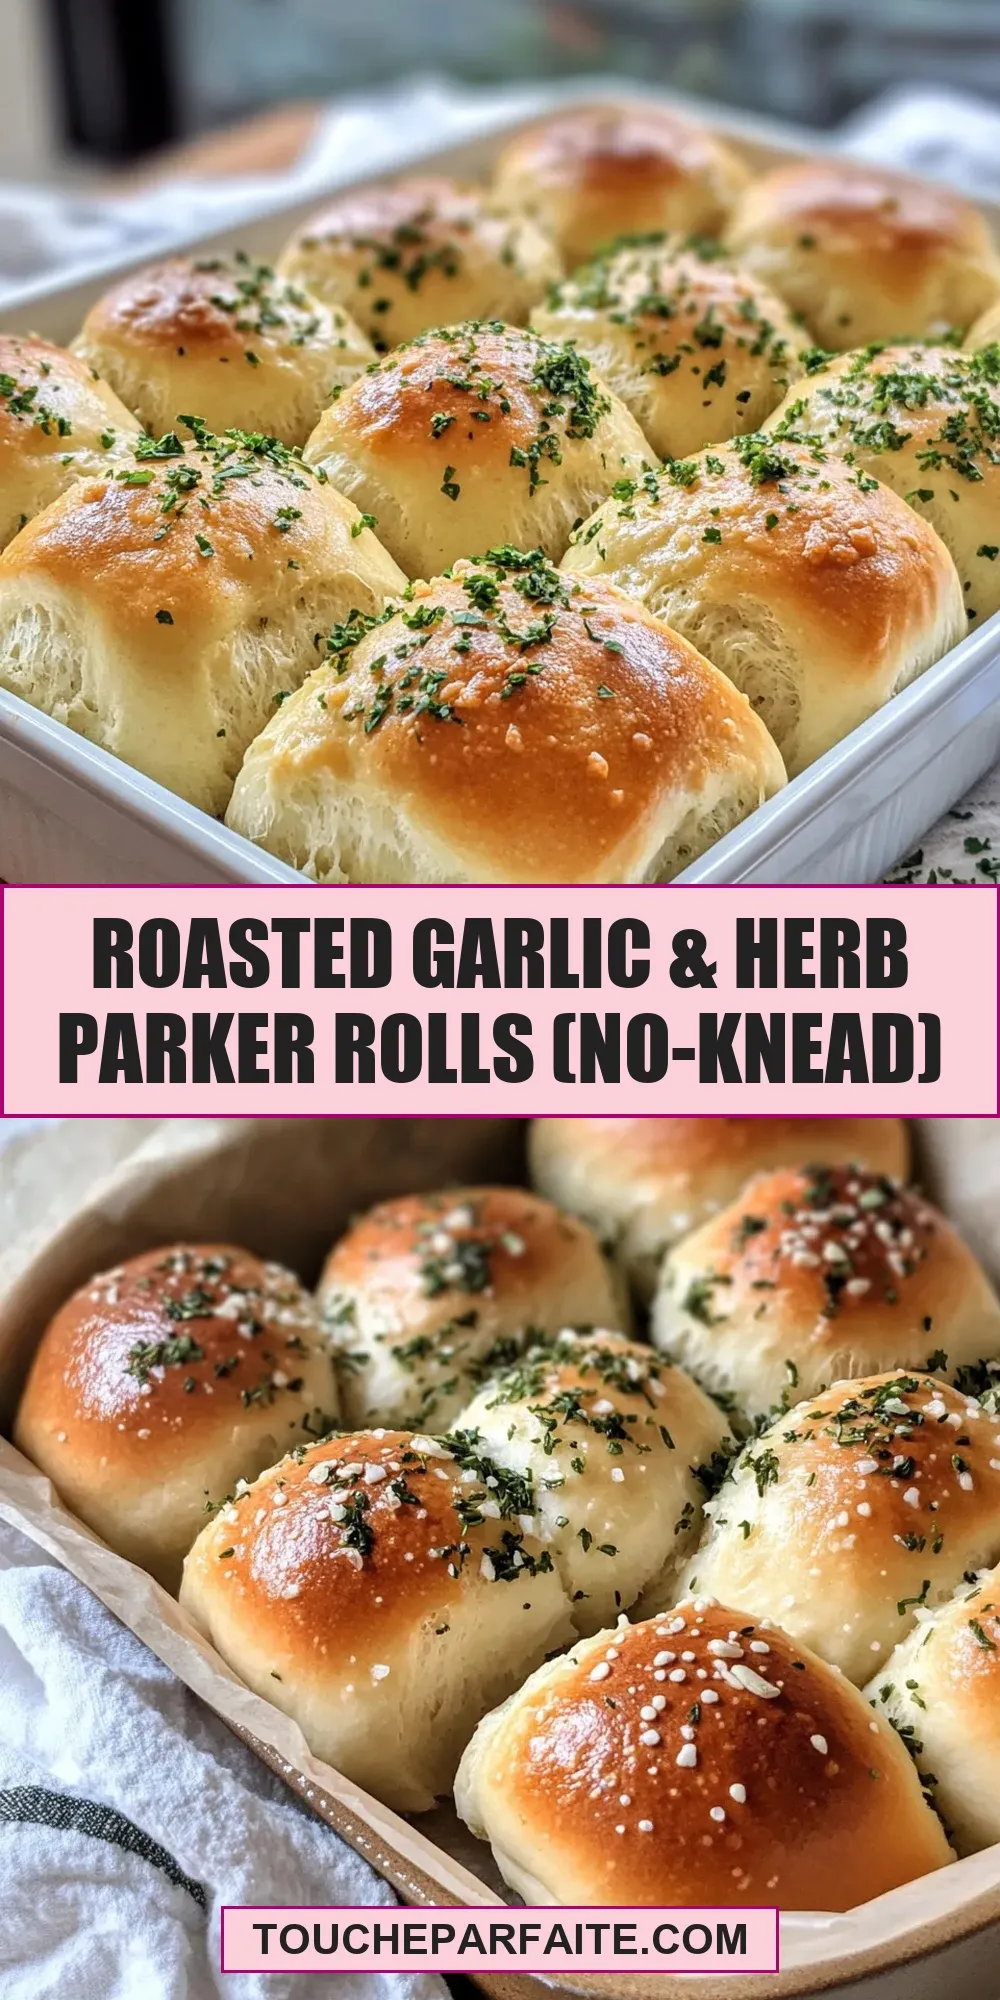
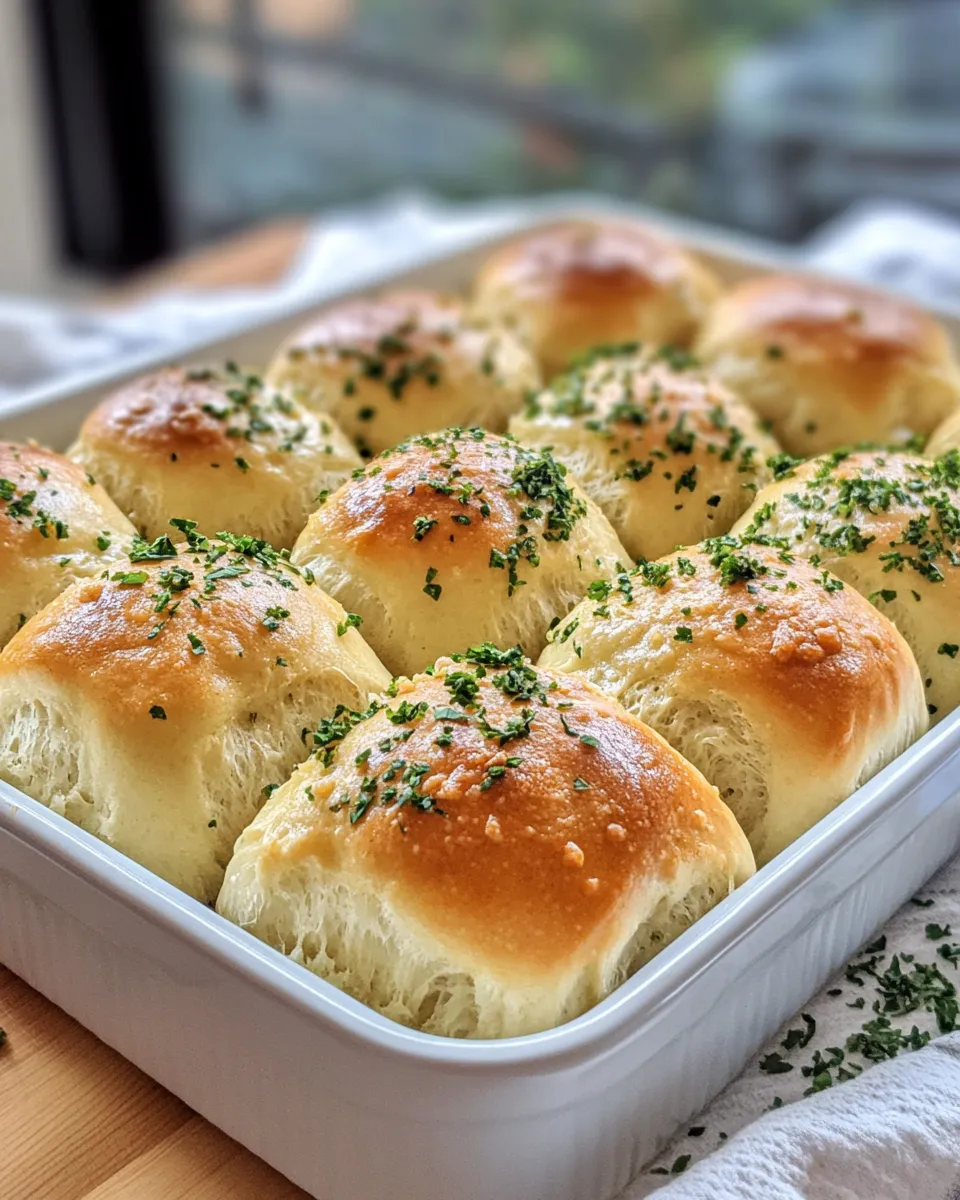
Roasted Garlic & Herb Parker Rolls (No-Knead)
If you’re searching for soft, fluffy rolls bursting with aromatic roasted garlic and fresh herbs, look no further than these Roasted Garlic & Herb Parker Rolls (No-Knead). This recipe combines the comforting flavors of garlic, rosemary, thyme, and parsley into a simple, no-fuss bread that’s perfect for any meal. Whether you’re slathering them with butter, pairing them alongside a hearty stew, or using them to sop up sauces, these rolls deliver on flavor and texture without the need for kneading or complicated techniques. Plus, the no-knead method means you can get fantastic bakery-quality bread with minimal effort and maximum taste.
Why It Works Every Time
These rolls are a shining example of how simple ingredients and a little patience can produce bakery-worthy bread at home. The key is in the no-knead approach, which allows the dough to develop gluten slowly over time, resulting in a tender crumb and a beautifully chewy texture. Instant yeast ensures a reliable rise without long wait times, while the warm water activates the yeast just right. Roasting the garlic beforehand mellows its pungency and infuses the rolls with a deep, sweet garlic flavor that pairs perfectly with fresh herbs. The olive oil adds moisture and richness, keeping the rolls soft for days. Altogether, this recipe yields rolls that are irresistibly flavorful, with a soft interior and a lightly golden crust every single time.
Shopping List
- 4 cups all-purpose flour
- 2 teaspoons salt
- 1 teaspoon sugar
- 2 teaspoons instant yeast
- 3 cloves garlic (to be roasted and minced)
- 2 tablespoons mixed fresh herbs (rosemary, thyme, parsley), chopped
- 1 1/2 cups warm water
- 2 tablespoons olive oil
Before You Start: Equipment
- Large mixing bowl – for combining dough ingredients
- Wooden spoon or dough whisk – to mix the dough
- Measuring cups and spoons – for accuracy
- Baking sheet or cast iron skillet – for baking the rolls
- Parchment paper – to prevent sticking and easy cleanup
- Kitchen towel or plastic wrap – to cover the dough while it rises
- Oven – preheated for baking the rolls
Make Roasted Garlic & Herb Parker Rolls (No-Knead): A Simple Method

Step 1: Roast the Garlic
Preheat your oven to 400°F (200°C). Slice the top off the garlic bulb to expose the cloves, drizzle with a bit of olive oil, wrap in foil, and roast for 30-35 minutes until soft and fragrant. Once cool, mince the roasted garlic cloves finely and set aside.
Step 2: Mix the Dry Ingredients
In a large mixing bowl, whisk together the all-purpose flour, salt, sugar, and instant yeast until evenly combined.
Step 3: Add Wet Ingredients and Herbs
Add the warm water, olive oil, minced roasted garlic, and chopped fresh herbs to the flour mixture. Stir everything together with a wooden spoon or dough whisk until a sticky dough forms. The dough will be shaggy and a bit wet — that’s perfect!
Step 4: First Rise
Cover the bowl with a kitchen towel or plastic wrap. Let the dough rise at room temperature for about 1 to 1 1/2 hours, or until it has doubled in size and bubbles start to appear on the surface.
Step 5: Shape the Rolls
Gently turn the dough out onto a lightly floured surface. Using a bench scraper or knife, divide the dough into 12 equal portions. Shape each portion into a round ball by folding the edges underneath to create surface tension. Place the rolls on a parchment-lined baking sheet or in a greased cast iron skillet with a bit of space between each.
Step 6: Second Rise
Cover the rolls loosely with a towel or plastic wrap and let them rise for another 30-45 minutes until puffy and nearly doubled.
Step 7: Bake the Rolls
Preheat your oven to 375°F (190°C). Bake the rolls for 20-25 minutes or until golden brown on top and cooked through. If desired, brush the tops with a little olive oil or melted butter immediately after baking for extra shine and flavor.
Step 8: Cool and Serve
Allow the rolls to cool slightly on a wire rack before serving. These rolls are best enjoyed warm and fresh but also freeze beautifully for later.
Spring–Summer–Fall–Winter Ideas
- Spring: Serve these rolls alongside a fresh garden salad or a light vegetable soup for a perfect spring lunch.
- Summer: Use the rolls to make gourmet sandwiches filled with grilled chicken and crisp greens, or dip them into chilled gazpacho.
- Fall: Pair the rolls with hearty stews or roasted root vegetables for a cozy autumn meal.
- Winter: Warm these rolls and serve with creamy dishes like Creamy Roasted Garlic Chicken Penne or a rich mushroom skillet for a comforting winter dinner.
Pro Perspective
Professional bakers love no-knead recipes for their simplicity and consistent results. Slow fermentation allows the dough to develop complex flavors without extra fuss. Roasting the garlic beforehand enhances the depth of flavor without the sharpness raw garlic can bring. Fresh herbs add brightness and freshness that dried herbs just can’t match. Using instant yeast is perfect here because it works quickly and reliably, helping you get those fluffy, tender rolls in under two hours total.
- Don’t skip roasting the garlic—it transforms the flavor entirely.
- Use room-temperature water to activate the yeast without killing it.
- Let the dough rise in a warm, draft-free spot for best results.
- For a glossy crust, brush rolls with olive oil right after baking.
Meal Prep & Storage Notes
These Roasted Garlic & Herb Parker Rolls (No-Knead) store well at room temperature for up to 2 days when kept in an airtight container. For longer storage, freeze the rolls after baking and cooling. Simply thaw at room temperature or warm in the oven before serving. They reheat beautifully and retain their soft texture.
- To freeze: Wrap rolls individually or in a batch in plastic wrap and place in a freezer bag.
- To reheat: Warm in a 350°F (175°C) oven for 5-10 minutes.
- These rolls also make a great base for meal prep sandwiches or sliders.
Quick Q&A
Can I use bread flour instead of all-purpose flour?
Yes! Bread flour will give you a slightly chewier texture due to its higher protein content, but all-purpose flour works perfectly for these rolls as well.
What if I don’t have fresh herbs on hand?
You can substitute dried herbs, but use about one-third of the amount called for since dried herbs are more concentrated. Fresh herbs really elevate the flavor, though, so if possible, try to use fresh.
Can I make these rolls in advance?
Absolutely. You can prepare the dough up to the first rise, then refrigerate it overnight. Bring it back to room temperature before shaping and baking the rolls.
What other dishes pair well with these rolls?
These versatile rolls complement many dishes, especially creamy, savory mains like the Creamy Mushroom Thyme Chicken Skillet, hearty soups, and salads.
The Takeaway
These Roasted Garlic & Herb Parker Rolls (No-Knead) are a simple yet impressive way to bring fresh, homemade bread to your table without the fuss of kneading or complicated techniques. The combination of roasted garlic and fragrant herbs creates a flavorful, aromatic roll that’s soft inside with a tender crust. Whether you’re a seasoned baker or just starting out, this recipe delivers consistent, delicious results that elevate every meal. Give it a try and enjoy the warm, satisfying comfort of freshly baked rolls anytime you want!
Share on Pinterest
Roasted Garlic & Herb Parker Rolls (No-Knead)
Ingredients
Equipment
Method
- Preheat your oven to 400°F (200°C). Slice the top off the garlic bulb to expose the cloves, drizzle with olive oil, wrap in foil, and roast for 30-35 minutes until soft and fragrant. Once cool, mince the roasted garlic cloves finely and set aside.
- In a large mixing bowl, whisk together the all-purpose flour, salt, sugar, and instant yeast until evenly combined.
- Add the warm water, olive oil, minced roasted garlic, and chopped fresh herbs to the flour mixture. Stir everything together with a wooden spoon or dough whisk until a sticky dough forms.
- Cover the bowl with a kitchen towel or plastic wrap. Let the dough rise at room temperature for about 1 to 1 1/2 hours, or until it has doubled in size and bubbles appear on the surface.
- Turn the dough out onto a lightly floured surface. Divide the dough into 12 equal portions. Shape each portion into a round ball by folding the edges underneath to create surface tension. Place the rolls on a parchment-lined baking sheet or greased cast iron skillet with space between each.
- Cover the rolls loosely with a towel or plastic wrap and let them rise for another 30-45 minutes until puffy and nearly doubled.
- Preheat oven to 375°F (190°C). Bake the rolls for 20-25 minutes or until golden brown on top and cooked through. Optionally, brush tops with olive oil or melted butter immediately after baking.
- Allow the rolls to cool slightly on a wire rack before serving. Enjoy warm or store as desired.
Notes
- Roasting garlic mellows its sharpness and adds deep flavor.
- Use room-temperature water to activate yeast without killing it.
- Store rolls in an airtight container for up to 2 days or freeze for longer storage.
- Brush rolls with olive oil after baking for a glossy crust.
- You can substitute dried herbs using about one-third of the amount of fresh herbs.