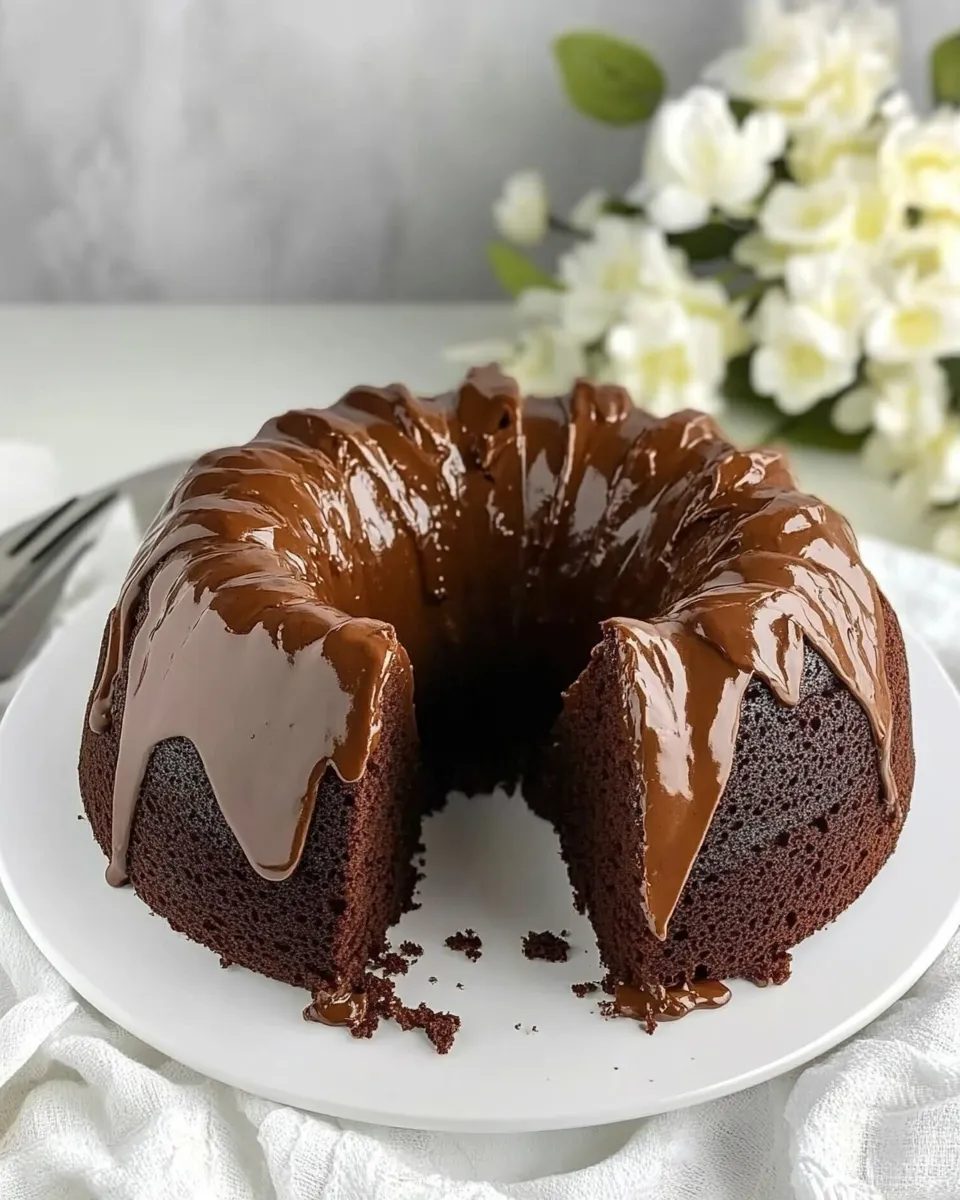
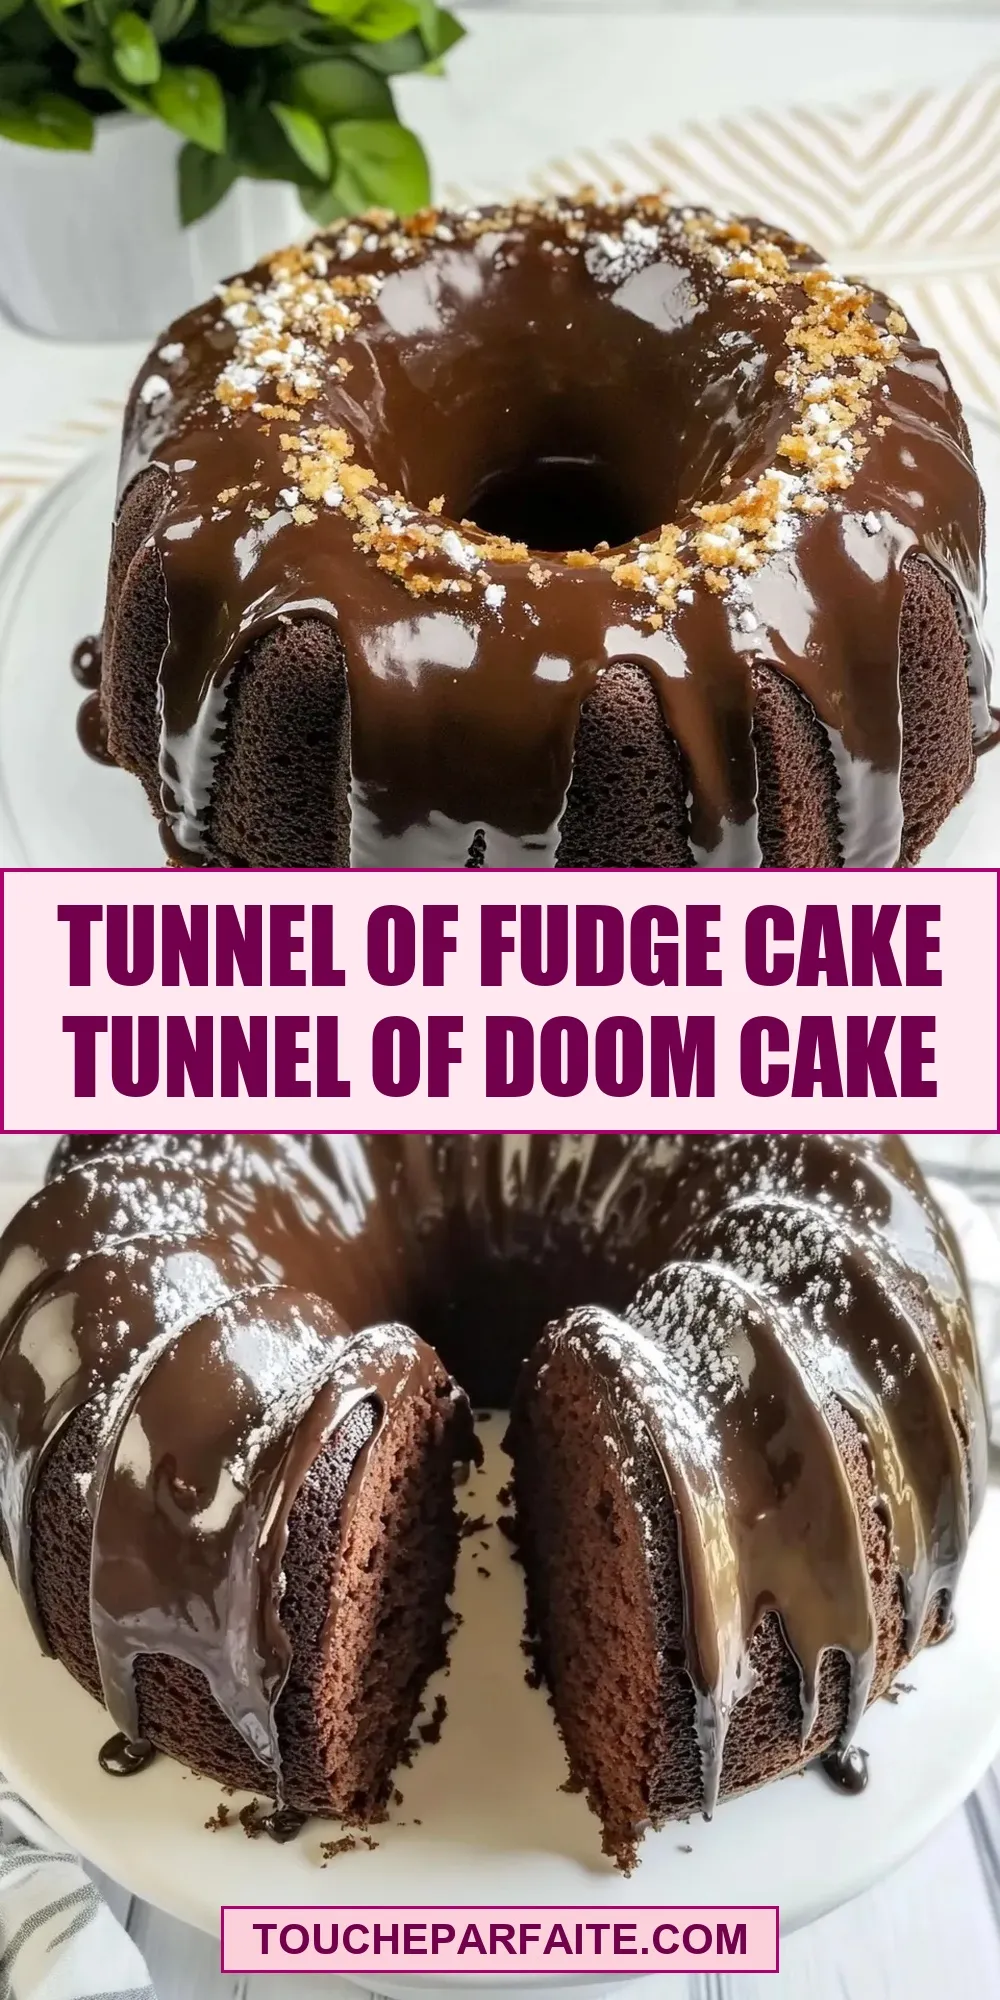
Tunnel of Fudge Cake Tunnel of Doom Cake
If you’re craving a chocolate dessert that is both dramatic and irresistibly fudgy, the Tunnel of Fudge Cake Tunnel of Doom Cake is going to be your new obsession. This cake is not just any ordinary chocolate cake—it’s a rich, dense, and gooey masterpiece with a molten chocolate center that oozes out like a decadent lava tunnel with every bite. The name alone promises an adventure, and the experience does not disappoint. Whether you’re baking for a special occasion or simply indulging your sweet tooth, this cake brings excitement and intense chocolate flavor to your dessert table.
Why Tunnel of Fudge Cake Tunnel of Doom Cake is Worth Your Time

The Tunnel of Fudge Cake Tunnel of Doom Cake stands out because of its unique texture and presentation. Unlike traditional cakes that are fluffy and dry, this cake is dense and moist, with a luscious fudge tunnel running through the center. It’s a showstopper that combines the best parts of a chocolate cake and a molten lava cake into one unforgettable dessert.
The rich fudge center melts into the surrounding cake, creating a beautiful contrast of textures that keep you coming back for more. It’s perfect for chocolate lovers who want to wow guests or treat themselves to a deeply satisfying dessert. Plus, it’s surprisingly straightforward to make, requiring simple ingredients that you likely already have in your pantry.
What Goes Into Tunnel of Fudge Cake Tunnel of Doom Cake
- All-purpose flour: Provides structure for the cake without making it dense.
- Cocoa powder: Use unsweetened cocoa powder for a rich chocolate flavor.
- Baking powder: Helps the cake rise and maintain a tender crumb.
- Baking soda: Adds lift and lightness.
- Salt: Balances the sweetness and enhances the chocolate flavor.
- Granulated sugar: Sweetens the cake and helps with texture.
- Vegetable oil: Keeps the cake moist and tender.
- Eggs: Bind the ingredients together and provide richness.
- Vanilla extract: Adds depth and warmth to the flavor.
- Buttermilk: Reacts with baking soda to create a light texture and adds tangy richness.
- Boiling water: Intensifies the cocoa flavor and creates a smooth batter.
- Chocolate fudge filling: Made from melted chocolate, butter, and powdered sugar to create that signature fudge tunnel.
Tools of the Trade
- Mixing bowls: For combining wet and dry ingredients separately before mixing.
- Electric mixer or whisk: To thoroughly combine ingredients and create a smooth batter.
- Measuring cups and spoons: To ensure accurate ingredient portions.
- 9-inch round cake pan: Perfect size for the cake to bake evenly and hold the fudge tunnel.
- Spatula: For folding ingredients and scraping down the sides of the bowl.
- Double boiler or microwave-safe bowl: For melting chocolate smoothly without burning.
- Toothpick or skewer: To check cake doneness.
Tunnel of Fudge Cake Tunnel of Doom Cake in Steps
Step 1: Prepare Your Oven and Pan
Preheat your oven to 350°F (175°C). Grease a 9-inch round cake pan thoroughly with butter or oil, then lightly dust with cocoa powder to prevent sticking. Set aside.
Step 2: Mix Dry Ingredients
In a large bowl, sift together the all-purpose flour, cocoa powder, baking powder, baking soda, and salt. This ensures an even distribution of leavening agents and a smooth batter.
Step 3: Combine Wet Ingredients
In a separate bowl, whisk together the granulated sugar, vegetable oil, eggs, and vanilla extract until smooth. Add the buttermilk and mix well.
Step 4: Create the Batter
Gradually add the dry ingredients to the wet ingredients, mixing just until combined. Slowly pour in the boiling water while stirring to create a thin, smooth batter. The boiling water enhances the cocoa flavor and helps dissolve the sugar.
Step 5: Make the Fudge Filling
In a heatproof bowl, melt the chocolate and butter together using a double boiler or microwave in short bursts. Stir until smooth. Remove from heat and whisk in powdered sugar until you achieve a thick, fudgy consistency.
Step 6: Assemble the Cake
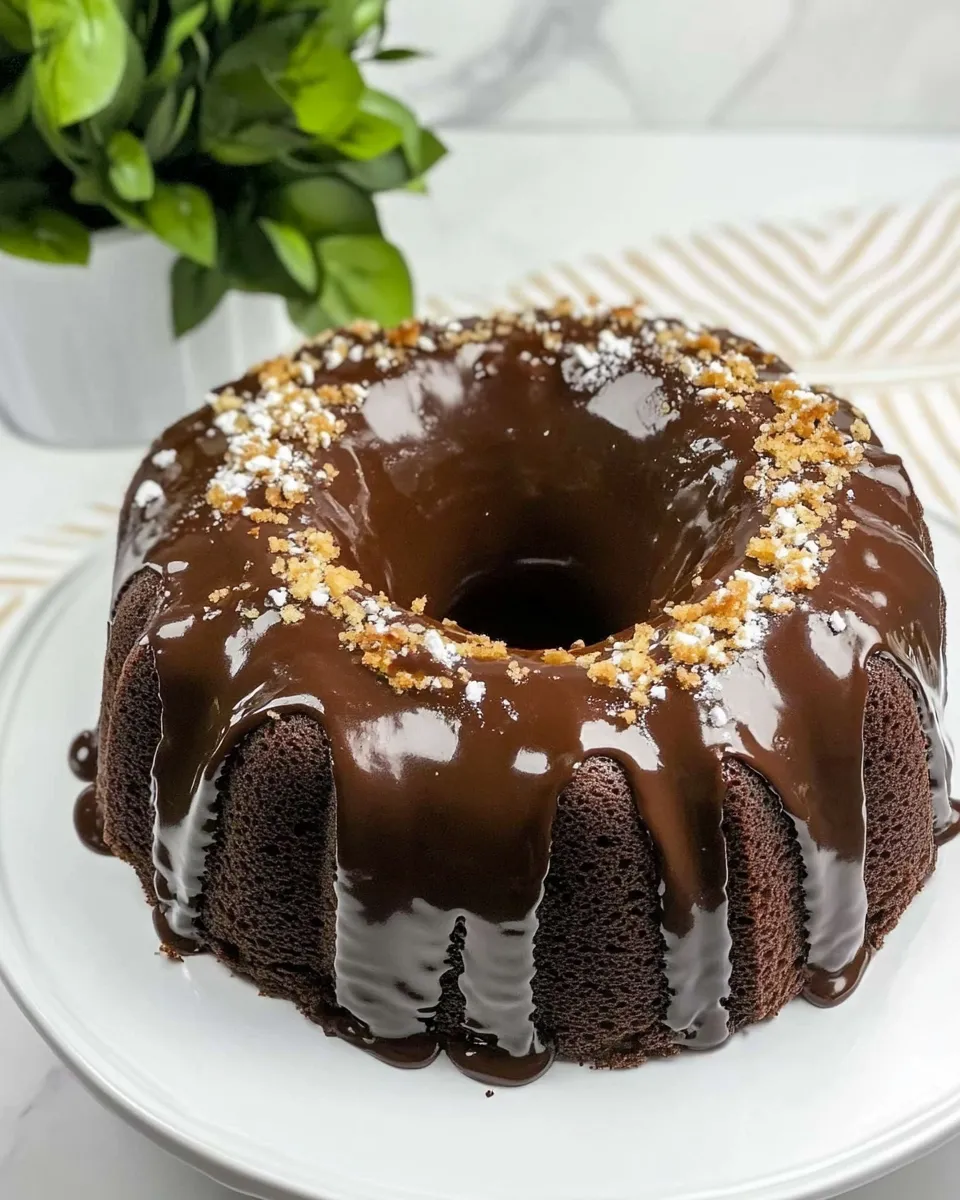
Pour half of the cake batter into the prepared pan. Spoon the fudge filling evenly over the batter, creating a “tunnel” in the center. Top with the remaining batter, smoothing the surface with a spatula.
Step 7: Bake to Perfection
Bake for 35-40 minutes or until a toothpick inserted into the outer cake (not the fudge center) comes out clean. The cake should be set around the edges but still soft and slightly gooey in the middle.
Step 8: Cool and Serve
Allow the cake to cool in the pan for at least 15 minutes before slicing. The fudge tunnel will be molten and luscious, making each slice a dramatic reveal of chocolate goodness.
Seasonal Serving Ideas
- Top with fresh raspberries and a dusting of powdered sugar for a festive winter dessert.
- Serve warm with a scoop of vanilla ice cream and a drizzle of caramel sauce in summer.
- Garnish with toasted coconut flakes and chopped pistachios for a tropical twist in spring.
- Pair with spiced whipped cream and cinnamon dusting for an autumn vibe.
Errors to Dodge
- Overmixing the batter: This can cause the cake to be dense and tough instead of tender and moist.
- Not preparing the pan properly: Failing to grease and dust the pan well could result in the cake sticking and breaking apart when removed.
- Using cold ingredients: Make sure eggs and buttermilk are at room temperature for even mixing and better texture.
- Baking too long: Keep an eye on the cake as overbaking will dry out the fudgy center and defeat the purpose of the tunnel.
- Skipping the boiling water: This step is crucial to intensify the cocoa flavor and create a smooth batter.
How to Store & Reheat
Store the Tunnel of Fudge Cake Tunnel of Doom Cake in an airtight container at room temperature for up to 2 days. For longer storage, wrap it tightly in plastic wrap and refrigerate for up to 5 days. When ready to enjoy, reheat individual slices in the microwave for about 15-20 seconds to revive that molten fudge center. Avoid overheating to prevent drying out the cake.
Top Questions & Answers
Can I make this cake gluten-free?
Yes! Substitute the all-purpose flour with a gluten-free flour blend designed for baking. Ensure the blend contains xanthan gum or add it separately to help the cake maintain its structure.
Is it possible to use dairy-free milk instead of buttermilk?
Absolutely! Use almond milk, soy milk, or any dairy-free milk and add 1 tablespoon of lemon juice or vinegar per cup to mimic the acidity of buttermilk.
Can I prepare the fudge filling ahead of time?
Yes, you can make the fudge filling a day ahead and refrigerate it. Bring it back to room temperature and stir well before assembling the cake.
How do I know when the cake is done without overbaking?
Check the cake by inserting a toothpick into the outer edges of the cake, avoiding the fudge center. It should come out clean or with a few moist crumbs. The center should remain soft and slightly gooey.
Time to Try It
Now that you know all the secrets behind the Tunnel of Fudge Cake Tunnel of Doom Cake, it’s time to grab your ingredients and get baking. This cake promises an exciting experience with every slice, delivering intense chocolate flavor and that unforgettable molten fudge tunnel. Whether you’re sharing it with loved ones or indulging solo, this dessert is sure to satisfy your deepest chocolate cravings and impress anyone lucky enough to try it.
Give it a go and prepare to be amazed by the delicious “doom” that awaits inside this chocolatey tunnel of fudge. Happy baking!
Share on Pinterest
Tunnel of Fudge Cake Tunnel of Doom Cake
Ingredients
Equipment
Method
- Preheat your oven to 350°F (175°C). Grease a 9-inch round cake pan thoroughly with butter or oil, then lightly dust with cocoa powder to prevent sticking. Set aside.
- In a large bowl, sift together the all-purpose flour, cocoa powder, baking powder, baking soda, and salt.
- In a separate bowl, whisk together the granulated sugar, vegetable oil, eggs, and vanilla extract until smooth. Add the buttermilk and mix well.
- Gradually add the dry ingredients to the wet ingredients, mixing just until combined. Slowly pour in the boiling water while stirring to create a thin, smooth batter.
- In a heatproof bowl, melt the chocolate and butter together using a double boiler or microwave in short bursts. Stir until smooth. Remove from heat and whisk in powdered sugar until thick and fudgy.
- Pour half of the cake batter into the prepared pan. Spoon the fudge filling evenly over the batter, creating a “tunnel” in the center. Top with the remaining batter, smoothing the surface with a spatula.
- Bake for 35-40 minutes or until a toothpick inserted into the outer cake (not the fudge center) comes out clean. The edges should be set but the center slightly gooey.
- Allow the cake to cool in the pan for at least 15 minutes before slicing. The fudge tunnel will be molten and luscious.
Notes
- Use room temperature eggs and buttermilk for the best texture and even mixing.
- Do not overmix the batter to keep the cake tender and moist.
- Check doneness by inserting a toothpick into the cake edge, not the fudge center, to avoid overbaking.
- Store the cake in an airtight container at room temperature for up to 2 days or refrigerate up to 5 days.
- Reheat individual slices in the microwave for 15-20 seconds to revive the molten fudge center without drying out the cake.