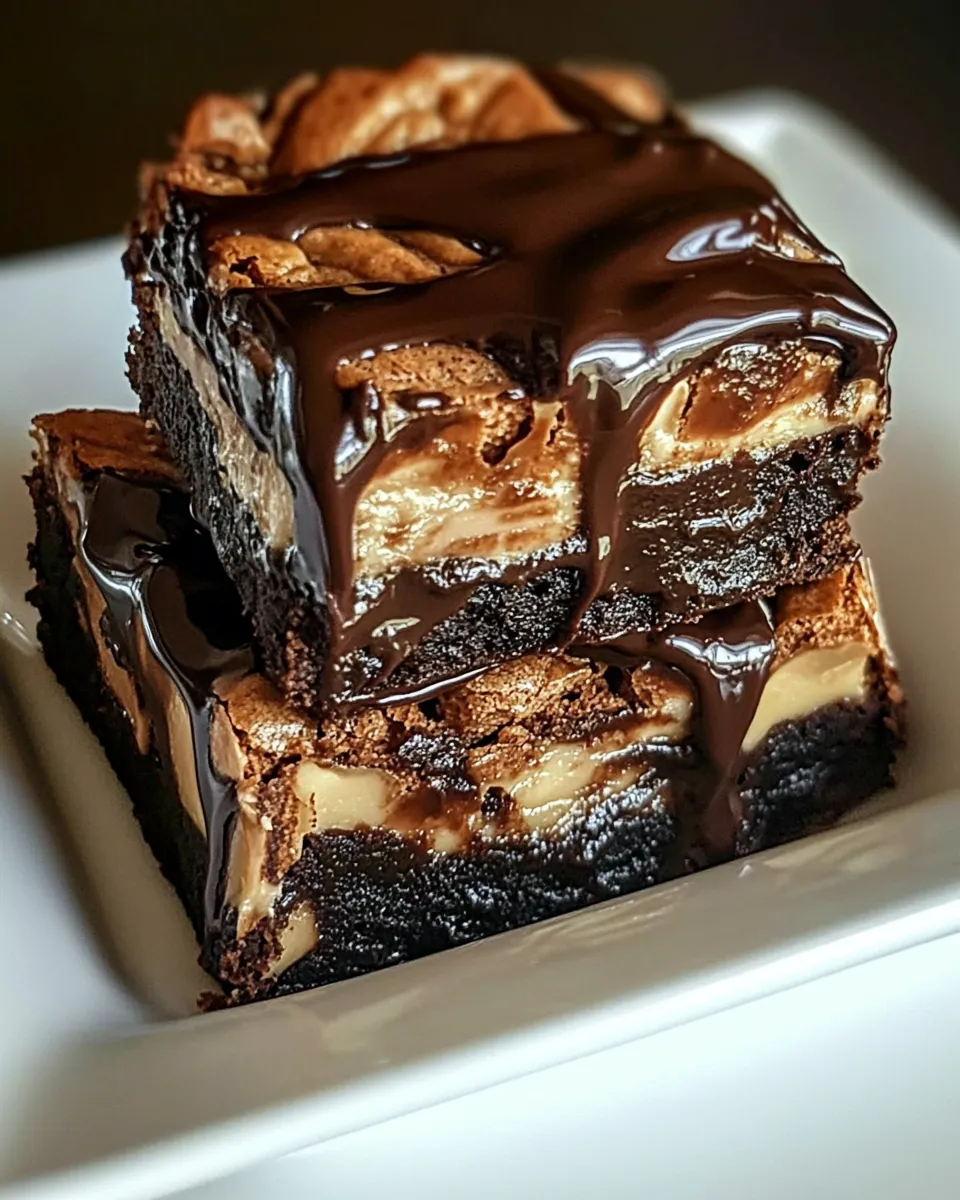
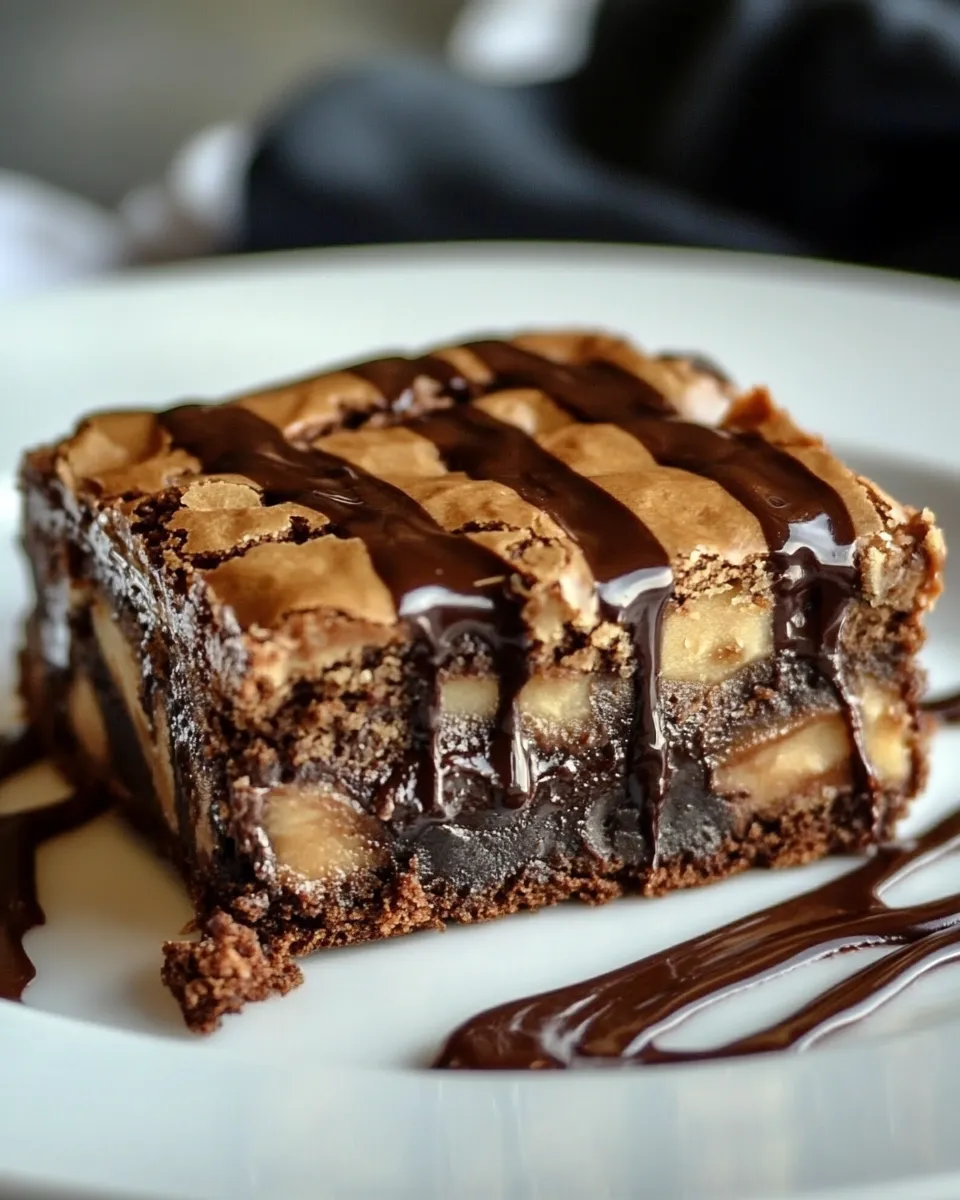
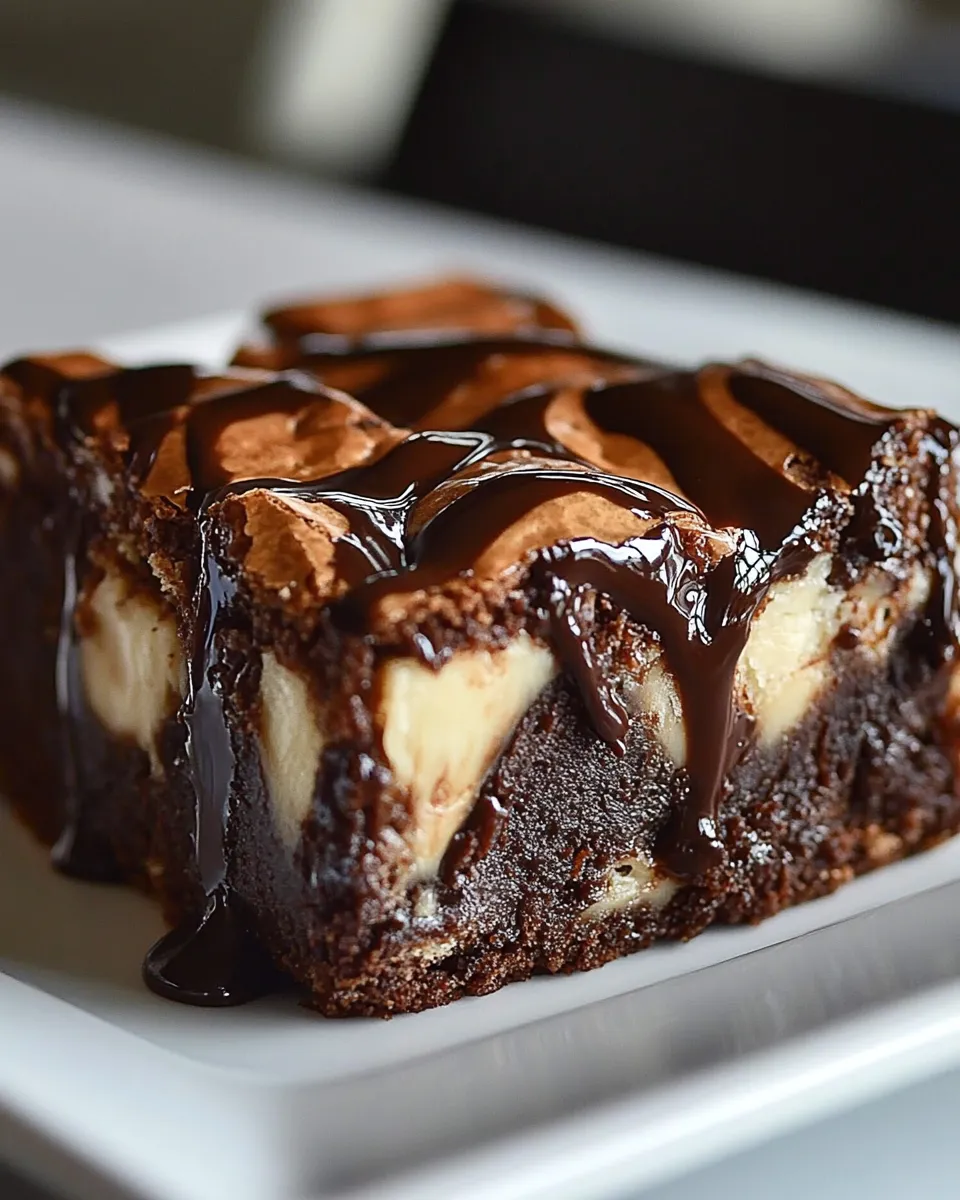
Twix Brownies
Imagine indulging in a dessert that combines the rich, fudgy texture of brownies with the irresistible flavors of Twix bars—chocolate, caramel, and a touch of crunch. These Twix Brownies are a sweet lover’s dream come true! Whether you’re hosting a gathering, celebrating a special occasion, or simply treating yourself, this recipe will surely impress. With easy-to-follow steps and mouthwatering results, you’ll find yourself making these brownies time and time again.
Why It Deserves a Spot
These Twix Brownies are not just any ordinary dessert; they are a delightful fusion that brings together the best elements of two beloved treats. The dense, fudgy base is perfectly complemented by the creamy caramel and crunchy chocolate layers, making each bite a heavenly experience. The combination of homemade brownies with fun-sized Twix bars creates a sweet symphony that will have your family and friends asking for seconds. Plus, the process of making them is as enjoyable as eating them—melting chocolate, mixing ingredients, and the sweet smell wafting through your kitchen. Trust me, these brownies deserve to be the star of your dessert table!
What We’re Using
To create these delicious Twix Brownies, here’s what you’ll need:
- 4 ounces unsweetened chocolate; coarsely chopped
- 3/4 cup unsalted butter; cut into cubes
- 1 1/4 cups sugar
- 3 large eggs
- 1 teaspoon pure vanilla extract
- 1/4 teaspoon salt
- 1 cup all-purpose flour
- 12 Fun Size Twix Bars; each cut into thirds
- 10 individually wrapped caramel candies (I used Kraft)
- 2 tablespoons heavy cream
Each ingredient plays a crucial role in bringing this dessert to life, ensuring that the flavors meld beautifully.
What’s in the Gear List
Before we dive into the baking process, here’s what you’ll need:
- Mixing bowls: For combining wet and dry ingredients.
- Whisk: For beating eggs and mixing batter smoothly.
- Rubber spatula: Perfect for folding in ingredients and scraping the bowl clean.
- 9×13-inch baking pan: The ideal size for these brownies.
- Parchment paper: To line the pan for easy removal.
- Double boiler or microwave-safe bowl: For melting chocolate and butter.
Having the right tools will make the process smoother and more enjoyable.
Twix Brownies: Step-by-Step Guide

Step 1: Preheat the Oven
Begin by preheating your oven to 350°F (175°C). This ensures that your brownies bake evenly and achieve that perfect fudgy texture.
Step 2: Prepare the Baking Pan
Line a 9×13-inch baking pan with parchment paper, leaving a little overhang on the sides. This will make it easier to lift the brownies out once they are baked and cooled.
Step 3: Melt the Chocolate and Butter
In a double boiler or a microwave-safe bowl, combine the chopped unsweetened chocolate and cubed unsalted butter. Melt them together until smooth, stirring occasionally to avoid burning. Once melted, set aside to cool slightly.
Step 4: Mix the Wet Ingredients
In a large mixing bowl, whisk together the sugar and eggs until well combined. Then, add the melted chocolate mixture along with the vanilla extract and salt. Stir until everything is incorporated.
Step 5: Add the Flour
Gently fold in the all-purpose flour until just combined. Be careful not to overmix, as this can lead to dense brownies.
Step 6: Incorporate the Twix Bars
Add the cut Twix bars to the brownie batter, folding them in gently to distribute evenly throughout the mixture.
Step 7: Bake the Brownies
Pour the brownie batter into the prepared baking pan and spread it out evenly. Bake in the preheated oven for 25-30 minutes, or until a toothpick inserted into the center comes out with a few moist crumbs.
Step 8: Make the Caramel Sauce
While the brownies are baking, prepare the caramel sauce. In a small saucepan over low heat, combine the individually wrapped caramel candies and heavy cream. Stir until the caramels have melted and the mixture is smooth. Remove from heat and let it cool slightly.
Step 9: Drizzle the Caramel
Once the brownies are out of the oven, allow them to cool for about 10 minutes. Drizzle the warm caramel sauce over the top of the brownies, spreading it out evenly with a spatula.
Step 10: Cool and Serve
Allow the brownies to cool completely in the pan on a wire rack. Once cooled, lift them out using the parchment paper and cut into squares. Serve and enjoy the indulgent flavors of your homemade Twix Brownies!
If You’re Out Of…
If you find yourself missing an ingredient, here are some alternatives:
- Unsweetened chocolate: You can use cocoa powder in a pinch. For every ounce of unsweetened chocolate, use 3 tablespoons of cocoa powder and 1 tablespoon of fat (butter or oil).
- Unsalted butter: Substitute with margarine or coconut oil, adjusting for the taste and texture.
- All-purpose flour: Use a gluten-free flour blend for a gluten-free option.
- Heavy cream: Substitute with full-fat coconut milk or any non-dairy cream for a lighter option.
Feel free to get creative and adapt the recipe to your pantry!
Missteps & Fixes
Even the best bakers make mistakes. Here are some common missteps and how to fix them:
- Overmixing the batter: This can lead to tough brownies. Mix until the flour is just incorporated.
- Brownies are too dry: Ensure you don’t overbake. Check for doneness a few minutes before the suggested time.
- Caramel hardening too quickly: If the caramel thickens, gently reheat it with a splash of cream or milk to loosen it back up.
- Chocolate burning: Always melt chocolate over low heat and stir frequently to avoid scorching.
With these tips, you’ll be well on your way to perfecting your Twix Brownies!
Best Ways to Store
To keep your Twix Brownies fresh and delicious, follow these storage tips:
- Room Temperature: Store them in an airtight container at room temperature for up to 3 days.
- Refrigeration: For longer storage, keep them in the fridge for up to a week. Just be aware that the cold may alter the texture slightly.
- Freezing: You can freeze the brownies for up to 3 months. Wrap them tightly in plastic wrap and place them in an airtight container. Thaw them in the fridge before serving.
Now you can enjoy these delicious treats anytime!
Questions People Ask
Can I use different candy bars?
Absolutely! Feel free to experiment with your favorite candy bars. Just keep in mind that the texture and flavor may vary slightly based on the candy you choose.
Are these brownies gluten-free?
To make these brownies gluten-free, simply substitute the all-purpose flour with a gluten-free flour blend. Ensure that all other ingredients are gluten-free as well.
How do I know when the brownies are done?
The brownies are done when a toothpick inserted into the center comes out with a few moist crumbs. They should not be wet or completely clean, as this indicates they may be overbaked.
Can I add nuts to the brownies?
Yes! Chopped nuts like pecans or walnuts would add a lovely crunch to the brownies. Just fold them in with the Twix pieces before baking.
See You at the Table
These Twix Brownies are more than just a dessert; they are an experience that brings joy to every bite. With their decadent layers and delightful flavors, they are sure to become a favorite in your recipe collection. So gather your ingredients, follow the steps, and prepare to indulge in the ultimate chocolate treat. Enjoy the smiles and compliments that come your way as you share these brownies with loved ones. Happy baking!
Twix Brownies
Ingredients
Equipment
Method
- Step 1: Preheat the Oven - Begin by preheating your oven to 350°F (175°C). This ensures that your brownies bake evenly and achieve that perfect fudgy texture.
- Step 2: Prepare the Baking Pan - Line a 9x13-inch baking pan with parchment paper, leaving a little overhang on the sides. This will make it easier to lift the brownies out once they are baked and cooled.
- Step 3: Melt the Chocolate and Butter - In a double boiler or a microwave-safe bowl, combine the chopped unsweetened chocolate and cubed unsalted butter. Melt them together until smooth, stirring occasionally to avoid burning. Once melted, set aside to cool slightly.
- Step 4: Mix the Wet Ingredients - In a large mixing bowl, whisk together the sugar and eggs until well combined. Then, add the melted chocolate mixture along with the vanilla extract and salt. Stir until everything is incorporated.
- Step 5: Add the Flour - Gently fold in the all-purpose flour until just combined. Be careful not to overmix, as this can lead to dense brownies.
- Step 6: Incorporate the Twix Bars - Add the cut Twix bars to the brownie batter, folding them in gently to distribute evenly throughout the mixture.
- Step 7: Bake the Brownies - Pour the brownie batter into the prepared baking pan and spread it out evenly. Bake in the preheated oven for 25-30 minutes, or until a toothpick inserted into the center comes out with a few moist crumbs.
- Step 8: Make the Caramel Sauce - While the brownies are baking, prepare the caramel sauce. In a small saucepan over low heat, combine the individually wrapped caramel candies and heavy cream. Stir until the caramels have melted and the mixture is smooth. Remove from heat and let it cool slightly.
- Step 9: Drizzle the Caramel - Once the brownies are out of the oven, allow them to cool for about 10 minutes. Drizzle the warm caramel sauce over the top of the brownies, spreading it out evenly with a spatula.
- Step 10: Cool and Serve - Allow the brownies to cool completely in the pan on a wire rack. Once cooled, lift them out using the parchment paper and cut into squares. Serve and enjoy the indulgent flavors of your homemade Twix Brownies!
Notes
- Store brownies in an airtight container at room temperature for up to 3 days.
- Refrigerate for up to a week if you want them to last longer.
- Freeze brownies for up to 3 months, tightly wrapped.