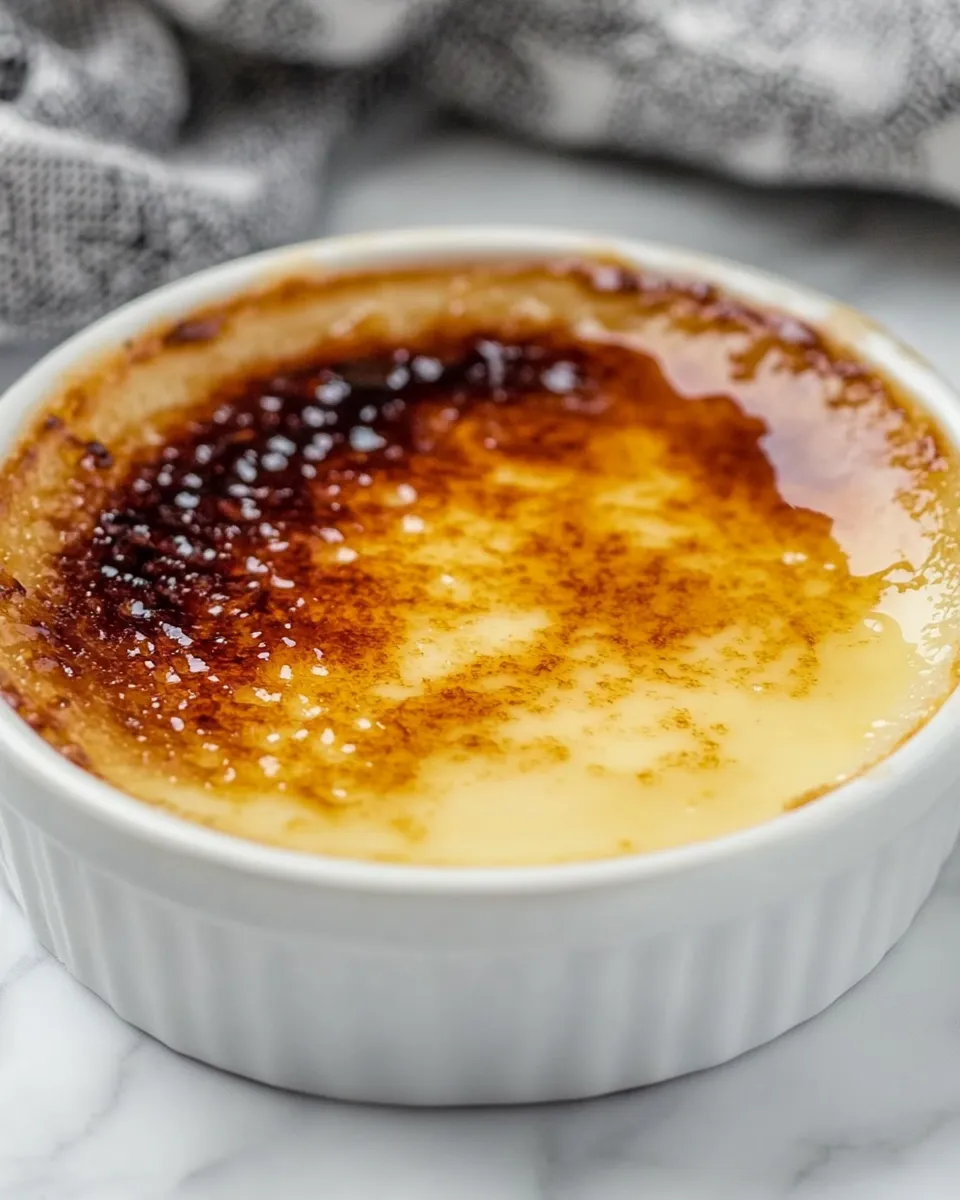
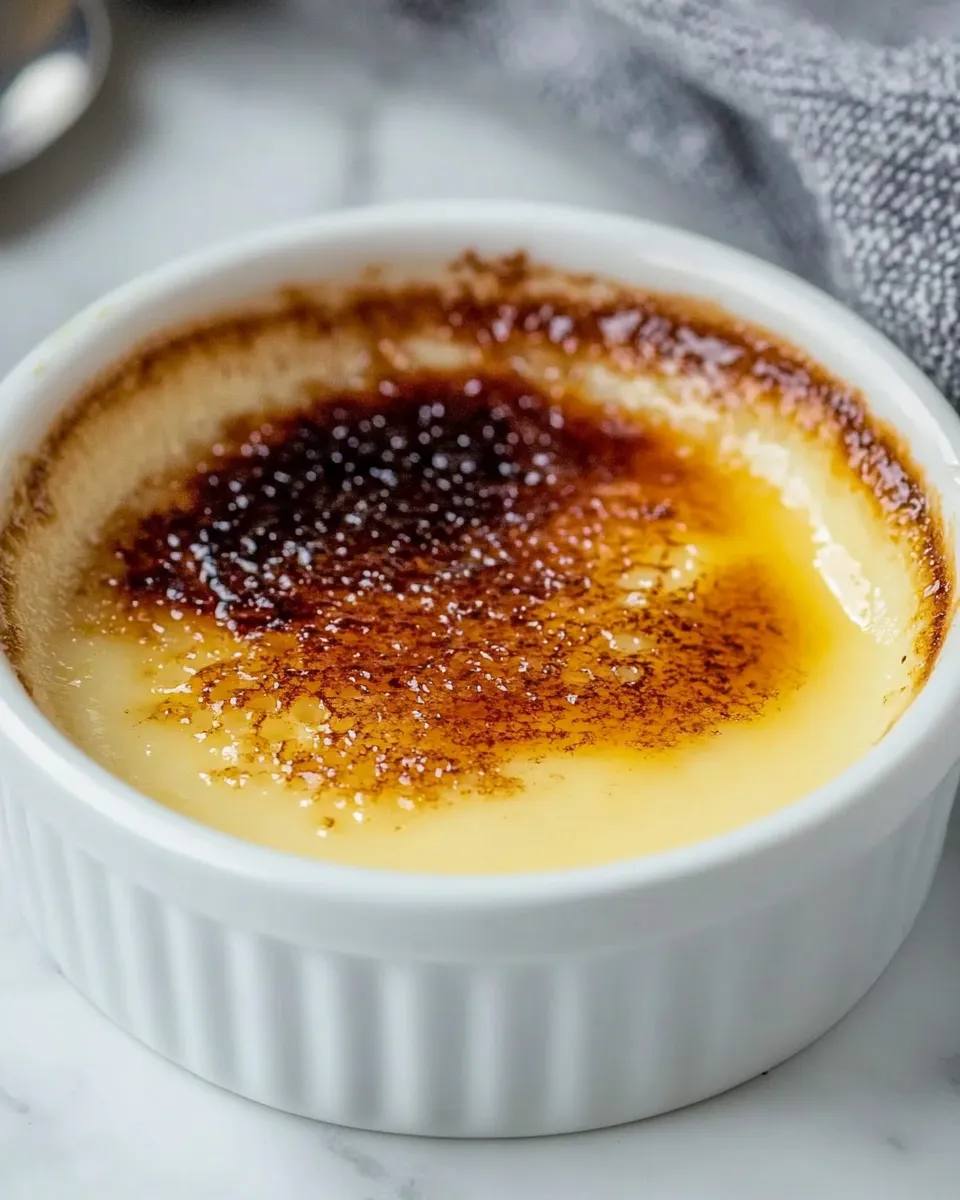
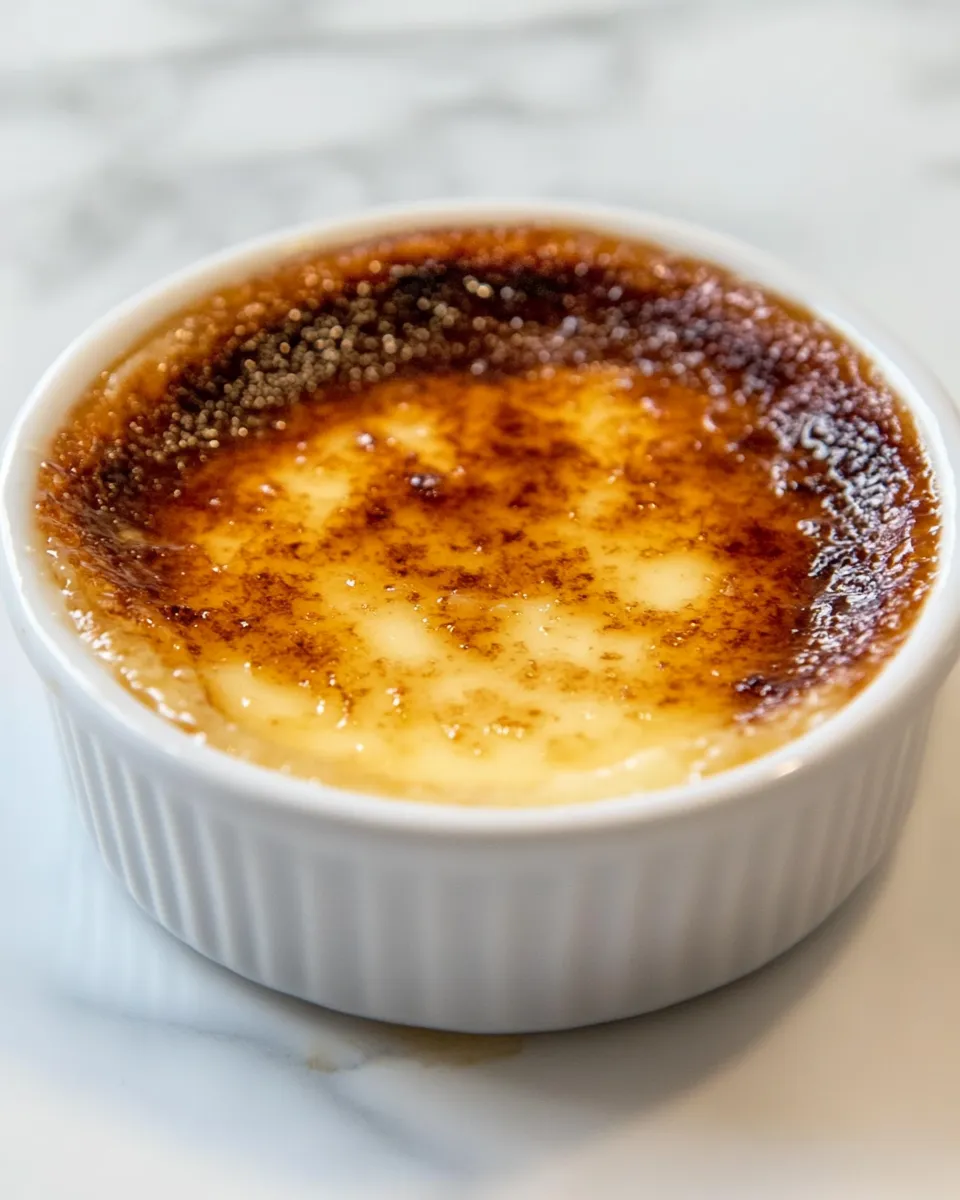
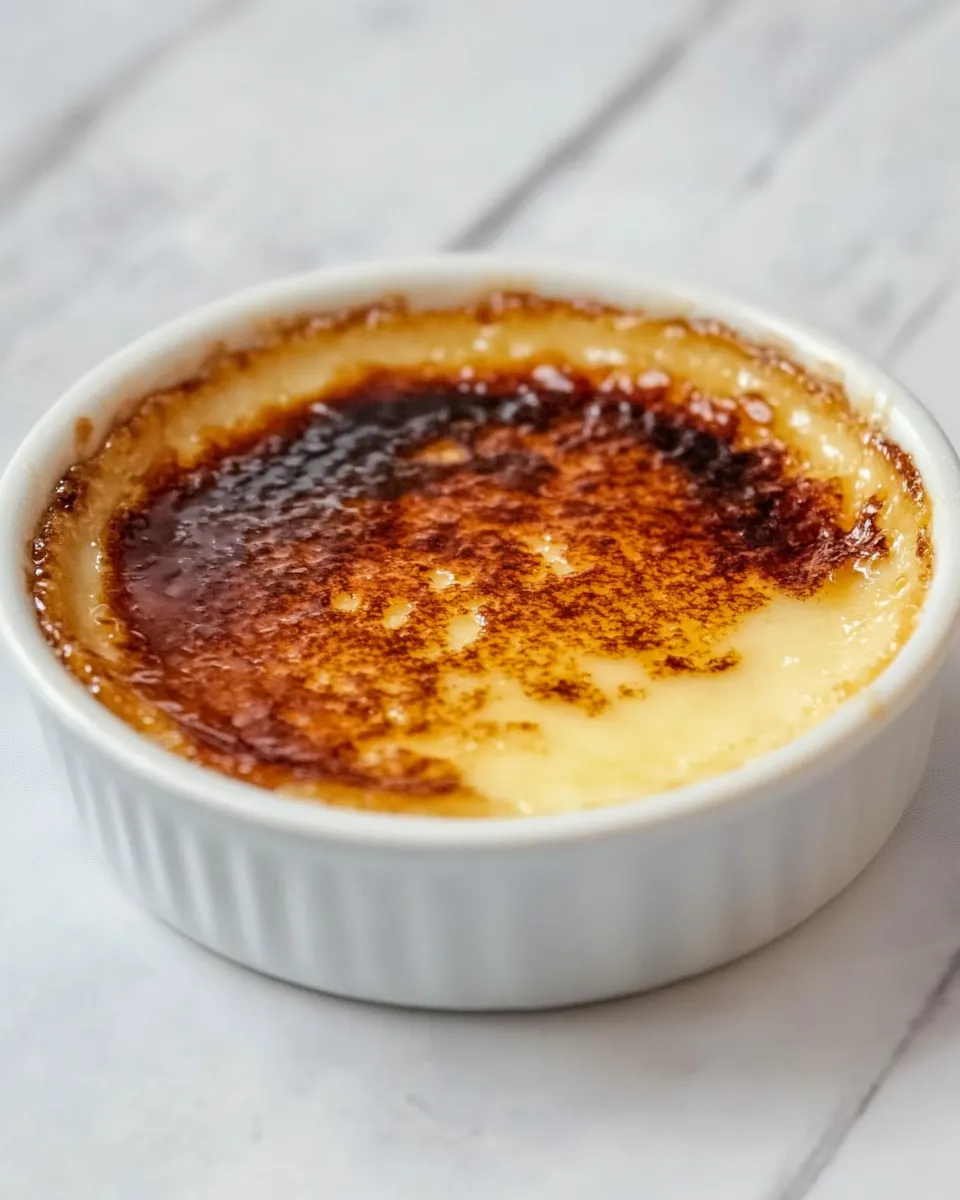
White Chocolate Creme Brulee
Crème brûlée is a classic dessert that captivates with its creamy texture and crunchy caramelized sugar topping. Today, we’re elevating this beloved dessert with a twist—introducing the luscious and decadent White Chocolate Crème Brulee. This version combines the rich sweetness of white chocolate with the traditional custard base, making it a perfect treat for special occasions or a delightful end to a weeknight dinner. Whether you’re a seasoned baker or a novice in the kitchen, this recipe is designed to guide you through each step with ease.
Why This Recipe Belongs in Your Rotation
If you’re looking for a dessert that impresses without requiring hours in the kitchen, this White Chocolate Crème Brulee is for you. The silky texture of the custard combined with the smoothness of melted white chocolate creates a dessert that’s both indulgent and sophisticated. Plus, the satisfying crack of the caramelized sugar topping adds a fun element to the eating experience. This recipe is not only a crowd-pleaser but also a fantastic way to showcase your culinary skills.
Shopping List
- 6 egg yolks (room temperature)
- 1/2 cup granulated sugar
- 2 cups heavy cream
- 8 oz white chocolate (chopped)
- 1 teaspoon vanilla extract
- 1/4 teaspoon salt
- 1/3 cup fine sugar (for caramelizing)
Setup & Equipment
- Ramekins – 4 to 6, depending on size
- Baking dish – to create a water bath
- Whisk – for mixing the custard
- Heatproof spatula – for folding in the chocolate
- Kitchen torch – for caramelizing the sugar on top
- Mixing bowls – for combining ingredients
The Method for White Chocolate Creme Brulee
Step 1: Preheat Your Oven
Start by preheating your oven to 325°F (160°C). This ensures that your custard will bake evenly and develop that velvety texture we all love.
Step 2: Prepare the Ramekins
Place your ramekins in a baking dish. This will be used for the water bath, which helps regulate the temperature while baking. It’s essential for achieving the perfect custard consistency.
Step 3: Melt the White Chocolate
In a heatproof bowl, combine the chopped white chocolate and 1 cup of heavy cream. Set this bowl over a pot of simmering water (double boiler method), stirring until the chocolate is completely melted and smooth. Remove from heat and let it cool slightly.
Step 4: Whisk the Egg Yolks and Sugar
In a separate bowl, whisk together the egg yolks and 1/2 cup of granulated sugar until the mixture is pale and thick. This step is crucial for creating a rich custard base.
Step 5: Combine Cream and Chocolate Mixture
Once the chocolate mixture has cooled slightly, gradually pour it into the egg yolk mixture, whisking constantly to combine. This prevents the eggs from cooking too quickly.
Step 6: Add Remaining Cream and Flavorings
Stir in the remaining cup of heavy cream, vanilla extract, and salt until everything is well incorporated.
Step 7: Fill the Ramekins
Pour the custard mixture evenly into each ramekin, leaving a little bit of space at the top.
Step 8: Create the Water Bath
Carefully place the baking dish in the oven and pour hot water into the dish until it reaches halfway up the sides of the ramekins. This water bath helps to cook the custard gently and evenly.
Step 9: Bake the Custards
Bake for about 30-35 minutes, or until the edges are set but the centers still jiggle slightly. You want that perfect creamy texture, so don’t overbake!
Step 10: Cool and Chill
Remove the ramekins from the water bath and let them cool to room temperature. Then, cover them with plastic wrap and refrigerate for at least 4 hours, or overnight for the best results.
Step 11: Caramelize the Sugar
When you’re ready to serve, sprinkle about a tablespoon of fine sugar on top of each custard. Using a kitchen torch, carefully caramelize the sugar until it forms a golden, crispy layer. Allow the sugar to harden for a minute before serving.
Smart Substitutions
- For a dairy-free option, use coconut cream instead of heavy cream and a dairy-free white chocolate.
- Replace white chocolate with milk chocolate for a different flavor profile.
- Use almond extract instead of vanilla for a unique twist on the flavor.
- For a fruity variation, add a layer of fruit puree at the bottom of the ramekins before pouring the custard mixture on top.
Watch Outs & How to Fix
There are a few common pitfalls when making White Chocolate Crème Brulee. Here’s what to look out for:
- Overcooking the custard: Keep an eye on the time and use a gentle touch when baking to avoid curdling.
- Burning the sugar: When caramelizing the sugar, move the torch evenly and quickly to prevent burning.
- Too much sugar on top: A thin, even layer of sugar is key to achieving that perfect crispy topping.
- Not allowing enough chilling time: The longer you chill the custard, the better the texture will be.
Keep It Fresh: Storage Guide
White Chocolate Crème Brulee can be stored in the refrigerator for up to 3 days without the caramelized topping. To maintain the best texture, only caramelize the sugar just before serving. If you have leftover custard, cover it tightly with plastic wrap and keep it chilled until you’re ready to enjoy it again.
Helpful Q&A
Can I make White Chocolate Crème Brulee ahead of time?
Absolutely! This dessert is perfect for preparing in advance. Just make sure to caramelize the sugar topping right before serving for the best texture.
Can I use a different type of chocolate?
Yes, you can experiment with dark chocolate or milk chocolate, though the flavor profile will change. Adjust the sugar levels accordingly based on the sweetness of the chocolate you choose.
What should I do if my custard is too runny?
If your custard didn’t set properly after baking, it may need more time in the oven. You can try placing it back in for a few more minutes, but keep a close eye on it to avoid overcooking.
How can I achieve a perfect caramelized top?
Using a kitchen torch is the best method for achieving a smooth, even caramelization. Move the flame in small circles and don’t hold it too close to the sugar to avoid burning.
Make It Tonight
There’s nothing quite like the satisfaction of creating a stunning dessert from scratch, and this White Chocolate Crème Brulee will surely impress your guests and family alike. With just a few simple ingredients and clear steps, you can bring the elegance of a fine dining experience right into your home. So gather your ingredients, roll up your sleeves, and indulge in the creamy, dreamy goodness that is White Chocolate Crème Brulee. Your taste buds will thank you! Enjoy the process, and don’t forget to savor every spoonful.
White Chocolate Creme Brulee
Ingredients
Equipment
Method
- Step 1: Preheat your oven to 325°F (160°C) to ensure even baking.
- Step 2: Place your ramekins in a baking dish for the water bath.
- Step 3: Melt chopped white chocolate with 1 cup of heavy cream over a double boiler, stirring until smooth.
- Step 4: Whisk together egg yolks and 1/2 cup sugar until pale and thick.
- Step 5: Gradually combine the chocolate mixture with egg yolks while whisking.
- Step 6: Stir in the remaining heavy cream, vanilla extract, and salt.
- Step 7: Pour the custard mixture into ramekins, leaving space at the top.
- Step 8: Fill the baking dish with hot water to halfway up the sides of the ramekins.
- Step 9: Bake for about 30-35 minutes until edges are set and centers jiggle slightly.
- Step 10: Cool to room temperature, cover with plastic wrap, and refrigerate for at least 4 hours.
- Step 11: Before serving, sprinkle fine sugar on top and caramelize using a kitchen torch.
Notes
- For a dairy-free option, use coconut cream and dairy-free white chocolate.
- Experiment with different chocolates for varied flavors.
- Allow enough chilling time for the best texture.