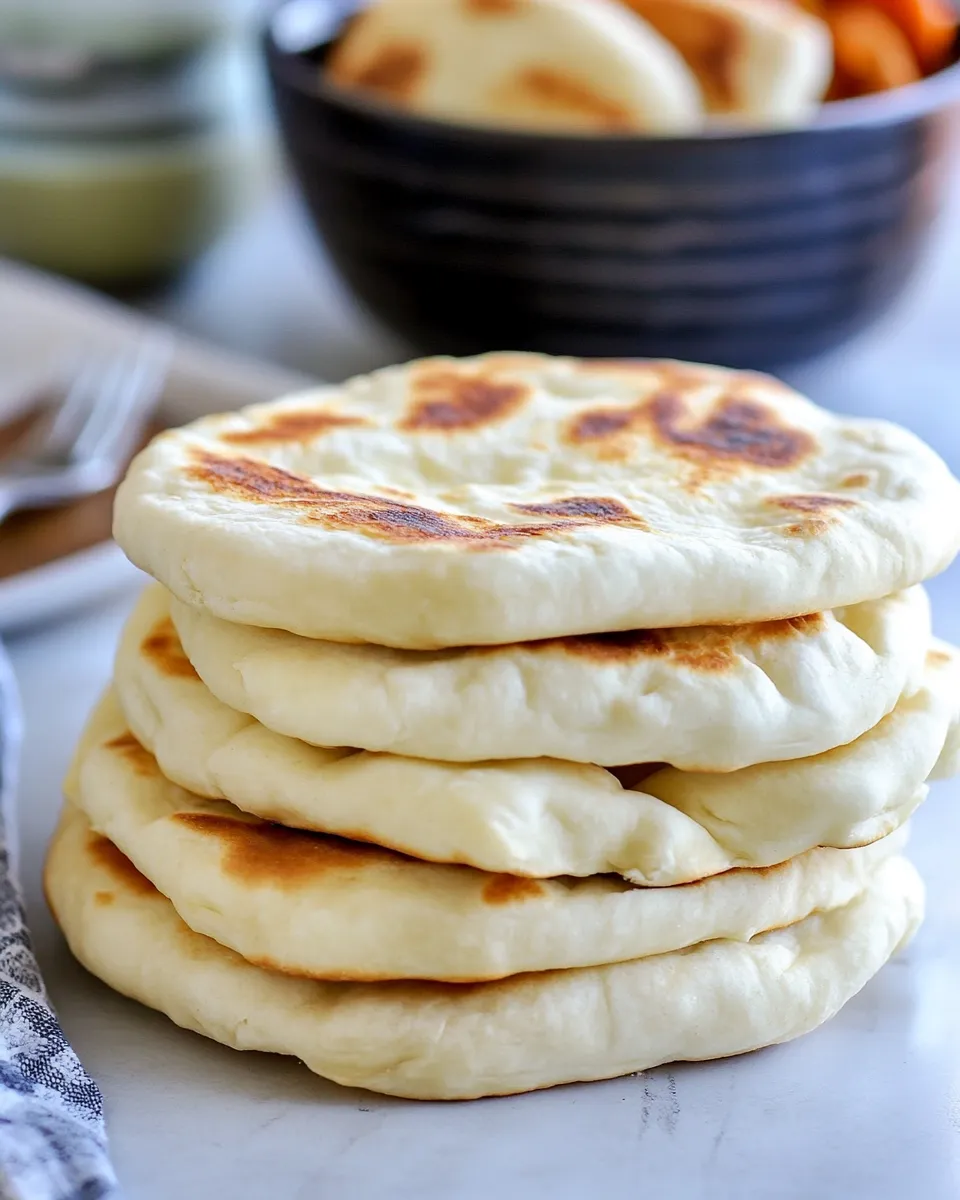
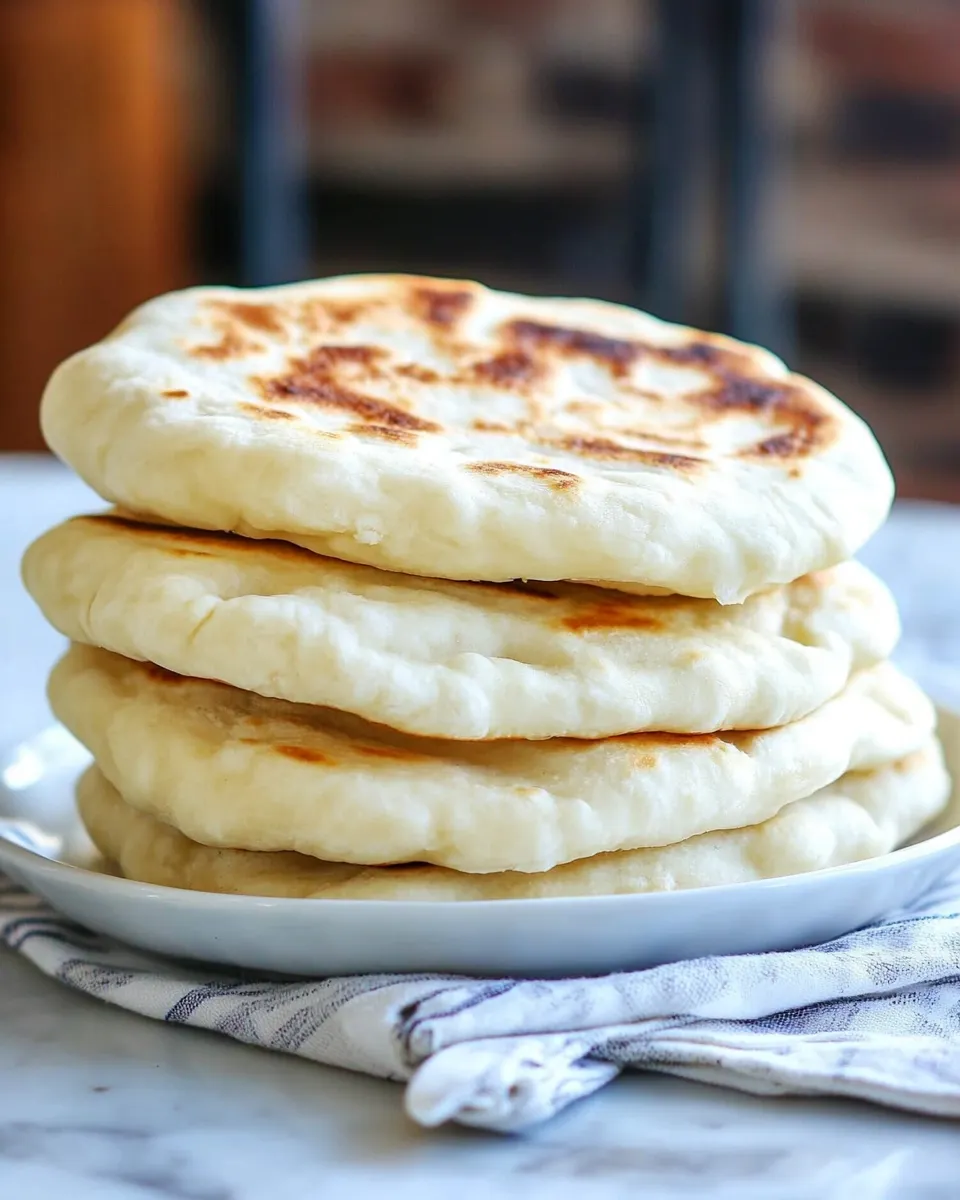
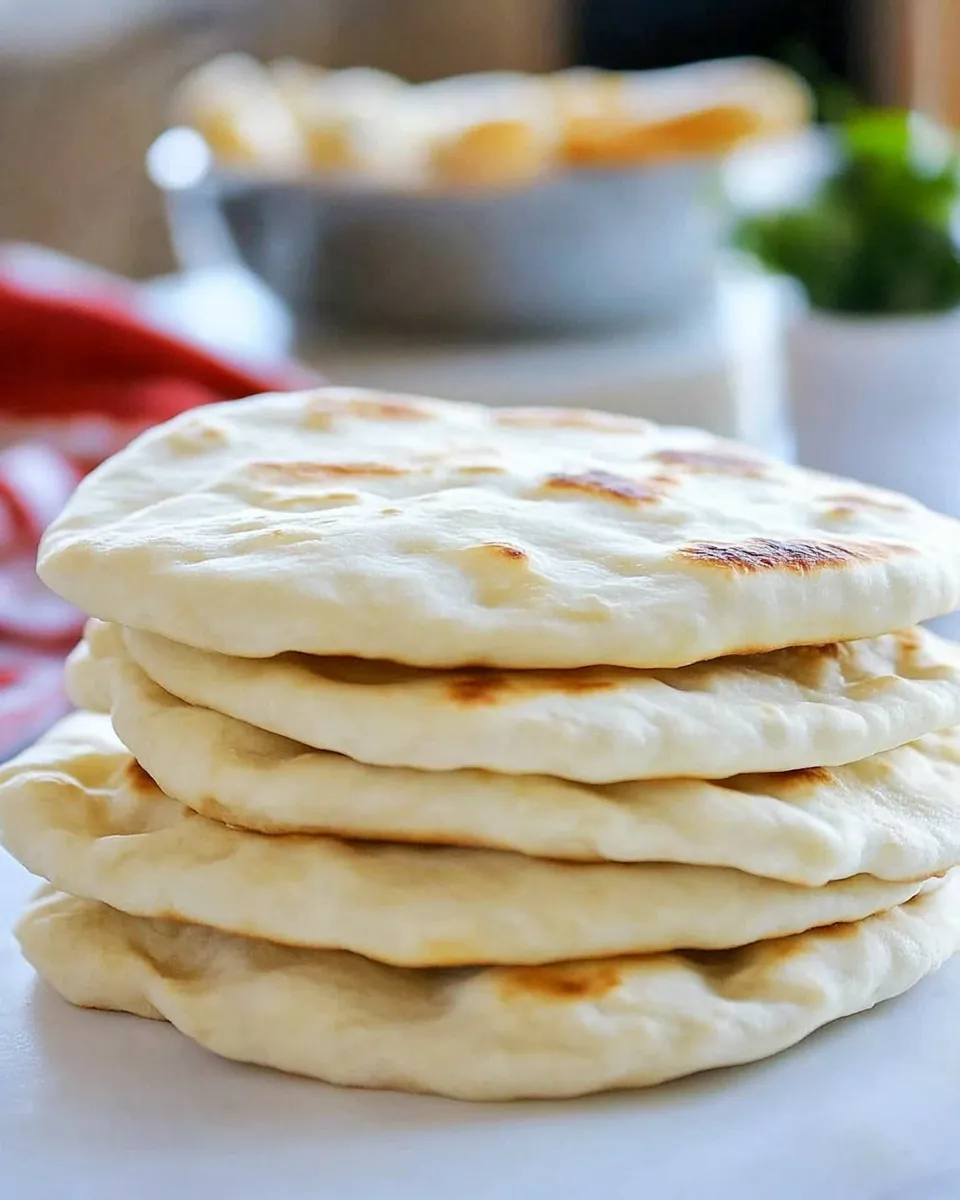
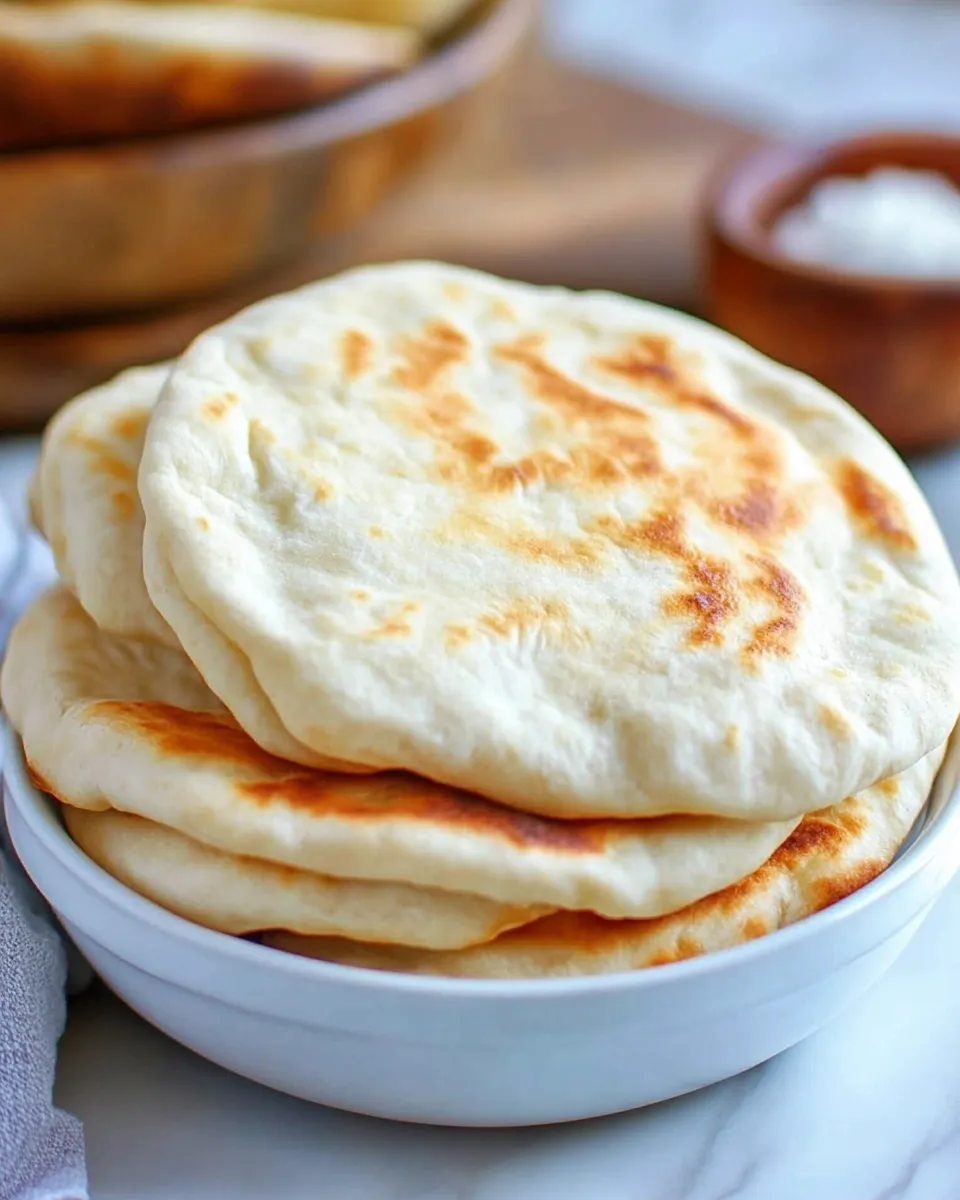
Traditional Greek Pita Bread.
If you’ve ever enjoyed a warm, fluffy pita fresh out of the oven, you know there’s nothing quite like it. The beauty of Traditional Greek Pita Bread lies in its simplicity and versatility. Perfect for dipping in hummus, stuffing with grilled meats, or wrapping around your favorite veggies, this pita bread recipe is a delightful addition to any meal. With just a handful of ingredients, you can create your own batch of this Mediterranean staple right in your kitchen. So let’s dive into the world of homemade pita bread!
What You’ll Love About This Recipe
– **Simple Ingredients**: Just a few pantry staples come together to create something magical.
– **Quick to Make**: With minimal rising time, you can enjoy homemade pita in less than two hours.
– **Versatile**: Use it for sandwiches, dips, or even as a base for mini pizzas.
– **Healthier Choice**: Homemade means no preservatives or additives—just pure goodness!
Ingredient Breakdown
- 1 cup hot water (but not boiling): This activates the yeast and helps the dough rise.
- 2 teaspoons active dry or instant yeast: The magic ingredient that makes the pita puff up.
- 2 1/2 – 3 cups all-purpose flour: For the right texture; adjust based on humidity.
- 2 teaspoons salt: Essential for flavor.
- 1 tablespoon olive oil: Adds richness and helps keep the pita soft.
Gear Checklist
- Mixing Bowl: For combining the dough ingredients.
- Measuring Cups and Spoons: Precision is key in baking.
- Dough Scraper: Helpful for kneading and shaping the dough.
- Rolling Pin: To roll out the dough into flat rounds.
- Baking Sheet: For baking the pitas in the oven.
- Kitchen Towel: To cover the dough while it rises.
Traditional Greek Pita Bread. Made Stepwise
Step 1: Activate the Yeast
Start by pouring 1 cup of hot water into a mixing bowl. Sprinkle the 2 teaspoons of yeast over the water and let it sit for about 5-10 minutes until it becomes foamy. This indicates that the yeast is active and ready to work its magic.
Step 2: Mix the Dough
Once the yeast is activated, add 1 tablespoon of olive oil and 2 teaspoons of salt to the mixture. Gradually add 2 1/2 cups of all-purpose flour, mixing with a wooden spoon until it starts to come together. If the dough is too sticky, add more flour, a tablespoon at a time, until it forms a smooth, elastic dough.
Step 3: Knead the Dough
Transfer the dough onto a lightly floured surface. Knead for about 5-7 minutes until it becomes smooth and elastic. If you have a stand mixer, you can use the dough hook attachment for this step.
Step 4: Let It Rise
Place the kneaded dough in a lightly oiled bowl, cover it with a kitchen towel, and set it in a warm place. Allow the dough to rise for about 1 hour or until it has doubled in size.
Step 5: Shape the Pitas
After the dough has risen, punch it down to release the air. Divide it into 8 equal pieces. Roll each piece into a ball and then flatten it into a circle about 1/4-inch thick using a rolling pin.
Step 6: Preheat the Oven
While you are shaping the pitas, preheat your oven to 475°F (245°C). If you have a baking stone, place it in the oven to heat up as well.
Step 7: Bake the Pitas
Once the oven is hot, place the shaped pitas on a baking sheet lined with parchment paper. Bake for about 5-7 minutes, or until they puff up and are lightly golden. Keep an eye on them, as they can bake quickly!
Step 8: Cool and Enjoy
Remove the pitas from the oven and cover them with a kitchen towel to keep them warm and soft. Serve immediately or let them cool for later use.
No-Store Runs Needed
- All-purpose flour is a kitchen staple that most people have on hand.
- Active dry or instant yeast can be stored in the pantry for long periods.
- Salt is essential for any cooking or baking project.
- Olive oil is a versatile ingredient that adds flavor to many dishes.
Pro Perspective
- For the best results, make sure your water is warm but not boiling; too hot can kill the yeast.
- Don’t skip the resting time—allowing the dough to rise properly is crucial for achieving that perfect puff.
- If your pitas are not puffing up, it could be due to the oven temperature being too low or the dough not being rolled out evenly.
- Feel free to experiment with whole wheat flour for a healthier twist, but keep in mind that it may change the texture.
Keep It Fresh: Storage Guide
Homemade pita bread is best enjoyed fresh, but you can store any leftovers in an airtight container at room temperature for up to 2 days. For longer storage, freeze the pitas by placing them in a zip-top bag with parchment paper between each. They can be frozen for up to 3 months. To reheat, simply warm them in the oven for a few minutes or gently microwave them for a few seconds.
Ask & Learn
Can I use whole wheat flour instead of all-purpose flour?
Yes! Whole wheat flour can be used, but you may need to adjust the water slightly as it absorbs more moisture.
What should I do if my dough doesn’t rise?
If your dough doesn’t rise, it may be due to inactive yeast. Make sure to check the expiration date on your yeast before using it, and ensure the water temperature is warm enough to activate it.
Can I make this recipe vegan?
This recipe is already vegan, as it contains no animal products. Enjoy it guilt-free!
How do I know when the pitas are done baking?
The pitas should puff up significantly and have a light golden color. If they are still flat after baking, they may need a bit more time or a hotter oven.
Before You Go
If you’ve been searching for a reliable and delicious recipe for Traditional Greek Pita Bread, look no further. This easy-to-follow guide will help you achieve warm, fluffy pitas that will elevate your meals. Whether you’re filling them with savory meats, fresh veggies, or simply enjoying them with dips, you’ll appreciate the flavors and freshness of homemade pita. So roll up your sleeves and get ready to impress your family and friends with your baking skills. Enjoy every bite of your Traditional Greek Pita Bread!
Traditional Greek Pita Bread.
Ingredients
Equipment
Method
- Start by pouring 1 cup of hot water into a mixing bowl. Sprinkle the 2 teaspoons of yeast over the water and let it sit for about 5-10 minutes until it becomes foamy.
- Once the yeast is activated, add 1 tablespoon of olive oil and 2 teaspoons of salt to the mixture. Gradually add 2 1/2 cups of all-purpose flour, mixing with a wooden spoon until it starts to come together.
- Transfer the dough onto a lightly floured surface. Knead for about 5-7 minutes until it becomes smooth and elastic.
- Place the kneaded dough in a lightly oiled bowl, cover it with a kitchen towel, and set it in a warm place. Allow the dough to rise for about 1 hour or until it has doubled in size.
- After the dough has risen, punch it down to release the air. Divide it into 8 equal pieces. Roll each piece into a ball and then flatten it into a circle about 1/4-inch thick using a rolling pin.
- While you are shaping the pitas, preheat your oven to 475°F (245°C). If you have a baking stone, place it in the oven to heat up as well.
- Once the oven is hot, place the shaped pitas on a baking sheet lined with parchment paper. Bake for about 5-7 minutes, or until they puff up and are lightly golden.
- Remove the pitas from the oven and cover them with a kitchen towel to keep them warm and soft. Serve immediately or let them cool for later use.
Notes
- Ensure the water is warm but not boiling to avoid killing the yeast.
- Allow the dough to rise properly for the best puff.
- If pitas don't puff, check oven temperature and dough thickness.