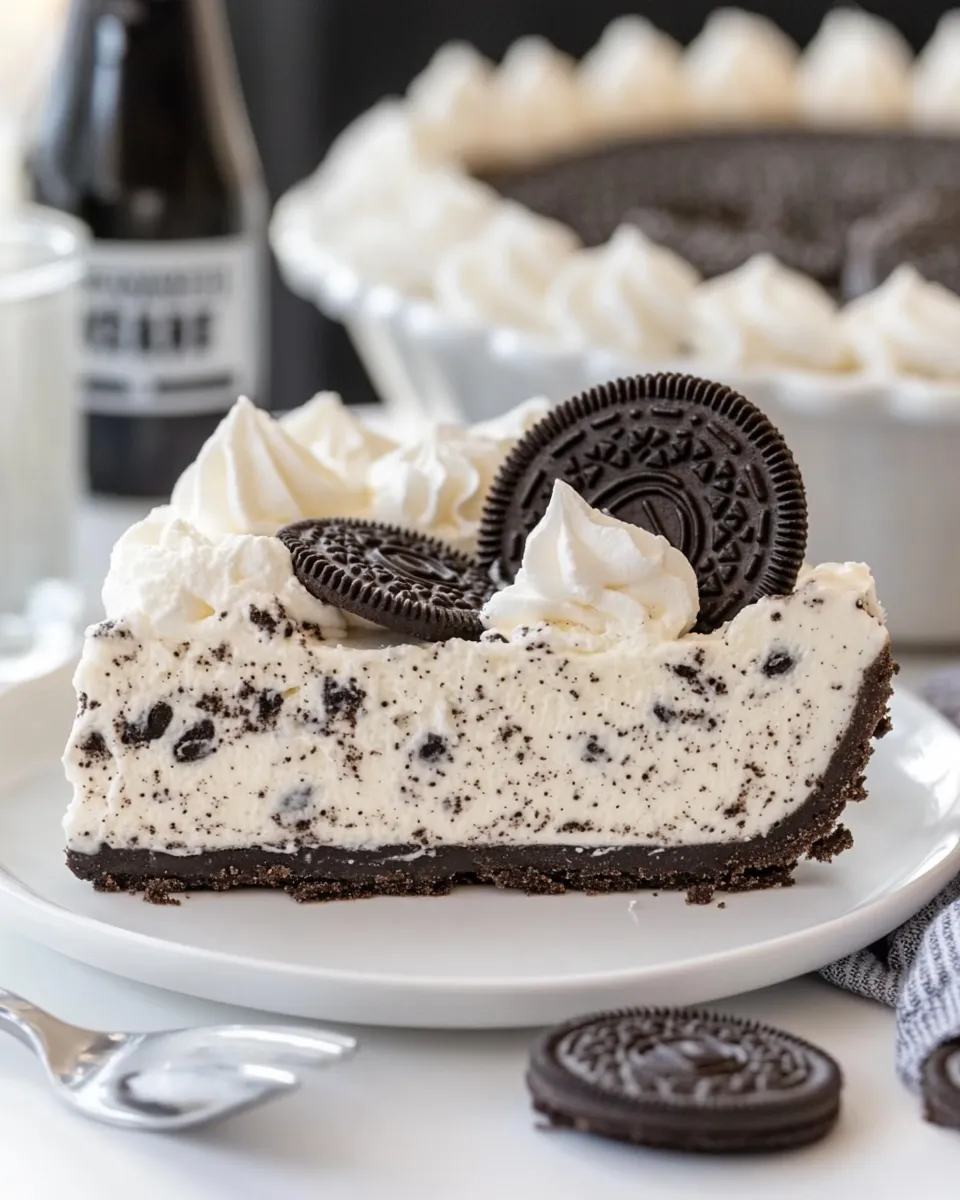
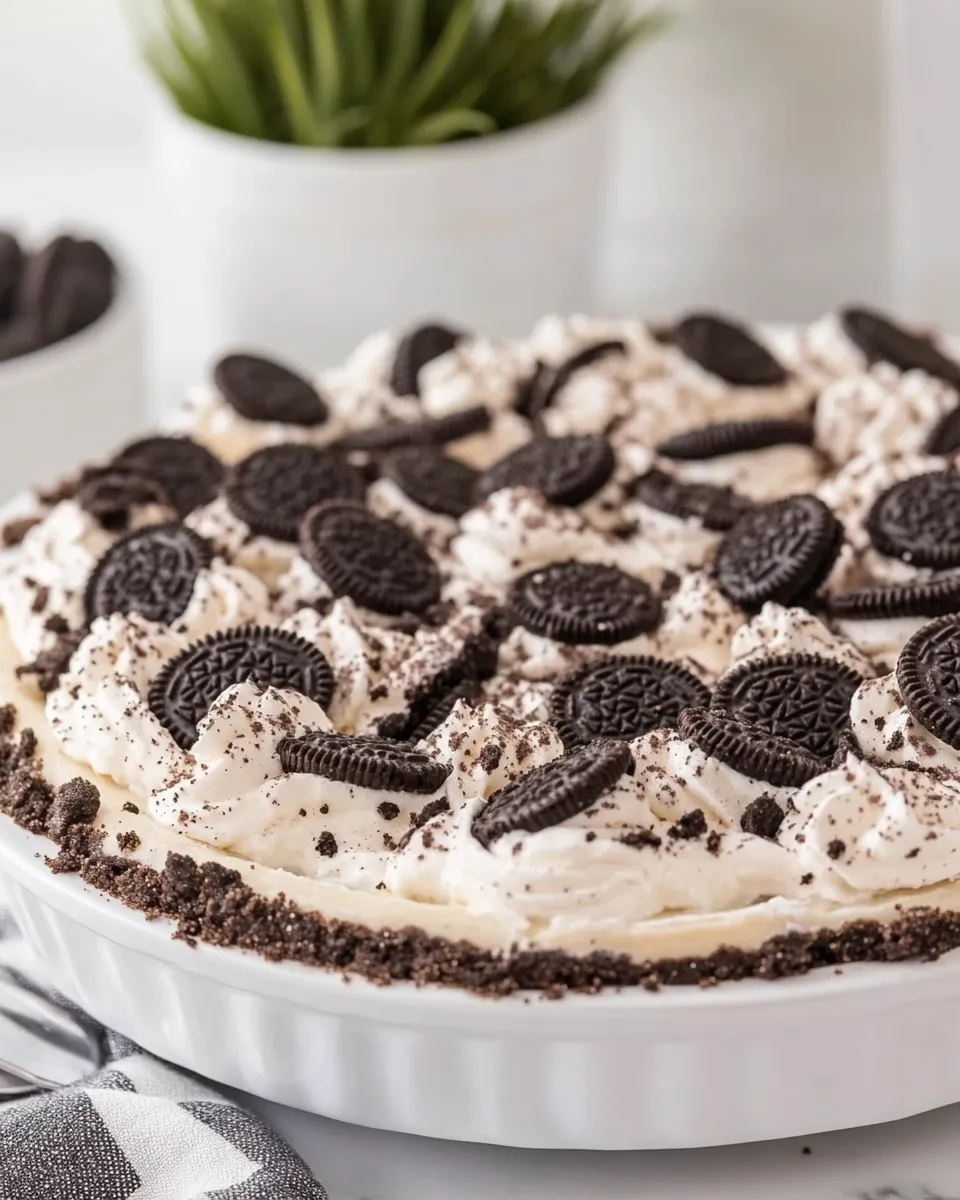
Oreo Pie
There’s nothing quite like the sweet, creamy delight of an Oreo pie. This dessert combines the iconic flavors of Oreo cookies with a luscious cream cheese filling, creating an indulgent treat that’s perfect for any occasion. Whether you’re hosting a gathering or simply craving something sweet, this Oreo pie will surely impress. With a crunchy cookie crust, rich filling, and a light topping, it’s a slice of heaven that everyone will adore.
The Upside of Oreo Pie
Oreo pie is not just another dessert; it’s an experience. It’s rich yet light, creamy yet crunchy, making it the perfect balance of textures and flavors. The combination of the chocolate Oreo crust and the smooth cream cheese filling creates a delightful contrast that is hard to resist. Plus, it’s no-bake, which means less time in the kitchen and more time enjoying the sweet rewards. This pie is also incredibly versatile, allowing you to customize it to your taste. Add extra toppings, or mix in your favorite flavors—this Oreo pie can be whatever you want it to be!
Ingredient Breakdown
To create this irresistible Oreo pie, gather the following ingredients:
- 30 Oreo cookies – These will form the base and add that classic Oreo flavor.
- 6 tablespoons unsalted butter, melted – This binds the cookie crumbs together to create a solid crust.
- 8 ounces cream cheese, room temperature – The creamy base for the filling, providing richness and texture.
- 1 cup powdered sugar – Sweetens the filling perfectly without making it grainy.
- 1 teaspoon pure vanilla extract – Adds depth and enhances the overall flavor of the pie.
- 8 ounces frozen whipped topping (Cool Whip or Truwhip), thawed – This gives the filling a light and airy texture.
- 15 Oreos, coarsely chopped – For added texture and bursts of Oreo flavor in the filling.
- Additional whipped topping and Oreos for garnish – Optional, but they make for a beautiful presentation!
Essential Tools for Success
Before you start whipping up your Oreo pie, make sure you have the following tools on hand:
- Food processor or zip-top bag and rolling pin – For crushing the Oreo cookies into fine crumbs.
- Mixing bowl – To combine the cream cheese and other filling ingredients.
- Electric mixer – For whipping the cream cheese and powdered sugar to a creamy consistency.
- Spatula – To gently fold in the whipped topping.
- 9-inch pie dish – The perfect size to hold all the delicious layers of your Oreo pie.
Directions: Oreo Pie
Creating this delicious Oreo pie is straightforward and a lot of fun. Follow these steps for a perfect dessert:
Step 1: Make the Oreo Crust
Begin by crushing the 30 Oreo cookies into fine crumbs. You can do this in a food processor or by placing them in a zip-top bag and crushing them with a rolling pin. Once crushed, transfer the crumbs to a mixing bowl and drizzle in the melted butter. Stir until the mixture resembles wet sand.
Step 2: Form the Crust
Press the Oreo crumb mixture firmly into the bottom and up the sides of a 9-inch pie dish. Use the back of a measuring cup or your fingers to ensure it’s compact and even. Place the crust in the refrigerator to set while you prepare the filling.
Step 3: Prepare the Filling
In a mixing bowl, beat the cream cheese with an electric mixer until smooth and creamy. Gradually add the powdered sugar and vanilla extract, mixing until well combined.
Step 4: Fold in the Whipped Topping
Gently fold the thawed whipped topping into the cream cheese mixture. Be careful not to deflate the whipped topping; you want your filling to stay light and airy.
Step 5: Add Chopped Oreos
Stir in the coarsely chopped Oreos until evenly distributed throughout the filling.
Step 6: Fill the Crust
Spoon the filling into the chilled Oreo crust, spreading it out evenly. Smooth the top with a spatula.
Step 7: Chill the Pie
Cover the pie with plastic wrap and refrigerate for at least 4 hours, or overnight if possible. This will allow the flavors to meld and the filling to firm up.
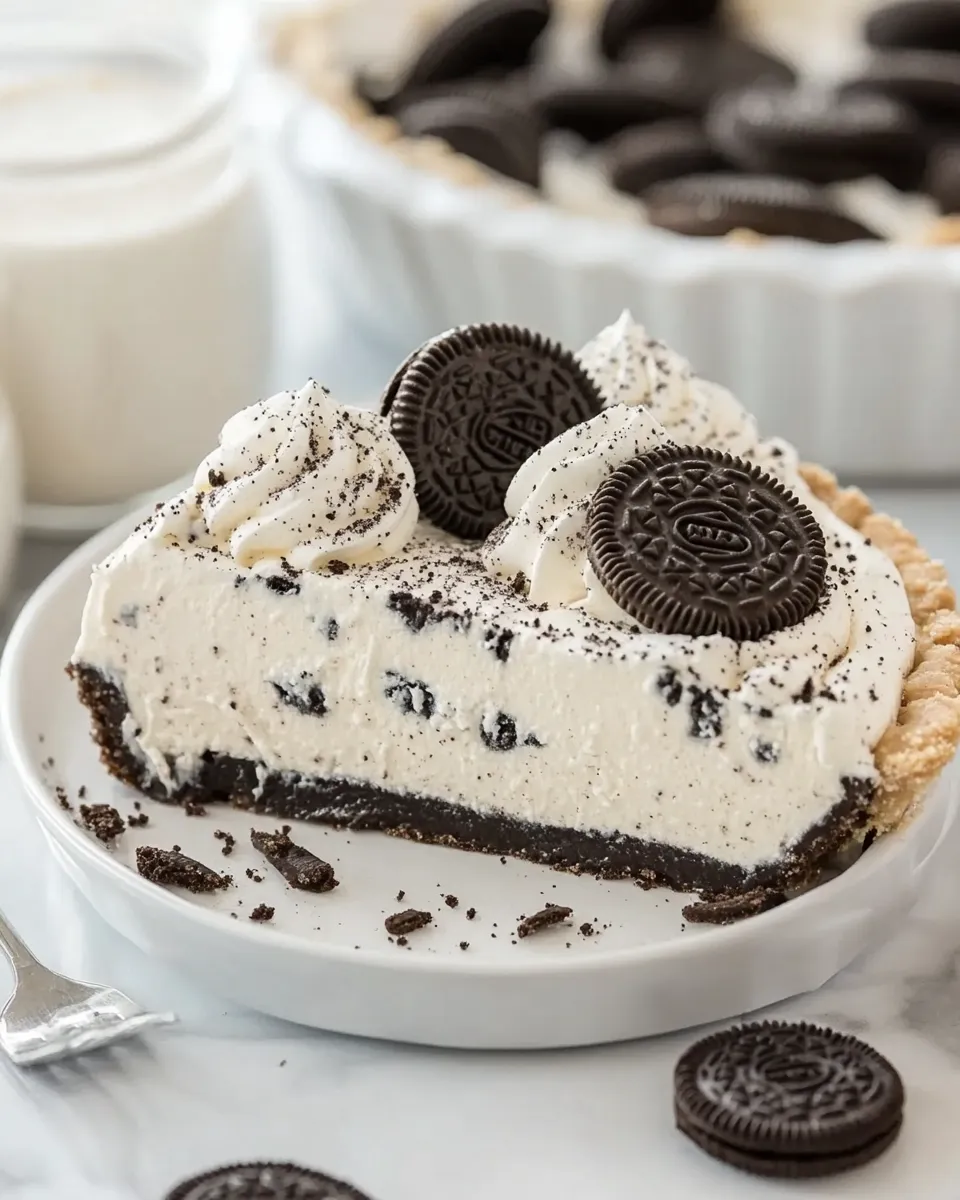
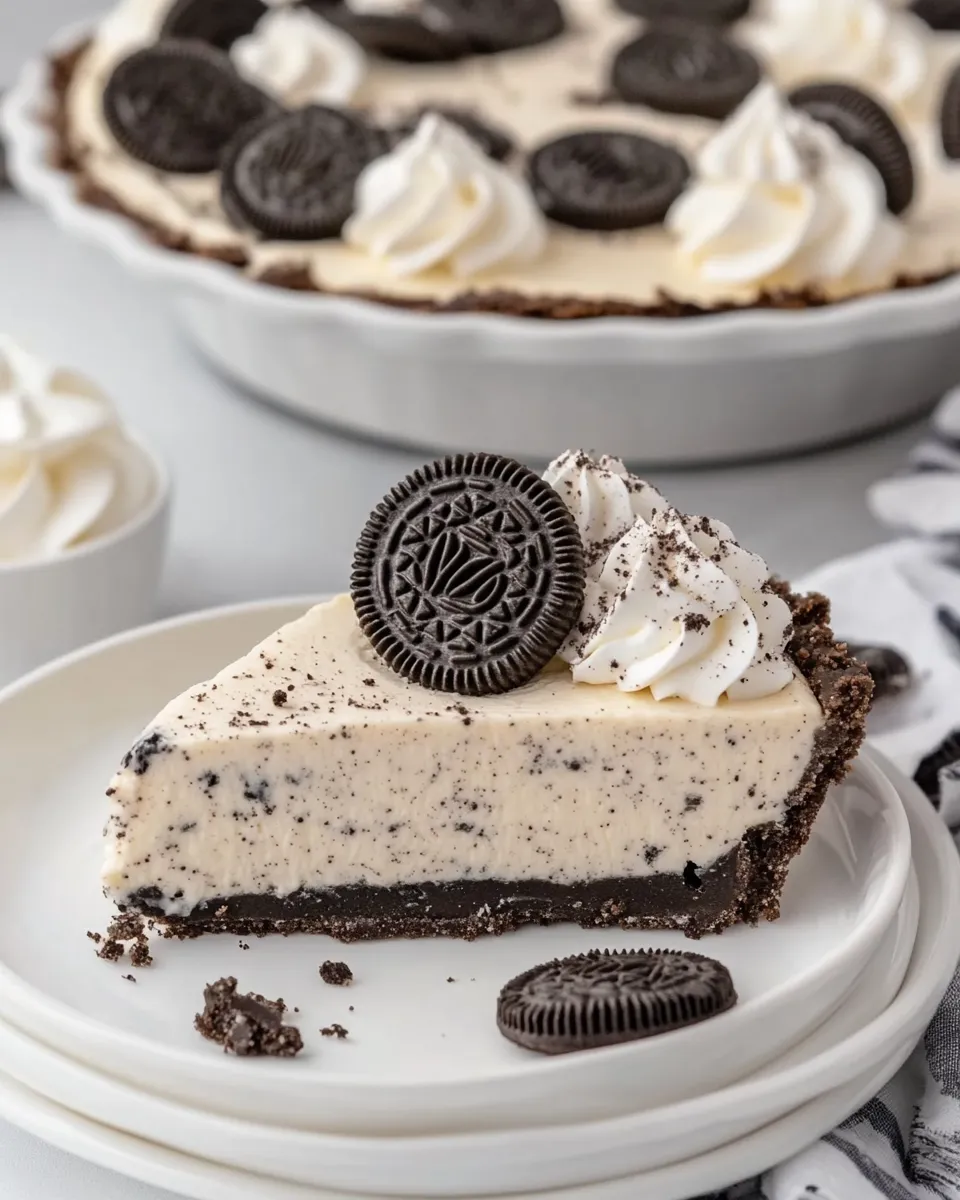
Step 8: Serve and Enjoy!
Before serving, add additional whipped topping on top of the pie and sprinkle with more chopped Oreos if desired. Slice and enjoy the creamy, delicious layers of your Oreo pie!
Make It Your Way
This Oreo pie is highly adaptable! Here are some fun ideas to customize your dessert:
- Add a layer of peanut butter to the filling for a chocolate-peanut butter twist.
- Mix in crushed mint Oreos for a refreshing mint chocolate flavor.
- Drizzle chocolate or caramel sauce on top for added sweetness.
- Use different flavored whipped toppings, such as chocolate or vanilla bean, for a unique taste.
Pro Tips & Notes
- Make sure the cream cheese is at room temperature for easy mixing.
- Don’t skip the chilling time! It’s essential for the pie to set properly.
- For an extra crunchy texture, reserve some Oreo crumbs to sprinkle on top before serving.
- This pie can be made a day in advance, making it perfect for parties or gatherings.
Best Ways to Store
To keep your Oreo pie fresh and delicious:
- Cover the pie tightly with plastic wrap or aluminum foil before refrigerating.
- It can be stored in the fridge for up to 5 days, but it’s best enjoyed within the first 2-3 days for optimal freshness.
- For longer storage, consider freezing slices wrapped individually in plastic wrap and then in aluminum foil. Thaw in the fridge before serving.
Troubleshooting Q&A
Why is my Oreo pie filling runny?
This could happen if the cream cheese wasn’t mixed well or if the whipped topping was overmixed. Make sure both are at room temperature before mixing and fold in the whipped topping gently.
Can I use regular whipped cream instead of Cool Whip?
Absolutely! Just be sure to whip the cream to stiff peaks before folding it into the cream cheese mixture. This will keep the filling light and fluffy.
How do I know when the pie is set?
The pie should be firm to the touch and hold its shape when sliced. If it’s still soft, give it more chilling time in the refrigerator.
Can I make this pie gluten-free?
Yes! Just use gluten-free Oreo cookies for the crust and filling, and you’ll have a delicious gluten-free Oreo pie.
That’s a Wrap
Oreo pie is a delightful dessert that combines the classic flavors we all love in a fun and easy-to-make recipe. With its no-bake approach and customizable options, it’s perfect for any occasion or simply as a sweet treat to enjoy at home. Whether you stick to the classic recipe or put your unique spin on it, this Oreo pie is sure to be a hit among family and friends. So roll up your sleeves, gather your ingredients, and get ready to create a dessert that will leave everyone asking for seconds!
Oreo Pie
Ingredients
Equipment
Method
- Step 1: Make the Oreo Crust. Crush the 30 Oreo cookies into fine crumbs and mix with melted butter until it resembles wet sand.
- Step 2: Form the Crust. Press the mixture into a 9-inch pie dish and refrigerate to set.
- Step 3: Prepare the Filling. Beat cream cheese until smooth, then add powdered sugar and vanilla until well combined.
- Step 4: Fold in the Whipped Topping. Gently mix in the thawed whipped topping without deflating it.
- Step 5: Add Chopped Oreos. Stir in the coarsely chopped Oreos.
- Step 6: Fill the Crust. Spoon the filling into the chilled crust and smooth the top.
- Step 7: Chill the Pie. Cover and refrigerate for at least 4 hours or overnight.
- Step 8: Serve and Enjoy! Top with more whipped topping and chopped Oreos before serving.
Notes
- Ensure cream cheese is at room temperature for easy mixing.
- Do not skip the chilling time for the pie to set properly.
- Reserve some Oreo crumbs for sprinkling on top before serving.
- This pie can be made a day in advance, perfect for gatherings.