Chocolate Pudding
There’s something incredibly comforting about a bowl of rich and creamy chocolate pudding. It’s a dessert that evokes childhood memories, yet it remains a timeless treat enjoyed by all ages. With its luscious texture and deep chocolate flavor, this homemade chocolate pudding is not only easy to make but also far superior to any store-bought version. Let’s dive into the world of chocolate pudding and discover why it’s worth the time and effort.
Why Chocolate Pudding is Worth Your Time

Chocolate pudding is more than just a dessert; it’s an experience. The smooth, velvety texture combined with the intense chocolate flavor creates an indulgent treat that can brighten up even the dullest day. Making it from scratch allows you to control the ingredients, ensuring a fresh and satisfying result. Plus, the process of stirring and watching it thicken on the stove is almost therapeutic. You’ll find that with just a few simple ingredients, you can create a dessert that’s rich, creamy, and utterly delicious.
Shopping List
- 5 tablespoons cornstarch
- 1 cup unsweetened cocoa powder
- 1 cup granulated sugar
- A dash of salt
- 4 cups whole milk
- 2 tablespoons butter, chopped into small pieces
- 1 teaspoon vanilla extract
Prep & Cook Tools
- Medium saucepan – For cooking the pudding mixture.
- Whisk – Essential for blending ingredients smoothly and preventing lumps.
- Measuring cups and spoons – Accurate measurements are key for perfect pudding.
- Heatproof spatula – Useful for scraping the sides of the pan and stirring.
- Serving bowls – For enjoying your homemade chocolate pudding.
Cooking Chocolate Pudding: The Process

Step 1: Combine Dry Ingredients
In a medium saucepan, whisk together the cornstarch, cocoa powder, granulated sugar, and a dash of salt. This step is crucial to ensure that the cornstarch and cocoa powder are evenly distributed, which will help prevent lumps from forming in your pudding.
Step 2: Add Milk Gradually
Slowly pour in the whole milk while whisking continuously. This will help to dissolve the dry ingredients and create a smooth mixture. Make sure there are no lumps before proceeding to the next step.
Step 3: Heat the Mixture
Place the saucepan over medium heat. Stir the mixture frequently as it heats up. This is the moment where patience pays off; as the pudding heats, the cornstarch will activate and start to thicken the mixture.
Step 4: Bring to a Boil
Keep stirring until the mixture comes to a gentle boil. Once it reaches a boil, continue to cook for an additional 2 minutes until it has thickened to your desired consistency. Don’t forget to keep stirring to prevent the pudding from sticking to the bottom of the pan.
Step 5: Add Butter and Vanilla
Remove the saucepan from the heat. Stir in the chopped butter and vanilla extract until the butter is fully melted and incorporated. This adds a rich flavor and silky texture to your chocolate pudding.
Step 6: Chill the Pudding
Transfer the pudding to serving bowls or a large dish. Cover the surface with plastic wrap to prevent a skin from forming. Place it in the refrigerator for at least two hours to chill and set.
Make It Year-Round

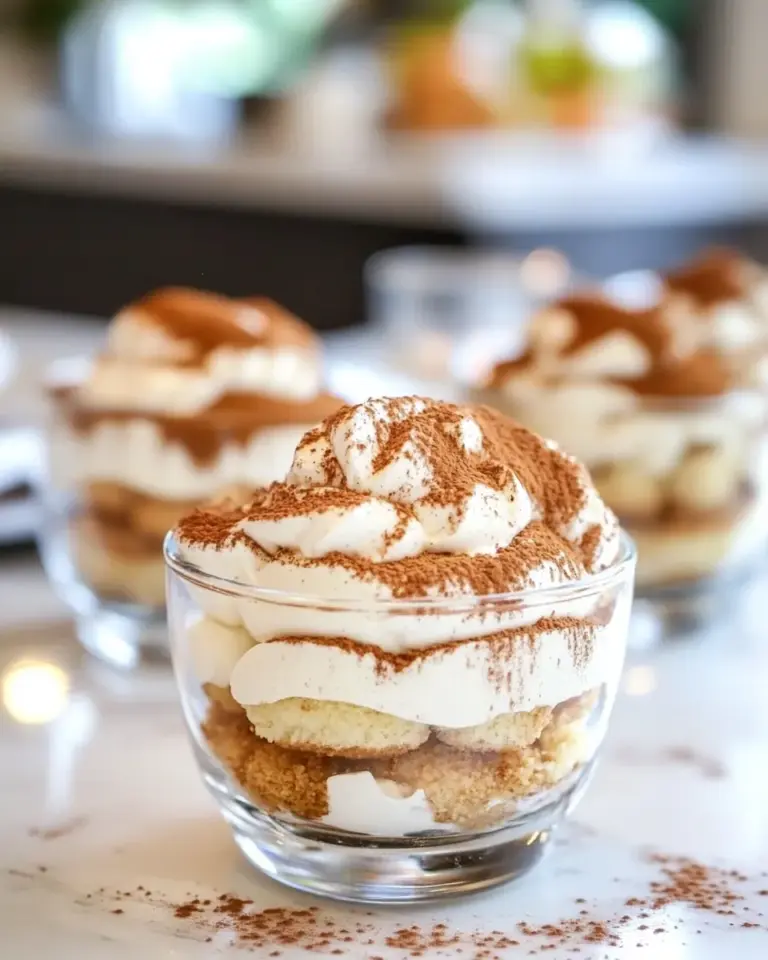
- Top with whipped cream and chocolate shavings for a decadent dessert.
- Serve it warm with a scoop of ice cream on top for a delightful contrast.
- Mix in seasonal fruits, like raspberries or strawberries, for a fresh twist.
- Use it as a filling for cakes or pastries to elevate your baked goods.
Things That Go Wrong
Even the best cooks can face challenges when making chocolate pudding. Here are a few common issues and how to avoid them:
- Lumpy pudding: This usually occurs if the dry ingredients aren’t mixed well with the milk. Always whisk thoroughly to combine.
- Pudding too runny: If the pudding doesn’t thicken properly, it may need a few more minutes of cooking. Make sure to reach a gentle boil.
- Skin on the pudding: This can happen if the pudding is left uncovered while cooling. Cover it with plastic wrap directly on the surface.
- Burnt pudding: Stir continuously and keep the heat at medium to prevent scorching the bottom of the pan.
Leftovers & Meal Prep
Chocolate pudding is perfect for meal prep! Store any leftovers in an airtight container in the refrigerator for up to five days. The pudding can be enjoyed straight from the fridge, or gently re-heated on the stove if you prefer it warm. Just stir it well and add a splash of milk if it has thickened too much. This makes it an ideal dessert for busy weeknights or a sweet treat for lunchboxes.
Top Questions & Answers
Can I use a different type of milk for this recipe?
Absolutely! You can substitute whole milk with almond milk, oat milk, or any other non-dairy milk. Just keep in mind that the flavor and creaminess may vary slightly.
How can I make this pudding vegan?
To make vegan chocolate pudding, substitute the whole milk with a plant-based milk and replace the butter with a dairy-free alternative. You can also use a vegan sugar if desired.
Can I make this pudding ahead of time?
Yes! Chocolate pudding can be made a day ahead. Just ensure it is stored in the refrigerator with plastic wrap covering the surface to keep it fresh.
Can I freeze chocolate pudding?
While you can freeze chocolate pudding, the texture may change upon thawing. If you plan to freeze it, consider using it in smoothies or as a filling for baked goods instead of serving it plain.
Let’s Eat
Now that you have created your delicious chocolate pudding, it’s time to enjoy it! Whether you serve it in elegant dessert glasses or in simple bowls, the satisfaction of digging into a homemade treat is unparalleled. Top it with whipped cream, fresh fruit, or even some crushed cookies for a fun twist. Don’t forget to savor each bite, as there’s nothing quite like the taste of chocolate pudding made from scratch.
Chocolate pudding is not merely a dessert; it’s a celebration of chocolate in its most delightful form. By following this recipe, you’re not just making a treat; you’re creating sweet memories that you’ll cherish for years to come. So grab that whisk, and let’s dive into the world of chocolate pudding!

Chocolate Pudding
Ingredients
Equipment
Method
- In a medium saucepan, whisk together the cornstarch, cocoa powder, granulated sugar, and a dash of salt until well combined.
- Slowly pour in the whole milk while whisking continuously to create a smooth mixture without lumps.
- Place the saucepan over medium heat and stir frequently as the mixture heats up.
- Once it comes to a gentle boil, continue to cook for an additional 2 minutes until thickened, stirring constantly.
- Remove from heat and stir in the chopped butter and vanilla extract until the butter is fully melted.
- Transfer the pudding to serving bowls, cover with plastic wrap, and chill in the refrigerator for at least two hours.
Notes
- Store leftovers in an airtight container in the refrigerator for up to five days.
- Reheat gently on the stove with a splash of milk if it thickens too much.
- Top with whipped cream or fresh fruit for added flavor.