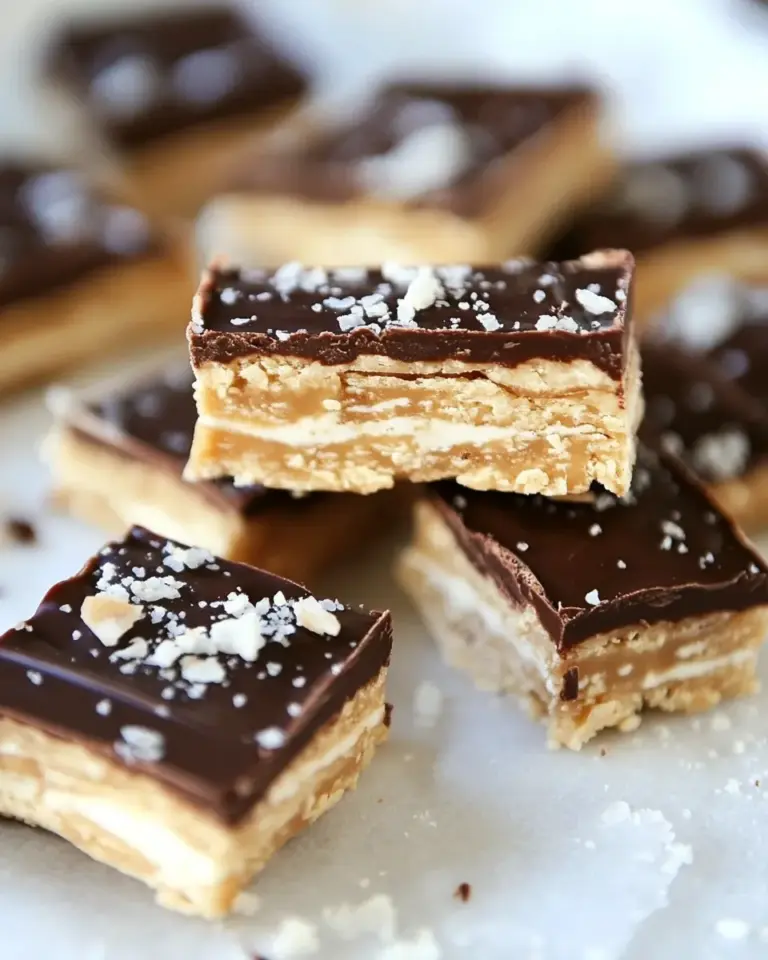
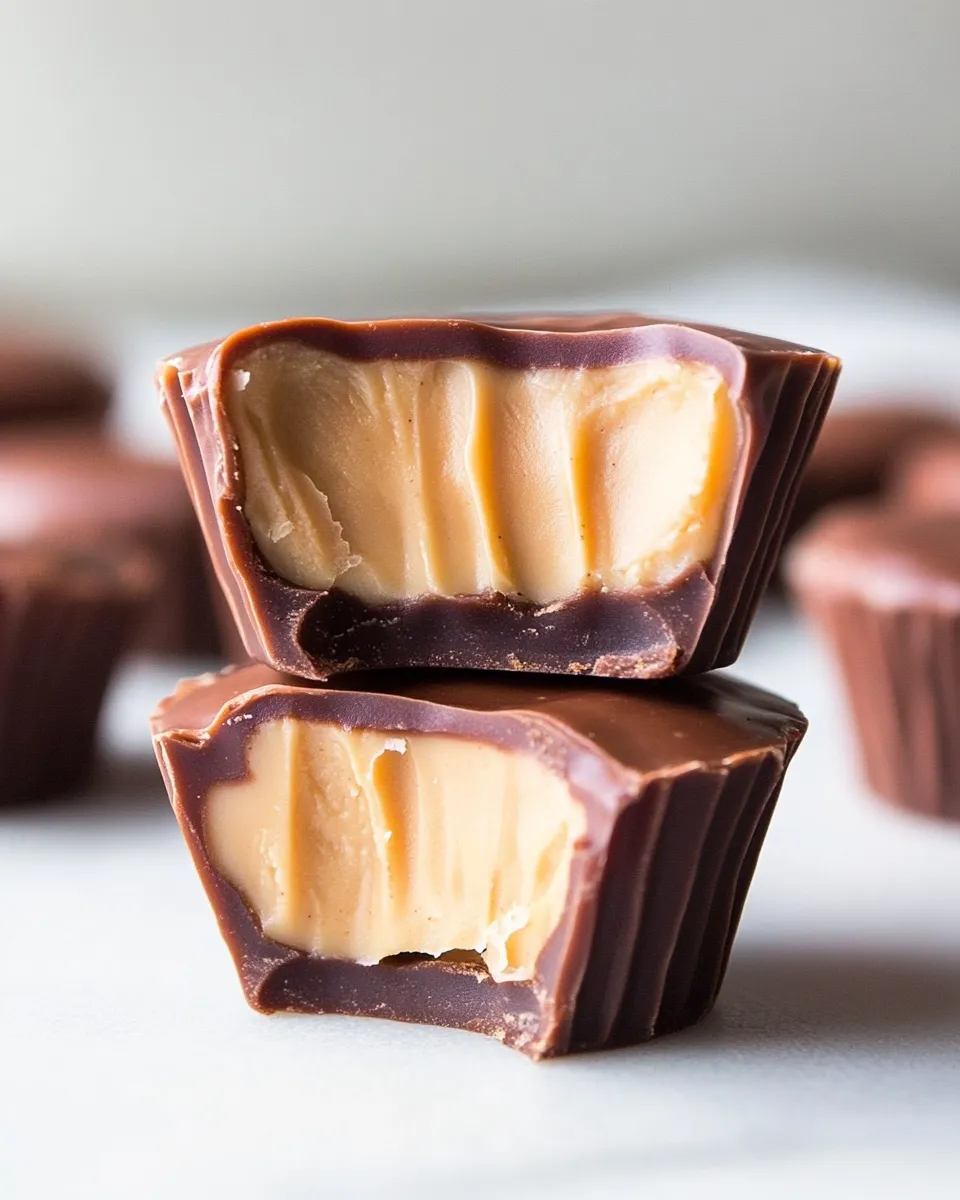
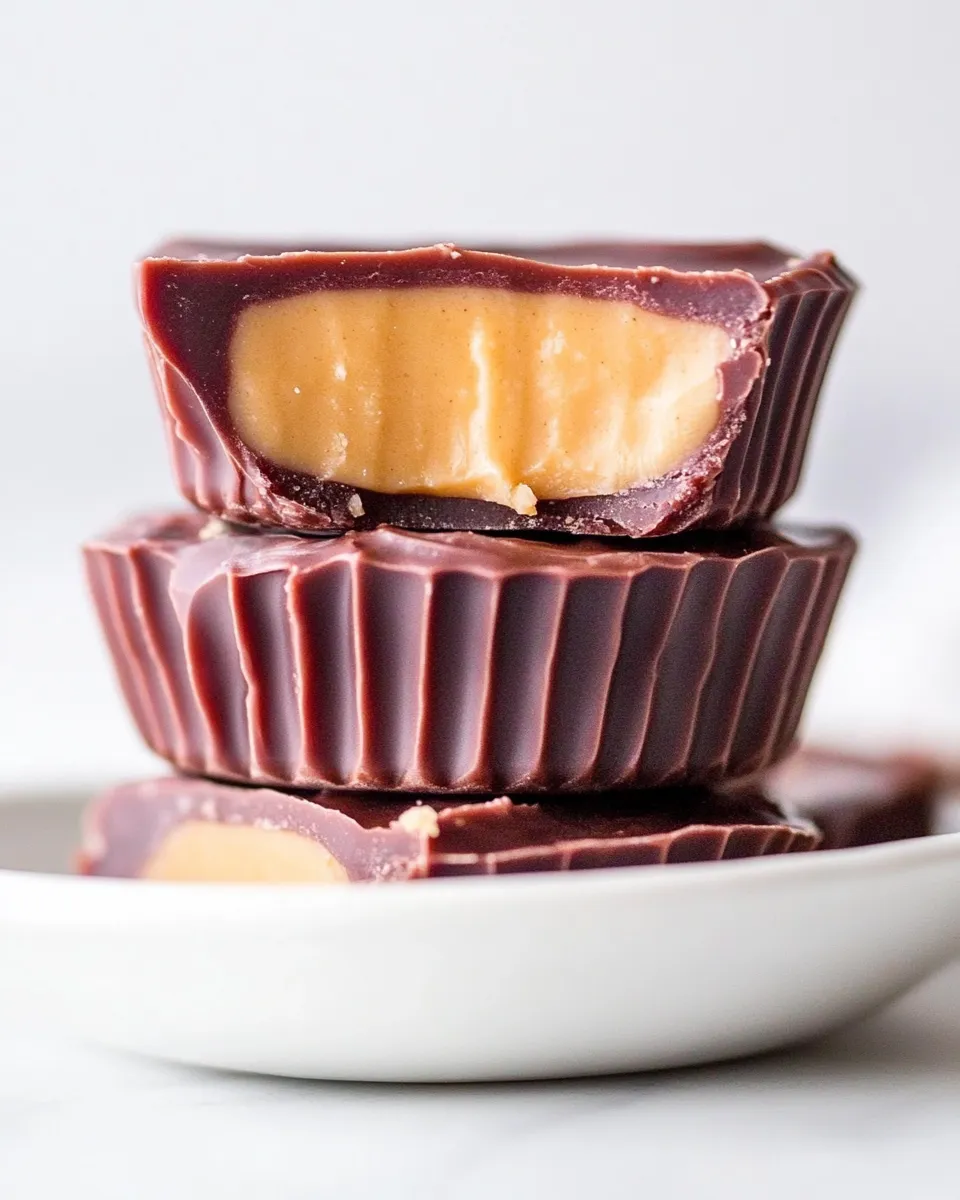
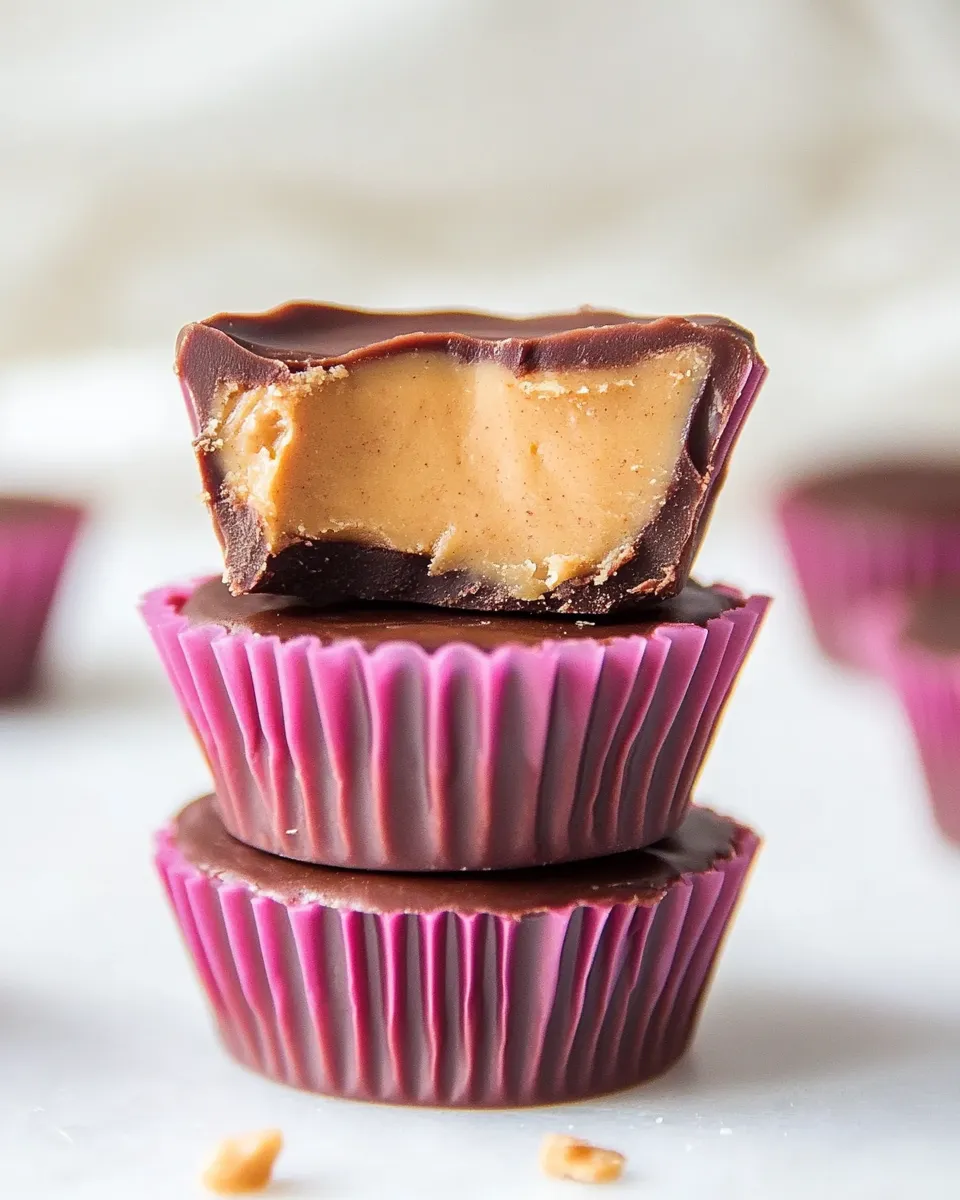
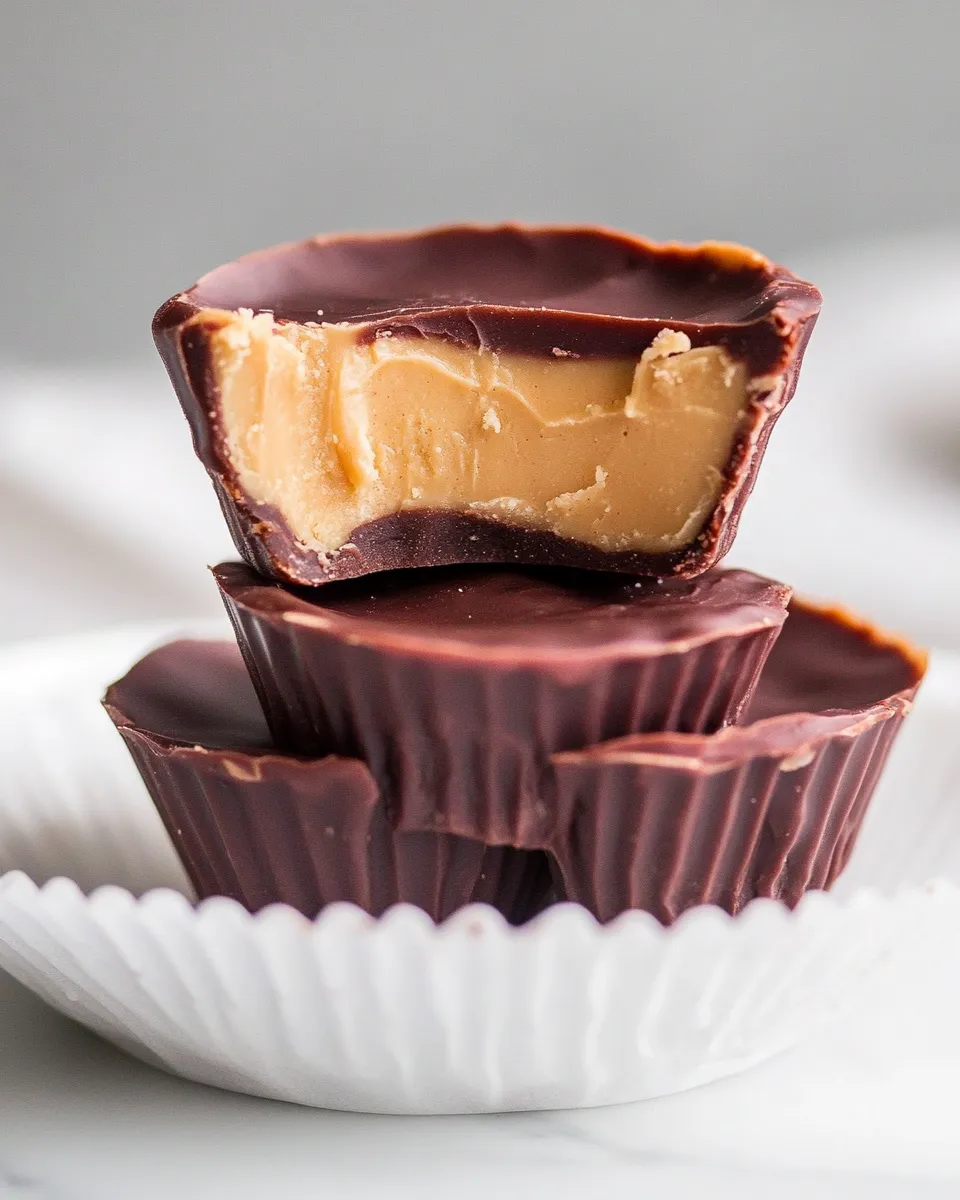
Homemade Peanut Butter Cups
If you’re a fan of the classic chocolate and peanut butter combination, then you’re in for a treat! These Homemade Peanut Butter Cups are the perfect blend of creamy peanut butter and rich chocolate, making them a delightful snack or dessert that everyone will love. Whether you’re looking for a quick treat to satisfy your sweet tooth or a fun project to do with the family, these cups are sure to impress. With just a few simple ingredients, you can create your own delicious version right in the comfort of your kitchen. Let’s dive into the details!
Why It’s Crowd-Pleasing
Homemade Peanut Butter Cups are a favorite for many reasons. First, they bring together two beloved flavors — peanut butter and chocolate. This combination is not just delicious but also offers a comforting nostalgia that many people cherish. They are versatile, allowing you to customize sweetness and texture based on your preferences. Plus, they can be made in batches, making them perfect for parties, holidays, or just a cozy night in. This homemade version also ensures that you know exactly what goes into your treat, making it a healthier option compared to store-bought varieties.
What Goes In
To make your Homemade Peanut Butter Cups, you will need:
- 1/4 cup peanut butter (or an allergy-friendly substitute like sunflower seed butter)
- 1-2 tablespoons sweetener of choice (optional, depending on your taste preferences)
- Pinch of salt (optional, to enhance the flavor of the peanut butter)
- 1/2 cup chocolate chips (you can use sugar-free chocolate chips if desired)
- Optional: 2 teaspoons vegetable or coconut oil (to achieve a smoother chocolate consistency)
Hardware & Gadgets
To get started, you’ll need a few basic tools:
- Microwave-safe bowl – for melting chocolate.
- Mini muffin tin – to shape your peanut butter cups.
- Parchment paper or liners – for easy removal of the cups.
- Spatula – to help with mixing and spreading.
Cook Homemade Peanut Butter Cups Like This
Step 1: Prepare Your Muffin Tin
Start by lining your mini muffin tin with parchment liners or silicone molds. This will make it easy to remove the peanut butter cups once they’re set.
Step 2: Melt the Chocolate
In a microwave-safe bowl, combine the chocolate chips with the vegetable or coconut oil (if using). Heat in 30-second intervals, stirring in between, until the mixture is smooth and fully melted.
Step 3: Create the Chocolate Layer
Spoon a small amount of melted chocolate into each muffin cup, just enough to cover the bottom. Use the back of a spoon to spread it evenly. Place the tin in the refrigerator for about 10 minutes to set the chocolate.
Step 4: Prepare the Peanut Butter Filling
While the chocolate is setting, mix together the peanut butter, sweetener (if using), and a pinch of salt in a separate bowl until well combined. The mixture should be smooth and easy to work with.
Step 5: Add the Peanut Butter Layer
Remove the muffin tin from the refrigerator. Spoon a small amount of the peanut butter mixture on top of the set chocolate layer in each cup. Use the back of the spoon to spread it evenly.
Step 6: Top with More Chocolate
Once you have added the peanut butter filling, pour the remaining melted chocolate over the top of each cup, ensuring the peanut butter is completely covered. You can tap the tin gently on the counter to smooth out the chocolate.
Step 7: Chill and Set
Place the muffin tin back in the refrigerator for about 30 minutes or until the chocolate has fully hardened.
Step 8: Enjoy!
Once set, carefully remove the Homemade Peanut Butter Cups from the muffin tin. Serve immediately or store for later!
Low-Carb/Keto Alternatives
If you’re following a low-carb or keto diet, you can easily adjust this recipe to fit your needs:
- Use natural peanut butter without added sugars.
- Replace the sweetener with a keto-friendly alternative like erythritol or stevia.
- Opt for sugar-free chocolate chips to keep the carb count low.
- Consider using almond butter for a different flavor profile.
Steer Clear of These
While making your Homemade Peanut Butter Cups, here are a few things to avoid:
- Do not use chocolate with added sugars if you’re aiming for a healthier version.
- Avoid using chunky peanut butter, as it can make it difficult to achieve a smooth layer.
- Steer clear of using too much sweetener, which can overpower the natural flavors.
- Don’t rush the chilling process; allowing the layers to set properly is key to good texture.
Save for Later: Storage Tips
To keep your Homemade Peanut Butter Cups fresh and delicious:
- Store them in an airtight container in the refrigerator for up to 2 weeks.
- If you want to keep them longer, consider freezing them. They can last for up to 3 months in the freezer.
- When freezing, layer them between parchment paper to prevent sticking.
- Let them thaw in the refrigerator before enjoying for the best texture.
Ask the Chef
Can I use different nut butters?
Absolutely! Feel free to substitute peanut butter with almond butter, cashew butter, or any nut butter of your choice. Just keep in mind that the flavor and texture may vary slightly.
How do I prevent the chocolate from cracking when biting into the cups?
To prevent cracking, make sure your chocolate layer is thick enough and allow the cups to chill completely before removing them from the muffin tin. This helps with the overall structure.
Can I add toppings to my Homemade Peanut Butter Cups?
Yes! You can sprinkle sea salt, chopped nuts, or even a drizzle of additional melted chocolate on top for added flavor and texture.
What if I don’t have a mini muffin tin?
If you don’t have a mini muffin tin, you can use a regular muffin tin or even silicone molds in different shapes. Just adjust the amount of chocolate and peanut butter filling accordingly.
Bring It Home
Now that you have all the information you need, it’s time to roll up your sleeves and create your own Homemade Peanut Butter Cups! This recipe is not only easy to follow but also allows for creativity in the kitchen. Whether you enjoy them yourself or share them with friends and family, these delicious treats are sure to become a favorite. With the option to customize flavors and sweetness, everyone can have their perfect treat. So gather your ingredients, embrace the joy of homemade goodness, and indulge in the delightful combination of chocolate and peanut butter. Happy baking!
Homemade Peanut Butter Cups
Ingredients
Equipment
Method
- Step 1: Prepare Your Muffin Tin
Start by lining your mini muffin tin with parchment liners or silicone molds. - Step 2: Melt the Chocolate
In a microwave-safe bowl, combine the chocolate chips with the vegetable or coconut oil. Heat in 30-second intervals, stirring in between, until smooth. - Step 3: Create the Chocolate Layer
Spoon a small amount of melted chocolate into each muffin cup, covering the bottom. Refrigerate for about 10 minutes to set. - Step 4: Prepare the Peanut Butter Filling
Mix together peanut butter, sweetener, and a pinch of salt until smooth. - Step 5: Add the Peanut Butter Layer
Remove the muffin tin from the refrigerator and spoon peanut butter mixture on top of the set chocolate. - Step 6: Top with More Chocolate
Pour remaining melted chocolate over each cup, covering the peanut butter. Tap gently to smooth. - Step 7: Chill and Set
Refrigerate for about 30 minutes until the chocolate has hardened. - Step 8: Enjoy!
Carefully remove the cups from the muffin tin and serve.
Notes
- Store in an airtight container in the refrigerator for up to 2 weeks.
- Freeze for up to 3 months, layering between parchment paper.
- Let frozen cups thaw in the refrigerator before enjoying.