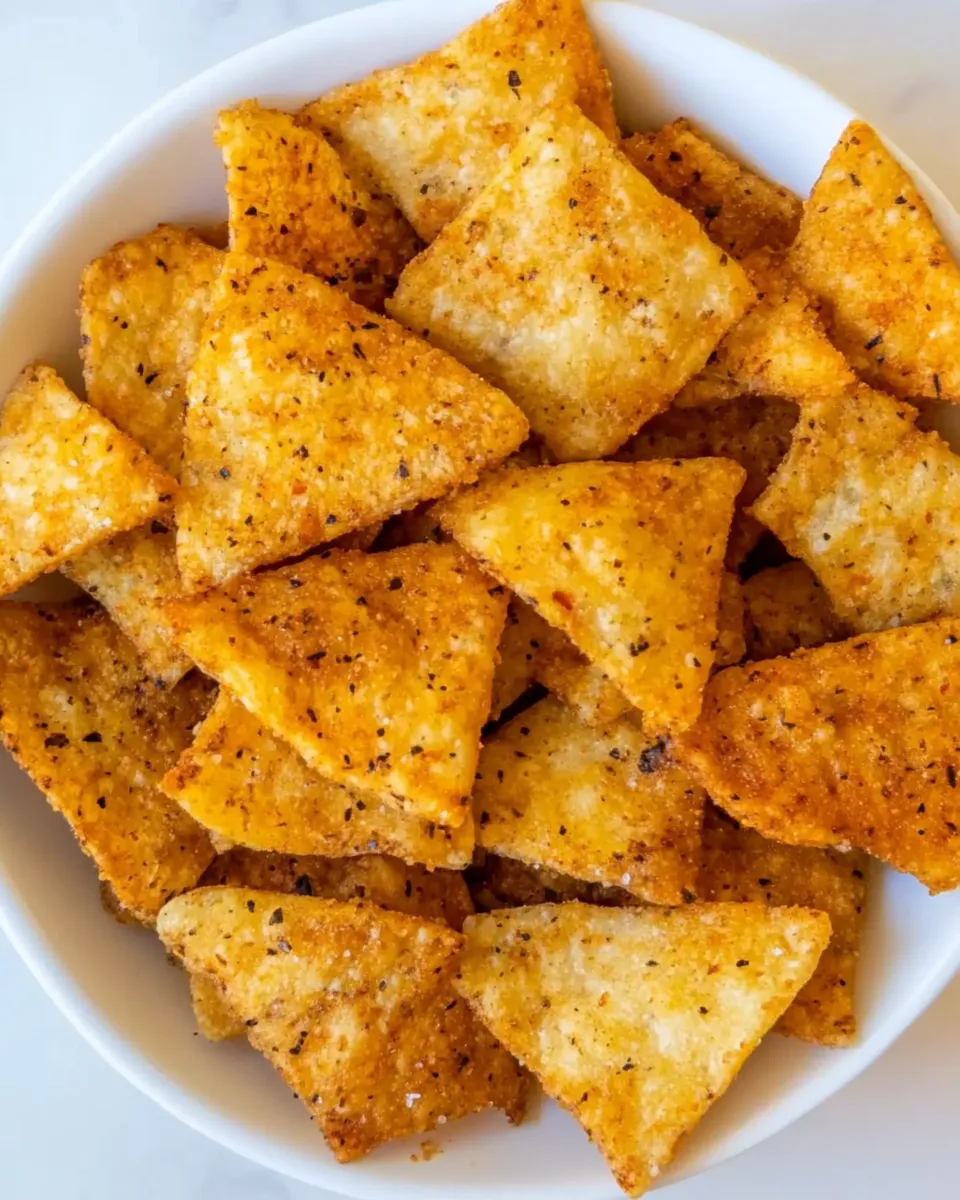
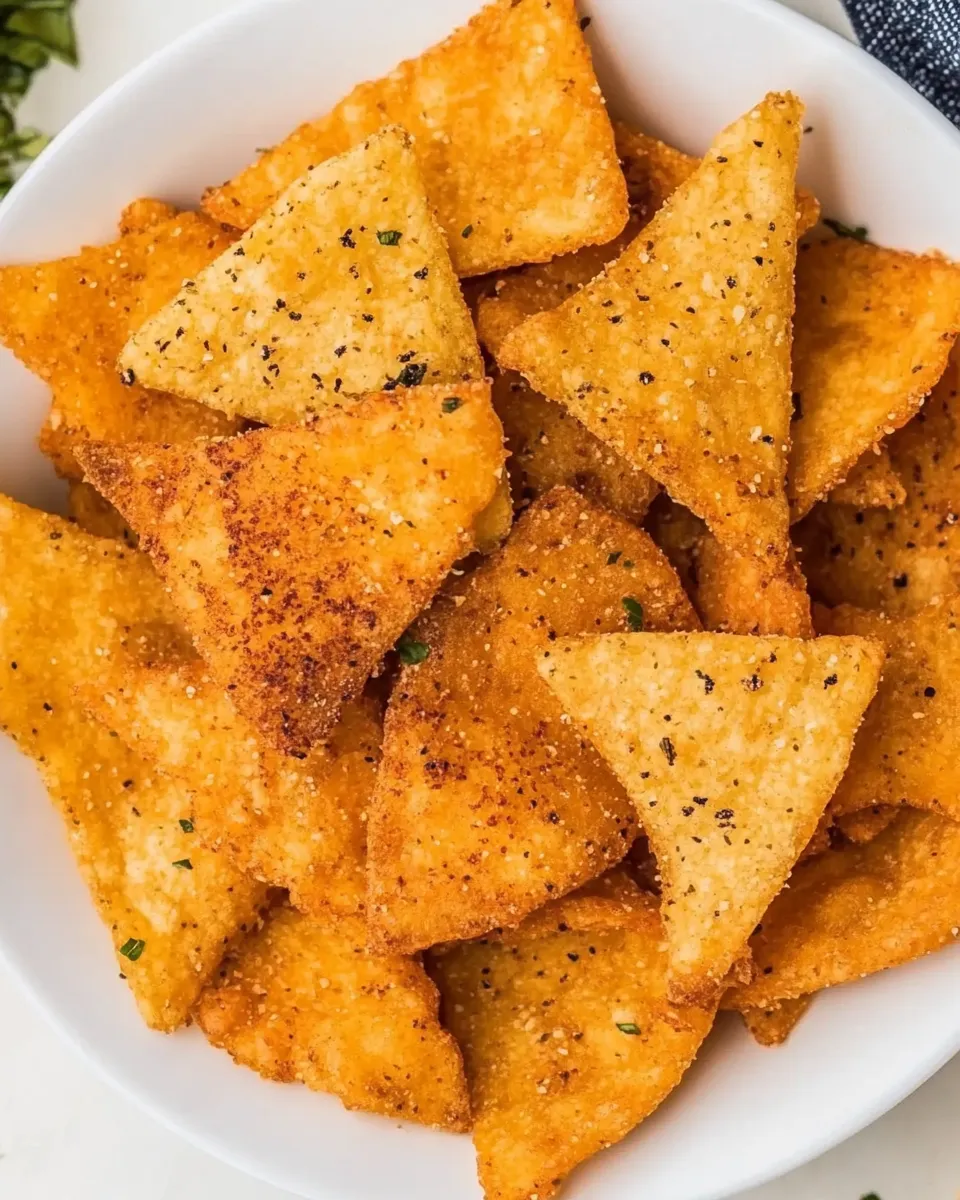
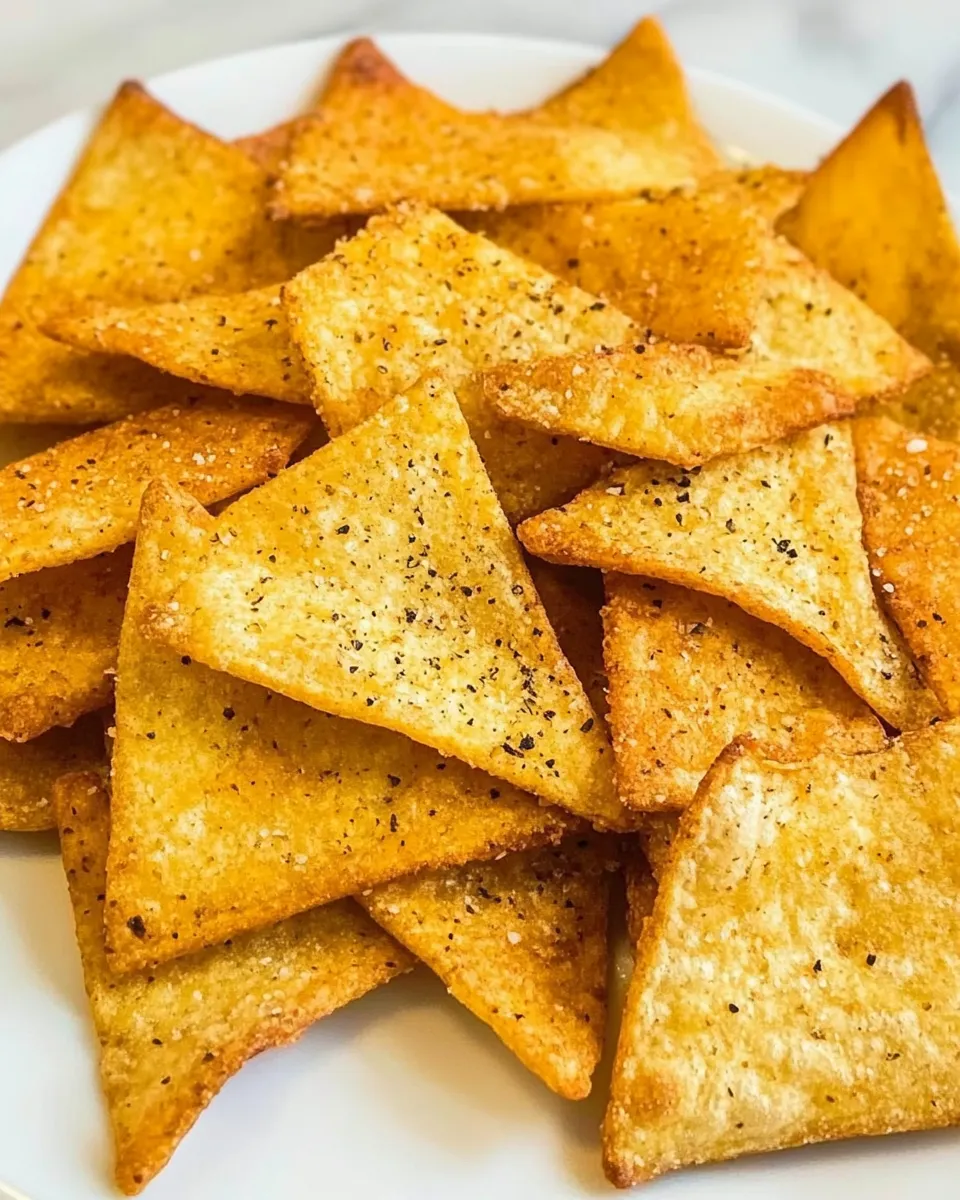
Pita Chips
When it comes to snacking, few things can beat the crunch of homemade pita chips. These delightful crispy bites are not only simple to make but also incredibly versatile. Whether you’re dipping them in hummus, enjoying them with tzatziki, or simply munching on them straight out of the bowl, pita chips are a perfect companion for any occasion. Today, we’re going to dive into a simple recipe that elevates your snack game using just a few ingredients.
Why This Pita Chips Stands Out
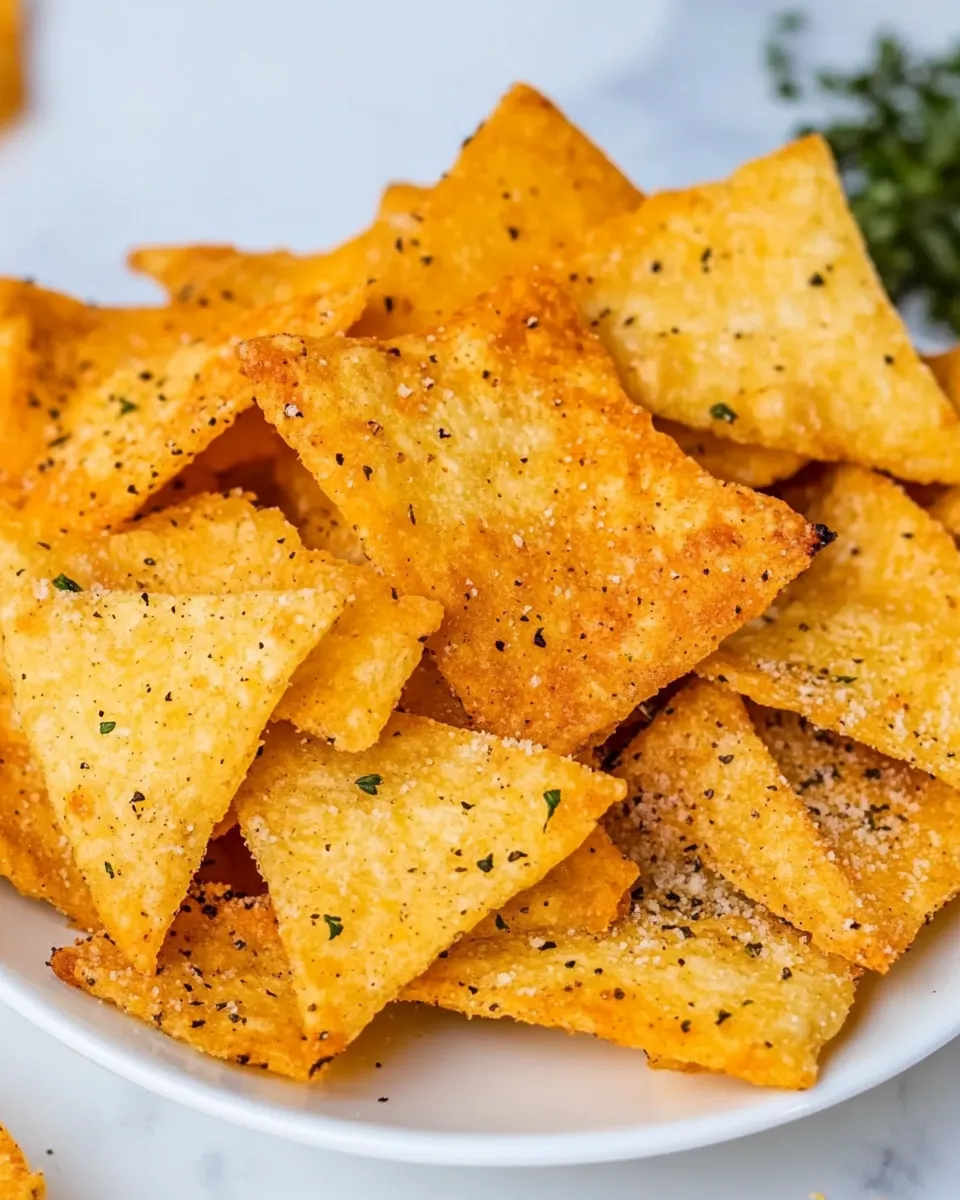
What makes these pita chips truly special is their ease of preparation and the addictive flavor that comes from just three main ingredients. Unlike store-bought options that might be loaded with preservatives and artificial flavors, these homemade pita chips are made with fresh ingredients and can be tailored to suit your taste preferences. The combination of coconut oil and salt creates a savory crunch that is hard to resist. Plus, you can enjoy the satisfaction of making them from scratch!
What We’re Using
To whip up these fantastic pita chips, you’ll need the following ingredients:
- 3 pita rounds – Choose whole wheat or white, depending on your preference.
- 1/2 teaspoon salt – This will enhance the flavor and provide that perfect savory kick.
- 2 teaspoons coconut oil, melted – This adds richness and helps achieve that crispy texture.
These ingredients come together beautifully to create a delicious treat that is sure to satisfy your snack cravings.
Equipment at a Glance
Before we get started, make sure you have the following equipment handy:
- Baking sheet – A flat surface for the chips to bake evenly.
- Parchment paper – Optional, but it helps with easy cleanup and prevents sticking.
- Sharp knife or pizza cutter – To cut the pita rounds into chips.
- Mixing bowl – For combining the oil and salt with the pita.
Having these tools ready will make the process smooth and enjoyable.
Pita Chips Cooking Guide
Now, let’s jump into the step-by-step guide to making your very own pita chips.
Step 1: Preheat the Oven
Start by preheating your oven to 400°F (200°C). This ensures that your pita chips will bake evenly and get perfectly crispy.
Step 2: Prepare the Pita Rounds
Take your pita rounds and stack them on a cutting board. Using a sharp knife or a pizza cutter, slice them into triangles. You can cut each pita round into six or eight pieces, depending on your desired chip size.
Step 3: Mix the Oil and Salt
In a mixing bowl, combine the melted coconut oil and the salt. Stir well to ensure the salt is evenly distributed in the oil.
Step 4: Coat the Pita Chips
Add the cut pita triangles to the bowl with the oil and salt mixture. Toss them gently until each piece is well-coated. This step is crucial to achieve that flavorful crunch.
Step 5: Arrange on a Baking Sheet
Line your baking sheet with parchment paper for easy cleanup. Spread the coated pita chips in a single layer on the baking sheet, ensuring they don’t overlap. This allows for even baking and crispiness.
Step 6: Bake to Perfection
Place the baking sheet in the preheated oven and bake for about 10-12 minutes, or until the chips are golden brown and crispy. Keep an eye on them, as baking times may vary depending on your oven.
Step 7: Cool and Serve
Once baked, remove the pita chips from the oven and let them cool for a few minutes. This cooling period helps them crisp up even more. Serve them warm or at room temperature, and enjoy!
Better Choices & Swaps
If you’re looking to switch things up or cater to specific dietary needs, consider these options:
- Olive oil – Swap out coconut oil for extra virgin olive oil for a different flavor profile.
- Herbs and spices – Add garlic powder, paprika, or your favorite herbs to the oil mixture for added flavor.
- Whole grain pita – For extra fiber and nutrients, opt for whole grain or whole wheat pitas.
- Seasoned salt – Use flavored salts, like garlic salt or smoked salt, to elevate the taste.
These swaps can enhance your pita chips while keeping them delicious and fun.
Slip-Ups to Skip
To ensure your pita chips come out perfectly every time, avoid these common pitfalls:
- Don’t overcrowd the baking sheet – This can lead to uneven cooking and soggy chips.
- Keep an eye on the baking time – Pita chips can go from golden to burnt quickly, so check them regularly.
- Make sure the pita is fresh – Stale pita will result in less crispy chips.
- Don’t skip the oil – It’s essential for achieving that satisfying crunch.
By steering clear of these slip-ups, you’ll be on your way to perfectly baked pita chips.
Storage Pro Tips
Once you’ve made your delicious pita chips, you might wonder how to store them. Here are some tips to keep them fresh:
- Store in an airtight container – This helps maintain their crispiness and prevents moisture from getting in.
- Keep at room temperature – Pita chips are best stored at room temperature rather than in the fridge.
- Consume within a week – For the best taste and texture, aim to eat the chips within a week of making them.
- Re-crisp if needed – If they lose their crunch, pop them back in a 350°F (175°C) oven for a few minutes to revive them.
Following these storage tips will ensure your pita chips remain delicious for days.
Your Questions, Answered
Can I make pita chips in an air fryer?
Absolutely! Preheat your air fryer to 350°F (175°C) and follow the same steps for coating the pita chips. Cook them in batches for about 5-7 minutes, shaking the basket halfway through for even cooking.
What dips go well with pita chips?
Pita chips pair wonderfully with a variety of dips, including hummus, tzatziki, guacamole, or even salsa. They’re perfect for dipping!
Can I freeze pita chips?
While it’s not recommended to freeze pita chips since they are best enjoyed fresh, if you have leftovers, you can freeze them. Just make sure to store them in an airtight container. When ready to eat, reheat them to restore some crispiness.
How can I make these pita chips spicy?
If you love a bit of heat, consider adding cayenne pepper or crushed red pepper flakes to the oil mixture before tossing the pita chips. This will give them a nice kick!
Serve & Enjoy
Now that you have your homemade pita chips ready, it’s time to dig in! Serve them at your next gathering, enjoy them as an afternoon snack, or pack them for lunch. These pita chips are sure to impress and satisfy. With their delightful crunch and customizable flavors, they are a must-have in your snack repertoire.
Whether enjoyed alone or with your favorite dips, these pita chips will certainly become a staple in your kitchen. Happy snacking!
Pita Chips
Ingredients
Equipment
Method
- Step 1: Preheat the oven to 400°F (200°C).
- Step 2: Slice pita rounds into triangles using a sharp knife or pizza cutter.
- Step 3: In a mixing bowl, combine melted coconut oil and salt, stirring well.
- Step 4: Toss pita triangles in the oil and salt mixture until well-coated.
- Step 5: Arrange the coated chips in a single layer on a baking sheet lined with parchment paper.
- Step 6: Bake for 10-12 minutes until golden brown and crispy.
- Step 7: Let cool for a few minutes before serving.
Notes
- Store in an airtight container to maintain crispiness.
- Enjoy within a week for the best taste.
- Re-crisp in a 350°F (175°C) oven if needed.