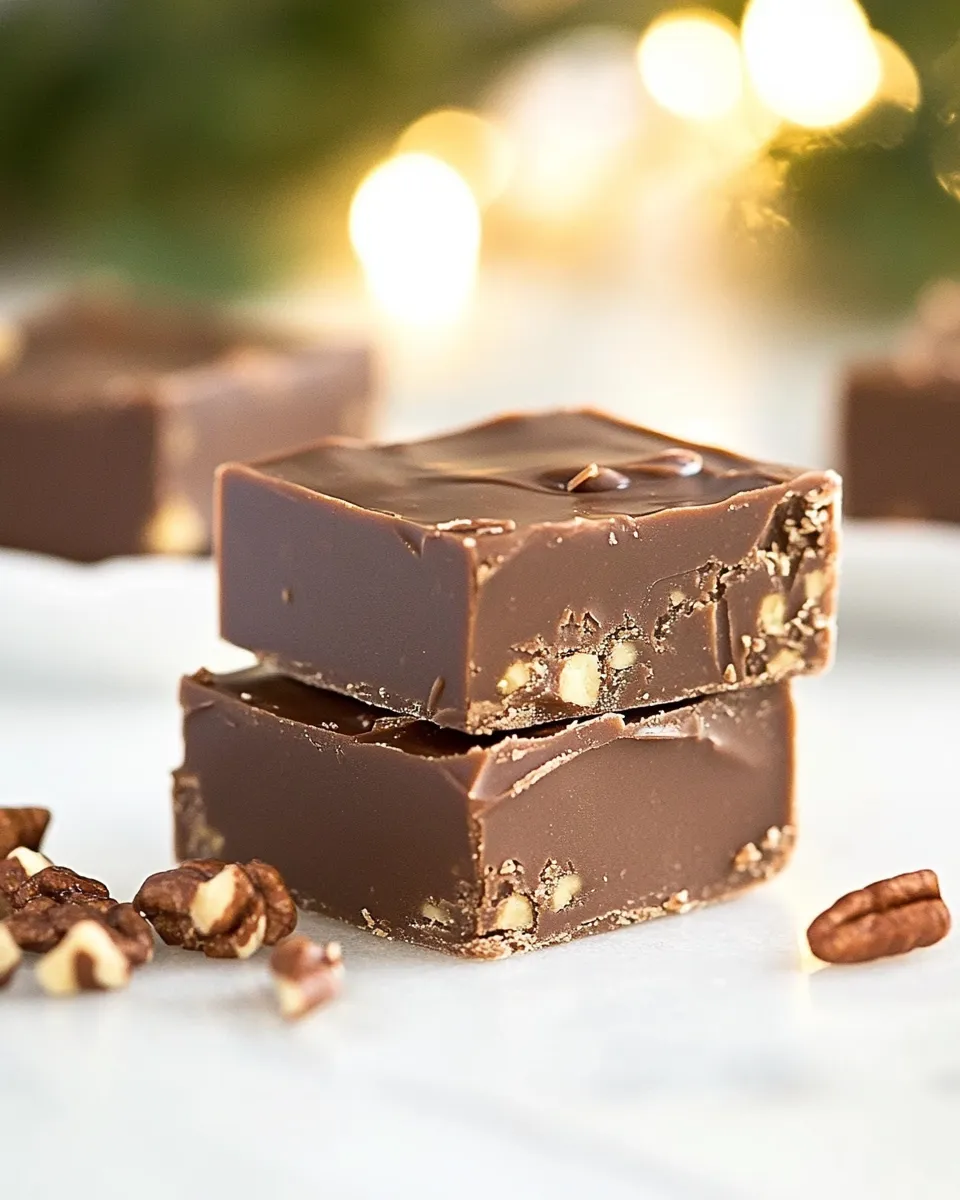
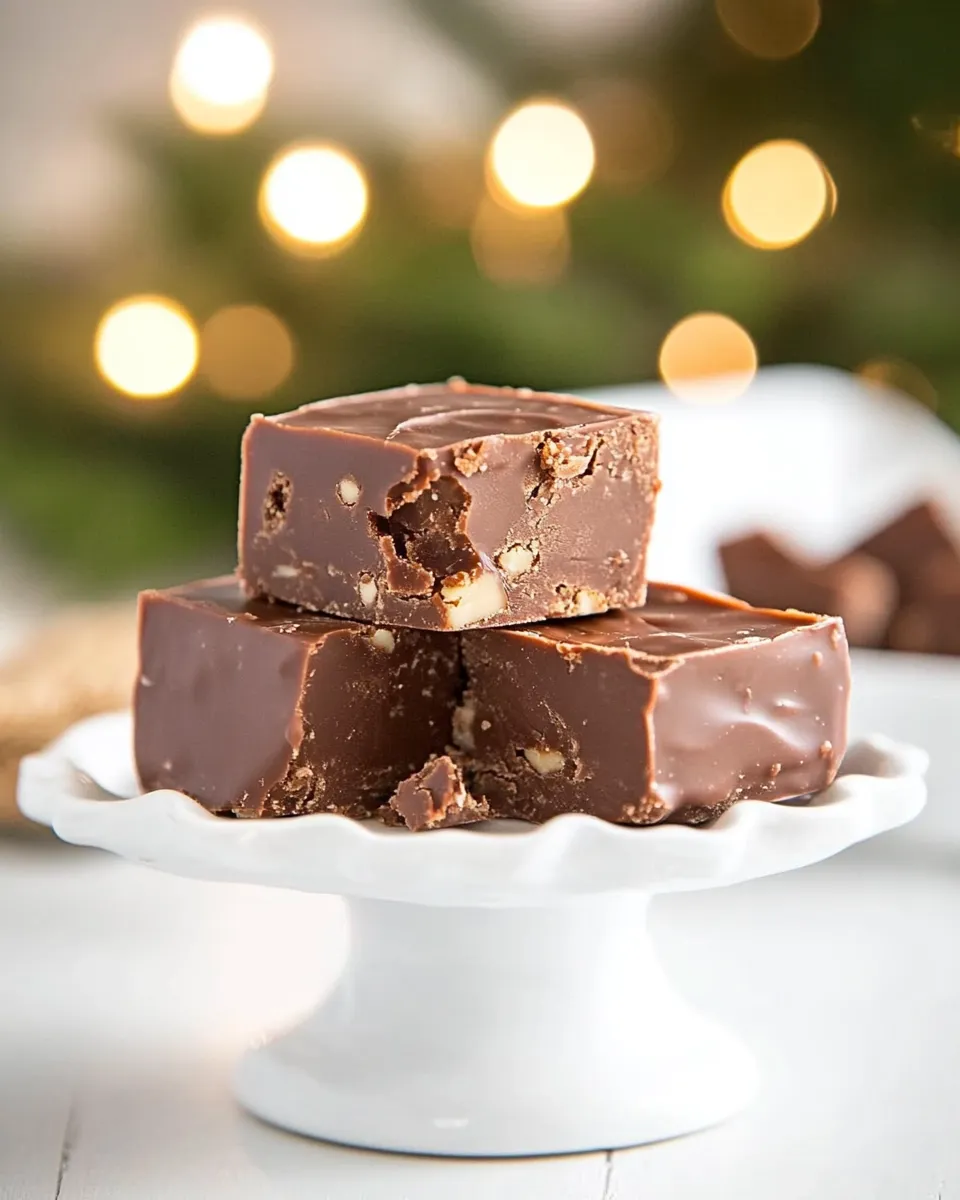
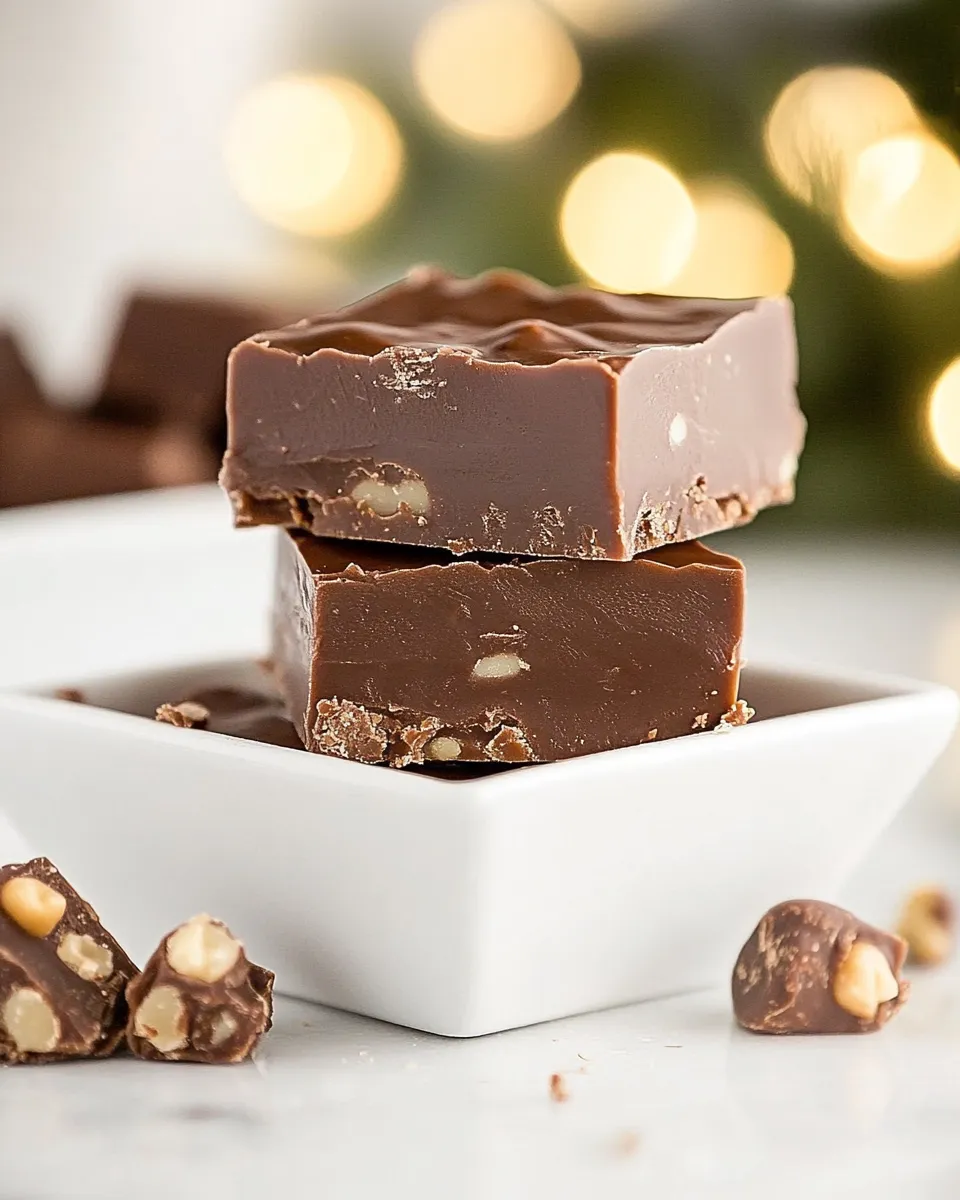
Homemade Fudge
If you’ve ever walked through a candy shop and been tempted by the rich, creamy allure of fudge, you’re not alone. Homemade fudge is a delightful treat that can evoke memories of childhood, family gatherings, or cozy evenings spent with loved ones. Making it from scratch is easier than you might think, and the result is a melt-in-your-mouth confection that’s far superior to anything you can buy pre-packaged. With just a handful of ingredients, you can whip up a batch of Homemade Fudge that will impress friends and family alike!
Why It Works Every Time
The secret to perfect homemade fudge lies in the balance of ingredients and careful preparation. The combination of granulated sugar, evaporated milk, and butter creates a creamy base, while the chocolate chips provide that rich flavor we all crave. The addition of marshmallows contributes to the texture, making it delightfully smooth and chewy. Finally, a pinch of salt enhances the sweetness, bringing all the flavors together beautifully. Follow the steps closely, and you’ll achieve fudge that is not only delicious but also consistently successful.
What to Buy
Before you get started, make sure you have the following ingredients on hand:
- 1 1/2 cups granulated sugar – This is the base sweetness of your fudge.
- 2/3 cup evaporated milk (not fat-free) – This creates the creamy consistency.
- 2 tablespoons butter – Adds richness and smoothness.
- 1/4 teaspoon (heaping) salt – Enhances flavor.
- 1 teaspoon vanilla extract – For that warm, aromatic touch.
- 1 1/2 cups bittersweet chocolate chips or semi-sweet – The star of the show!
- 2 cups mini marshmallows – For texture and sweetness.
- 1/2 cup chopped pecans (optional) – For a nutty crunch.
Equipment at a Glance
To make your fudge, you’ll need a few essential tools:
- Medium saucepan – For cooking the fudge mixture.
- Wooden spoon or silicone spatula – For stirring.
- 9×9-inch baking pan – To set the fudge.
- Parchment paper (optional) – For easy removal of fudge.
- Measuring cups and spoons – For accuracy in your ingredients.
- Thermometer (optional) – To check the temperature of the mixture if desired.
Homemade Fudge, Made Easy
Making Homemade Fudge is a straightforward process that requires just a few steps. Follow this guide, and you’ll be on your way to enjoying delicious fudge in no time.
Step 1: Prepare Your Pan
Line your 9×9-inch baking pan with parchment paper or lightly grease it to prevent the fudge from sticking. This will make it easier to lift out the fudge once it’s set.
Step 2: Combine the Base Ingredients
In a medium saucepan, combine the granulated sugar, evaporated milk, butter, and salt. Stir gently over medium heat until the mixture is well combined.
Step 3: Heat to a Boil
Bring the mixture to a gentle boil, stirring continuously. Once it reaches a boil, let it cook for about 5 minutes without stirring, allowing it to reach a soft ball stage (approximately 235°F on a candy thermometer, if using).
Step 4: Add Chocolate and Marshmallows
Remove the saucepan from heat and immediately add the chocolate chips, mini marshmallows, and vanilla extract. Stir vigorously until the chocolate and marshmallows have melted and the mixture is smooth and glossy.
Step 5: Fold in Pecans
If you’re using pecans, fold them into the fudge mixture at this stage. They add a lovely crunch and a complementary flavor.
Step 6: Pour and Set
Pour the fudge mixture into the prepared baking pan, spreading it evenly. Let it cool at room temperature for at least 2 hours or until set.
Step 7: Cut and Serve
Once the fudge has set, use the parchment paper to lift it out of the pan. Cut it into squares and enjoy your delicious homemade treat!
Variations for Dietary Needs
If you or your loved ones have specific dietary requirements, here are some easy variations to consider:
- Dairy-Free Fudge: Use coconut milk or almond milk instead of evaporated milk, and select dairy-free chocolate chips.
- Nut-Free Option: Simply omit the pecans or substitute sunflower seeds for a similar crunch.
- Vegan Fudge: Use plant-based butter and dairy-free chocolate chips.
- Flavor Variations: Experiment with different extracts like almond or peppermint for a unique twist.
Slip-Ups to Skip
While making Homemade Fudge is relatively simple, there are a few common pitfalls to avoid:
- Don’t Rush the Boiling: Allow the mixture to reach the correct temperature; this ensures the fudge sets properly.
- Stirring Too Much: Once the mixture starts boiling, refrain from stirring too much to avoid crystallization.
- Not Cooling Enough: Give the fudge ample time to cool and set before cutting; otherwise, it may be too soft.
- Using Fat-Free Ingredients: Stick to full-fat evaporated milk and butter for the best texture and flavor.
Make Ahead Like a Pro
Want to prepare your fudge in advance? Here are some tips to make your life easier:
Fudge can be made up to a week ahead of time. Just store it in an airtight container at room temperature or in the fridge for longer freshness. If you want to keep it for a more extended period, you can freeze it. Wrap the fudge tightly in plastic wrap and then in aluminum foil before placing it in a freezer-safe bag. It will keep well for up to 3 months. When you’re ready to enjoy it, simply let it thaw at room temperature.
Troubleshooting Q&A
What if my fudge is too soft?
If your fudge is too soft, it likely didn’t reach the right temperature during cooking. You can try reheating it and cooking it a bit longer, then pouring it back into the pan to set.
Why did my fudge turn out grainy?
Graininess can occur from excessive stirring while boiling or not allowing the mixture to boil long enough. Make sure to follow the steps carefully for a smooth texture.
Can I add flavors or mix-ins to my fudge?
Absolutely! Feel free to fold in different extracts, spices, or candy pieces to create your unique version of Homemade Fudge.
How should I store leftover fudge?
Store leftover fudge in an airtight container at room temperature for up to a week, or refrigerate for longer shelf life.
See You at the Table
There’s something magical about sharing homemade treats, and Homemade Fudge is no exception. Whether you’re making it for a special occasion or just because, this creamy, dreamy confection is sure to bring joy to your table. Serve it at parties, gift it to friends, or simply enjoy it yourself with a cup of coffee or tea. No matter how you choose to enjoy it, this fudge will undoubtedly become a cherished recipe that you return to time and again.
Creating Homemade Fudge is not just about the final product; it’s about the experience, the memories you make while preparing it, and the happiness it brings to those who taste it. So gather your ingredients, roll up your sleeves, and embark on this sweet journey. Your taste buds will thank you!

Homemade Fudge
Ingredients
Equipment
Method
- Step 1: Prepare Your Pan - Line your 9x9-inch baking pan with parchment paper or lightly grease it to prevent the fudge from sticking.
- Step 2: Combine the Base Ingredients - In a medium saucepan, combine the granulated sugar, evaporated milk, butter, and salt. Stir gently over medium heat until well combined.
- Step 3: Heat to a Boil - Bring the mixture to a gentle boil, stirring continuously. Let it cook for about 5 minutes without stirring.
- Step 4: Add Chocolate and Marshmallows - Remove from heat and immediately add the chocolate chips, mini marshmallows, and vanilla extract. Stir until smooth.
- Step 5: Fold in Pecans - If using, fold in the pecans into the mixture.
- Step 6: Pour and Set - Pour the fudge mixture into the prepared baking pan, spreading it evenly. Let it cool for at least 2 hours or until set.
- Step 7: Cut and Serve - Once set, lift the fudge out of the pan using parchment paper, cut into squares, and enjoy!
Notes
- Fudge can be made up to a week ahead; store in an airtight container.
- For a dairy-free option, use coconut milk and dairy-free chocolate chips.
- Allow the fudge to cool completely before cutting to avoid a soft texture.