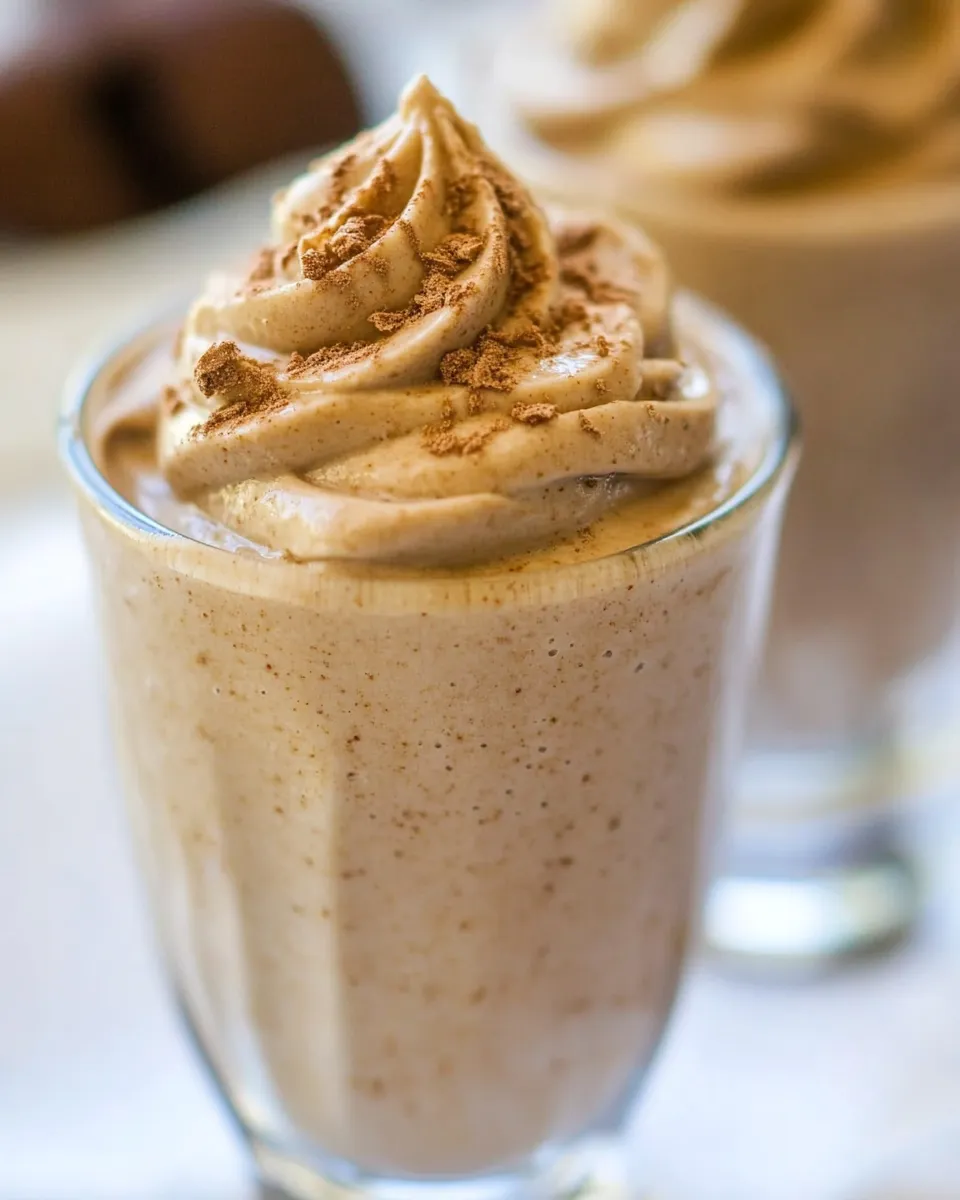
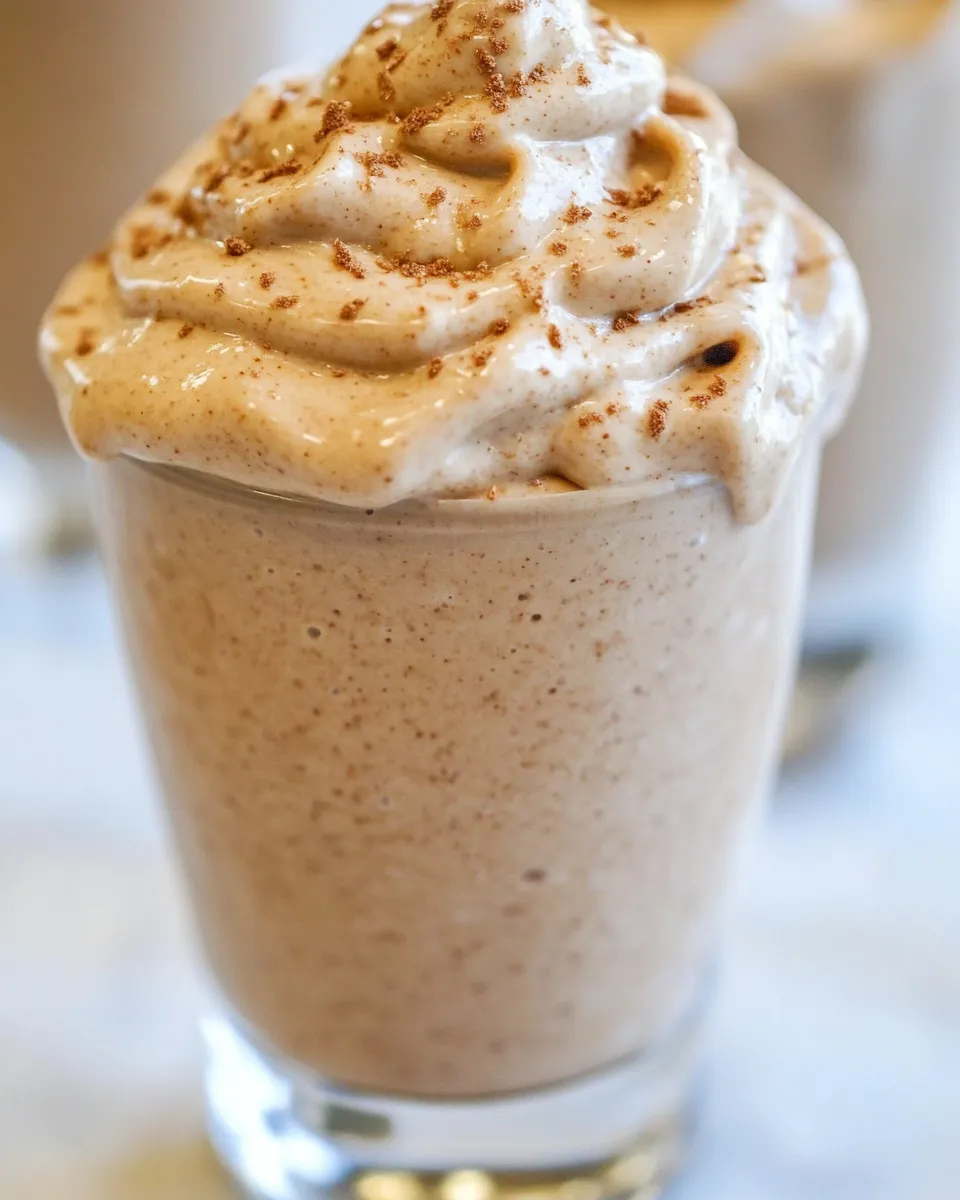
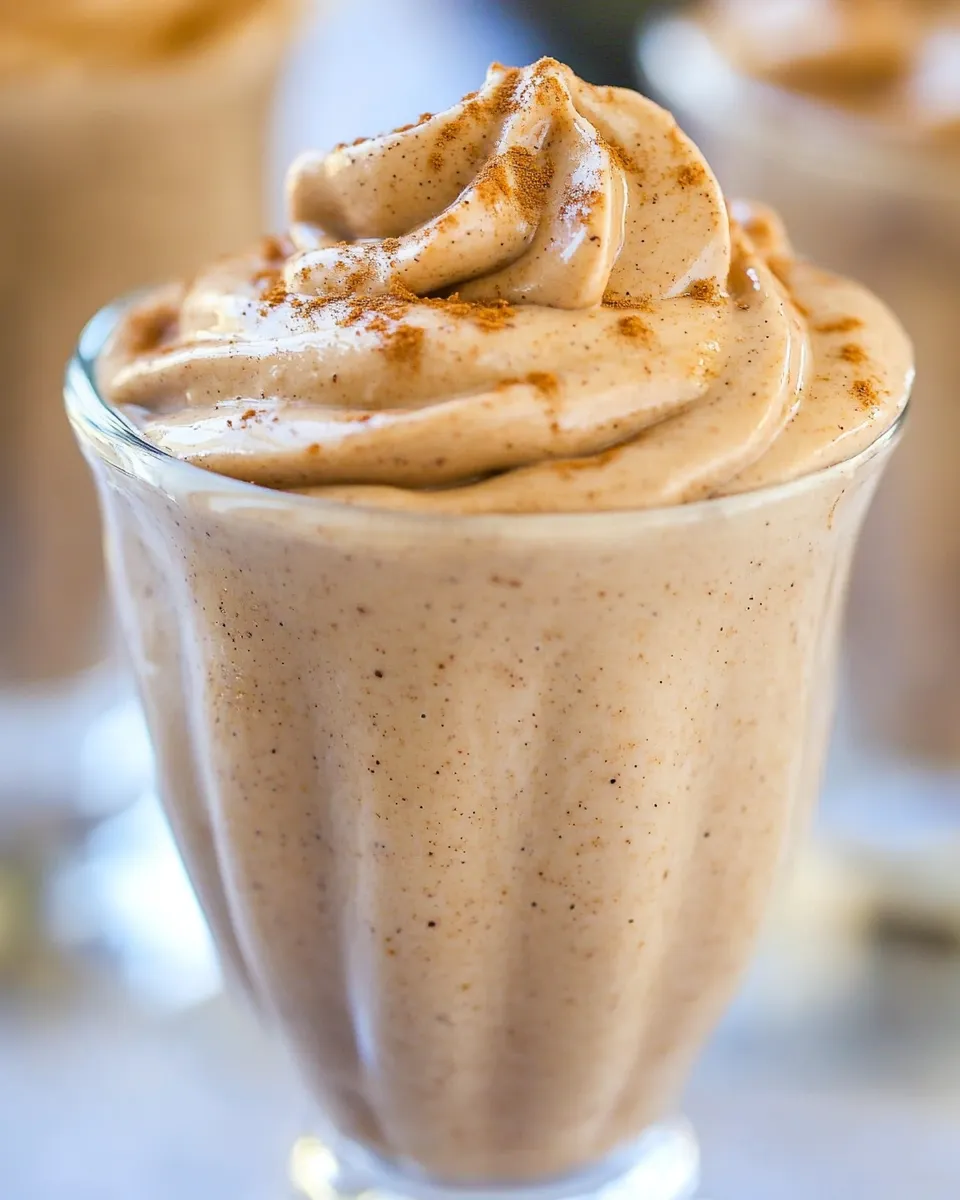
Peanut Butter Frosty
Are you ready to whisk your taste buds away to a creamy, dreamy paradise? This Peanut Butter Frosty is not just a dessert; it’s a delightful experience that combines the rich, nutty flavor of peanut butter with a silky texture you’ll crave over and over again. Whether you’re lounging on a hot summer day or in need of a cozy treat on a chilly evening, this frosty delight is your go-to indulgence. The best part? It’s incredibly simple to make and can be customized to fit your dietary preferences. Let’s dive into this luscious treat!
Why This Recipe Belongs in Your Rotation
There are a plethora of reasons why this Peanut Butter Frosty deserves a prime spot in your recipe collection. First and foremost, it’s a fabulous way to satisfy your sweet tooth without the guilt. Packed with plant-based ingredients, this frosty concoction is rich in protein and healthy fats. It can easily be made vegan, dairy-free, and even gluten-free, ensuring that everyone can enjoy its creamy goodness. Plus, the versatility of this recipe means you can make it your own by adding in your favorite mix-ins like chocolate chips or crushed peanuts. Trust me, once you whip this up, you’ll find yourself making it again and again!
Ingredients at a Glance
To create the ultimate Peanut Butter Frosty, gather the following ingredients:
- 1½ cups milk of choice or creamer
- ¾ cup silken tofu
- 2 tbsp peanut butter or peanut butter powder
- ¼ tsp salt
- ¾ tsp pure vanilla extract
- 3-4 tbsp sweetener of choice (like maple syrup or agave)
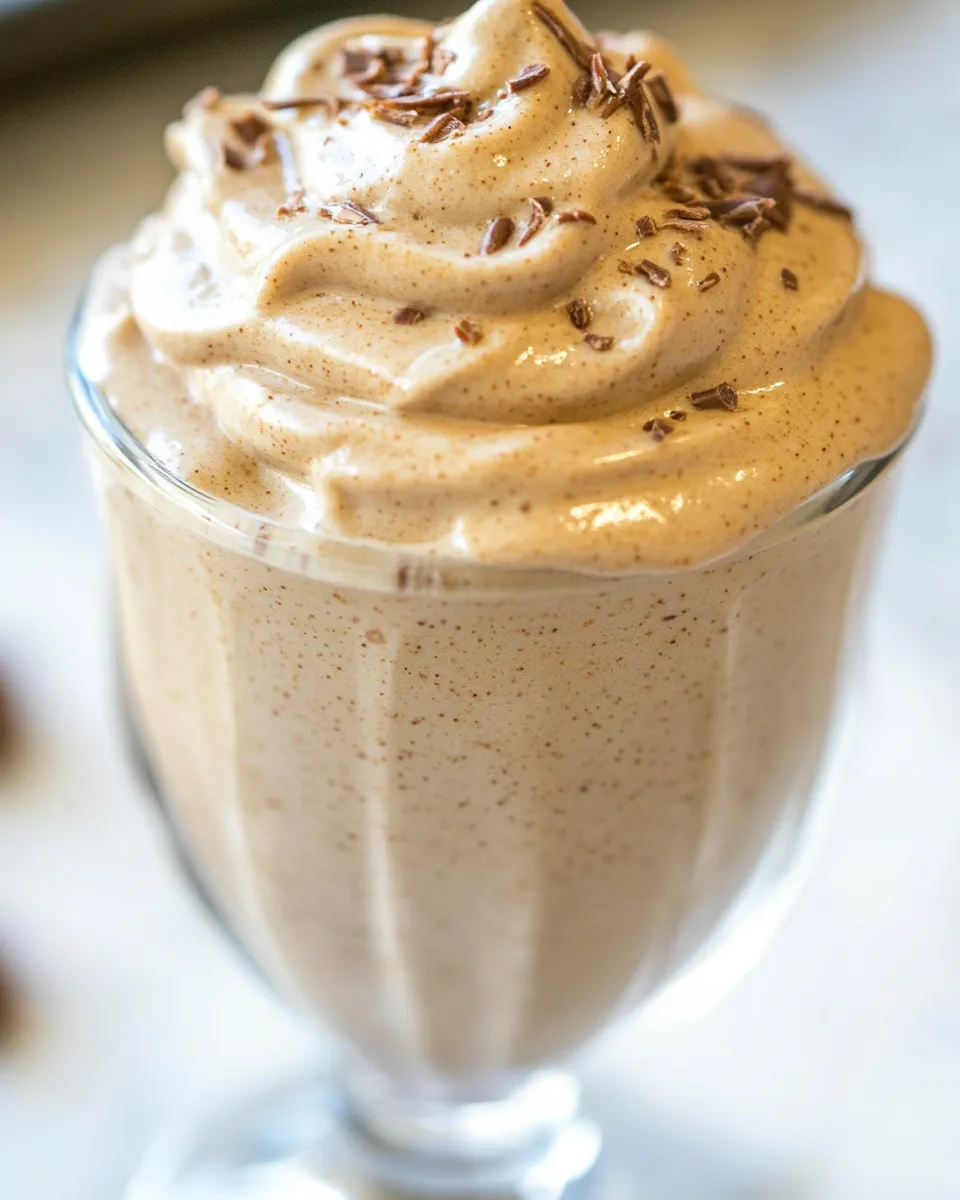
- Optional: a handful of chocolate chips or peanuts for added crunch
Tools of the Trade
Before we get started, make sure you have these essential tools on hand:
- Blender: A high-speed blender will give you the smoothest texture.
- Measuring cups and spoons: Precision is key for the perfect frosty.
- Spatula: For scraping down the sides of the blender.
- Serving glasses: To showcase your delicious creation.
Make Peanut Butter Frosty: A Simple Method
Creating your Peanut Butter Frosty is a breeze! Follow these easy steps to get your frosty fix:
Step 1: Gather Your Ingredients
Start by assembling all of your ingredients on the countertop. Having everything prepped will make the blending process smoother.
Step 2: Blend it Up
In your blender, combine the milk or creamer, silken tofu, peanut butter (or powder), salt, vanilla extract, and sweetener.
Step 3: Blend Until Smooth
Blend on high for about 1-2 minutes or until the mixture is completely smooth and creamy. Make sure to scrape down the sides with a spatula as needed.
Step 4: Taste and Adjust
Give your blend a taste! If you want it sweeter, add more sweetener, or if you desire a stronger peanut flavor, add a little more peanut butter. Blend again if you make any additions.
Step 5: Chill and Serve
For the best texture, pour the mixture into serving glasses and place them in the freezer for about 30 minutes. This will give it a frosty consistency. If you prefer a thicker texture, you can freeze it longer.
Allergy-Friendly Substitutes
This Peanut Butter Frosty can easily accommodate various dietary restrictions. Here are some substitutions you can consider:
- Milk: Use almond milk, oat milk, or coconut milk for a dairy-free option.
- Silken Tofu: Swap with a banana for a sweeter flavor and creamy texture if you’re not a fan of tofu.
- Peanut Butter: If you have a nut allergy, try sunflower seed butter or tahini instead.
- Sweetener: Use stevia or erythritol for a low-calorie option.
Chef’s Rationale
The beauty of this Peanut Butter Frosty lies in its simplicity and nourishing ingredients. The silken tofu not only adds creaminess but also packs a protein punch, making it a more substantial treat than traditional ice cream. The combination of peanut butter and a sweetener balances the flavors, creating a satisfying dessert that doesn’t leave you feeling weighed down. Plus, it’s a fantastic way to incorporate more plant-based foods into your diet without sacrificing taste. The optional mix-ins, such as chocolate chips or peanuts, can elevate your frosty even further, adding a delightful texture that will have you reaching for another spoonful.
Save It for Later
If you find yourself with leftovers (which is rare, but it happens!), you can store your Peanut Butter Frosty in the freezer for up to a week. Just make sure to transfer it to an airtight container to avoid freezer burn. When you’re ready to enjoy it again, let it thaw for a few minutes at room temperature or pop it back in the blender to restore its creamy texture. You’ll be amazed at how delicious it remains even after some time in the freezer!
Quick Q&A
Can I make this Peanut Butter Frosty ahead of time?
Absolutely! You can prepare the frosty mixture and store it in the freezer. Just remember to let it soften slightly before enjoying it later!
Is this recipe suitable for kids?
Yes! The Peanut Butter Frosty is a hit with kids. It’s nutritious and can be made with less sweetener for a healthier treat.
Can I substitute the peanut butter with something else?
Definitely! You can use any nut or seed butter, such as almond butter or sunflower seed butter, to accommodate allergies or preferences.
How can I make it a chocolate Peanut Butter Frosty?
For a chocolate twist, simply add a few tablespoons of cocoa powder to the blender before mixing. It’s a delicious upgrade!
See You at the Table
Now that you have the ultimate recipe for a Peanut Butter Frosty, it’s time to gather your ingredients and get blending. This indulgent treat is not only easy to make but also versatile enough to suit anyone’s taste. Whether you enjoy it as a midday snack, a post-workout treat, or a dessert to impress your friends, this frosty will surely be a hit.
So, grab your blender, and let’s whip up this creamy delight together! With its rich peanut butter flavor and smooth texture, your taste buds are in for a real treat. Enjoy each spoonful of your Peanut Butter Frosty and let the creamy goodness take you to a place of pure bliss. Happy blending!
Peanut Butter Frosty
Ingredients
Equipment
Method
- Step 1: Gather Your Ingredients - Start by assembling all of your ingredients on the countertop. Having everything prepped will make the blending process smoother.
- Step 2: Blend it Up - In your blender, combine the milk or creamer, silken tofu, peanut butter (or powder), salt, vanilla extract, and sweetener.
- Step 3: Blend Until Smooth - Blend on high for about 1-2 minutes or until the mixture is completely smooth and creamy. Make sure to scrape down the sides with a spatula as needed.
- Step 4: Taste and Adjust - Give your blend a taste! If you want it sweeter, add more sweetener, or if you desire a stronger peanut flavor, add a little more peanut butter. Blend again if you make any additions.
- Step 5: Chill and Serve - For the best texture, pour the mixture into serving glasses and place them in the freezer for about 30 minutes. This will give it a frosty consistency. If you prefer a thicker texture, you can freeze it longer.
Notes
- Store leftovers in an airtight container in the freezer for up to a week.
- Let frosty soften slightly before enjoying it again.
- For a chocolate version, add cocoa powder before blending.